


The cost to install porcelain tile depends on materials, size, and whether you DIY or hire a pro. This guide will help you choose the perfect porcelain tile for your home and budget.
Get a traditional tile look at a fraction of the cost


Peel-and-stick tiles are a more affordable alternative to other types of tile like ceramic, porcelain, or marble, but along with their lower price tag can come some compromise on appearance. Peel-and-stick tiles don’t need to be grouted, but doing so can give them an authentic look, mimicking the appearance of more expensive materials. In this guide, we’ll teach you how to grout peel-and-stick tile to give your space a high-end look on a budget.
Peel-and-stick tile is designed as an affordable alternative to traditional tile materials. To install it, simply remove the backing and position the tile in place, making sure to press firmly and adhere it to the underlying surface.
For flooring, peel-and-stick tile is typically vinyl, but it can also be stone. For peel-and-stick backsplashes, tiles can be vinyl, glass, metal, or stone.
Peel-and-stick tiles don’t need to be grouted, as they fit tightly together when put in place. Peel-and-stick backsplash tile even comes with lines that look like they have been grouted. For floors, if you want to add grout for a more finished and high-end look, you absolutely can. Simply use spacers when you install the peel-and-stick tiles to form a gap rather than lay them right next to each other.
Grouting peel-and-stick tiles is no different than grouting other types of tiles. Plus, there are premixed grouts that make the process even easier. Read on to find out how to grout peel-and-stick tiles.

Before you grout peel-and-stick floor tiles, you’ll need to install them first—but you probably guessed this step. When you choose your tiles, make sure they are groutable, as not all peel-and-stick tiles are.
Installing peel-and-stick tiles is a relatively easy job, perfect for new DIYers or homeowners who want a quick and affordable project to change the look of a space or to keep up with bathroom tile trends. The first step is to make sure the floor is clean and level and to remedy any imperfections or uneven areas. If the original floor has grout, make sure the grout is level with the tiles, adding more if necessary. Allow time for it to dry before installing the peel-and-stick tiles.
Once the floor is prepped, dry lay the tiles in the desired pattern to make sure they look the way you want them to. Then, beginning either in the middle of the room or in a corner, peel the backing partially off the tile, lay the tile starting at the edge, and then remove the remaining backing as you lay the rest of the tile on the surface.
Since you’ll be grouting the tiles, use spacers to ensure an even gap between the tiles on all sides. For vinyl peel-and-stick tile, the only tiling tools you’ll need are a utility knife to cut the tiles, a ruler or tape measure, and a level.
Gather your grouting supplies, which should include the grout, a rubber grout float, a tiling sponge, and easily accessible water. Unlike installing ceramic tiles or porcelain tiles that use a thinset mortar that needs time to dry, peel-and-stick tiles adhere immediately and can be walked on and grouted right after installation.

Grouting peel-and-stick tile flooring is just like grouting any other type of tile. Scoop grout onto the grout float and spread it evenly across the gap between the tiles, moving back and forth and diagonally to make sure the grout gets into the entire joint. Once the grout is evenly spread in all gaps, use your tiling sponge (which is thicker and denser than a normal sponge and has rounded edges) to wipe all excess grout from the tiles. Rinse and wring the sponge frequently and change the water when necessary.
After you’ve grouted the tiles, it’s possible for grout haze to appear within a few days, even if you thoroughly cleaned the area. Grout haze is the film that’s leftover after any residual grout dries. You can typically remove grout haze by cleaning the area with a sponge or terry cloth washcloth and water.
Peel-and-stick floor tiles are very easy to care for. Here are some tips for keeping tile and grout clean:
Regularly scrub your grout with an old toothbrush.
Use a cleaning paste made of baking soda and warm water.
Gently peel away stuck-on grime with a safety razor.
Wipe down your grout and tile with a wet sponge on a regular basis.
If you choose epoxy grout for your peel-and-stick tiles, you won’t have to clean it as often because it’s more stain-resistant.
Coarse scrubbers such as steel wool and rough scouring pads should never be used on grout. They often scrape away a layer of grout in the process. Instead, use a stone-safe sponge or nylon bristle brush to clean your grout effectively and safely.
Installing peel-and-stick tiles is a relatively easy DIY job that can help you save on the cost to install a tile floor. And If you’ve already DIYed the peel-and-stick tile installation, you can most likely grout the tile as well. Grouting tiles takes a little practice to get the technique down, so if you can start in a corner of the room that doesn’t see much traffic, that’s a good place to get the hang of it. If you need help grouting, you can contact a tile installer near you to get the job done quickly.
From average costs to expert advice, get all the answers you need to get your job done.
The cost to install porcelain tile depends on materials, size, and whether you DIY or hire a pro. This guide will help you choose the perfect porcelain tile for your home and budget.
.jpg?impolicy=leadImage)
Sealing your grout goes a long way toward extending its life span. This guide breaks down the cost factors for sealing grout, including size, materials, and labor.

Tile varies dramatically in price, but there’s something for every budget. This guide will help you plan for tile installation costs, no matter the project.

Choosing the right tile requires you to make many decisions, including factoring in the PEI rating. Not sure what PEI rating is? Keep reading to learn more.
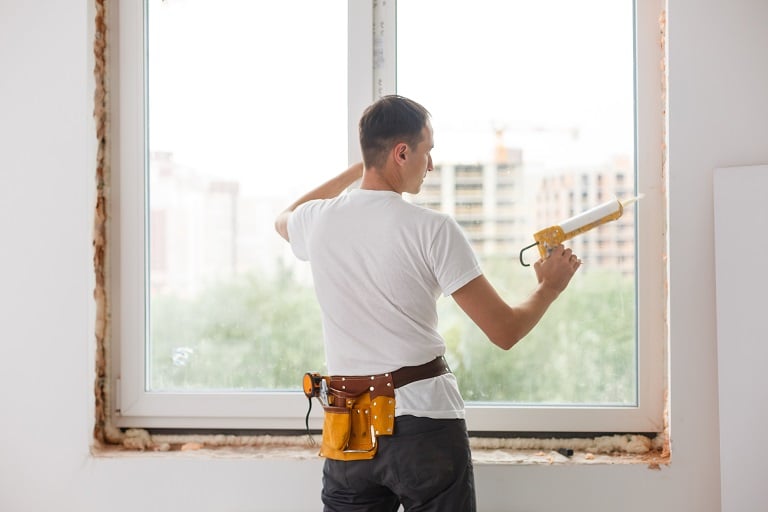
Many home improvement projects require caulk, but if you’re a new DIYer, you may not be familiar with this versatile product. So, what is caulk? Let’s explain.

Understanding peel and stick tile pros and cons will help you decide whether this low-cost method is the right choice for your project.