
Patriot Painting & Drywall
Plaster - InstallPlaster - Repair
Serving Allen, SD and surrounding areas
Approved
Emergency services offered
"he did nice work, working with me"
19 neighbors recently requested a quote

Serving Allen, SD and surrounding areas
Approved
Emergency services offered
"he did nice work, working with me"
Serving Allen, SD and surrounding areas
In business since 2020
Free estimates
Small jobs welcome
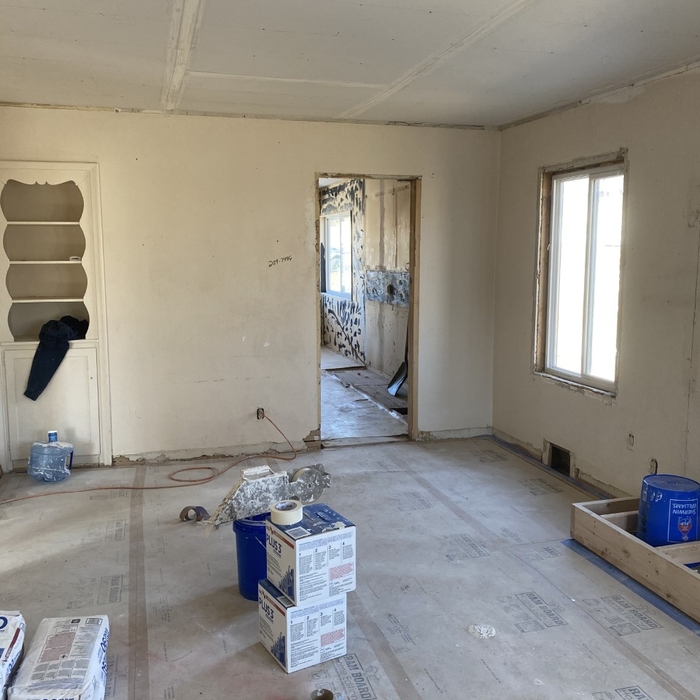
"I had a really bad drywall job that needed to be taken care of and these guys and came in and handled it. I was very impressed with their work and I would certainly use them again."
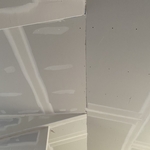
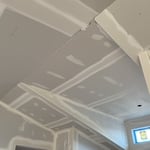
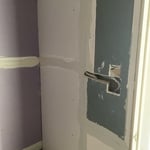
+1

Serving Allen, SD and surrounding areas
In business since 2016
Free estimates
Small jobs welcome
"He has always done a great job for me."
Serving Allen, SD and surrounding areas
In business since 2025
Free estimates
Credit card accepted
We pride our company on reliability, great communication, integrity, and quality work. We are experts in our trade and will do our best to keep you as educated as we can on your particular task or project. We look forward to earning your business!
Serving Allen, SD and surrounding areas
Serving Allen, SD and surrounding areas
In business since 1999
Free estimates
David Ferguson's construction business is dedicated to quality and outstanding customer service. Our job is to provide you with quality service at a great price. Please don't wait call us today.
From average costs to expert advice, get all the answers you need to get your job done.
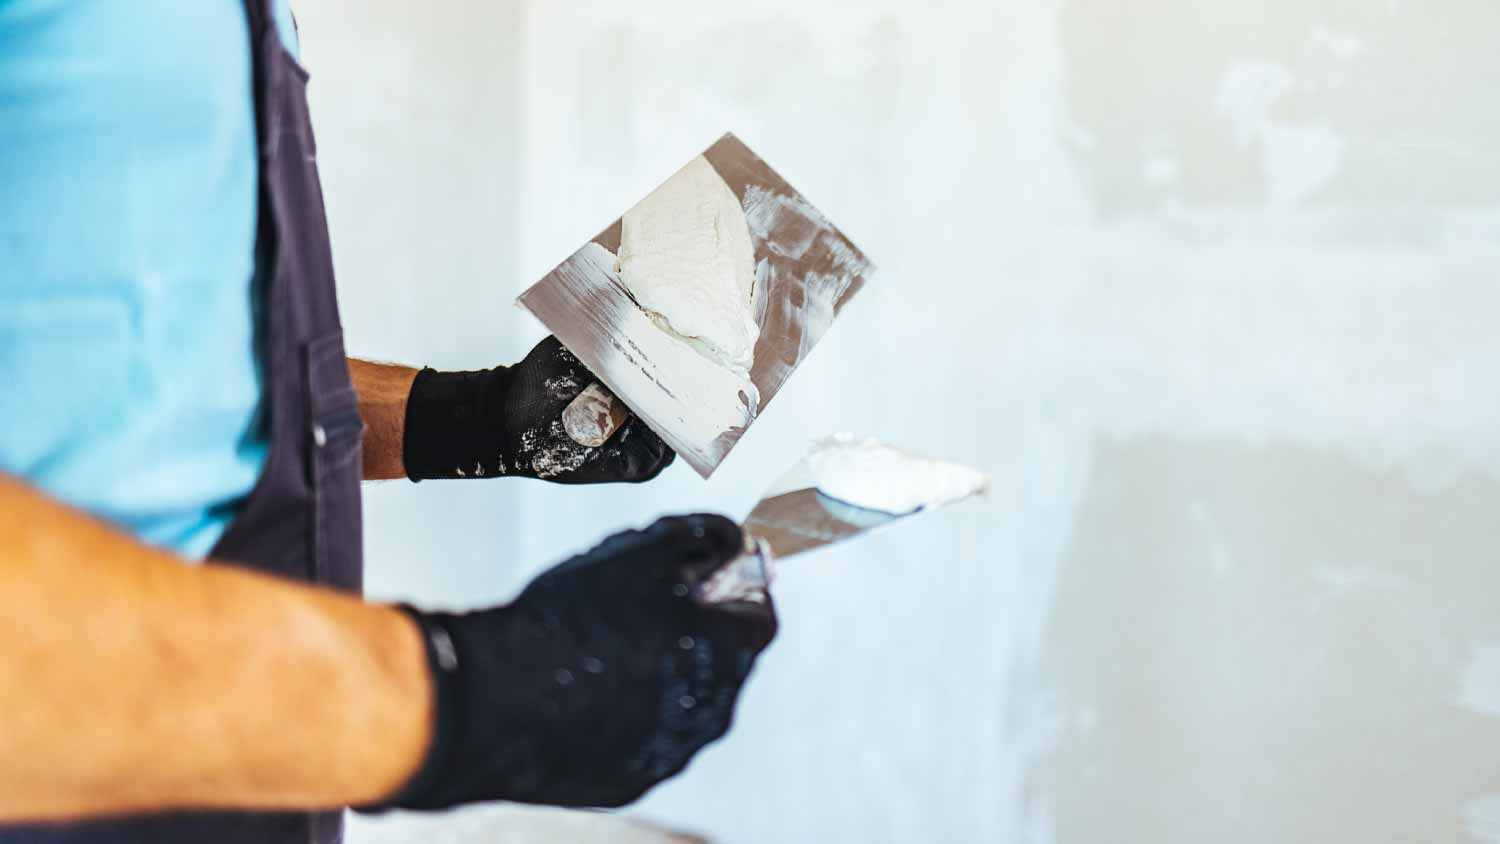
Plaster repair costs are determined by the size and type of damage. Discover why some fixes you can DIY and why some require a pro’s help.
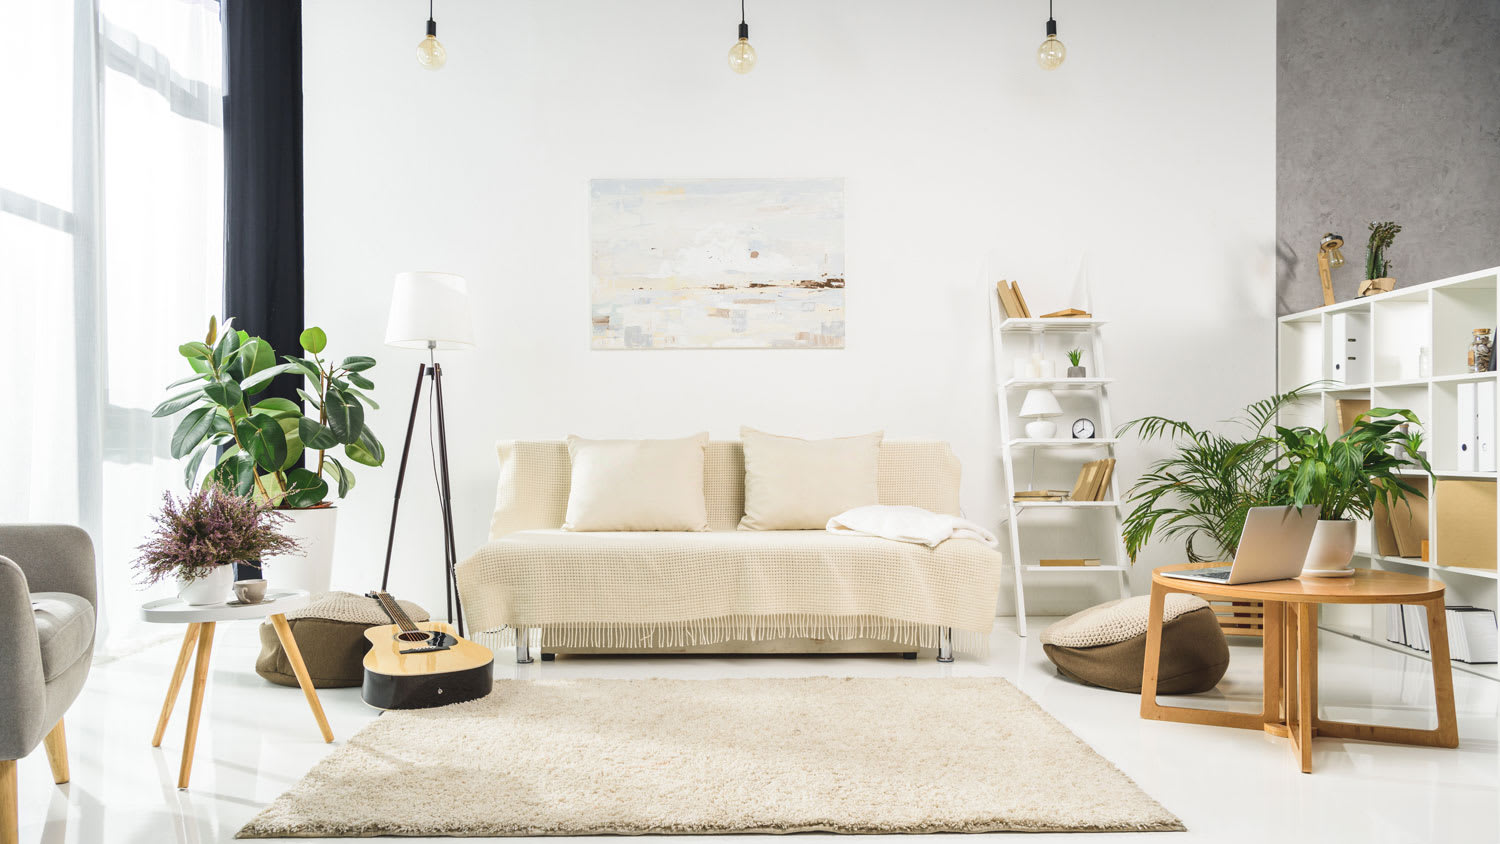
The cost of plastering walls and ceilings depends on the room size and ceiling height. Our tips can help you estimate an accurate cost.
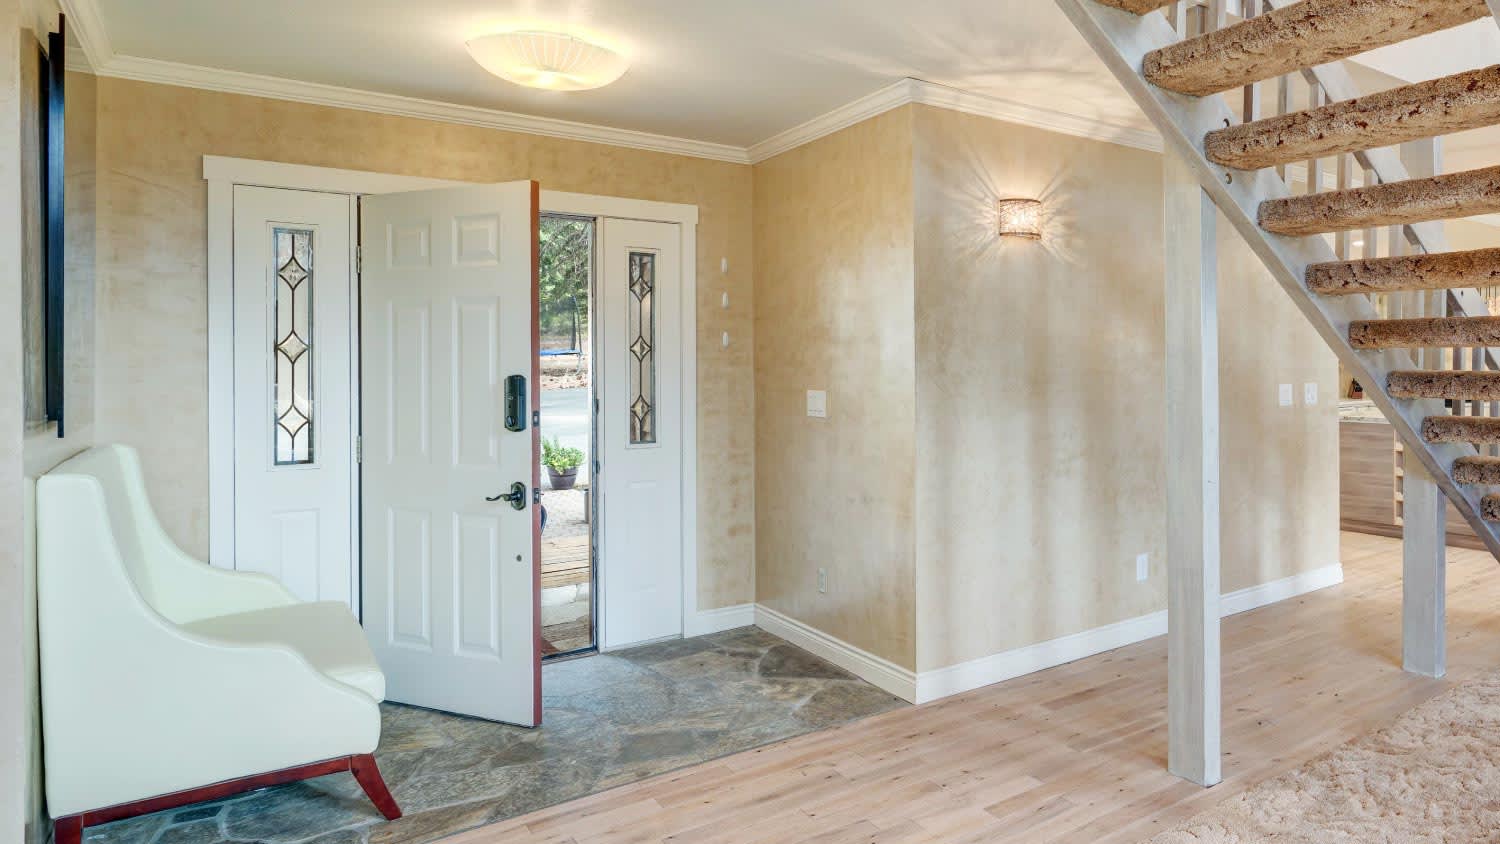
Venetian plaster can add depth and texture to your aesthetic. Learn how much Venetian plaster costs based on factors like square footage and whether you hire a pro to help.
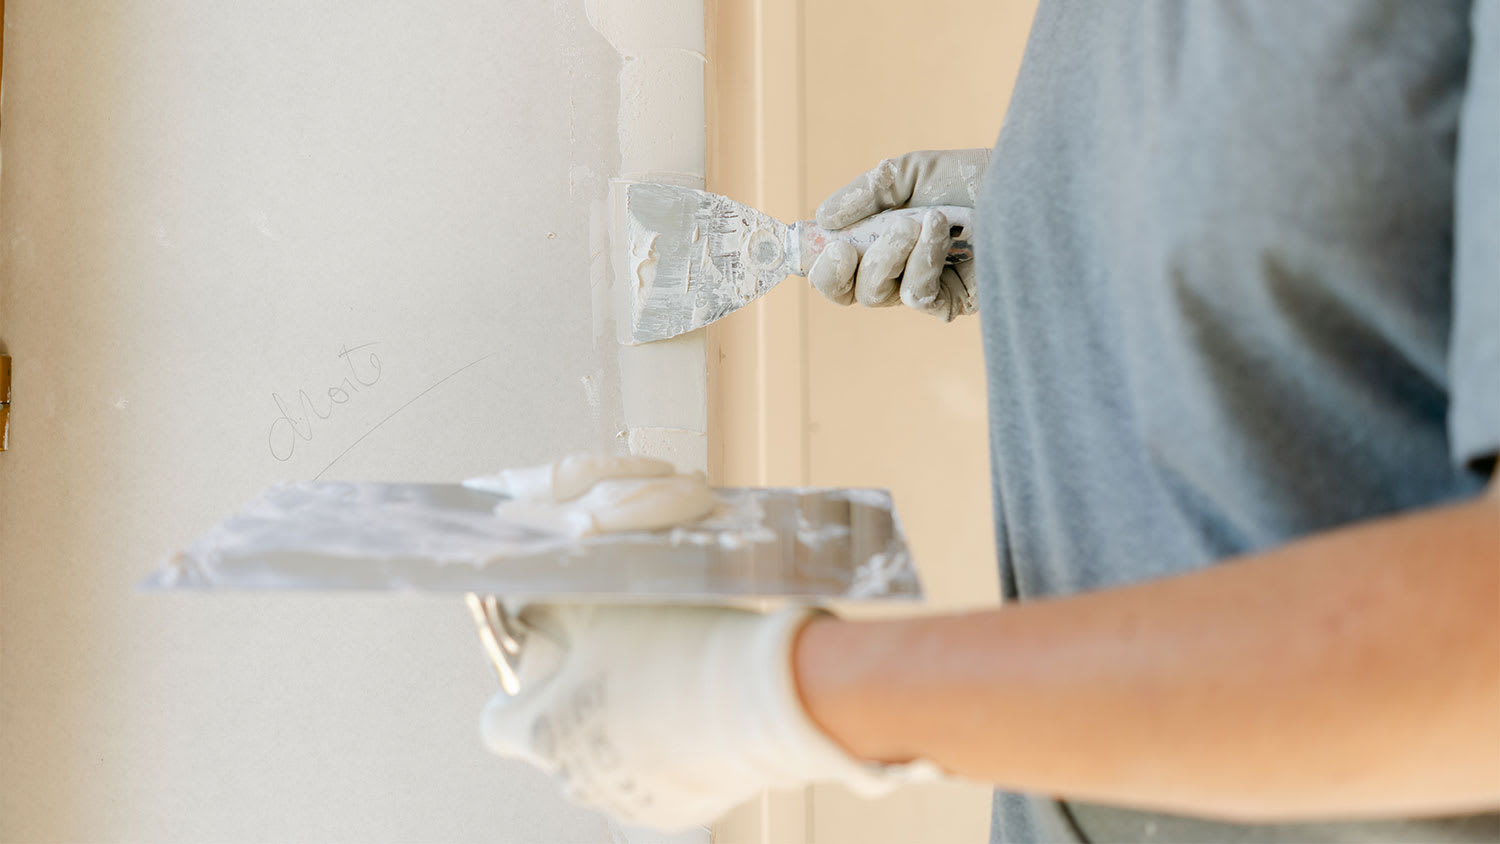
Finding a qualified plaster repair pro? Learn how to hire the right specialist, what questions to ask, and what to expect for your project.
Planning a plaster repair project? Learn about the process, average costs to expect, and how to hire the right local pro to restore your walls.

You can find plaster walls in a lot of older homes. What’s behind these walls—whether that’s lath or calcimine—can have an impact on how long they last. Finding out the age of your house can help you determine what you’re dealing with.