



Top-rated drywall pros.

Best drywall pros near Reidsville, NC

Enter your zip and get matched with up to 5 pros

Need a pro for your drywall service project in Reidsville, NC?

Select your specific project to find the pro for you.

TRUSTED BY REIDSVILLE, NC HOMEOWNERS

  • Average homeowner rating star icon4.8
    Average homeowner rating
  • Verified reviews icon24
    Verified drywall services reviews

Top-Rated Drywall pros in Reidsville - Updated Nov 2026

Avatar for By George! HandyMan
By George! HandyMan
4.9(
31
)
Drywall - Repair

Serving Reidsville, NC and surrounding areas

Approved

In business since 2017

Free estimates

Emergency services offered

"Lance did a full insulation and drywall install for our detached garage and did an excellent job. Very professional and great communicator. Would hire him again for future projects!"
Spice Rack
Spice Rack
Spice Rack
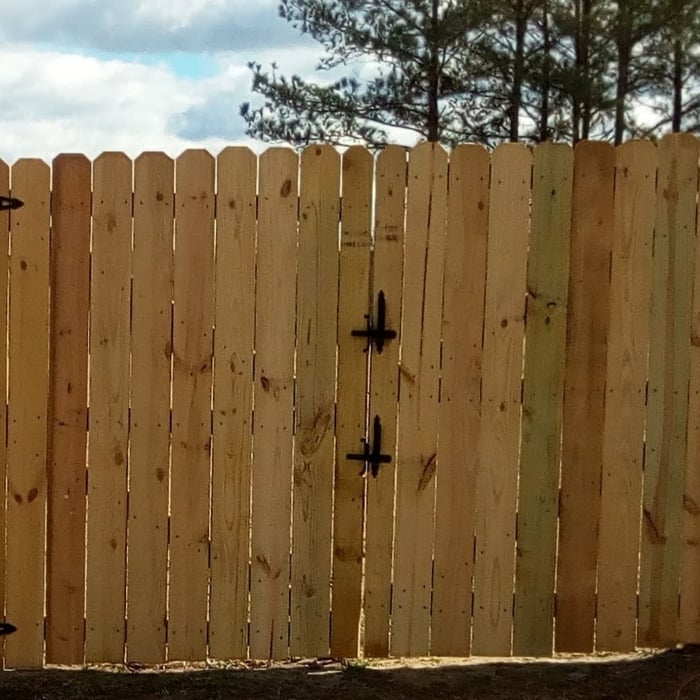
Wooden Privacy Fence

+34

Response time4 hrs
Recommended by96%of homeowners
Avatar for Pivot Aesthetics
Pivot Aesthetics
4.8(
93
)
Drywall - Repair

Serving Reidsville, NC and surrounding areas

Approved

In business since 2018

Free estimates

Credit card accepted

"Agent was single contact for multiple projects including ceiling repair, drywall, carpet replacement, vinyl flooring, painting, wallpapering and deep cleaning."
Kitchen Cleaning
Pivot Aesthetics PostCard
Bathroom Renewal (Before)
Bathroom Renewal (After)
Grouting Bathtub Walls

+43

Response time10 hrs
Response rate93%
16 neighbors recently requested a quote
Avatar for Alaska's Painter LLC
Alaska's Painter LLC
5.0(
7
)
Drywall - Repair

Serving Reidsville, NC and surrounding areas

Approved

In business since 2024

Free estimates

Customers say: Quick response

"Nick installed new Sheetrock in the pantry, bathroom and bedroom walls and ceilings. Rain water leaked through my roof and created a big hole in my bedroom ceiling that he completely repaired, you would not even know it was there. He got rid of all the mold that grew up the walls from rain water. He plastered everything and matched the texture. He primed and painted the walls and ceilings. He repainted baseboards and painted interior doors. I am very pleased with his work and would recommend him to anyone in need of his services."
Mahogany Red stain
Mahogany Red stain
Mahogany Red stain
Mahogany Red stain
After painted exterior

+15

Response time10 mins
Recommended by83%of homeowners
...
Showing 1-10 of 256
Drywall FAQs, answered by experts

You should not leave drywall outside, especially overnight or in a wet, humid climate. Exposure to rain and humidity can damage the drywall, weakening its structural integrity and making it susceptible to mold growth. If you must leave drywall outside during a project, be sure to cover it with a tarp or keep it inside a storage shed to protect it. Even drywall intended for exterior projects requires a protective moisture barrier. For best results, store any extra drywall in a dry area away from the elements.

There are six levels of drywall finish, from 0 to 5, that refer to the amount of work performed during the finishing process.

Level 0: Drywall is hung with no finishing work.

Level 1: Tape is placed over the seams between drywall sheets.

Level 2: A thin layer of mud is applied over the tape and screw holes. This level is common for utility rooms or walls that will be covered.

Level 3: A full coat of mud covers the screw holes and tape, but the surface is not sanded. This is often used in garages.

Level 4: This is the most common finish for visible interior walls. It involves applying two coats of mud over seams and screw holes, with sanding between each coat, creating a smooth surface ready for flat paint.

Level 5: This is a high-end finish for luxury homes. It includes full taping, mudding, and sanding, plus a final skim coat over the entire surface before painting.

Damp plaster does dry out, although the drying time depends on several factors, including the type of plaster, the surrounding temperature, moisture content, and the extent of the dampness. Sometimes, it can take weeks or months for wall plaster to dry naturally.

When doing a DIY paint job, it can be tricky to achieve the perfect, straight line between your wall and ceiling. There are several methods, including lining it with painter’s tape and using the “cut in” brush tactic. Some homeowners choose to apply a thin line of caulk to the wall-ceiling seam to create the appearance of a perfect line.

This depends on how much plaster is applied and in how many layers, but a decent estimate is around 150 square feet. If you are applying only two coats on a small wall, there is a chance you may only need one or two gallons for the entire project. If you are plastering a large living room wall with high ceilings, using one of the more involved techniques–like Scagliola–that requires several coats, expect the project materials costs to add up quickly. 

The Reidsville, NC homeowners’ guide to drywall services

From average costs to expert advice, get all the answers you need to get your job done.