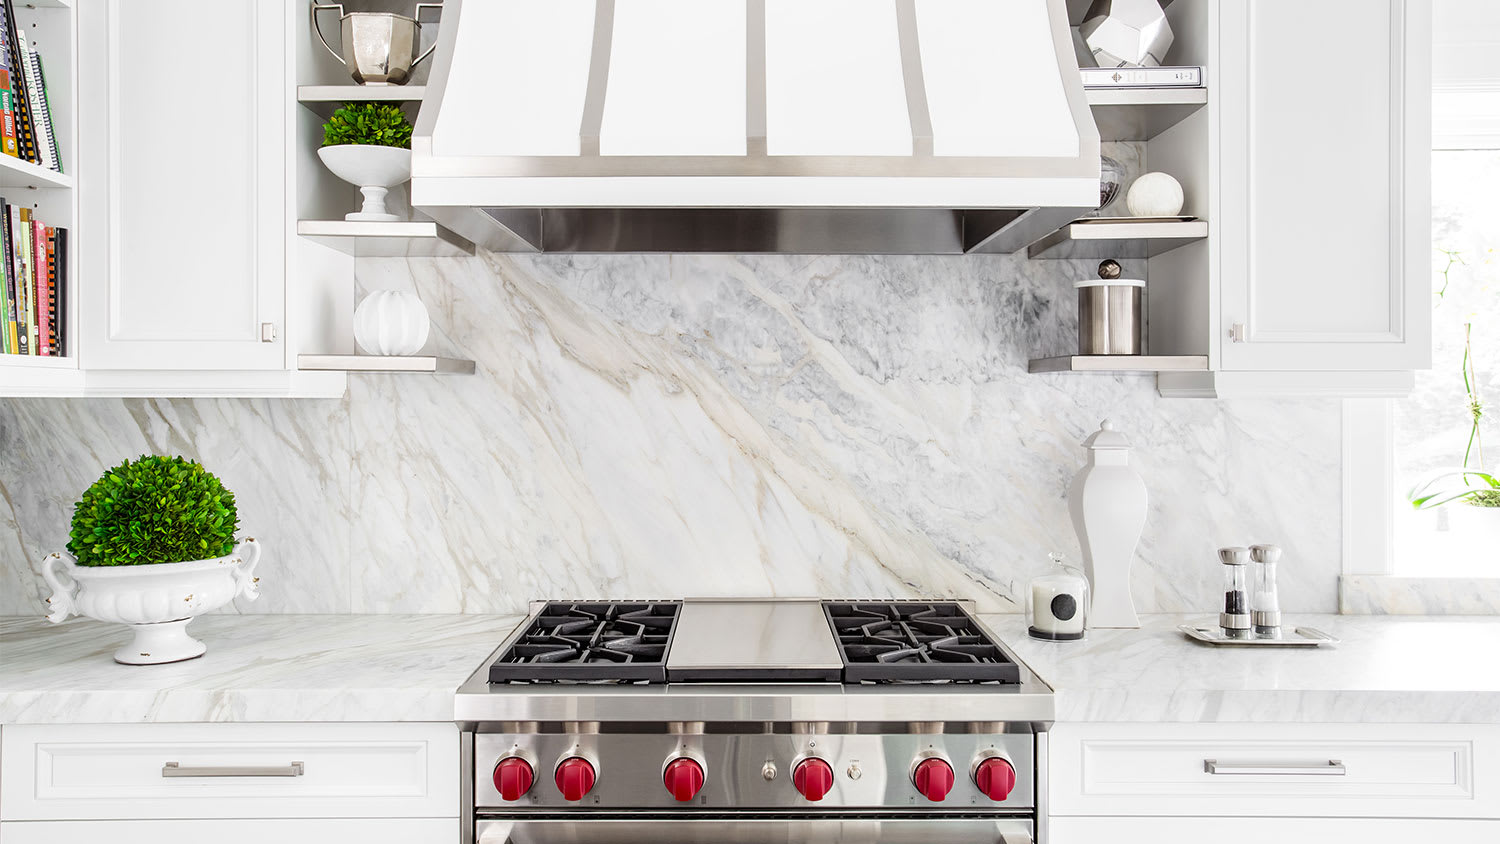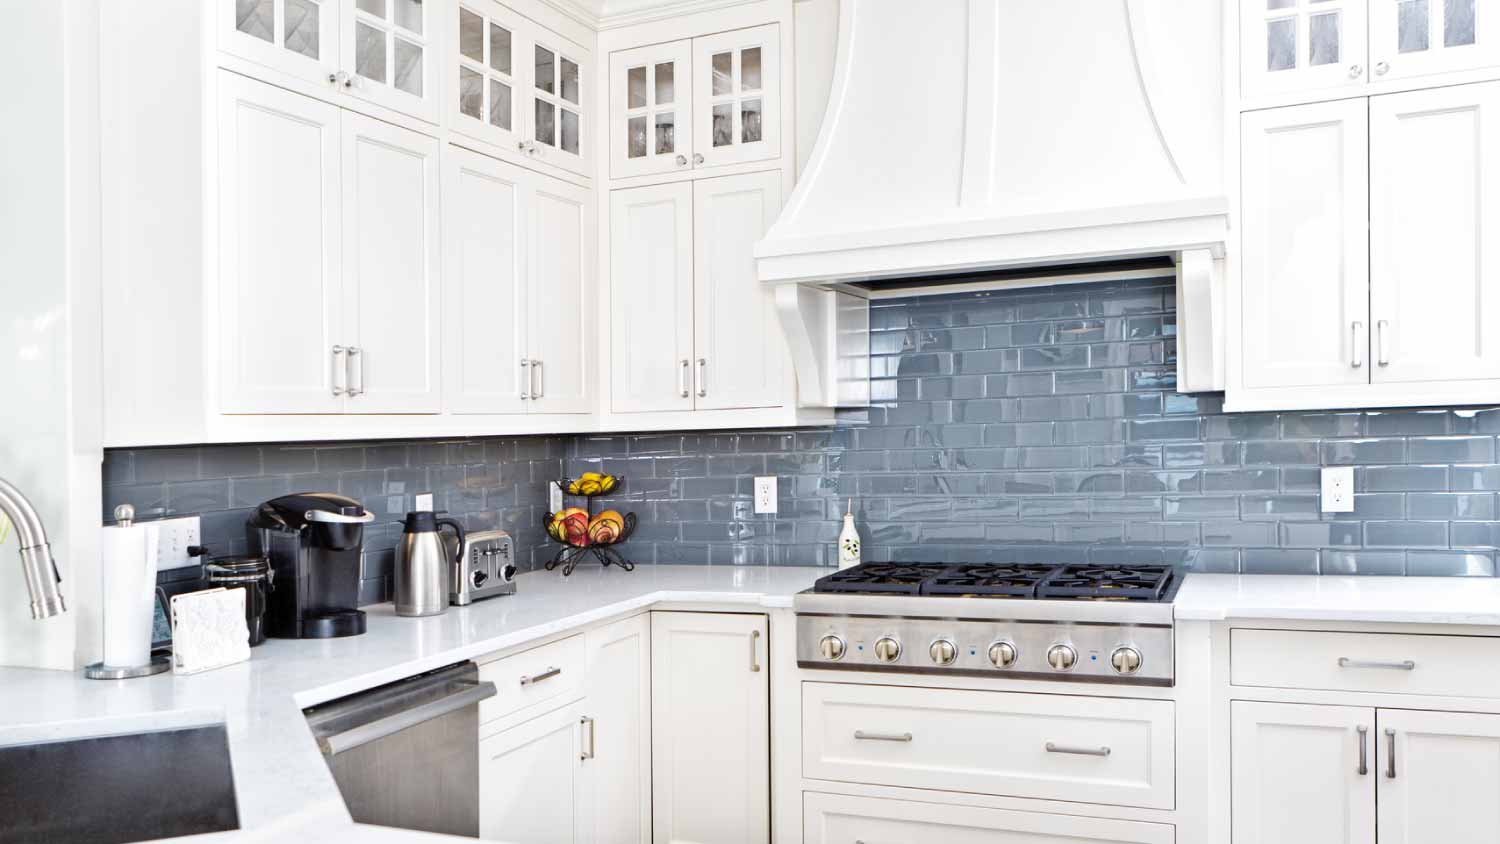








Top-rated backsplash installation pros.

Best backsplash installation pros near Gladwin, MI

Enter your zip and get matched with up to 5 pros

Need a pro for your backsplash installation project in Gladwin, MI?

Select your specific project to find the pro for you.

TRUSTED BY GLADWIN, MI HOMEOWNERS

  • Average homeowner rating star icon4.9
    Average homeowner rating
  • Verified reviews icon29
    Verified backsplash installation services reviews

Top-Rated Backsplash installation pros in Gladwin - Updated Nov 2026

Critical Services & Environmental Solutions, LLC
4.8(
6
)
Tile: Ceramic and Porcelain - InstallTile: Ceramic and Porcelain - Install - For Business

Serving Gladwin, MI and surrounding areas

Approved

In business since 2019

Free estimates

Credit card accepted

"Top Notch Company! Honest & very reasonable quote on time and professional work even clean up after the work was done was top notch I would highly recommend this company."
Response time1 day
37 neighbors recently requested a quote

Recommended by100%of homeowners
Avatar for ALPHA CUSTOM TILE
ALPHA CUSTOM TILE
4.9(
8
)
Tile: Ceramic and Porcelain - Install - For Business

Serving Gladwin, MI and surrounding areas

In business since 2015

Free estimates

Credit card accepted

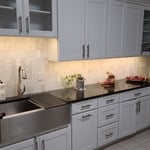
"Jeremy was very precise installing the glass tile kitchen back splash around the cabinets and we have received many compliments . He also installed 1200 sq ft of laminate flooring that runs room to room with no seams . We are looking forward to have him help us on the next project."
Kitchen Backsplash Done 2022!
Kitchen Backsplash Done in 2022!
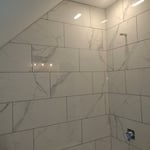
Tub surround
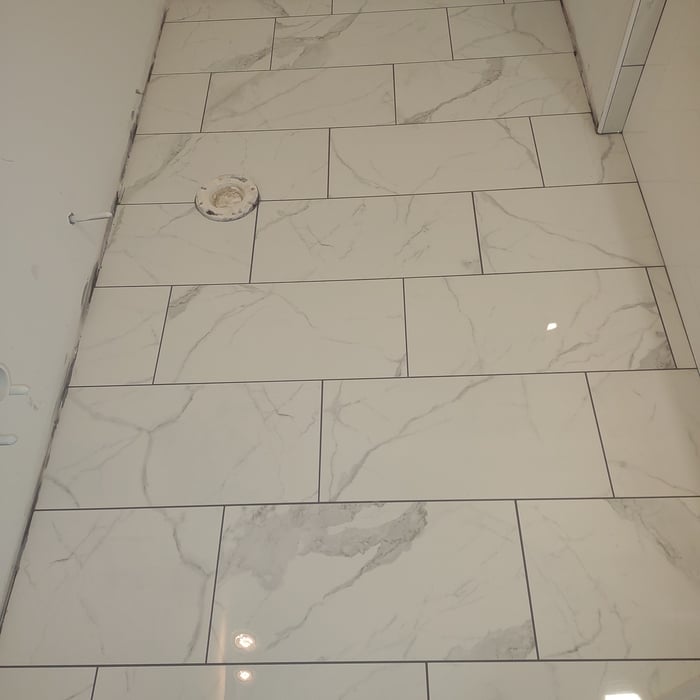
Bathroom floor

+19

Response time3 days
Response rate94%
Recommended by100%of homeowners
Showing 1-10 of 28
Backsplash Installation FAQs, answered by experts

The tile spacing you should use will depend on the tile and where you’re installing it. Choosing the right tile spacers to maintain a consistent gap between your tiles is tricky. Generally, tile spacing shouldn’t be less than 2 millimeters on walls and 3 millimeters on floors because of stress relief requirements. Getting it wrong can result in uneven tiles and early repairs.

The process takes two to four days, depending on the size of the area and your experience level. The first day involves assessing and prepping the existing tile, while the second day is for laying the new tile. This may take longer in complex areas. After letting the adhesive dry for 24 hours, grouting and sealing can be completed on day three. For larger projects or intricate tile patterns, expect the timeline to stretch a bit longer. Also, proper drying time between steps is essential for long-lasting results, which extends the project’s time.

Uniform spacing between tiles is important for a professional and clean appearance. To achieve this spacing, tile spacers should be placed between the tiles and left in place until the mortar hardens and the tiles are secure. You can use X-shaped spacers vertically in between the tiles and laid flat at the corners.

The best trowel for penny tile is a 3/16-inch-by-5/32-inch V-notch trowel. Because of the small size of the penny tile, you want a trowel with small notches that can lay a thin layer of mortar on the surface you’re tiling. If the notches are too wide, you risk applying too thick of a layer of mortar, and it can squeeze out between the penny tiles.

Thinset mortar is the best adhesive for ceramic tiles on concrete. It is easy to work with and has a slower dry time than mastic or epoxy mortars. This longer dry time gives the installer more time to adjust tiles, which is especially useful for DIYers who may not have tile installation experience. It can also be built up to help level any depressions or gaps in the concrete subfloor.

The Gladwin, MI homeowners’ guide to backsplash installation services

From average costs to expert advice, get all the answers you need to get your job done.