Damaged tiles should be fixed right away. In this guide, find out all of the different factors that affect your tile repair cost.
Chisel, pry, repeat


This project can take a long time to complete if you’re doing it in your off-time. Hiring a pro ensures a job done well and a quicker turnaround—plus you get your weekends back.
You’ve dreamed up a Pinterest-worthy bathroom remodel, complete with fresh countertops, new lighting, and gorgeous tiles. The only thing standing in your way now is the dated tiling all over the walls and floors. With a stocked toolbox, some safety gear, and plenty of patience, you’ll be ready to learn how to remove bathroom tile with this guide.
For older bathrooms (those that haven’t been remodeled since the 1970s to 1990s), there’s a risk for lead, which was banned in 1978, and asbestos, which was banned in 1989. You can find lead and asbestos test kits in home improvement stores and online for $10 to $30 each or hire a pro for lead and asbestos testing.
Wait for the results before you start chiseling at the grout and tile. If there is lead or asbestos present, leave the tile removal to a pro.

The last thing you want is for a chip of tile to break off and hit a nearby mirror. Anything vulnerable that you plan to keep after a remodel needs to go, including mirrors, vanities, light fixtures, and even the toilet.
First, shut off the water supply before removing the toilet or working near any plumbing. Removing objects hooked up to the plumbing can be complicated, so hire a plumber for this step of the process. You can use a power drill and screwdriver to start removing other objects in the bathroom. Store these items in the attic or garage until it’s time to reinstall.
For anything in the bathroom that needs protection from dust but can’t be physically removed, like a bathtub, use plastic sheets or tarps and masking tape to protect the surfaces. This will also make cleanup easier down the line.
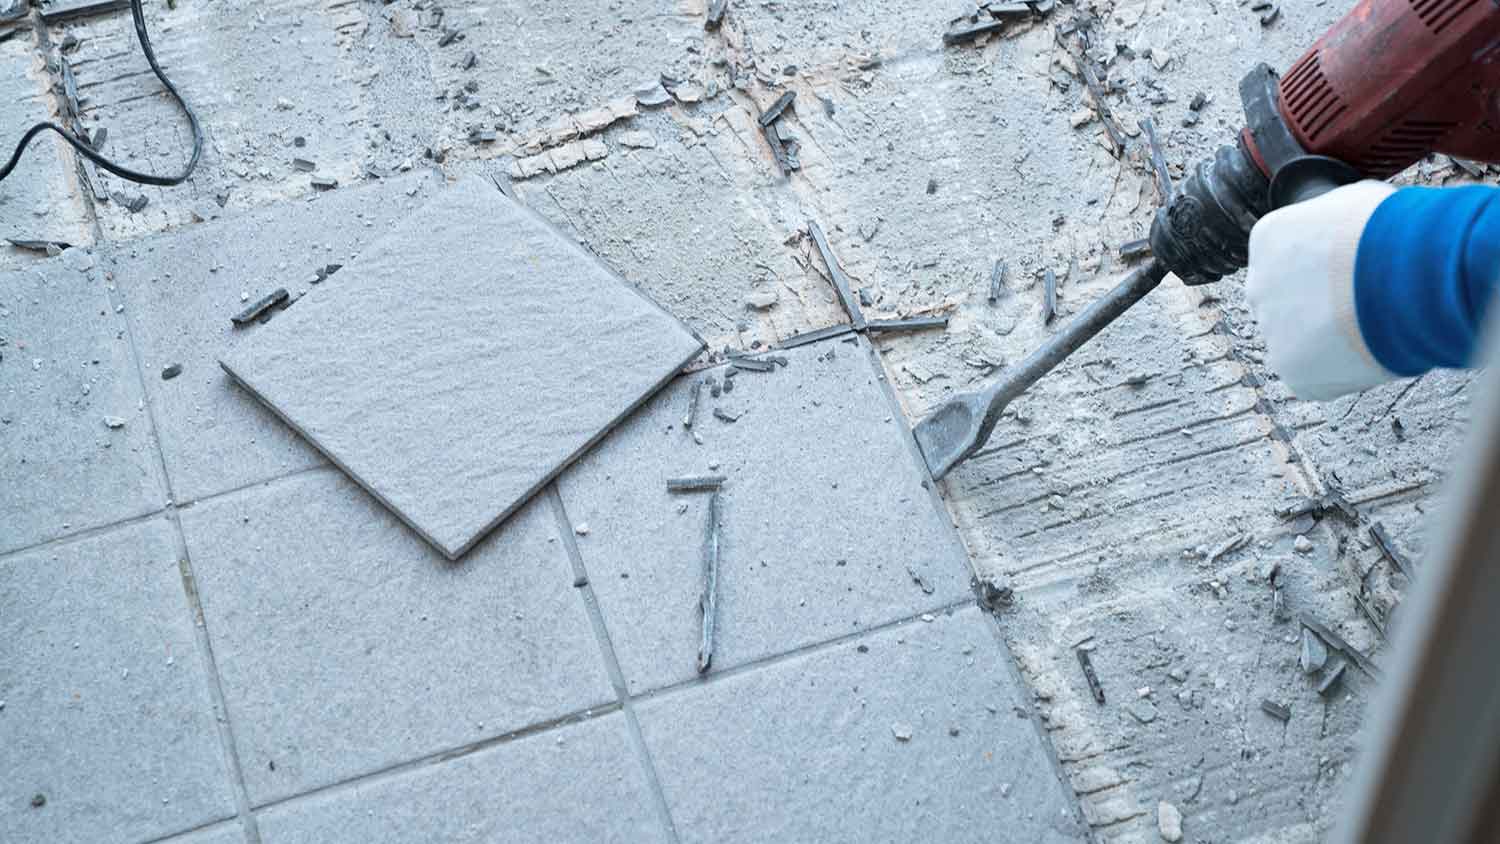
To remove bathroom tile, start by using either an oscillating tool or a hammer and chisel to begin cutting into the grout between tiles. Start at one corner of a tile, and use your tool of choice to start cutting into the grout. Be gentle and patient. If you push too hard, you could accidentally cut through the wall or floor behind the tile.
Continue cutting through the grout until you’ve finished a full wall or floor before moving on to pry up the tile.

Next, use a pry bar and a hammer along the edges of the tile to begin prying it off the wall or floor. If the tile doesn’t want to budge, you’ll have to break out a tile cutter or scoring wheel. Use the scoring tool of choice to cut one diagonal line across the surface of the stubborn tile. Continue cutting along this line until the cut is about 1/16-inch deep. Then, repeat in another diagonal that crosses over the first.
Now, use the pry bar and hammer to break off the tile in four pieces. Don’t worry—you likely won’t need to do this for every tile, just the first few.
Now that the grout and tiles are out of the way, you’re left with the remaining mortar or tile adhesive stuck onto the wall or subfloor. Use a wide putty knife or your oscillating tool to scrape away all of the remaining mortar or adhesive to give yourself the smoothest possible surface for laying new tile.

If you’re removing bathroom tile from the floor, make sure the subfloor is in good condition before covering it again with new flooring. Bathroom subfloors are particularly vulnerable to moisture damage, so check for any visible signs of water damage, cracks, or other damage. Listen for squeaking floors and feel for any sagging or bouncing.
If you see any problems, hire a pro to repair the subfloor or replace it entirely before you continue with your bathroom remodel.
Now, it’s time to clean up the dust and debris from the removal process. You can either hire a local junk removal service or do the dirty work yourself. After tossing out the chunks of tile and mortar, use a shop vacuum around the area to clean up any dust. This will give you a clean working space to continue to the next step of your bathroom remodel plan.

When you’re eager to move forward on your new bathroom design, it’s easy to make mistakes in the process of removing the old tile. Be mindful of these common mistakes to keep yourself safe and to best prepare your bathroom for its makeover.
Leaving adhesive or mortar behind: Whether you plan to install washable wallpaper in the bathroom or fresh tile, you have to clean the walls or subfloor thoroughly before adding new materials. Otherwise, the finished project will look messy and the material won’t adhere properly.
Using too much force: If those tiles are stubborn, don’t respond with more force. Otherwise, you’ll have to pay to repair the wall or subfloor behind the tile. Try using a heat gun to loosen tough mortar or adhesive, or call in a pro to help.
Forgetting protective gear: Although tile removal is a straightforward process, it can kick up a lot of dust. Plus, there’s a risk of tile pieces chipping off and going flying. Protect your hands, feet, eyes, and respiratory system with safety gear like goggles, a face mask, gloves, and work boots.
Pro tile removal costs $2 to $7 per square foot, and hiring a tile contractor near you is a smart move for several reasons. For one, pros can safely remove any asbestos or lead that could be present in older bathrooms tiled in the 1970s or earlier. Secondly, you won’t have to sacrifice your nights and weekends slowly chiseling out the tile. A team of pros can get the job done within a day or two. Plus, if you’re trying to preserve existing tile or remove grout without damaging the wall or subfloor, a pro can easily meet your needs.
From average costs to expert advice, get all the answers you need to get your job done.

Damaged tiles should be fixed right away. In this guide, find out all of the different factors that affect your tile repair cost.

Whether it’s on your floor, walls, or shower, ceramic tile can add style to your space. So, how much does ceramic tile installation cost? Let’s break it down.

The cost to install porcelain tile depends on materials, size, and whether you DIY or hire a pro. This guide will help you choose the perfect porcelain tile for your home and budget.

Porcelain and ceramic tiles aren’t exactly the same. Discover the key differences between porcelain versus ceramic tile, including cost, durability, and more.

A backsplash can make or break your kitchen. This guide will provide you with the pros and cons of every option out there, from ceramic to reclaimed wood, so you can make the most informed choice for your kitchen—and your wallet.

Whether your floor has a small crack or some serious damage, this guide will help you know when you can make repairs or if you need a full tile floor replacement.