
Removing tile flooring is a labor-intensive process. Here’s how much it costs to remove tile flooring, whether you hire the project out or do it yourself.
Reattach a wobbly tile fast with these two methods

Loose floor tiles signal issues with adhesive quality or application, and fixing a loose tile quickly prevents further damage to surrounding tiles.
Professional tile installation costs between $400 and $4,250, so addressing loose tiles early helps you avoid more expensive floor repairs.
You can reattach a loose floor tile by removing the grout, applying fresh adhesive underneath, and pressing it level with surrounding tiles.
Hiring a local tile repair professional provides reliable help with proper adhesive application and grout work, keeping your floor safe and level.
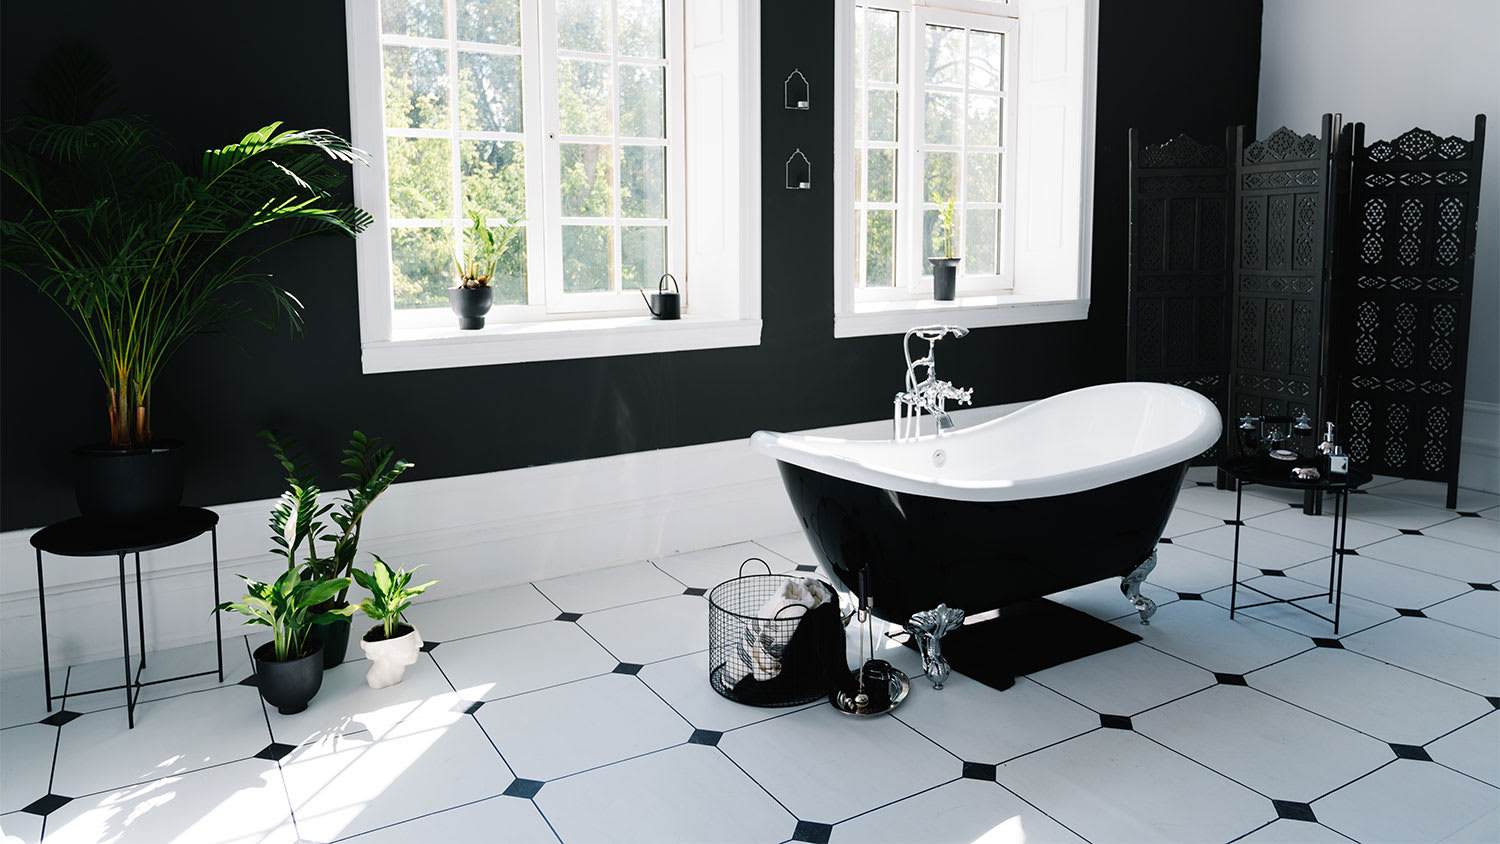
Home maintenance can come with lots of surprises, and loose floor tiles are one of them. Tiles are secured with mortar and grout, and during installation, it’s hard to imagine them ever budging. But factors like expansion and contraction and issues with the adhesive can cause them to loosen over time. Fortunately, loose tile repair can be a relatively simple DIY job. Here’s how to fix loose floor tiles so your tiled floor lasts for years to come.
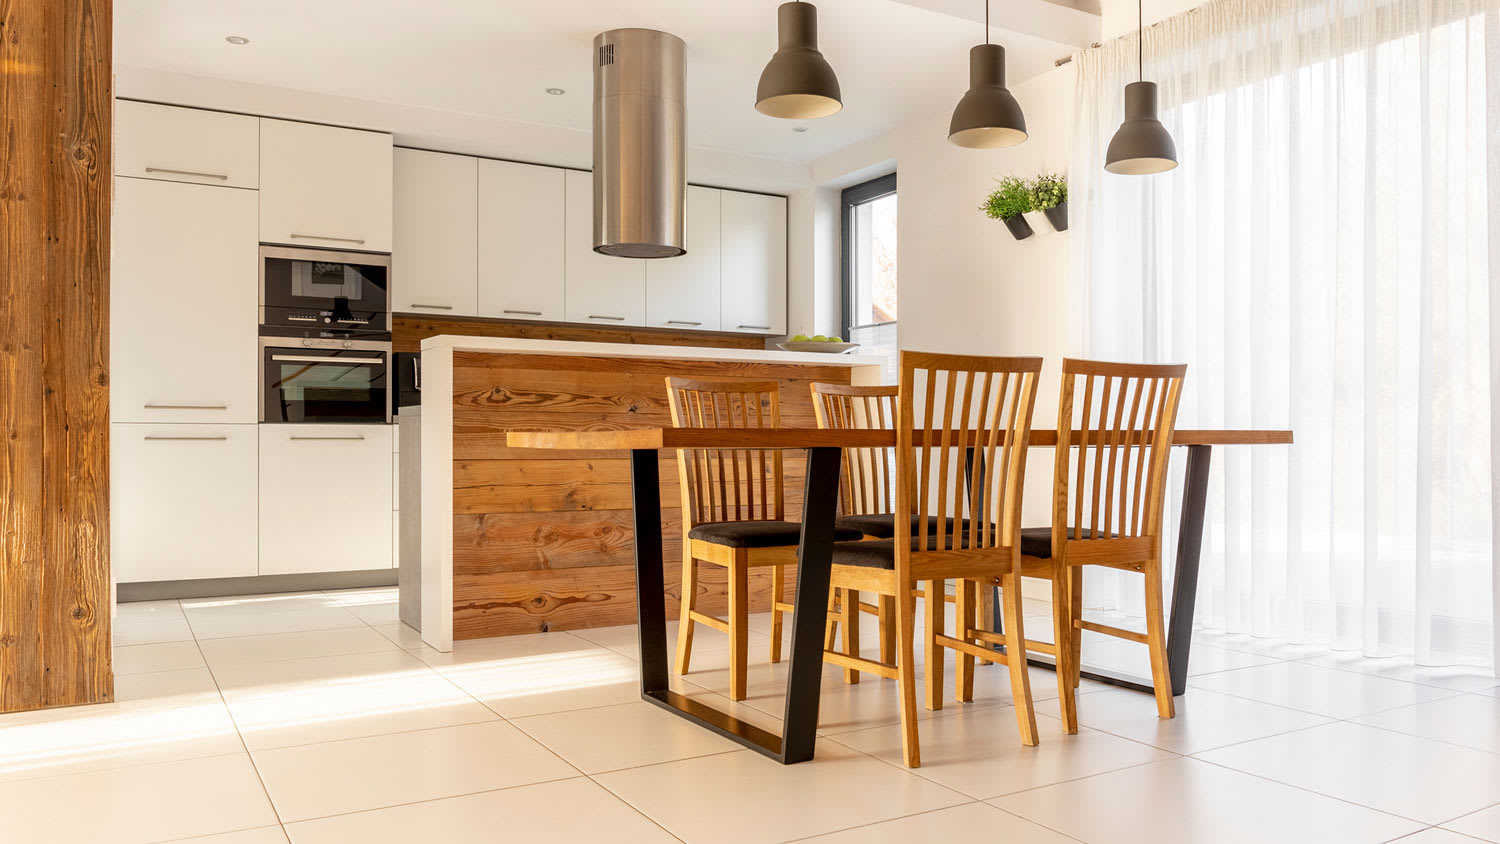
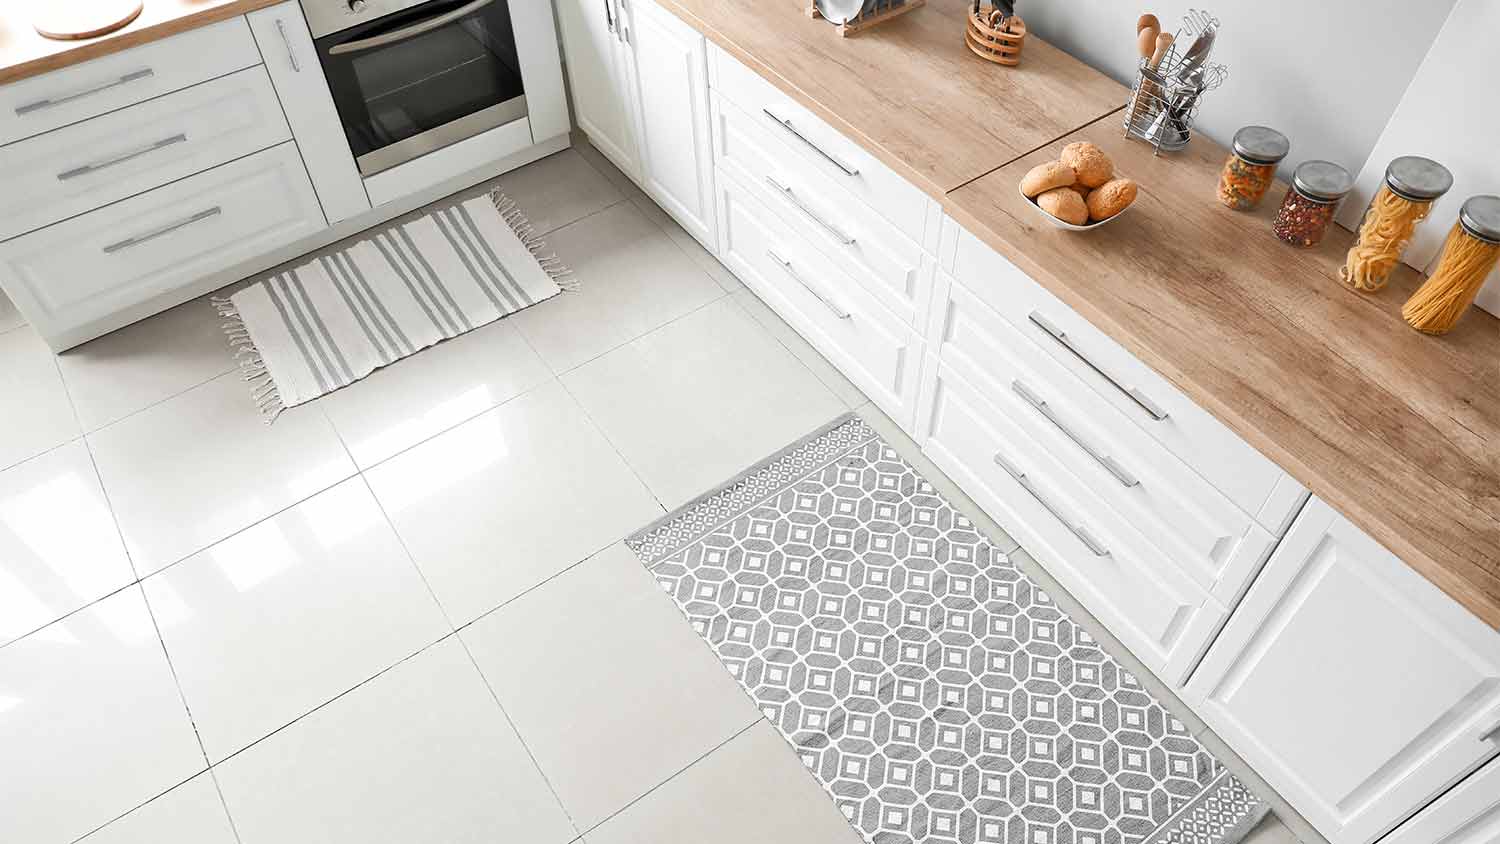
Loose floor tiles are not that uncommon. Though tile flooring is highly durable and often used in high-traffic areas like kitchens, bathrooms, and entryways, it’s not indestructible. And there are a number of factors that can loosen your tiles or cause them to crack over time.
Expansion and contraction: Many building materials expand in the heat and contract in the cold. The movement can cause cracks in the mortar under the tiles over time.
Adhesive issues: If the adhesive used was low quality, it may deteriorate quickly, causing the tiles to become loose. Mishandling the adhesive during installation can also lead to loose tiles.
Natural settling: Over time, homes naturally shift and settle as building materials, or the ground itself, expand and contract.

If you’re not sure you have the skills needed to tackle loose tile repair, contact a tile repair professional near you. But in general, fixing floor tiles can be a quick DIY job; the process is similar to how to fix a cracked tile.
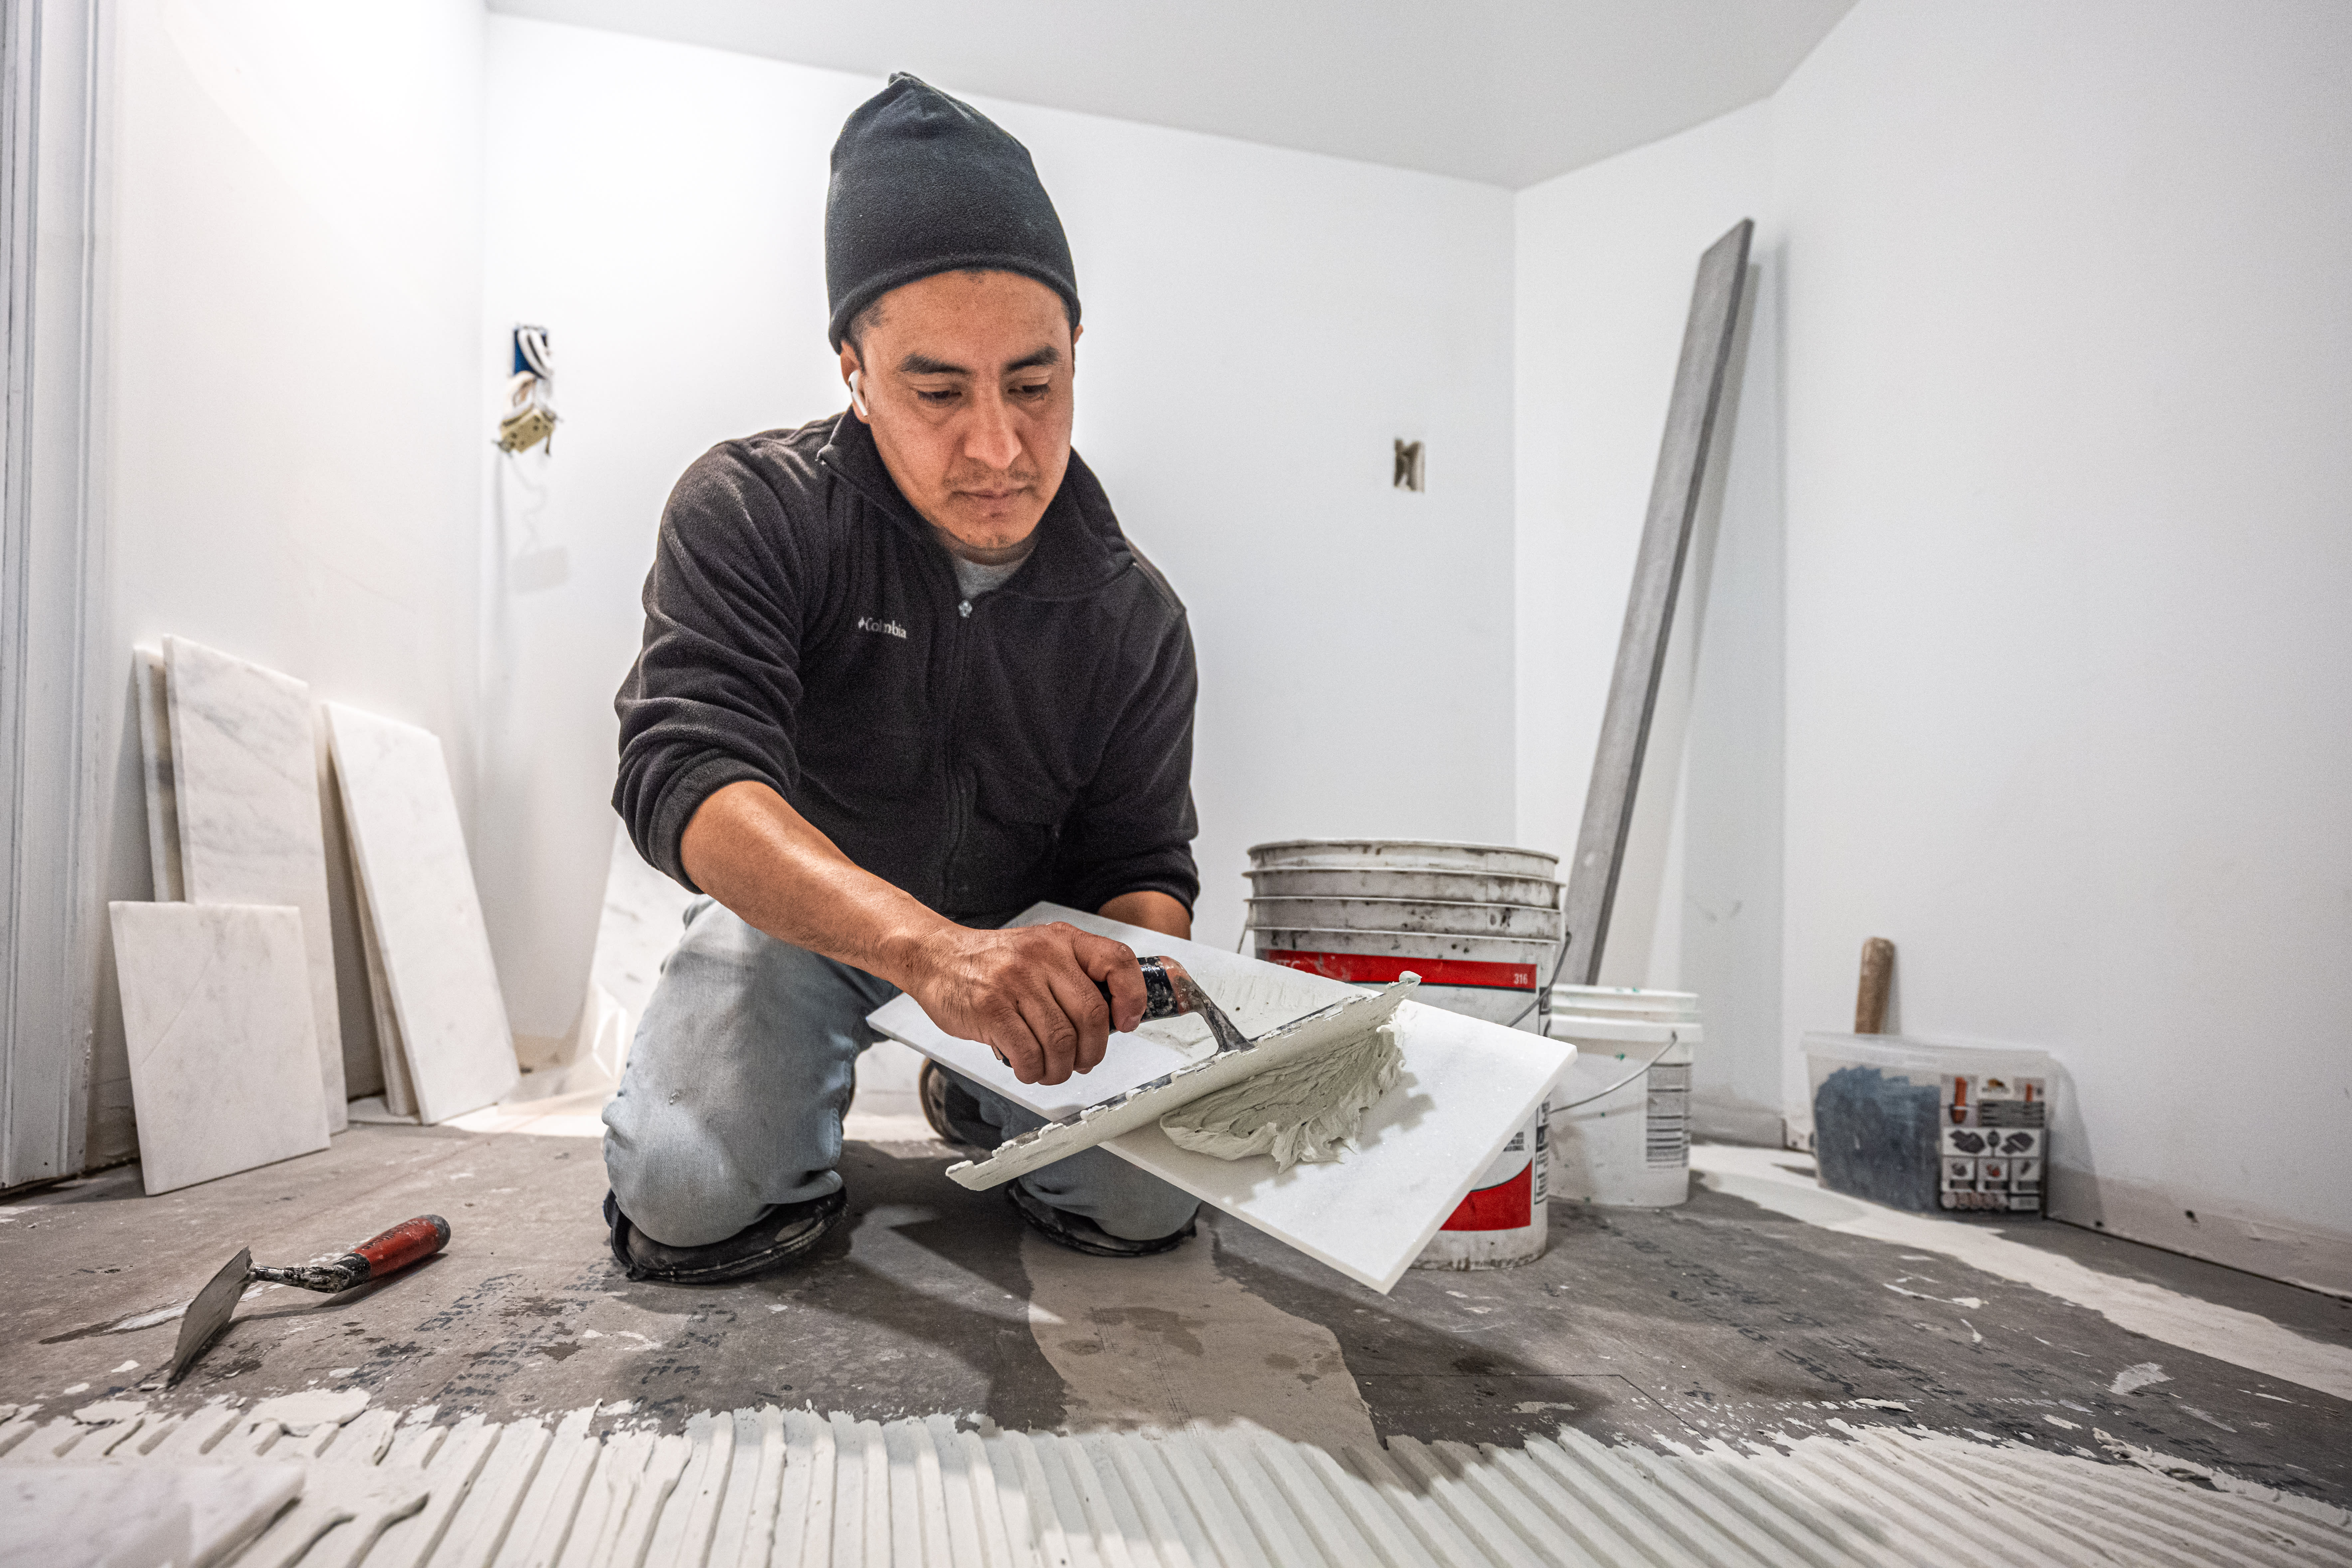
Start by removing the grout. There are two different grout removal methods to choose from, depending on the width of the grout lines and the method you’ll use to fix the loose tile. If you need to remove a lot of grout, softening the grout first will make removal easier. After removing the grout, thoroughly clean the area to remove any debris.
If you have wider grout lines that will accommodate a drill bit without damaging the tile, you can drill a few holes in the grout around the loose tile. This is a good method to use if you plan to keep the loose tile in place and add new tile adhesive underneath it. Once the holes are drilled, you can insert a long application tip into the holes and slowly squeeze glue that will spread to the underside of the tile.
For tiles with thin grout lines, you can remove the grout by scraping it away with a utility knife or razor blade. This method works for both adding adhesive to the underside of the tile and loosening a tile enough to remove it from the floor.
Once the grout is removed, use a tile adhesive with a long application tip to squeeze the adhesive under the loose tile.
Press down firmly to ensure adhesion and make it level with surrounding tiles.
Put a heavy object, like a cinder block, on the tile to make sure it adheres well. Put a towel between the tile and heavy object to protect the tile.
Once the grout is removed, try to pry up the tile in one or two large pieces. Depending on how much adhesive is still attached and how strong it is, this may prove difficult, and you’ll need to break the tile into smaller pieces and chip them out.
If there is still adhesive on the underlayment, you’ll need to either remove it or grind it down to ensure a level surface for the new tile. You should also make sure that the tile will rest level with the existing tiles, and to do this, the old adhesive should be removed.
Sweep and clean the area thoroughly.
Spread new adhesive over the underlayment. Depending on the type of tile, you may want to apply a thin coat of adhesive to the back of the tile, too.
Lay the new tile, pressing firmly so it becomes level with the surrounding tiles.
After 48 hours, you can regrout the tiles. Make sure to remove excess grout and check for grout haze after a few days, so you can clean it quickly.
This advice for fixing floor tiles will help keep them in place for as long as possible and save you money on kitchen or bathroom tile repair costs.
Clean the area you’re working on to ensure the best adhesion possible: Grime, bacteria, and other “floor spice” will make it difficult for flooring adhesive to stick. You don’t need to deep-clean the area or use specific cleaners. A thorough wipe-down will do.
Choose a high-quality adhesive: Budget-brand mortar will have worse water and chemical resistance. It also won't create as strong of a bond, allowing your tile to loosen again in no time. Look for an adhesive that works with your local climate and the particular room where the loose tiles are. It should be strong but also flexible.
Check that the repaired tile is level with the surrounding tiles: If the tile is too low, it creates an uneven appearance. If it’s too high, it could be a tripping hazard, so you could accidentally dislodge it and stub your toe at the same time—not fun.
Place a heavy object on the tile while it dries: This ensures the tile won’t move and spread wet grout where it shouldn’t be.
Allow the adhesive to dry for the recommended amount of time before regrouting: Always follow the manufacturer’s instructions for drying time.
Terrible experience. Walls/trim/floors/cabinets/doors all have drip marks, overspray, etc. Tiling at the fireplace had to be redone by another vendor due to incorrect and shoddy install by Profect. Contractor had his children in our house while he was on site without prior authorization or...
 Profect painting & exteriors
It was wonderful working with Yordy and his team. They were very professional and are experts in what they do. They have completed the work on time, with better quality and with in fairly reasonable price. We just started with backsplash work , but liking his work, we went on to provide...
We were having 2”x 2” tile installed . There was a small installation error and the new additional replacement tile was from a different lot and the colors didn’t match. Joe assured us that he would rectify everything , which he did without hesitation. We decided to go with the 18” x 36” tile...
 CarifaTile
For several months I was looking for somebody to tile a wall in my master bath and move lighting fixtures, and could not find anybody who was responsive. I contacted Rowe through Home Advisor and within days they came by to assess the job and provide an estimate. The cost was very...
It went very well! The end product was amazing and we keep getting a lot of compliments from friends! M&E were very professional and they made sure we were happy with the product before leaving. They met with us in our home and at the tile shop to make sure we were okay with our tile and...
 M&E Remodeling
Involved an extensive bathroom remodel, including removing tub & installing walk in shower, new drywall, custome tile work to ceiling, plumbing, etc. Overall, job was done on time and on budget. Nick & his team were very professional and had high attention to detail. Quality was great. Highly...
 Stamos Flooring and Remodeling LLC
Very pleased with the service and level of professionalism. Courteous and very unobtrusive in performing service. Unlike several other companies, Bradford Xteriors was willing to perform work on a three story home with a clay tile roof. <br />
 Bradford Xteriors
This company did a very good job on the brick wall and it looks just amazing. The staff was always professional and was practically OCD on how the bricks were stacked and how they were laid. Although it took longer than expected, I am willing to sacrifice time over perfection anyday. The...
 My Handy Mate LLC Improvement & Remodeling
He did the tile work and he was good at it. He used other subcontractors for the rest of the work (like putting in the cabinetry) and they were okay but not great. He was a great guy! He was easy to work with and had a good eye for the detail of his work. There were a couple of things that I...
 Brian Miller Custom Remodeling
I was very impressed with Miller Cantrell! I live in an old home in which the sewage line that runs from my home to the sewage system is a line of clay tile. These eventually collapse and need to be replaced - an expensive problem and sure to happen at the worst time. I told them that my...
From average costs to expert advice, get all the answers you need to get your job done.
Removing tile flooring is a labor-intensive process. Here’s how much it costs to remove tile flooring, whether you hire the project out or do it yourself.
Find out how much you can expect your tile floor installation to cost depending on a range of factors, including tile type.

How much does a Saltillo tile floor cost? It depends on the size of your space, but on average, you’ll pay between $6 and $28 per square foot for this tile.
Whether your floor has a small crack or some serious damage, this guide will help you know when you can make repairs or if you need a full tile floor replacement.
Loose grout can cause loose tiles, mold, and slipping hazards. This guide breaks down common causes of loose grout in your kitchen or bathroom, and how to fix it.
Life happens and tiles crack. This two-method guide will show you how to fix cracked tile in as little as an afternoon—with no experience necessary.