
Skim coating drywall is a great alternative to replacement, and is often more affordable. Use this guide to estimate the cost to skim coat walls in your home.
Hanging drywall is a fickle and time-consuming process


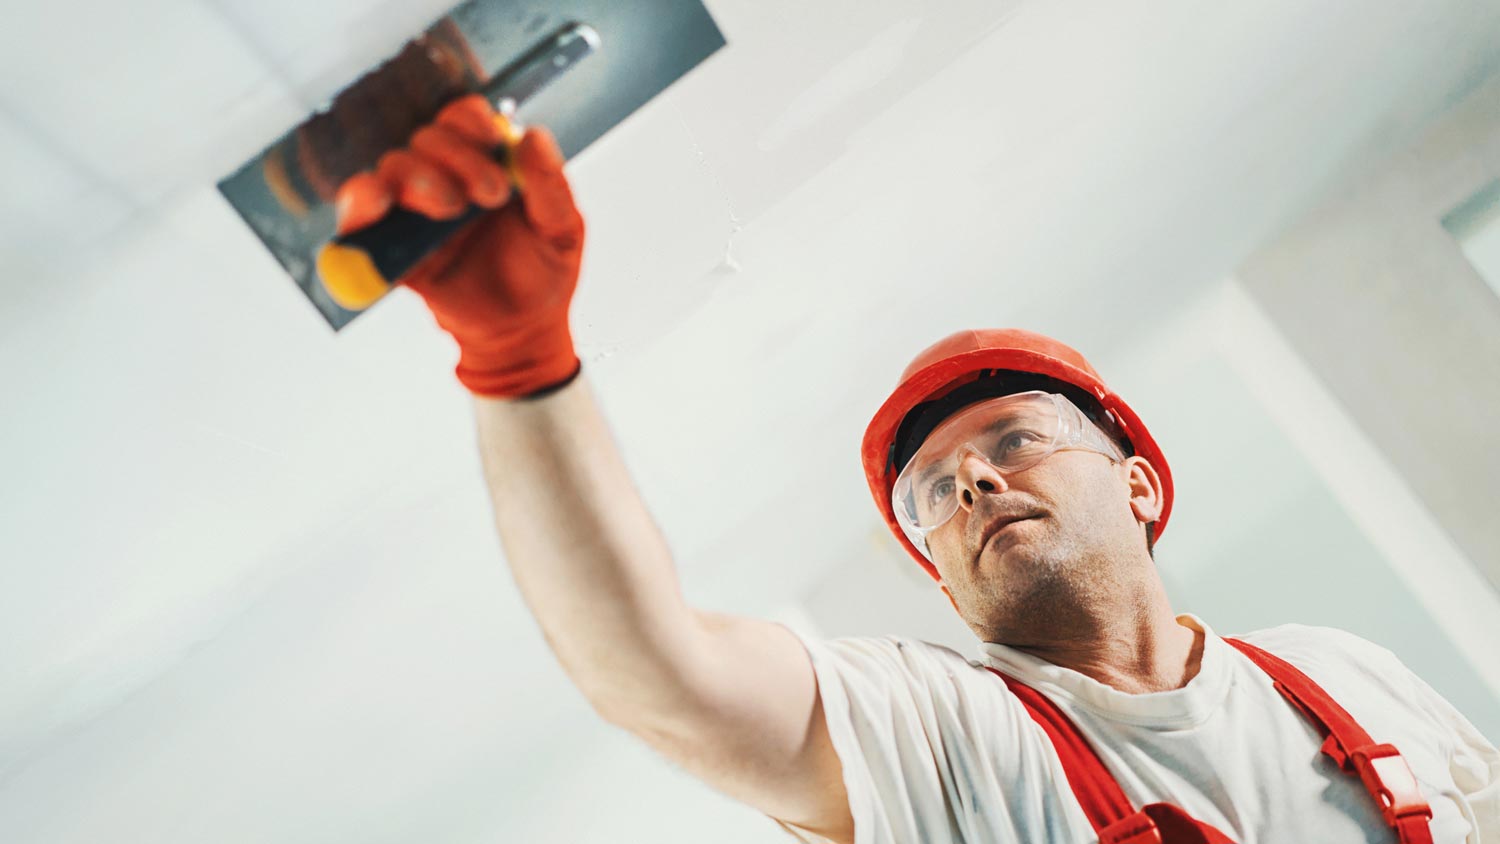
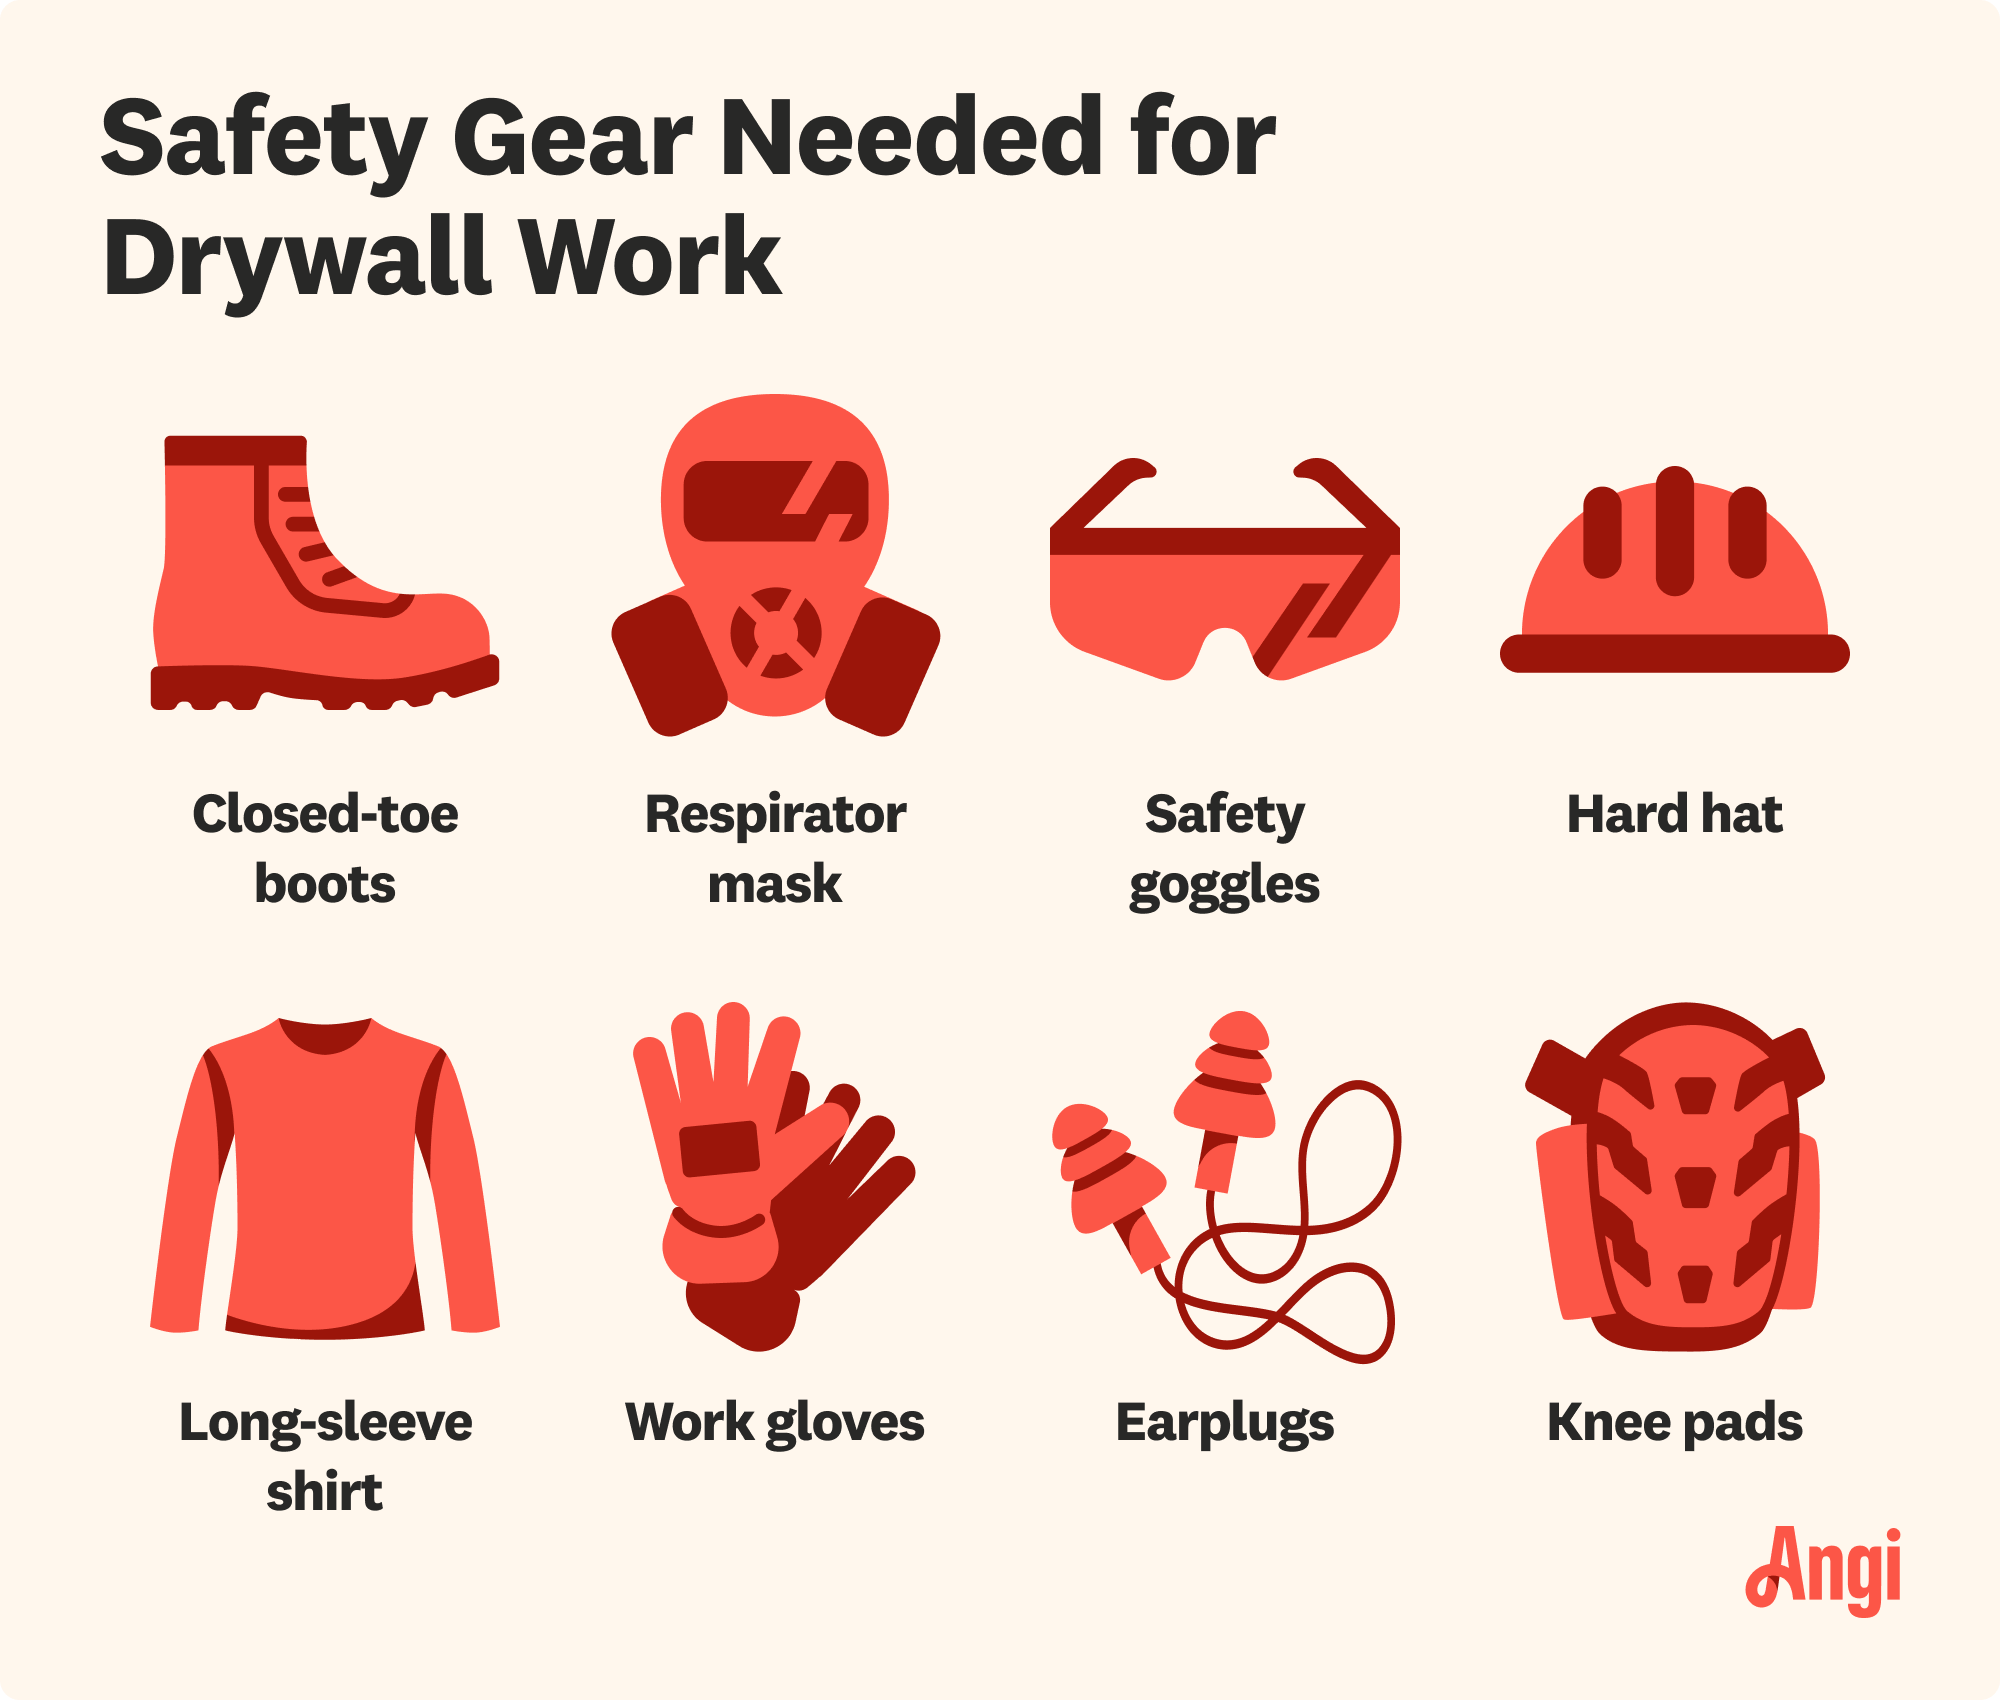
Hanging drywall is an intermediate-level yet straightforward job that requires special tools, lots of personal protective equipment, and at least a few days to complete.
Ask one or two people to help because each drywall sheet can weigh up to 60 pounds.
Invest in the right tools, like a rotary saw and drywall lifting machine, for the best results.
Consider installing a dehumidifier while you work to minimize the risk of mold.
Apply mud in thin layers and allow each to dry for at least 24 hours for a smooth finish.
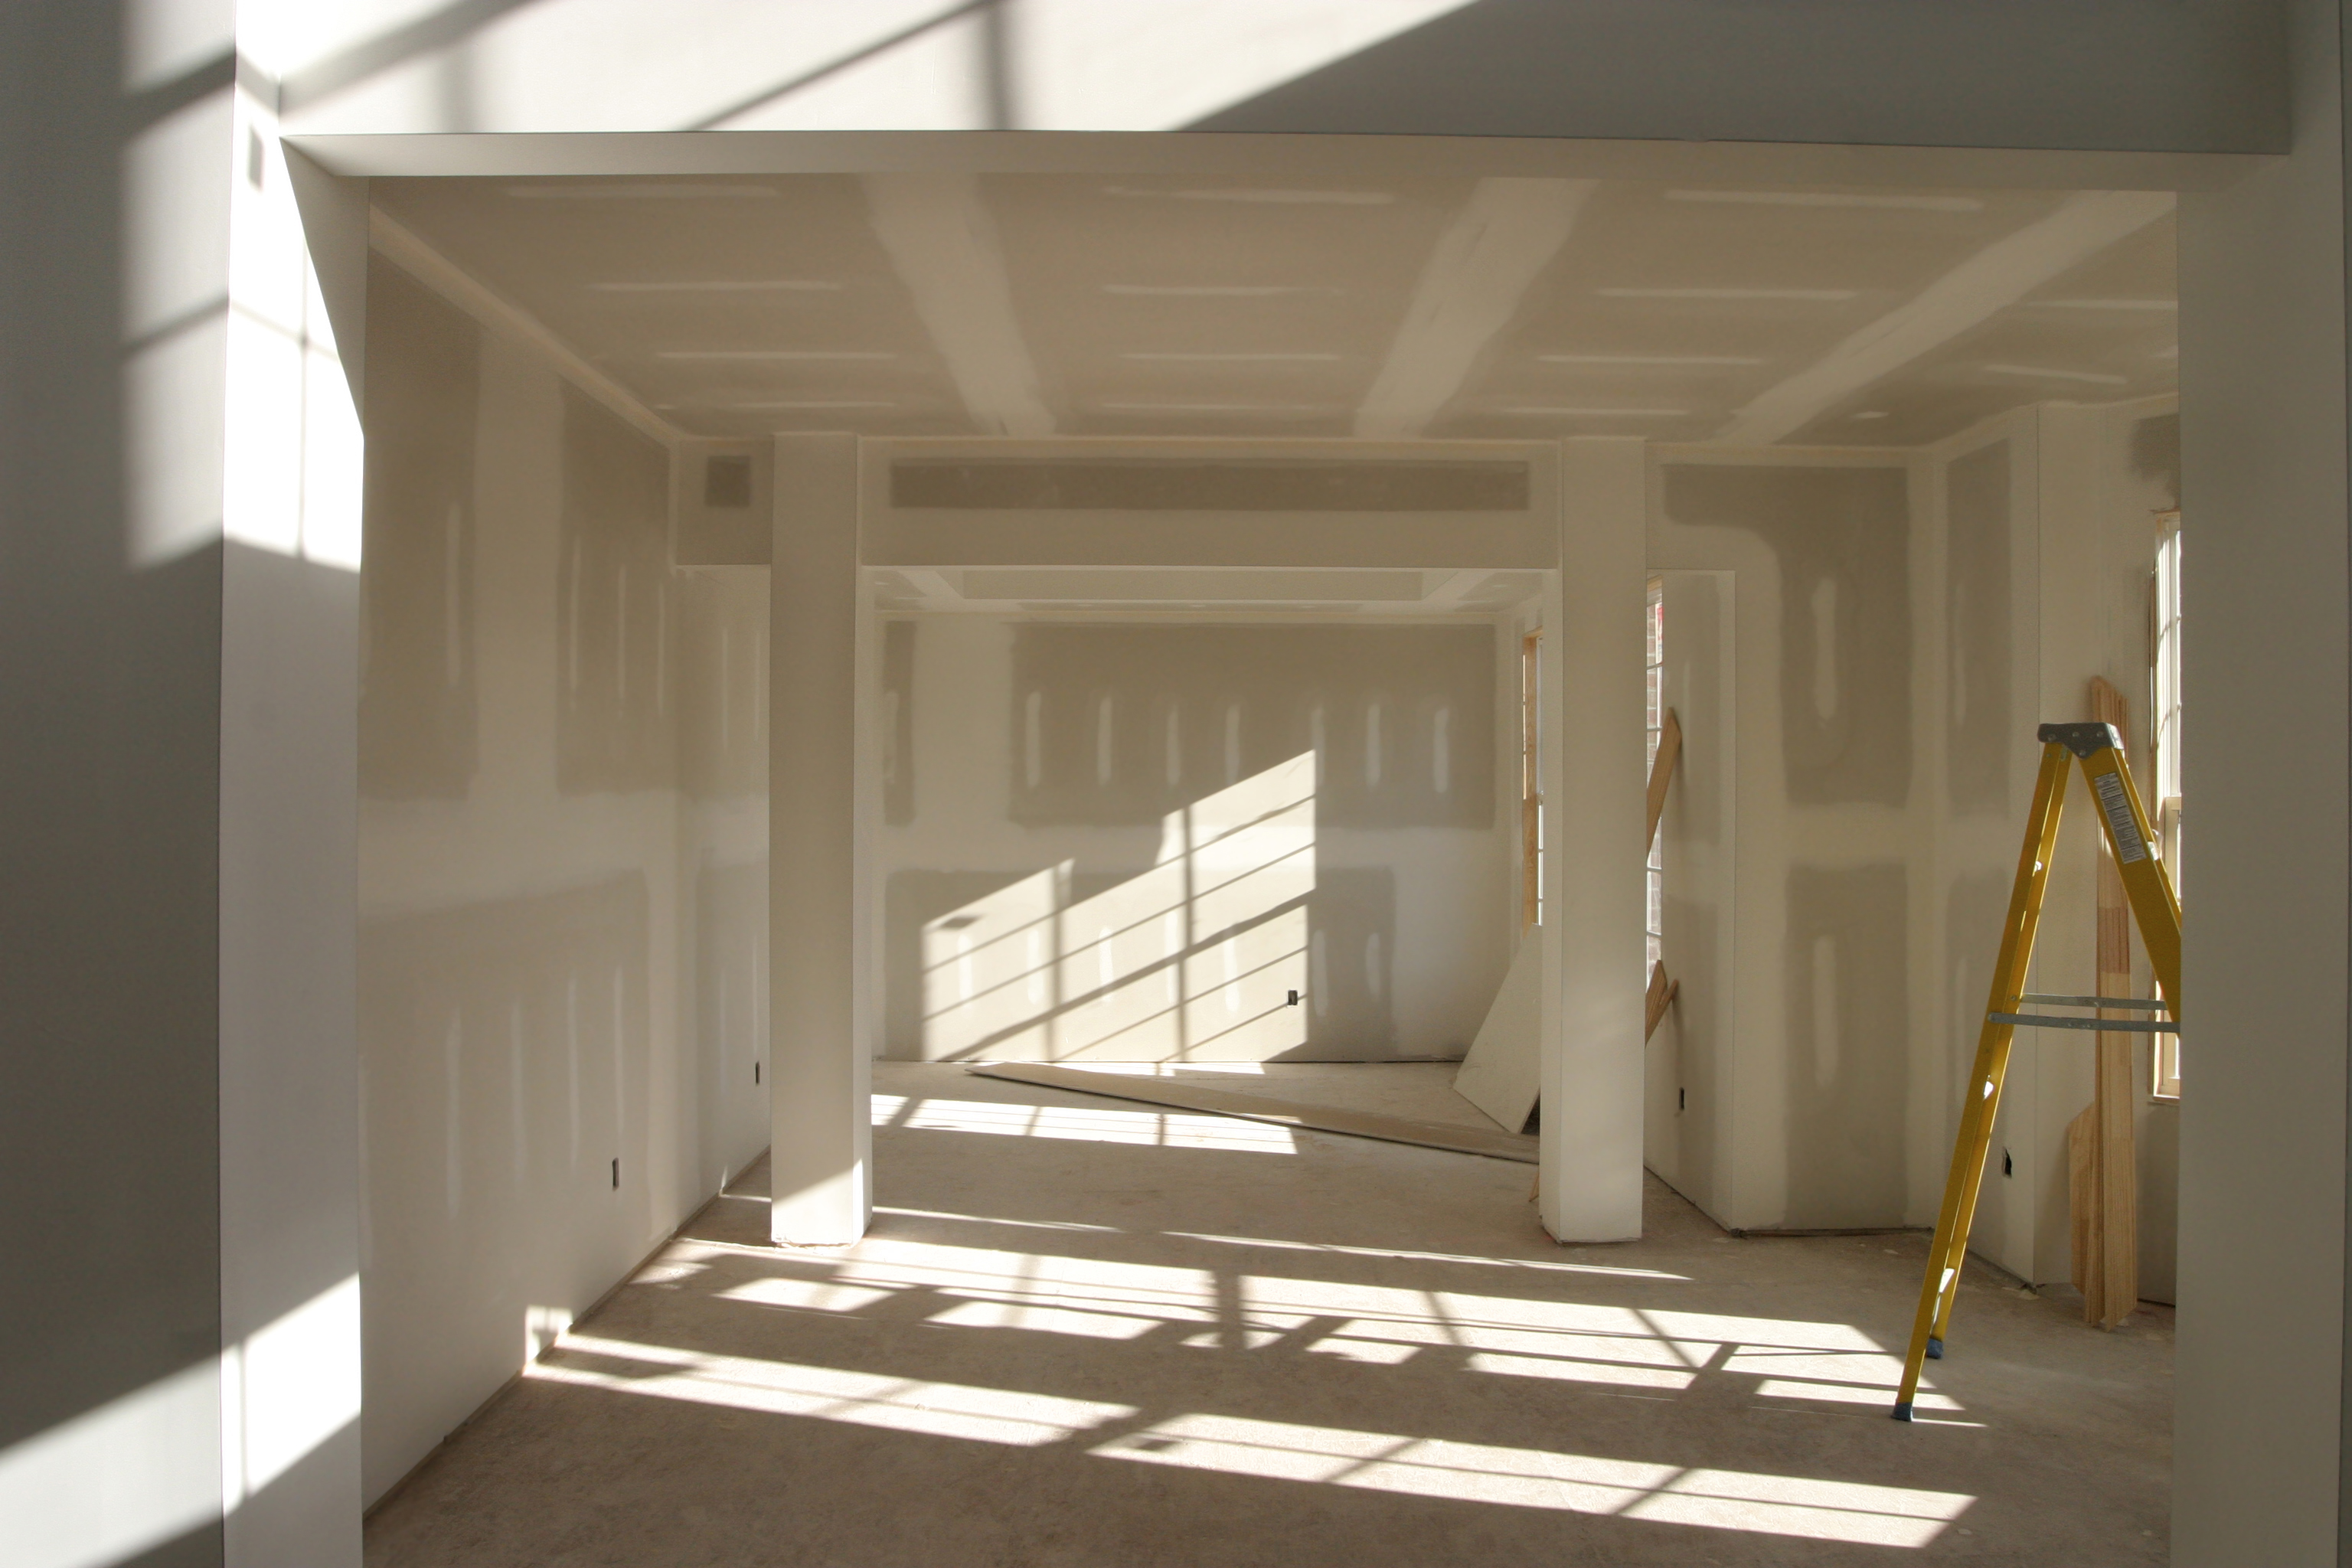
Nothing frames out a space like drywall. This homebuilding advancement replaced the labor-intensive processes of plastering and lathing, offering a faster way to create interior home walls. But is it possible for average homeowners to lay down some drywall sheets, or is this project better suited for local drywall contractors? The answer depends on your experience level.
Putting in some drywall yourself is a great way to save some money, as a professional drywall installation costs $1,800 on average.
However, this is not a simple project for newbies. Laying down drywall demands experience and comes with a unique set of obstacles. Here are some of the issues associated with a DIY drywall installation.
This is the (literal) big one. Drywall sheets are large, heavy, and cumbersome beasts. A standard 1/2-inch thick sheet of drywall measuring 4-by-8 feet weighs nearly 60 pounds. This isn’t a huge problem if you are laying a sheet vertically at body-level, but drywall goes everywhere, including the upper sections of walls and even the ceilings.
Make sure you have plenty of ladders, extra people, and even some specialized lifting machinery on hand. The risk of a back injury is high if you don’t take the necessary precautions.
Professionals know what they’re doing, so they lay down drywall quickly and efficiently. In some cases, a pro will finish a 12-by-16-foot room in less than an hour. Experienced homeowners should finish the same project in around a day of work.
But what if you’re not experienced with drywall? Count on spending two days or longer to finish the installation. Laying down drywall is a multi-step process, each step requiring the right tools and plenty of know-how. There’s cutting the sheets, laying down the sheets, affixing the sheets, and finishing the sheets. You’ll also be measuring your walls and taking windows, doors, corners, and electrical boxes into account. It’s a whole thing.
You’ll technically get by with a power drill, the drywall sheets, and a razor knife for cutting, but an efficient installation requires plenty of additional equipment and materials. For ceiling installation, you’ll greatly benefit from a drywall lifting machine. A rotary saw is especially handy for cutting out holes for cables and electrical outlets. Additionally, drywall finishing and taping require their own set of tools and materials.
All of this stuff costs money, depleting any savings you accrue by avoiding a professional. Cutting corners results in problems down the line, necessitating a call to your local drywall repair company.
Installing drywall yourself is achievable, but there’s no substitution for experience. If you are planning a DIY drywall project, consider these simple tips to help with common obstacles.
Go slowly: Take extra time measuring, sanding, and attaching drywall to minimize mistakes. The more mistakes you make, the more likely you’ll need to redo or repair the drywall installation.
Recruit help: With the promise of pizza and ice-cold beverages, ask a couple of family members or friends to help hold the drywall in place while you hang it.
Minimize moisture: Drywall shouldn’t get wet or there’s a risk it could grow mold. Run a dehumidifier while hanging drywall to decrease the risk.
Use the right amount of mud: You’ll need two to three thin layers of drywall mud. Be sure to let each layer dry for 24 hours before applying a fresh coat.
Finish the installation with care: Finishing drywall requires patience and precision as you tape, apply joint compound, and sand down the surface. Cover every drywall screw and seam with mud, smooth out that mud, and always use drywall tape over joints.
From average costs to expert advice, get all the answers you need to get your job done.
Skim coating drywall is a great alternative to replacement, and is often more affordable. Use this guide to estimate the cost to skim coat walls in your home.

Drywall texture can create an attractive finish and add dimension to your home’s walls. This guide breaks down the factors that influence the cost to texture drywall.
Installing beadboard ceilings is a great DIY project. Learn what to expect cost-wise from this project, whether removing or covering a popcorn ceiling.
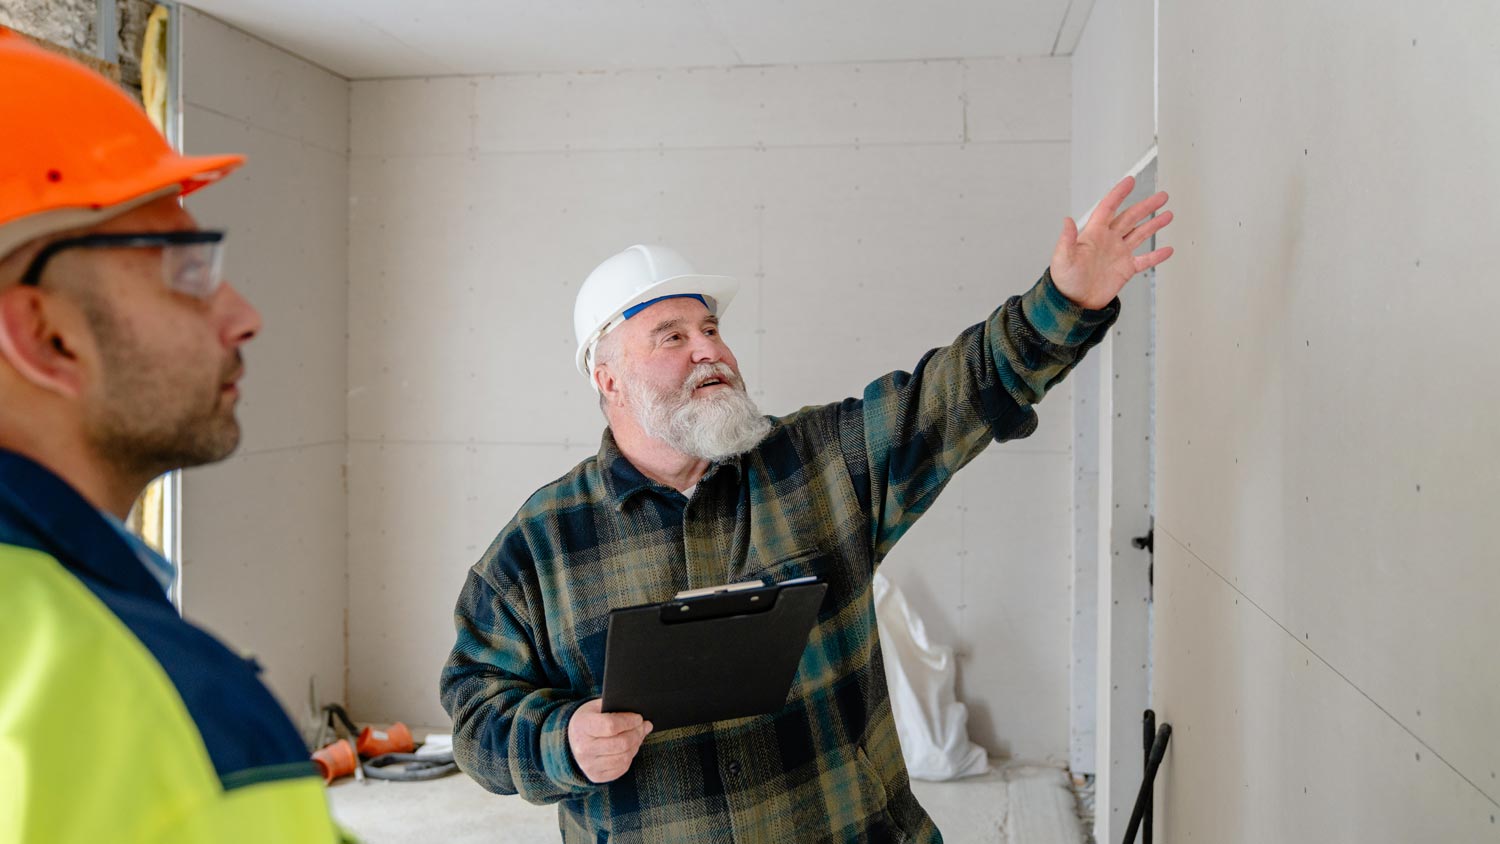
Use this pre-drywall inspection checklist to catch issues early and avoid costly repairs later. Build smarter with this must-have guide.

To install electrical plugins, you may need to cut outlet holes in drywall. Follow these steps to ensure you cut a perfectly sized hole.
Hanging and finishing drywall can be hard work if you don’t have experience. These professional-level drywall mudding tips make the project easier.