
Skim coating drywall is a great alternative to replacement, and is often more affordable. Use this guide to estimate the cost to skim coat walls in your home.
Learn some smooth moves for your new walls

The number of coats of drywall mud you need depends on your wall's visibility, purpose, and finish type, with three coats standard for living areas.
Your final coat creates a smooth, paint-ready surface, and adding a skim coat over three base layers delivers the best results for visible walls.
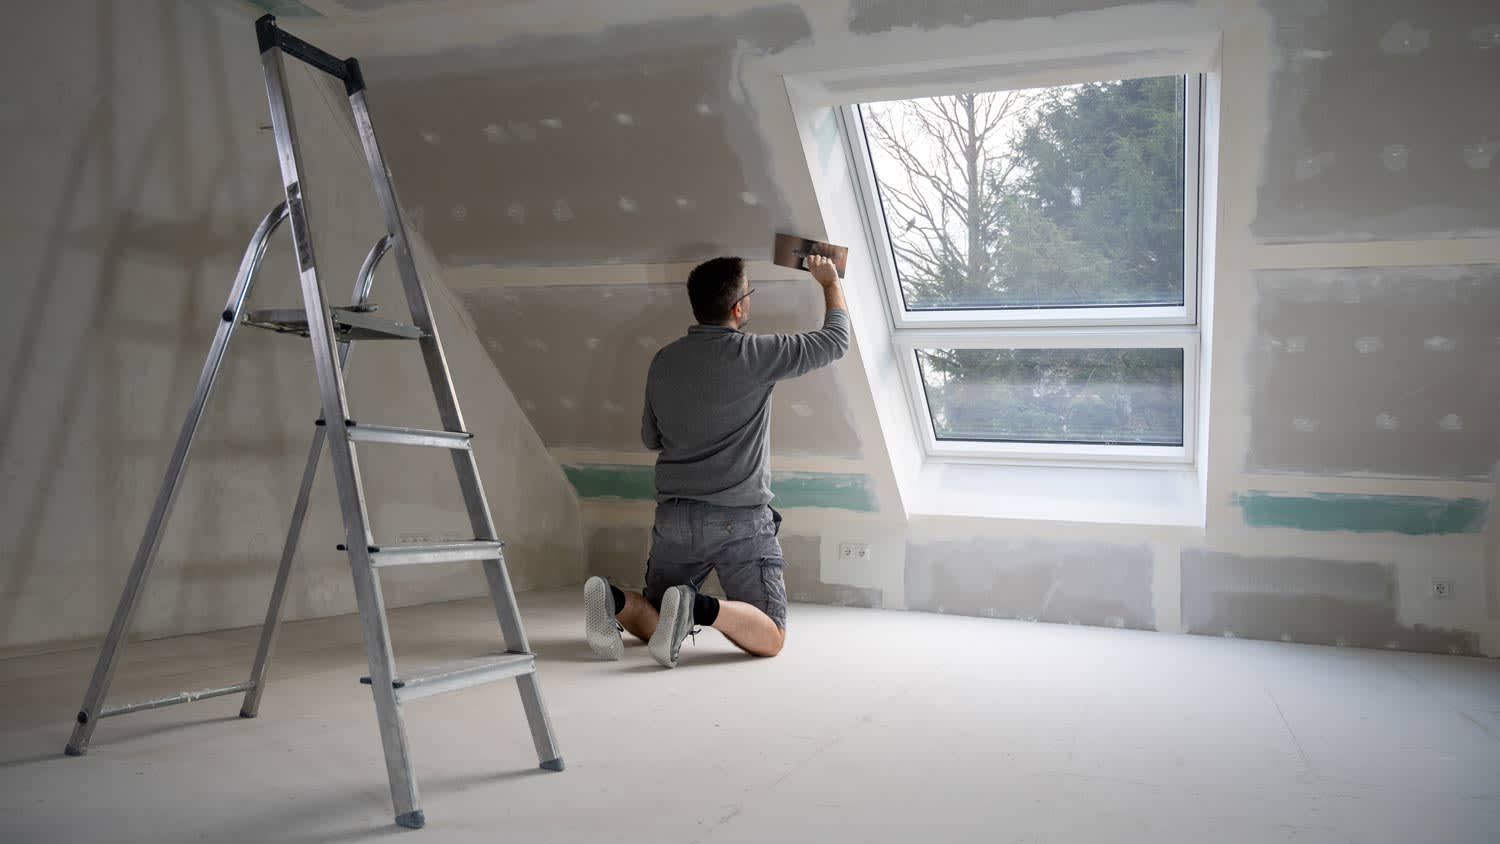
Hidden spaces like attics need just one or two mud coats since function matters more than appearance in these low-visibility areas.
Hiring a local drywall professional provides expert taping and mudding with the right tools, helping you achieve smooth walls without the learning curve.
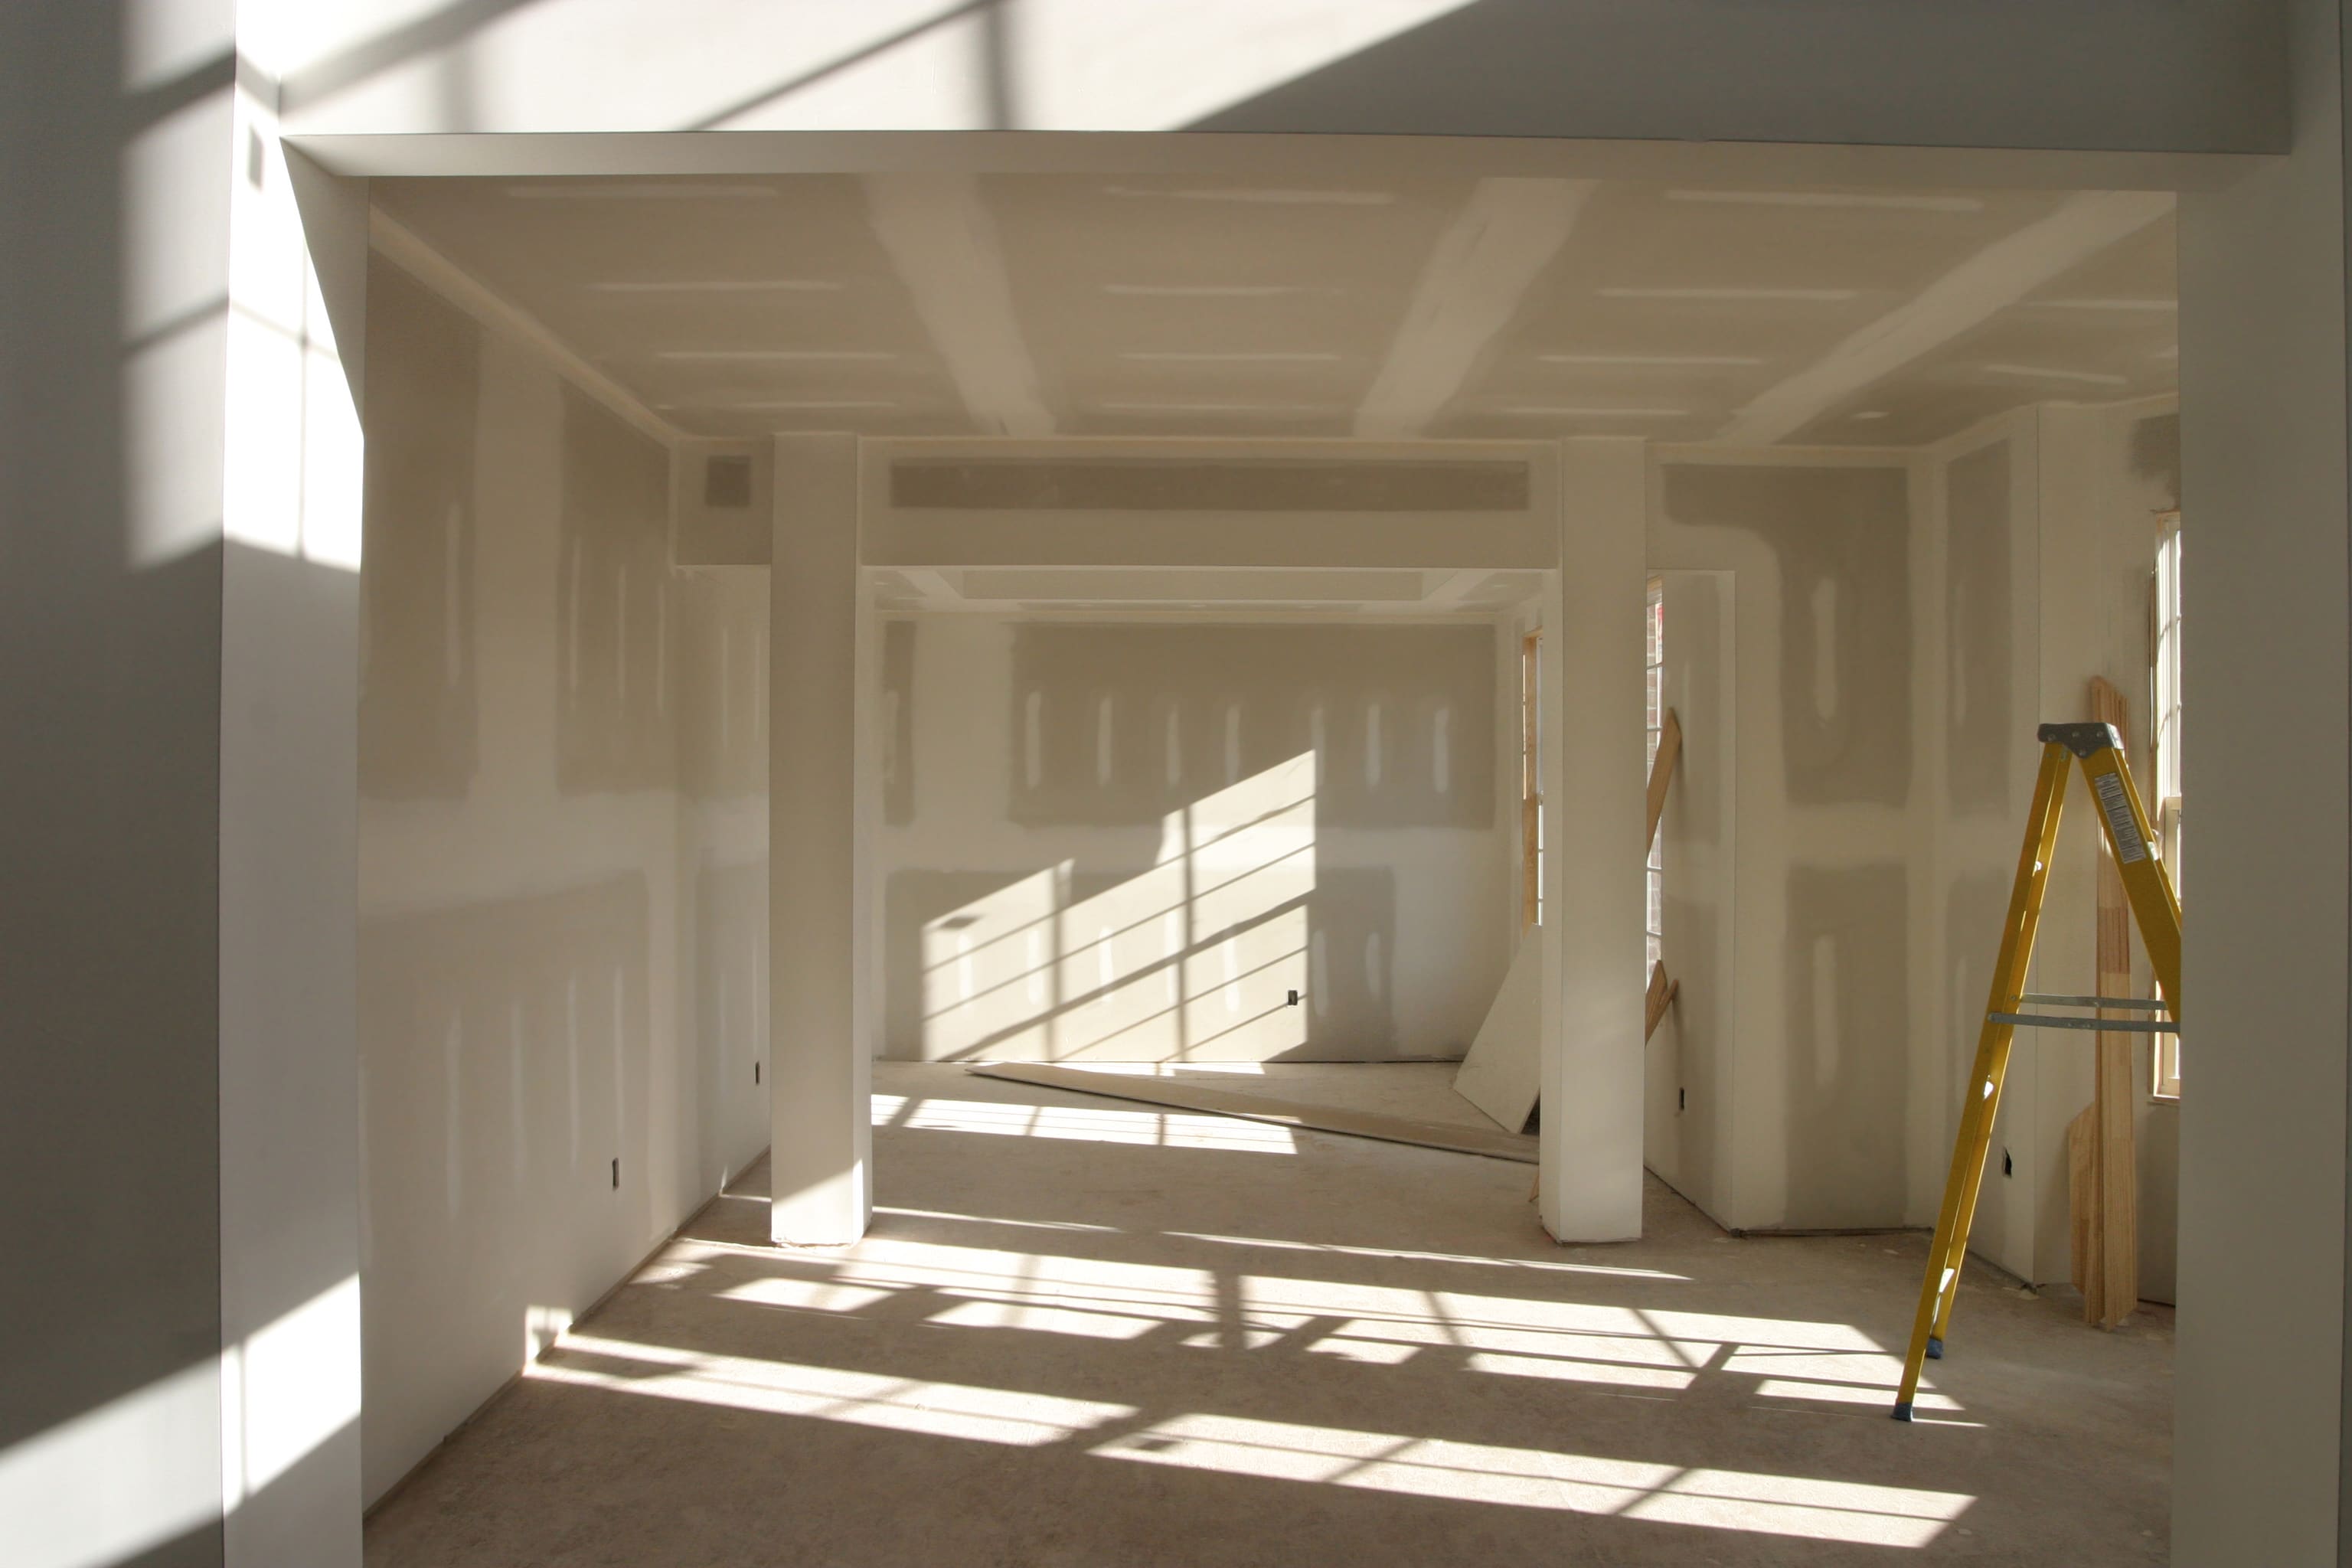
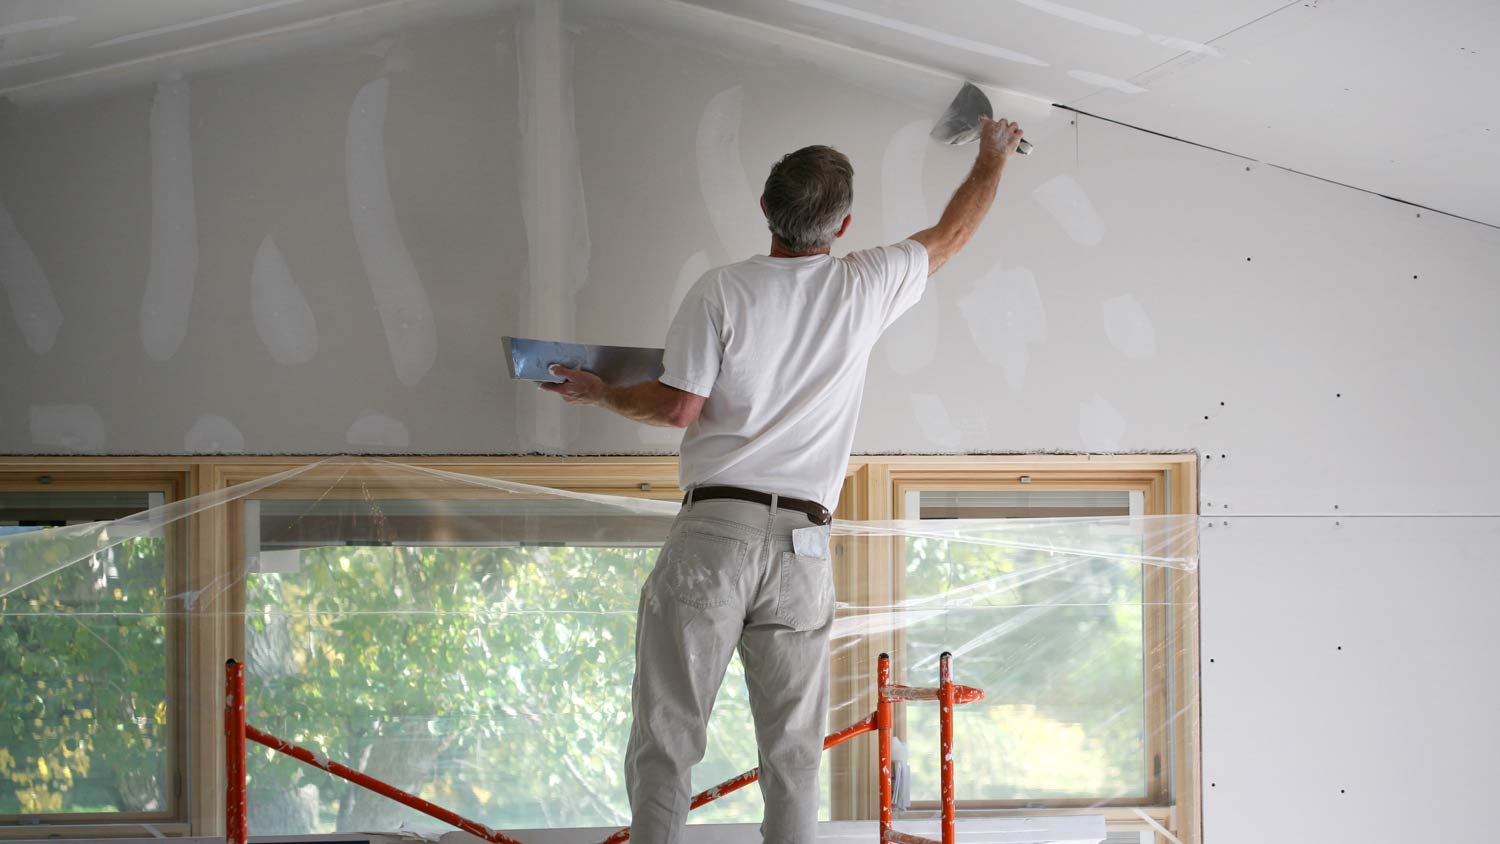
When tackling DIY drywall installation, one of the most common questions is how many coats of mud on drywall you actually need. The short answer is three coats for most walls. The long answer is that it depends on where the wall is and how it will be used when it’s done. Most visible interior walls need a minimum of three coats of mud—and then an additional skim coat if you want a truly flawless finish. However, for less public areas or utility spaces, you may be able to get away with fewer coats. Let’s dig into the details.
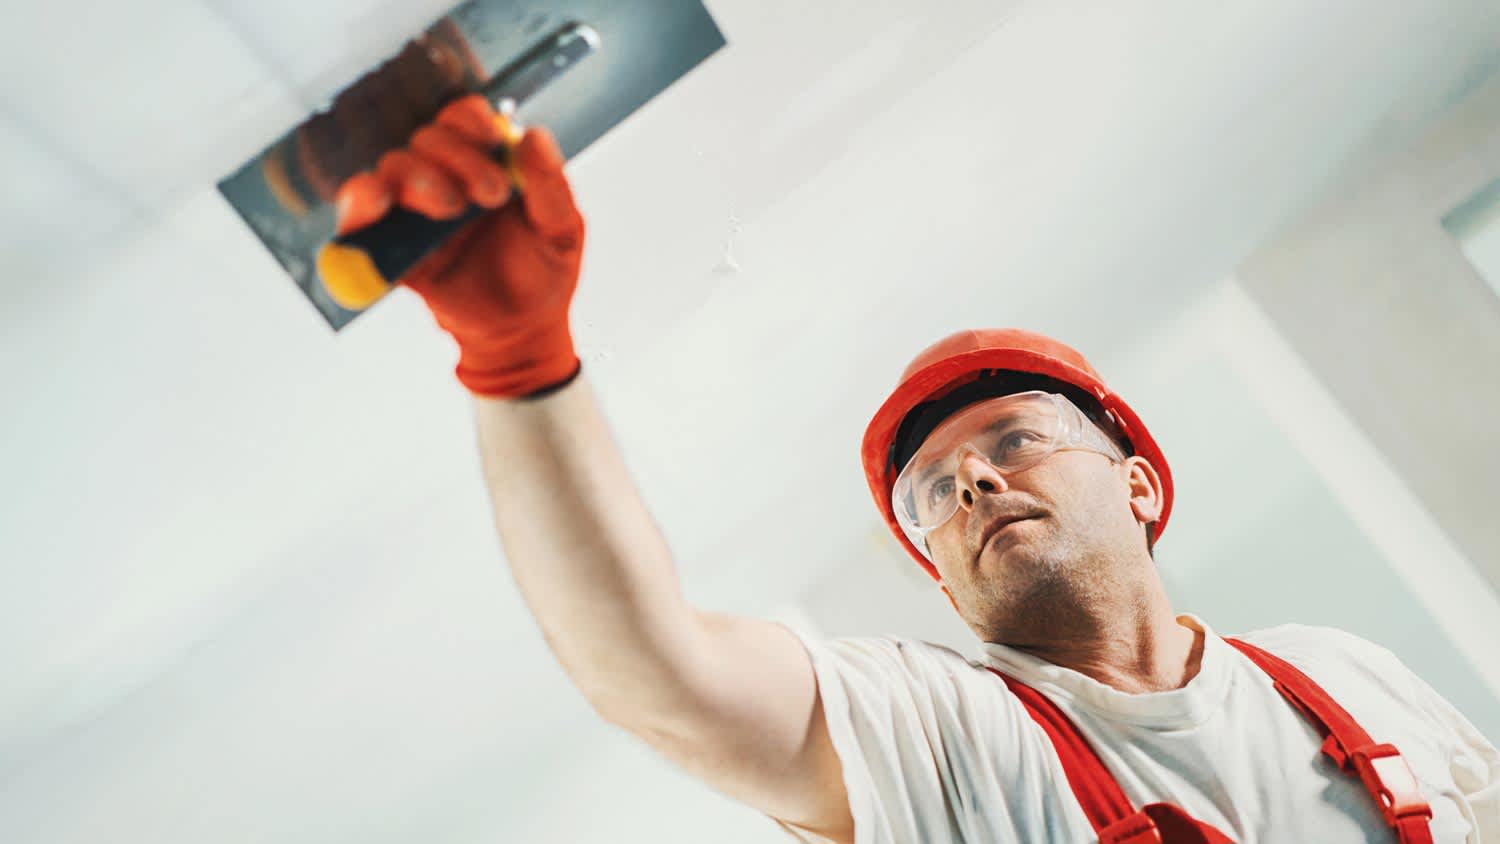
“Drywall mudding” refers to the process of applying joint compound, aka “mud,” over drywall seams, screw holes, and imperfections. Mudding is an important part of drywall installation since it leads to a smooth, seamless finish. It hides joints and fasteners and blends those individual drywall panels into one smooth and uniform-looking wall.
If you want a good finish on your wall, it's absolutely worth it to pay for professional taping and mudding. Many DIYers are tempted to pay someone to hang the drywall and do the rest themselves, but this is one area where a skilled contractor can make a huge difference.
The drywall mudding process involves multiple coats, sanding between coats, and careful feathering of the edges for a gorgeous, professional finish.

While three coats of mud is standard, certain factors in your project can change that number. The visibility of the space, the purpose of the room, other construction materials involved, and your desired finish all impact how many coats of drywall mud you should use.
If you're working on an attic, crawl space, or other infrequently-seen area, a single coat of mud could suffice. In these hidden spaces, function is the most important thing, while aesthetics take the back seat.
However, if the wall you’re working on is in a main living area, hallway, or other high-visibility room, you’ll want to plan for three full coats of mud—and potentially a skim coat on top. This will give the walls a smooth, professional-looking appearance.
Some spaces—including utility areas like garages and workshops—don’t need a showroom finish. In these areas, you can often get away with two coats of mud to conceal nails, screw holes, and joints.
Of course, you still want a somewhat smooth surface, but perfection isn’t crucial if the area is meant more for function than aesthetics.
Will the wall eventually be covered with another material like tile or paneling? If so, you can use fewer mud coats since these materials will mask any small imperfections in the drywall beneath. This is especially true if the surface is structurally sound and level enough to support the added wall materials. If it is, you can skip the final polishing coat.

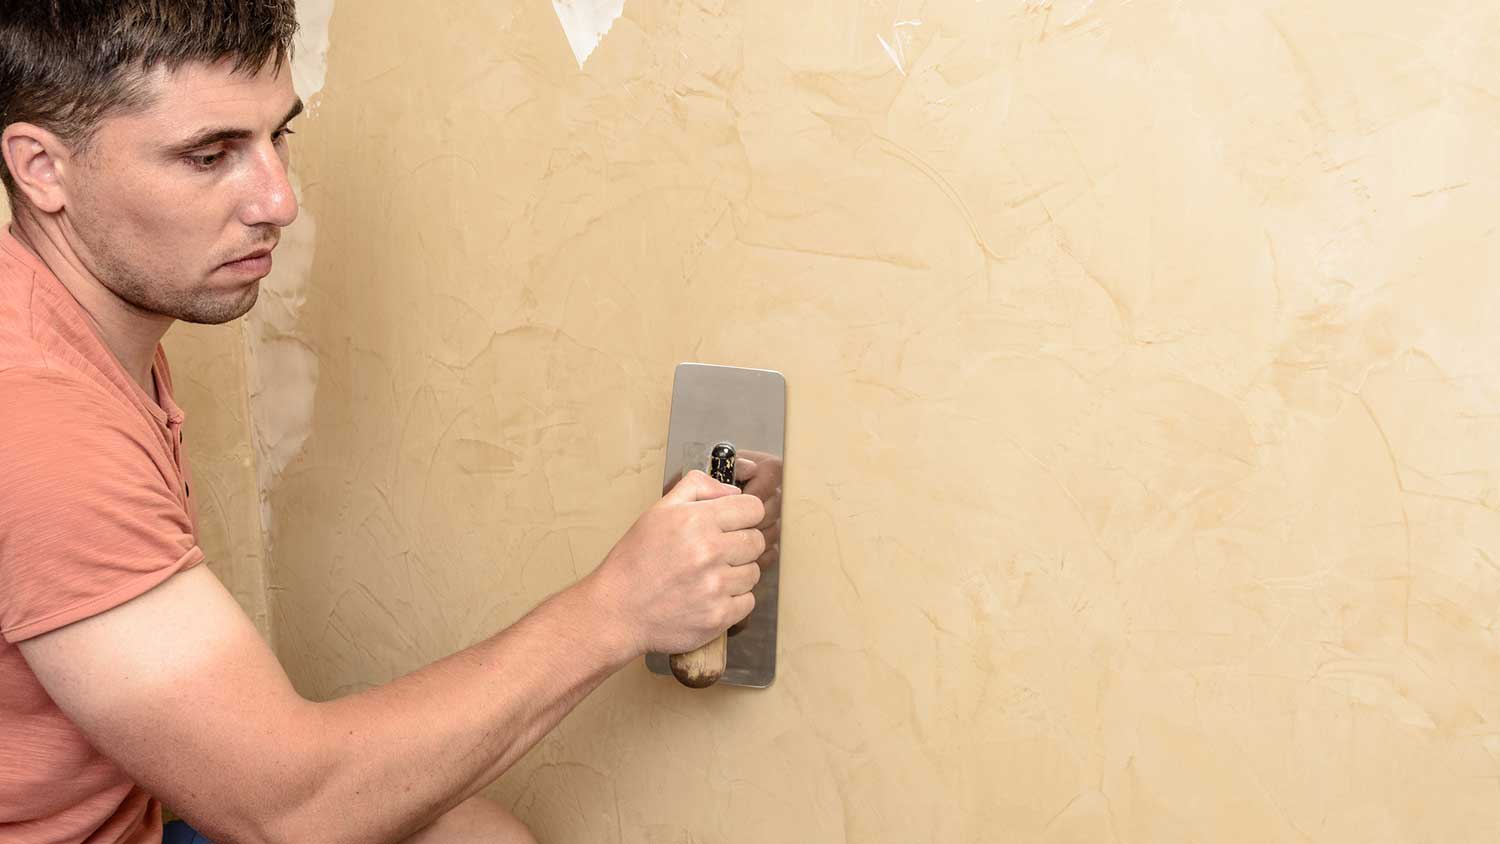
If you want a smooth wall that looks professionally done, use three mud coats and a final skim coat. The skim coat is a thin, final application of drywall mud that smooths over any visible imperfections and creates a flawlessly finished surface.
A skim coat is especially important when you’re preparing a wall for painting. With paint, the smallest blemishes can become glaring under a fresh coat of color.
There’s a method to the madness when it comes to mudding drywall, and each coat of mud serves a distinct purpose. Here are the three basic coats and what you should know about their purposes:
Bedding the tape (coat one): This first layer embeds the joint tape over all the seams and also covers screw holes and nail heads. It’s the thickest coat and sets the foundation for all of your additional coats.
Covering the tape (coat two): The second mud coat covers the joint tape and widens the joint to blend it into the wall. This layer helps eliminate sharp edges and visible ridges in the panels.
Skim coating (coat three): The final coat smooths out any remaining imperfections and feathers out the edges. This thin, wide coating is key for achieving a seamless, professional finish—especially before painting.
If you're aiming for that clean, smooth, polished look for your new wall, attention to detail is critical. Here are some tips to get the best product possible after your drywall mudding:
Use a wide drywall knife for the final coats to make it easier to feather the edges.
Sand between each mud coat to get rid of bumps and ridges.
Let each coat dry completely before sanding or applying the next coat.
Don't skimp on the skim coat. This last coat can make or break the final appearance.
When in doubt, hire a local drywall installer instead of DIYing your drywall mudding project. These pros have the tools and experience to get your wall perfect the first time.
Cancelled appointment two hours after they were supposed to come for drywall work.
I would recommend this company to anyone! He showed up on time, was friendly, completed a very difficult repair on our dryer vent cover, was responsive, and pricing was extremely fair and competitive. I would have him back to do any of our repairs or cleanings without hesitation!
I cant stop admiring my newly painted walls. Custom Paint Jobs LLC made my house feel brand new.
Excellent experience with hiring Tether House to Mount our 77’ Samsung TV in our bedroom. Fast, friendly, and knowledgeable. Highly recommend.
Excellent customer service and knowledge. I was recommend to him from my neighbour. My front door and window came in great and were installed beautifully perfectly, I m very satisfied with their excellent work, so decided to order one more big bow window for my living room. I cant wait for...
Manuel Calvillo is the best option in the area for roofing and you won't be disappointed.
Would hire again. Wall looks great. Happy with job.
 Central Paving
Involved an extensive bathroom remodel, including removing tub & installing walk in shower, new drywall, custome tile work to ceiling, plumbing, etc. Overall, job was done on time and on budget. Nick & his team were very professional and had high attention to detail. Quality was great. Highly...
 Stamos Flooring and Remodeling LLC
We have had a great experience with Rising Height for the past five years on a number of miscellaneous renovation projects. They laid flooring for us and had a very good sub do the finish. Installed drywall for a vaulted ceiling, finished an attic/loft with new subfloor, framing and drywall,...
 Rising Height Unlimited
Mr. Lopez was super nice and professional. He repaired our drywall just as he described during the estimate phase. Our dining room wall looks great again! Thanks Mr. Lopez!
From average costs to expert advice, get all the answers you need to get your job done.
Skim coating drywall is a great alternative to replacement, and is often more affordable. Use this guide to estimate the cost to skim coat walls in your home.
Drywall texture can create an attractive finish and add dimension to your home’s walls. This guide breaks down the factors that influence the cost to texture drywall.

Installing drywall is the most common way to finish your home’s interior. Use this drywall installation cost guide to see what your project is likely to cost.
Hanging and finishing drywall can be hard work if you don’t have experience. These professional-level drywall mudding tips make the project easier.
How long does drywall mud take to dry? In most cases, you need to wait at least 24 hours before moving to the next step of your project. Read on to learn more.
What is hot drywall mud and when do you use it in a home improvement project? Keep reading to find out when this material comes into play.