
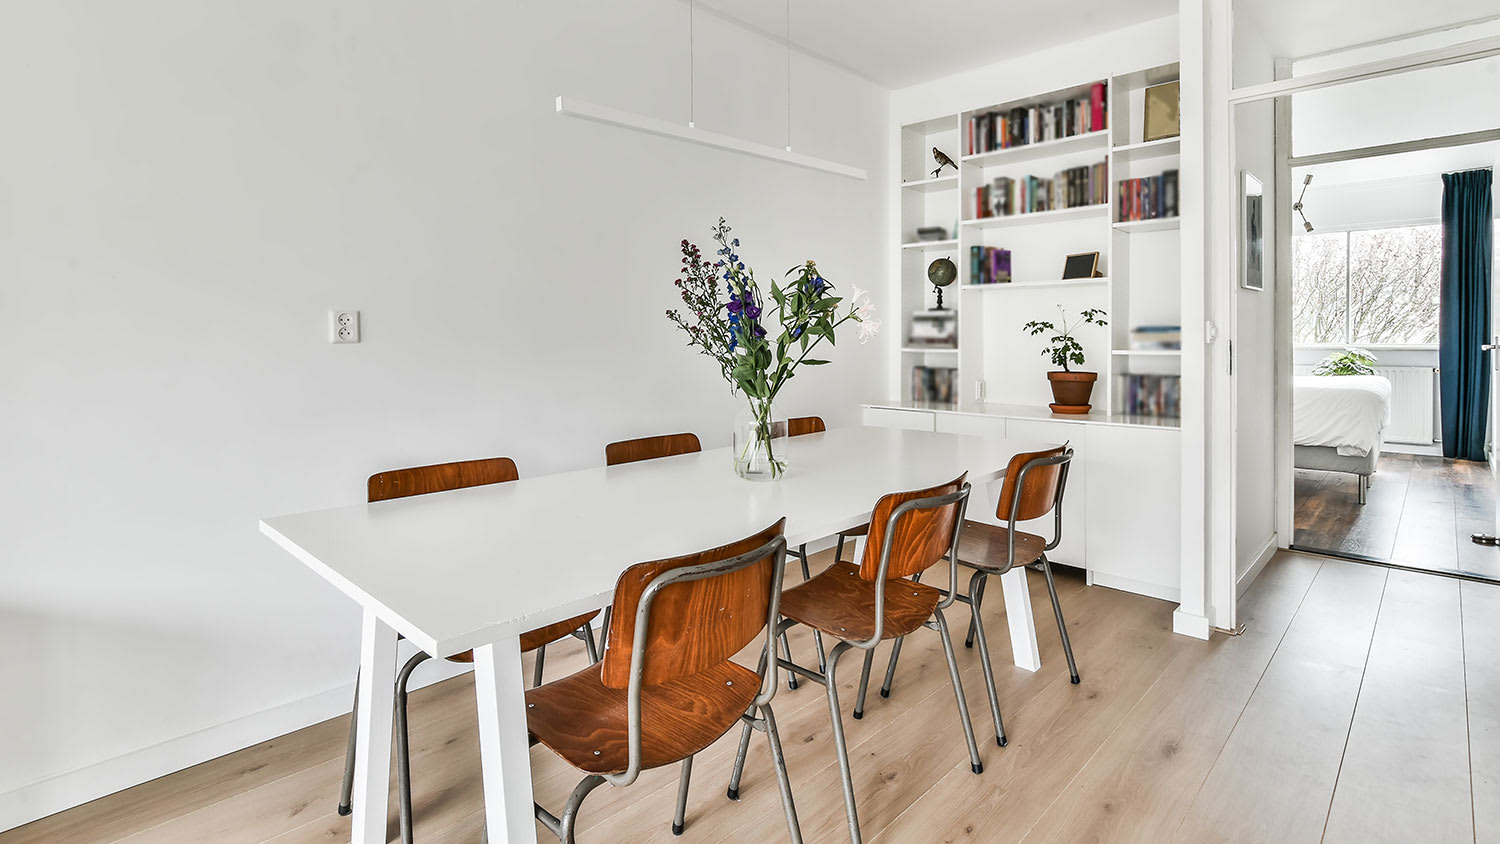
Whether you want to spruce up a few dents and dings or fix a large surface area, investing in drywall repair costs can return your walls to a smooth, flush look.
You’ll be a patching pro in no time

Drywall is notorious for collecting dents, holes, and cracks, which can tarnish the look of your home. Even worse? In some cases, drywall damage can compromise your insulation or let pests inside. Thankfully, learning how to patch a hole in drywall is easy—as you’ll see below.
Your kit will come with all of the drywall repair tools you’ll need to patch a small hole (up to 5 inches across), including a putty knife, sandpaper, and spackle. However, it’s also important to grab a pair of safety goggles and a respirator mask to protect your health.
In addition to the tools mentioned above, drywall repair kits also include mesh patches to cover the holes in your wall. Since these patches come in various sizes, you’ll need to know the diameter of the hole you’re patching before purchasing a kit.

Drywall can make a big mess, so we recommend covering your floor and nearby furniture with drop sheets before getting started.
To kick off the drywall repair work, use a damp cloth to wipe down the area around the hole, making sure to get rid of any dirt or dust on the wall. Then, dry everything with a clean cloth.
Using the sandpaper from your kit, sand around the hole to smooth out any uneven edges.
Many drywall patch kits include premixed spackle. If that’s what you have, give it a gentle stir and move to the next step.
Otherwise, if your spackle came in powdered form, mix it with water according to the instructions on the package.
Some kits include a flexible plastic plate that you insert into the hole for extra stability. If you have one of these plates, attach it to the back of the wall.
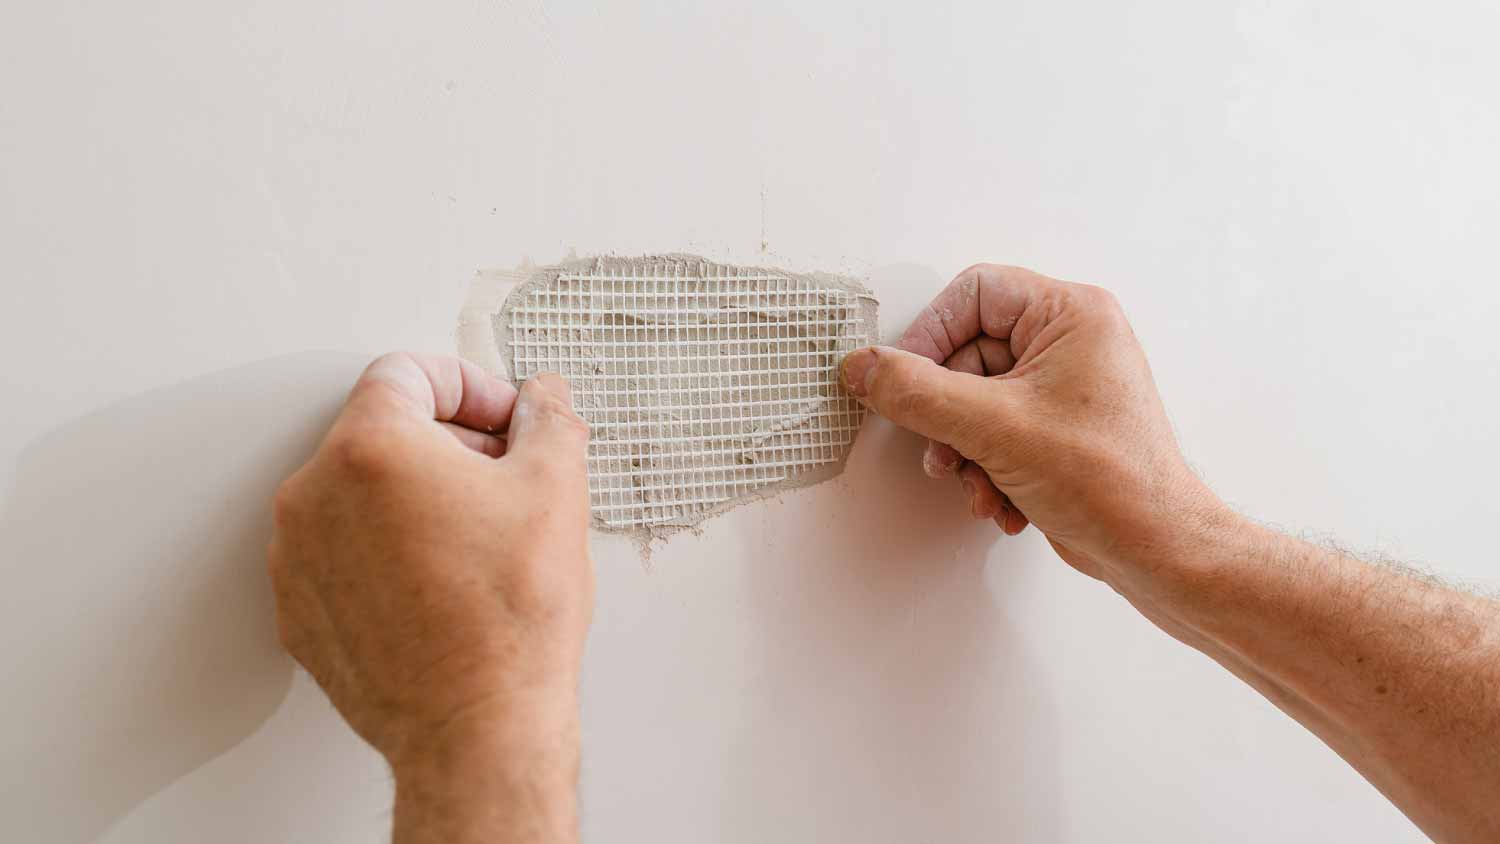
No matter what kind of kit you have, the next step is often the same: Stick the self-adhesive mesh patch over the hole in your drywall. If the patch is much bigger than the hole, you can trim it with scissors.
Alternatively, if the patch isn’t large enough to cover the entire hole, you’ll need to buy bigger patches. Online retailers and home improvement stores sell individual drywall patches.

Use the putty knife to apply spackle over the mesh, extending it past the patch by an inch on each side. Spread the spackle in a crisscross pattern, making sure to cover the patch completely and feathering the edges to mask the texture of the mesh.
Clean the putty knife in the bucket of water to get rid of any leftover spackle.
Now, you’ll need to exercise a little patience as you wait for the spackle to dry. Depending on your kit, this could take anywhere from 15 minutes to 24 hours. Check your kit’s packaging to find the manufacturer’s drying time recommendation.
Repeat the steps above to apply another layer of spackle on top of the first one. This will be your top layer, so aim to make it as smooth and bump-free as possible.
When you’re done, let it dry according to the manufacturer’s instructions.

When the spackle is dry, use the kit’s sandpaper to sand the area smooth. Wipe the wall with a damp cloth to get rid of any dust.
Use a paintbrush and paint to touch up the patched area. (Note: If you’re patching lots of holes or find that the patched area doesn’t blend in well, it’s better to repaint the entire wall.)
Patching one or two small holes in drywall is a beginner-friendly DIY task. When you tackle this project yourself, your only expense will be the drywall repair kit, which costs between $10 and $30. Meanwhile, hiring a professional to repair small drywall holes costs $20 to $120. Fixing larger holes is often more expensive, ranging from $50 to $200.
With that said, if your drywall is full of holes or in otherwise poor condition, consider hiring a drywall repair pro near you. Depending on the type and extent of the damage, they might have to repair or replace large sections of the drywall.
Cancelled appointment two hours after they were supposed to come for drywall work.
I would recommend this company to anyone! He showed up on time, was friendly, completed a very difficult repair on our dryer vent cover, was responsive, and pricing was extremely fair and competitive. I would have him back to do any of our repairs or cleanings without hesitation!
I cant stop admiring my newly painted walls. Custom Paint Jobs LLC made my house feel brand new.
Excellent experience with hiring Tether House to Mount our 77’ Samsung TV in our bedroom. Fast, friendly, and knowledgeable. Highly recommend.
Excellent customer service and knowledge. I was recommend to him from my neighbour. My front door and window came in great and were installed beautifully perfectly, I m very satisfied with their excellent work, so decided to order one more big bow window for my living room. I cant wait for...
Manuel Calvillo is the best option in the area for roofing and you won't be disappointed.
Would hire again. Wall looks great. Happy with job.
 Central Paving
Involved an extensive bathroom remodel, including removing tub & installing walk in shower, new drywall, custome tile work to ceiling, plumbing, etc. Overall, job was done on time and on budget. Nick & his team were very professional and had high attention to detail. Quality was great. Highly...
 Stamos Flooring and Remodeling LLC
We have had a great experience with Rising Height for the past five years on a number of miscellaneous renovation projects. They laid flooring for us and had a very good sub do the finish. Installed drywall for a vaulted ceiling, finished an attic/loft with new subfloor, framing and drywall,...
 Rising Height Unlimited
Mr. Lopez was super nice and professional. He repaired our drywall just as he described during the estimate phase. Our dining room wall looks great again! Thanks Mr. Lopez!
From average costs to expert advice, get all the answers you need to get your job done.
Whether you want to spruce up a few dents and dings or fix a large surface area, investing in drywall repair costs can return your walls to a smooth, flush look.

Hiring a drywall contractor to patch up a wall after plumbing or electrical work is your best bet to guarantee a smooth, clean finish. Finding a pro that’ll do a good job involves getting multiple quotes, plus checking references and qualifications.
Mesh drywall patches add strength to small drywall repairs. Learn why mesh patches are important and when to use this material for drywall repairs.

Fixing up your drywall can make a big difference in your home. Unless you have a large hole or a damaged corner, drywall repair is usually straightforward. Learn the best drywall repair tips along with the tools and supplies you need.

Patching plaster walls involves steps that need to be followed closely. If you’re a handy DIYer, you can follow these steps to learn how to patch plaster walls yourself.

You don’t always need a pro when it comes to drywall repairs. Use this guide to learn how to patch drywall ceiling yourself.