
New insulation can make your home more comfortable and boost energy efficiency. Use this insulation cost guide to get an accurate estimate for the installation.
Tackle cellulose insulation installation on a freed-up weekday

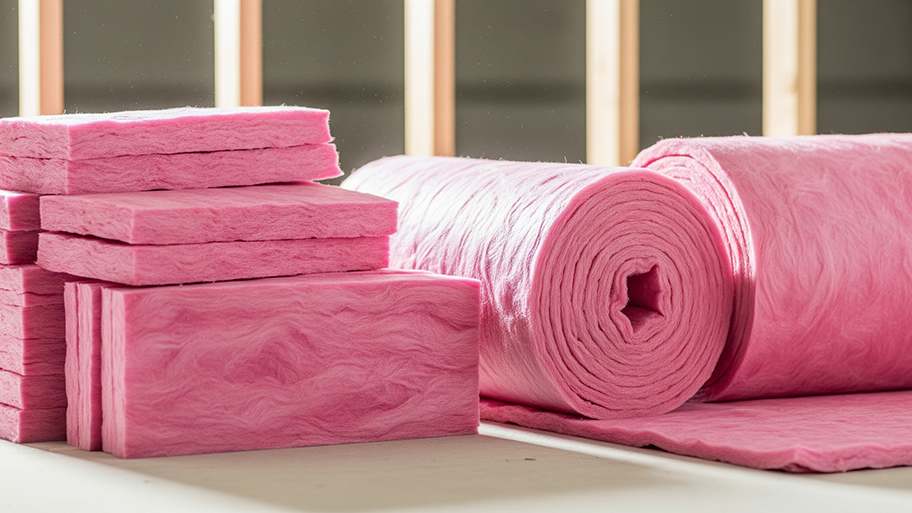
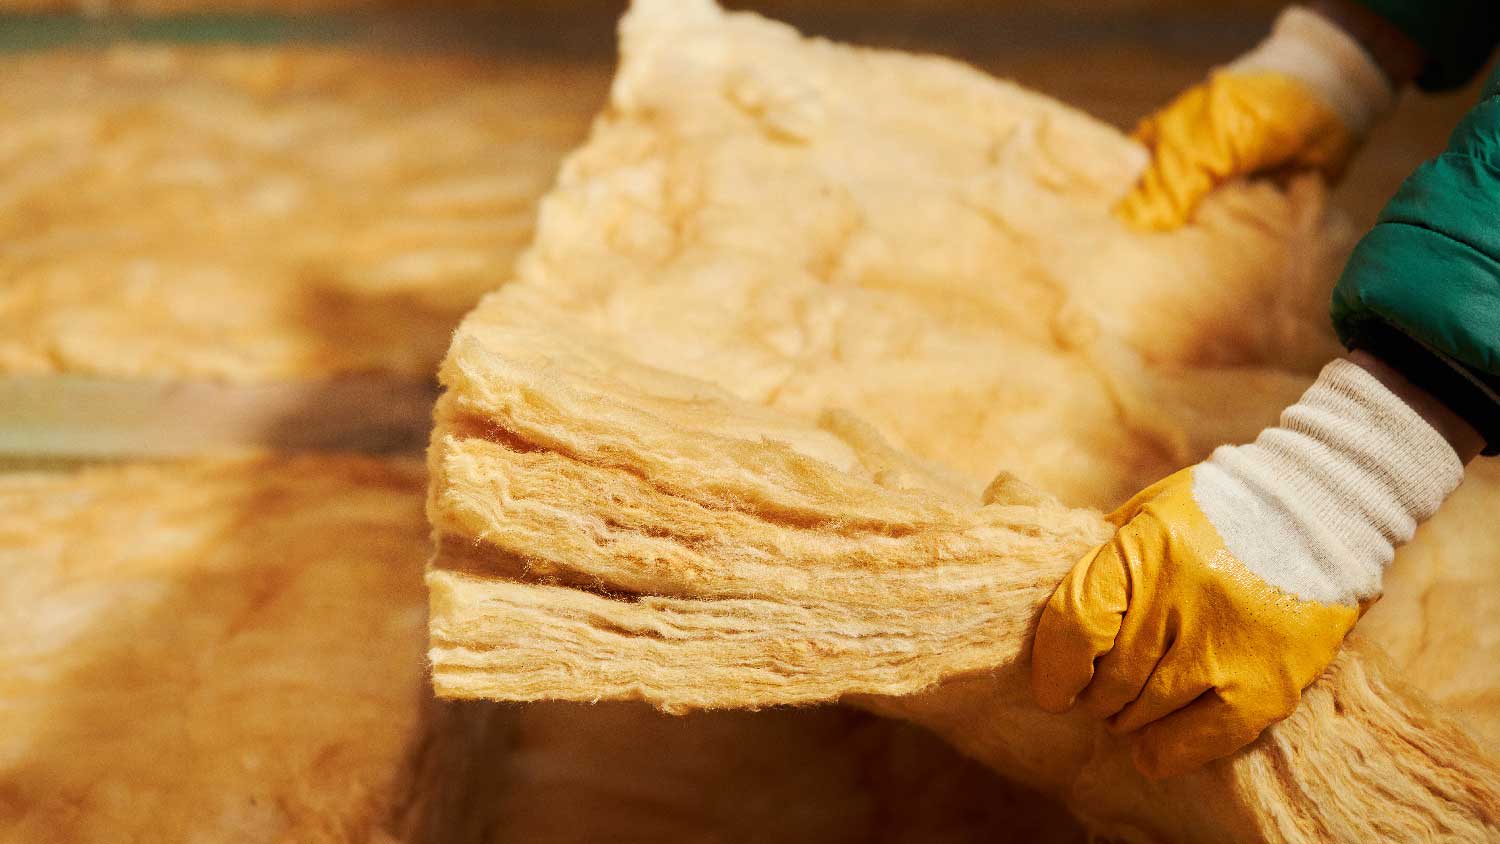
Dry-blown cellulose insulation (loose-fill or dense pack) is a great alternative to fiberglass insulation for the everyday DIYer. Unlike the dangers of fiberglass insulation, there are few health risks involved when installing cellulose insulation. Before you get started on this project, make sure you have the right supplies and tools handy, and research the right R-value for your project.
R-value specifies insulation level, or the insulation’s ability to resist heat traveling through it. The higher the R-value, the better the thermal performance of the insulation. R-values are split into zones based on your location in the country. Avoid adding insulation over any heat sources, as this poses a fire risk. Also, grab a buddy to help speed up the process.
Ready to DIY cellulose insulation? The steps below detail how to install insulation without hiring a professional.
Correctly installing insulation can be difficult. Health and safety risks are involved; therefore, we highly recommend contacting a pro to ensure the job is completed safely and correctly.

First, you’ll need to ensure fixtures are covered to avoid a fire hazard. Barriers come in the form of metal, wood, or IC-rated luminaries. Create barriers over fixtures such as:
Recessed light fixtures
Chimneys
Furnace flues
Heating vents
The attic door
You’ll need to create a barrier of at least three inches, but check your local codes to see exactly how high your barriers should be.
Grab your gloves, masks, and safety goggles for this next step. Also, enlist the help of your project partner. Load up the blowing machine with the cellulose, breaking up any clumps in the insulation as you go to prevent clogs in the hose. Lay a tarp underneath the loading area to catch any of the loose insulation because if the insulation picks up on debris, it becomes unusable.
Your partner will need to continuously feed the insulation into the blowing machine, so keep an open line of communication during the process.
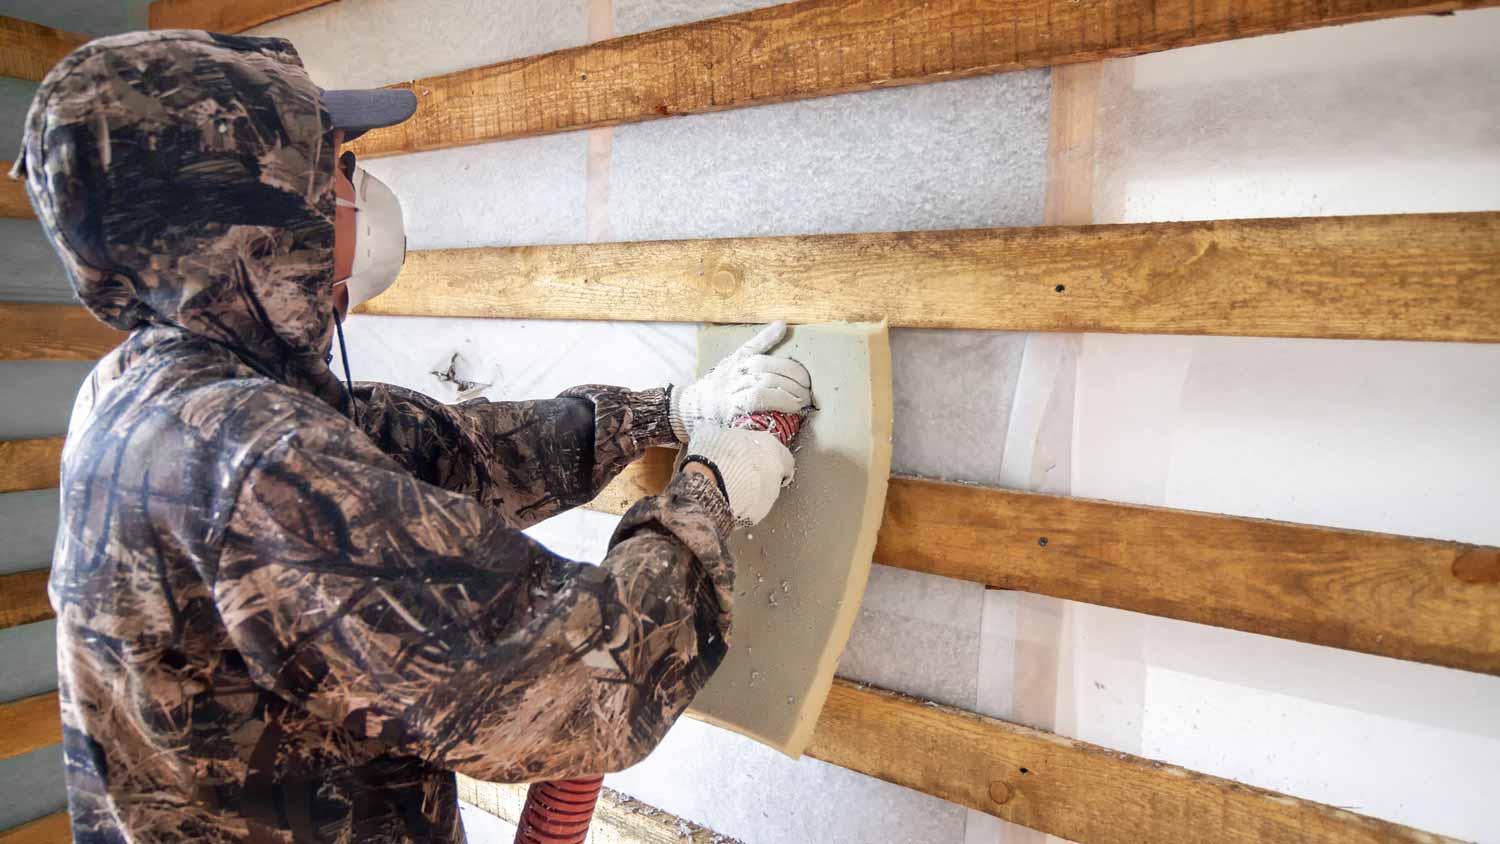
Turn on the blowing machine, and in unison with your partner, work the machine hose to spray the insulation into the wall cavities. The insulation should stick inside and create a compact seal without any extra work on your end. When spraying cellulose insulation, remember:
Start in the corners of the room to ensure you don’t end up cornering yourself
Spray the floors of the attic if insulating the attic area
Do not fill the floors any higher than the joists
When the floors are finished, turn off the machine.

Once you spray your insulation, it will cover the joists and studs on the wall and floor.
Next, you’ll need to remove the excess insulation and create a smooth surface for finishing applications. Grab your meter stick (or anything wide enough to expand across two studs) and run the meter stick down the wall, exposing the studs but keeping the cellulose insulation in the wall cavities. This will drop all excess insulation to the floor, which you’ll take care of in step five.
The same process applies to the floor joists if you’re working in the attic. To ensure you don’t fall through the ceiling, level out an area for the kneeboard. It’ll also be easier to level out the rest of the floor this way.
Suck up any remaining insulation with your vacuum. Head on over to your local waste management website or give them a ring to determine where to dispose of the material properly. Insulation can not be thrown into a normal garbage can.
According to Angi data, 54% of homeowners report having blown-in insulation in their attics. Other common locations for this essential home insulation are inside the walls and ceilings.
Out of all the different types of insulation, cellulose insulation is the most DIY-friendly, but insulating your home is still an intermediate-level project.
If you’re not comfortable handling the blowing machine, are unsure of the fixtures you need to cover, or can’t find a helping hand, then consider leaving this job to an insulation company near you. The average cost of labor for insulation installation is around $0.25 to $0.50 per square foot (or about $40 to $80 per hour). Your pro will take over measuring the square footage, buying the proper insulation to reach your optimal R-value, and installing it correctly.
I would recommend this company to anyone! He showed up on time, was friendly, completed a very difficult repair on our dryer vent cover, was responsive, and pricing was extremely fair and competitive. I would have him back to do any of our repairs or cleanings without hesitation!
Best cleaning I've had at my property
I conferred with 2 other contractors before Armstrong Electric. Nick and his crew showed me that the project was not as convoluted as the other contractors made it appear to be. They completed the entire project on time. They were professional, friendly and cleaned up after at completion. I...
The technician was very professional and friendly. He answered all my questions and was very thorough. He left the fireplace area very clean . He inspected from the roof and advised me as to other work that might need to be done. There was no pressure there. I was very satisfied with the...
 Supreme brick & chimney
Our exterior looks brand new thanks to Custom Paint Jobs LLC. Theyre the best in town!
Excellent experience with hiring Tether House to Mount our 77’ Samsung TV in our bedroom. Fast, friendly, and knowledgeable. Highly recommend.
The techs on my project, Shawn and Cliff, were great. They were prompt, courteous, and efficient. I am very happy with the results and would definitely contact Mr. Electric for any future electrical projects.
We had our houses windows and back door replace this summer by Window Depot USA of Central. He gave us grate advise and saved my family lots money. The team did a fantastic job with installation. If you need help, they sure get job done right!
Beginning with the estimate, Larry and Peyton were super helpful in getting my new condo's interior re-painted. Not only was the job well done, but also done in a super timely manner as promised.
 Five Star Painting of Plain City and Powell
Great job...edging and pre clean up went well with a great job with seal coat. Friendly, efficient and professional.
 All Star Paving and Sealing
From average costs to expert advice, get all the answers you need to get your job done.
New insulation can make your home more comfortable and boost energy efficiency. Use this insulation cost guide to get an accurate estimate for the installation.
Crawl space insulation costs vary by size, insulation type, and material. Read this guide to learn how much your crawl space insulation could cost.
Discover the pros and cons of cellulose and fiberglass insulation in this article and learn how to choose the right insulation material for your home.

Learn the pros and cons of cellulose insulation to help you make an informed decision about whether it's the right choice for your home.
What's keeping your home warm? Learn the differences between cellulose vs. vermiculite insulation and why it matters.
How much blown-in insulation do I need? Requirements vary by location and material choice. Learn how to estimate your needs for blown-in insulation.