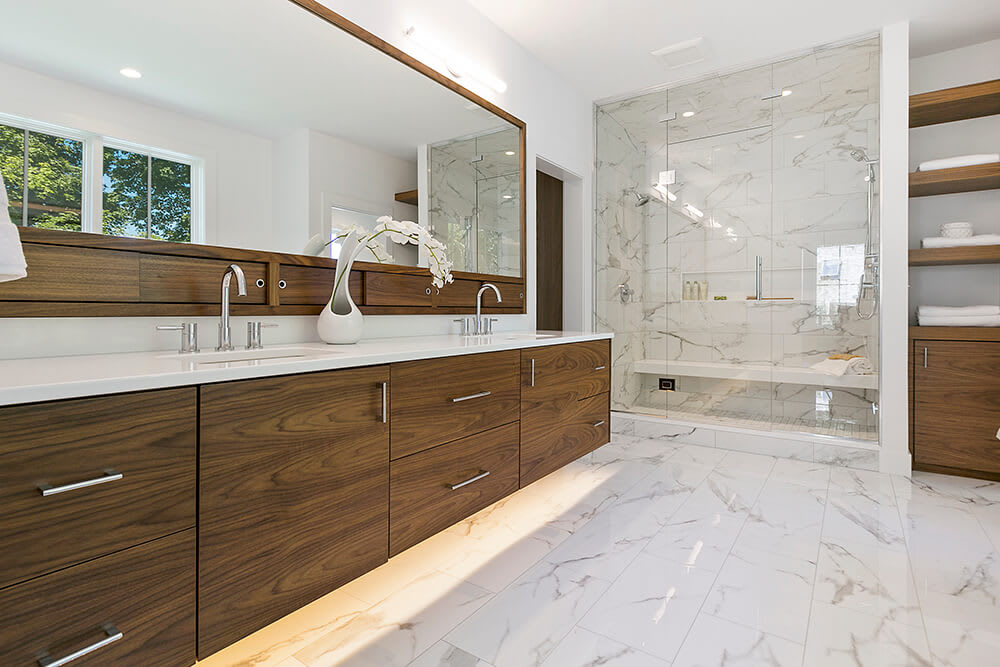

Top-rated ceramic tile pros.

Best ceramic tile pros near Brownsville, WI

Enter your zip and get matched with up to 5 pros

Need a pro for your ceramic tile service project in Brownsville, WI?

Select your specific project to find the pro for you.

Top-Rated Ceramic tile pros in Brownsville - Updated Nov 2026

Showing 1-10 of 29
Ceramic Tile FAQs, answered by experts

The number of boxes of tile you need depends entirely on the amount of tile in each box or case. Different manufacturers package their tiles differently, and boxes contain different amounts of tile depending on the size, shape, and material. Often, the amount of area that a case will cover is listed in the product description. To calculate the number of boxes you need, take the total square feet of the space and divide it by the number of square feet the box will cover.

The process takes two to four days, depending on the size of the area and your experience level. The first day involves assessing and prepping the existing tile, while the second day is for laying the new tile. This may take longer in complex areas. After letting the adhesive dry for 24 hours, grouting and sealing can be completed on day three. For larger projects or intricate tile patterns, expect the timeline to stretch a bit longer. Also, proper drying time between steps is essential for long-lasting results, which extends the project’s time.

It’s best to start with tiling the shower floor before moving on to the walls for the most visually-pleasing results. When taking on any tiling project, you’ll want the wall tiles to “sit” neatly on the floor tiles rather than overlapping them. Finishing your floor tiles first will allow you to place your wall tiles without any gaps, holes, or awkward intersections.

When tiling over concrete, you should install an anti-fracture membrane after the concrete has been prepared. The anti-fracture membrane acts as a moisture barrier and should be installed to protect the tiles from moisture which helps maintain their integrity. Often, Ditra, a brand name, is used interchangeably with moisture barrier.

The best trowel for penny tile is a 3/16-inch-by-5/32-inch V-notch trowel. Because of the small size of the penny tile, you want a trowel with small notches that can lay a thin layer of mortar on the surface you’re tiling. If the notches are too wide, you risk applying too thick of a layer of mortar, and it can squeeze out between the penny tiles.

The Brownsville, WI homeowners’ guide to ceramic tile services

From average costs to expert advice, get all the answers you need to get your job done.