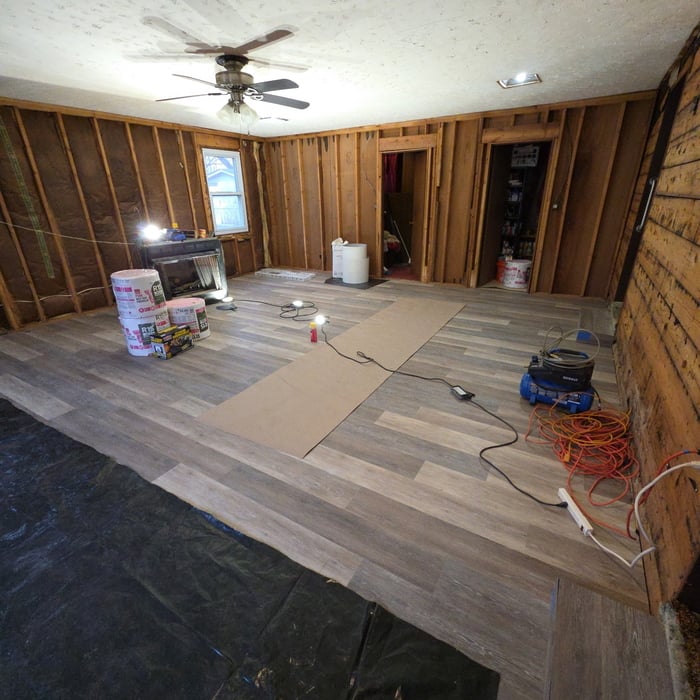
Top-rated drywall pros.

Get matched with top drywall pros in Dinwiddie, VA

Enter your zip and get matched with up to 5 pros

Need a pro for your drywall service project in Dinwiddie, VA?

Select your specific project to find the pro for you.

TRUSTED BY DINWIDDIE, VA HOMEOWNERS

  • Average homeowner rating star icon4.8
    Average homeowner rating
  • Verified reviews icon46
    Verified drywall services reviews

Find Drywall pros in Dinwiddie

Lark D Drywall LLC
5.0(
5
)
Drywall - InstallDrywall - Repair

Serving Dinwiddie, VA and surrounding areas

Approved

Super Service Award Winner

In business since 2004

Free estimates

Small jobs welcome

"Lark D Drywall is excellent. Always professional. I have had repair work done to my over 100-year-old home as well as new install of drywall. Always on time and reasonable budget. Will always be my go-to company for drywall. Very satisfied customer, Patrice"
Response time2 days
1 neighbors recently requested a quote
RL contracting
New to Angi
Drywall - Repair

Serving Dinwiddie, VA and surrounding areas

Approved

I have spent many years working as a general contractor including working for a commercial builder, kitchen and bath remodeling company, and property management company. I also previously owned and operated as a class a general contractor. I have experience in most areas of home repair. I am looking to slow down and focus on smaller projects with attention to giving clients quality services at reasonable prices.

Avatar for Fairfax Design
Fairfax Design
4.6(
150
)
Drywall - Repair

Serving Dinwiddie, VA and surrounding areas

In business since 1988

Free estimates

Credit card accepted

"I can’t say enough good things about David Sirekis. In one service call, I got a master electrician, master plumber and master drywall technician. At one third the price. You will not be disappointed if you hire this professional."
Response time6 hrs
Response rate94%
Recommended by92%of homeowners
...
Showing 1-10 of 135
Drywall questions, answered by experts

If you only have tiny holes in your drywall (for example, dents or nail marks), you probably won’t need a patch kit. Instead, you can plug the hole with a small amount of spackle. Once the spackle dries, you can sand the area and paint over it—just like you would in the steps outlined above.

When used correctly, drywall patch kits can work well. However, there are limitations. Specifically, these kits can only cover holes up to 5 inches in diameter. For anything larger than that, you’ll need to cut out the affected section of drywall and replace it with a new piece. That’s a far more complicated process that involves buying the right type of drywall, finding the wall studs, cutting into your wall, and screwing the replacement drywall in place.

Plaster can be a difficult DIY to master, especially if you plan to plaster an entire room, rather than patch a small area. Before you begin a plaster DIY project, you need to know which tools and type of plaster to use. It's also important to know how to prepare the surface and apply the plaster for a smooth finish. If that all sounds like a lot of work, you may prefer hiring a local plaster repair contractor to do the job.

Whether you can reuse a drywall anchor depends on its type, material, and how it is removed. Plastic anchors, such as expansion or self-drilling types, are generally considered single-use because they are designed to expand and are likely to break or become deformed upon removal. Metal anchors, like toggle bolts, are more durable and can often be reused if they are not damaged during extraction. However, with toggle bolts, the toggle mechanism can fall inside the wall when the bolt is removed, making it difficult to retrieve. If an anchor is damaged or must be cut for removal, it cannot be reused regardless of its material.

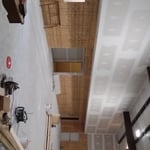
While every home has its own unique needs, ceiling drywall installation typically follows a staggered or stepped pattern to enhance structural integrity and reduce the visibility of seams. Starting from one corner, sheets are placed perpendicular to the ceiling joists, with the ends of adjacent sheets meeting along the center of the joist. The next row begins with a half sheet, ensuring joints don't align vertically. This alternating pattern, combined with proper taping and mudding, creates a seamless appearance and strengthens the ceiling structure, minimizing the risk of cracks over time.

The Dinwiddie, VA homeowners’ guide to drywall services

From average costs to expert advice, get all the answers you need to get your job done.