




Top-rated drywall pros.

Get matched with top drywall pros in Brittons Neck, SC

Enter your zip and get matched with up to 5 pros

Need a pro for your drywall service project in Brittons Neck, SC?

Select your specific project to find the pro for you.

Find Drywall pros in Brittons Neck

Avatar for T&W Home improvements LLC
T&W Home improvements LLC
5.0(
39
)
Drywall - Install

Serving Brittons Neck, SC and surrounding areas

Approved

In business since 2025

Free estimates

Warranties offered

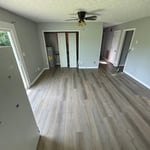
"We wanted to turn our outside porch into a sunroom. We had previously installed windows, a fireplace, and a mini split, but we were tired of looking at the vinyl siding on one of the walls. We hired T & W Home Improvement services to do the drywall project. They were extremely professional, always prompt, and cleaned up everything beautifully when they finished the job. They took extreme care to not damage the TV, the fireplace, and the big ceiling fans that we had in the room. They did an excellent job on the drywall, painting, baseboards, and crown moulding...it looks perfect! They did such a wonderful job that we would not hesitate to hire them again for any future remodeling jobs. We are so pleased with their work and have been enjoying our sun room. We would highly recommend them."
My jobs
My jobs
My jobs
My jobs
My jobs

+29

Response time1 day
Response rate93%
4 neighbors recently requested a quote

Avatar for Mike's Painting & Pressure Washing
Mike's Painting & Pressure Washing
4.7(
28
)
Drywall - InstallDrywall - Install - For BusinessDrywall - Repair+1 more

Serving Brittons Neck, SC and surrounding areas

In business since 1996

Emergency services offered

Credit card accepted

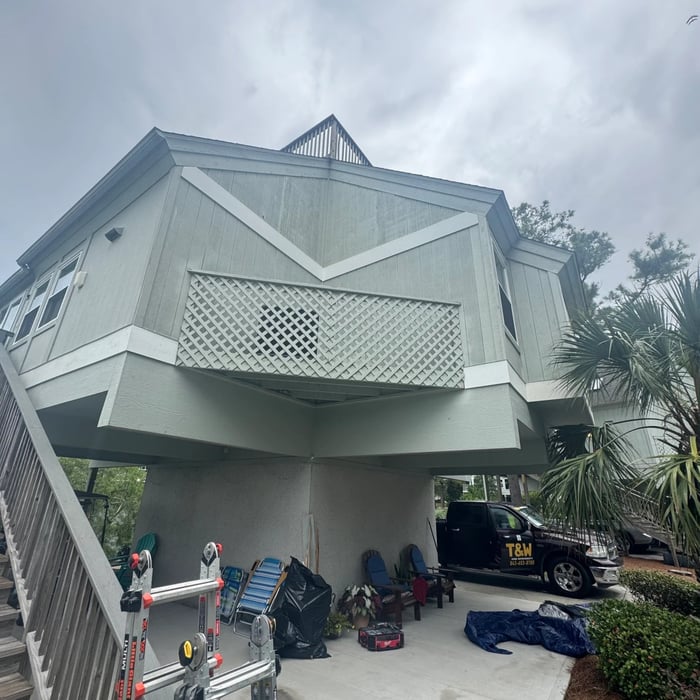
"I would highly recommend this business.  We had them come and restain the deck and at first just powerwash the house.  They scheduled the work right away.  After doing the pressure washing, there were some areas with paint chips under the soffit.  Mike offered to repaint those for free.  During this, they noticed areas of the soffit that were rotten, so we had them repair those areas of the wood.  They also fixed a few screens that were damaged during the pressure washing for free.  
Everything turned out great, and we are very happy we had this work done.  Mike and Crystal are very professional and easy to work with.  I will be having them do some more work on our house in the near future.
"
Additional Photos
Additional Photos
Additional Photos
Additional Photos
Additional Photos

+161

Recommended by91%of homeowners
...
Showing 1-10 of 87
Drywall questions, answered by experts

It's generally recommended to hang drywall on the ceiling first before moving on to the walls. This sequence allows the ceiling sheets to provide support for the vertical wall sheets. By attaching the ceiling drywall initially, you establish a solid framework to align and attach the wall panels accurately. This method ensures a seamless and sturdy connection between the ceiling and walls, resulting in a more professional finish.

This depends on how much plaster is applied and in how many layers, but a decent estimate is around 150 square feet. If you are applying only two coats on a small wall, there is a chance you may only need one or two gallons for the entire project. If you are plastering a large living room wall with high ceilings, using one of the more involved techniques–like Scagliola–that requires several coats, expect the project materials costs to add up quickly. 

You can put drywall mud over paint to even out the surface or entirely resurface it. Sand the surface with 280-grit sandpaper, vacuum the debris and dust with a shop vac, and clean it with a slightly damp cloth. Allow the surface to dry. Apply drywall primer, especially if you’re skim-coating an entire wall. Apply the right type of drywall mud over the surface and smooth it with a trowel. Allow the layer to cure fully, then sand it before applying another layer or painting it.

There are several benefits to wet-sanding drywall, but the main perk is that it produces far less dust than dry-sanding. As a result, wet-sanding poses fewer health risks and makes less of a mess in your home. Plus, damp sponges are less abrasive than sandpaper, so there’s a smaller chance of scratching or damaging the drywall paper. Wet-sanding also creates a smoother finish than dry-sanding.

Damp plaster does dry out, although the drying time depends on several factors, including the type of plaster, the surrounding temperature, moisture content, and the extent of the dampness. Sometimes, it can take weeks or months for wall plaster to dry naturally.

The Brittons Neck, SC homeowners’ guide to drywall services

From average costs to expert advice, get all the answers you need to get your job done.