





Top-rated basement waterproofing pros.

Get matched with top basement waterproofing pros in Sterling, CT

Enter your zip and get matched with up to 5 pros

TRUSTED BY STERLING, CT HOMEOWNERS

  • Average homeowner rating star icon4.8
    Average homeowner rating
  • Verified reviews icon10
    Verified basement waterproofing services reviews

Find Basement waterproofing pros in Sterling

Avatar for American Dry Basement Systems, LLC
American Dry Basement Systems, LLC
4.9(
118
)
Foundation, Basement or Crawlspace - Waterproofing / Encapsulation

Serving Sterling, CT and surrounding areas

Approved

In business since 1997

Free estimates

Credit card accepted

"I had my basement waterproofed almost 3 years ago by them and I had no issues since then with the basement flooding regardless of how much it rains. I highly recommend using American Dry Basement!"
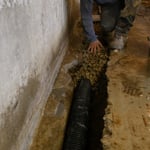
Drainage Trench
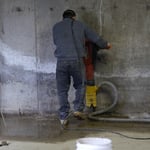
Jackhammer
Mixing SuperCrete
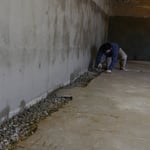
Compress Wash Stones
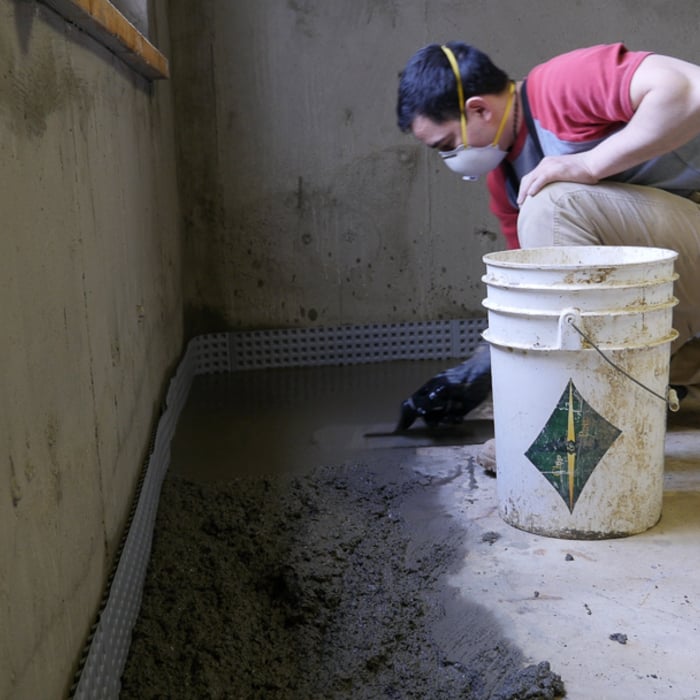
Spreading SuperCrete

+7

Response time11 hrs
10 neighbors recently requested a quote
Recommended by66%of homeowners

Avatar for Set In Stone
Set In Stone
4.3(
23
)
Basement Drainage Channels - InstallBasement Drainage Channels - RepairFoundation, Basement or Crawlspace - Waterproofing / Encapsulation

Serving Sterling, CT and surrounding areas

In business since 1982

Free estimates

"Ray and his team were incredibly professional, kind and courteous throughout all of the home projects. Their work on my basement foundation, installation of French drains and the rebuilding of an exterior wall were all phenomenal and at a very fair price. I highly recommend their services 10/10"
Recommended by86%of homeowners

Quality Dry Basements Inc
3.6(
31
)
Basement Drainage Channels - InstallBasement Drainage Channels - RepairFoundation, Basement or Crawlspace - Waterproofing / Encapsulation

Serving Sterling, CT and surrounding areas

In business since 2007

Free estimates

Credit card accepted

"

The first step involved trenching the inside perimeter of the basement slab, which was relatively new and required substantial work with jack hammers (very dusty and noisy). The trench was about 18" wide and 18" deep to accommodate the perforated pipe and the surrounding material consisting of hard plastic "peanuts" to facilitate drainage.  Workmen also installed corrugated plastic on the vertical wall surfaces so that should any water enter higher up on the wall it would be directed into the trench. The trench was then covered with a clear plastic vapor barrier, after which cement was floated over everything and leveled with the rest of the slab.  NOTE: the trenching is very destructive and the workmen will remove any finished elements - baseboard, sheetrock, framing, carpet etc. - to access the walls and foundation. Be prepared to budget repair work on any already-finished areas once the work is done.

The team was invariably punctual, thoughtful and kept the work area clean. Charlie stopped by regularly to ensure the project was moving along as planned and helpful throughout. When finished, the crew cleaned up well and left the site in good shape, although it took some time finally to get rid of the dust.  My only disappointment was that the backup batteries were left in their cases on the floor, when it seemed that they should have been up on a shelf away from harm.

The good news is that our basement has not seen any moisture since the system was installed.  We've experienced some bad storms combining rain over frozen ground and snow and water clearly was getting through the foundation.  We saw the pumps moving significant amounts of water out of the house and the system has been completely reliable.  Finally we were able to finish the basement as we'd hoped because we're confident the drainage system is protecting the investment.


"
Recommended by60%of homeowners

Showing 1-10 of 41
Basement Waterproofing questions, answered by experts

Mold and other fungi love moisture, so the best way to prevent mold growth after water damage is to remove as much moisture as possible. First, find the source of the water or moisture, such as a leak or clogged gutters, and correct the problem. Next, remove standing water, vacuum up puddles with a shop vacuum, and run blower fans and dehumidifiers for 24 to 72 hours. Once you've removed all traces of moisture, disinfect the area using either vinegar or bleach to kill any remaining mold spores.
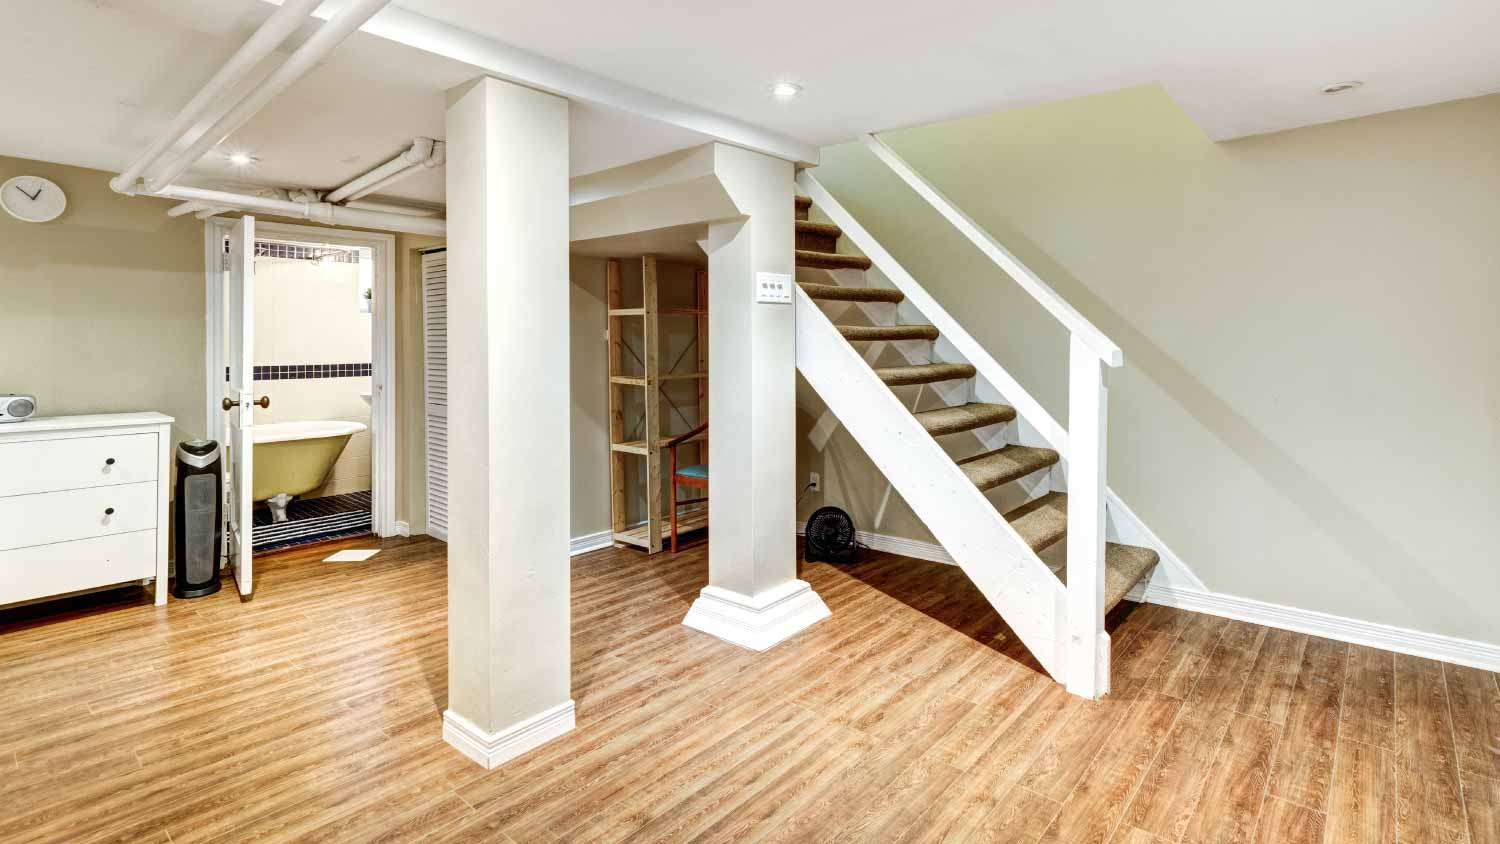
One handy thing about whole-house dehumidifiers is, once installed, you don’t have to worry about placement or changing the dehumidifier’s position. But if you are using a portable dehumidifier, we suggest keeping it away from walls, vents, and furniture. It needs a central, unobstructed spot with access to lots of air to do its job.

Preventing water accumulation involves regular inspections, maintaining effective drainage systems, ensuring proper roof maintenance, and taking preventive measures against heavy rainfall or floods.

Roughing in and connecting utilities are the hardest parts of finishing a basement, and they’re the parts we typically don’t recommend doing as a DIY project. Unfortunately, your finishing timeline can be extended by weeks while you wait for contractors and inspectors to install electrical wiring, plumbing lines, and heating/cooling equipment and carry out inspections.

Crawl space foundation problems can stem from a few different issues, but the most common are moisture and water problems and soil instability. Moisture and water issues are often a result of poor drainage, which can lead to water intrusion and soil expansion and contraction, leaving your foundation under added stress. A few things can cause soil instability, including poor drainage, karst landscapes and resulting sinkholes, and poorly compacted soil during construction.

The Sterling, CT homeowners’ guide to basement waterproofing services

From average costs to expert advice, get all the answers you need to get your job done.