

If your outside electrical meter box has sustained wear and tear, it might be time for a replacement. How much it costs to replace an electrical meter box depends on labor, model, and box type.
Don’t let bad wiring short your circuit

A junction box definition includes a protective enclosure where your electrical wires meet, splice, and distribute power safely throughout your home.
Hiring an electrician costs $163 to $536, with average costs around $348, protecting your home from wiring mistakes that lead to fires.
Your junction box size depends on wire gauge and connection count, as electrical codes limit how many wires fit safely inside each box.
Hiring a local electrical professional provides peace of mind with proper grounding, secure wire connections, and code-compliant installations that keep your home safe.
They’re not pretty, and they’re definitely not the star of your renovation photos, but junction boxes do more for your home than most homeowners realize. Every time you flip a switch or plug something in, they’re working behind the scenes to keep your wires contained and things running safely. Skip one, and you’re risking shocks, shorts, or worse. Whether you’re tackling a small upgrade or just trying to understand what’s in your walls, knowing what a junction box does is a smart move—and way easier than fixing an electrical mess later.
A junction box is where electrical wires meet, get spliced, and head off in different directions to power your lights, switches, and outlets. Tucked into walls or ceilings, these enclosures—made of metal or plastic—keep wire connections safely contained and protected from dust, moisture, and damage. That protection is more than practical; it’s required. Electrical codes mandate a box at every wire splice to help prevent shorts, overheating, and potential fire hazards. Junction boxes aren't the flashiest or most aesthetically pleasing part of your electrical system, but without them, your whole setup risks becoming a mess of exposed wire connections and serious safety issues.
Inside a junction box, electrical wires from different circuits come in through small openings with just enough insulation stripped back to expose the individual conductors and connect them safely. Wires of the same color and type—black for hot, white for neutral, and bare copper or green for ground—are twisted tightly together using wire nuts to create a secure link. Metal junction boxes get an extra grounding wire as an additional layer of protection that safely channels any stray electricity away.
Once everything is connected, the wires are neatly tucked into place to avoid crowding. Finally, the box is sealed with a cover to keep out dust, moisture, and accidental touches. Junction boxes should always be easily accessible. That way, if there’s ever a need to inspect or repair anything, you—or ideally a licensed electrician—can get to it quickly and keep your home’s electrical system safe, sound, and running smoothly.

Choosing the right junction box isn’t about grabbing the first one you see at the hardware store. What works perfectly in your living room might cause an electrical problem in your garage or out by the patio. The trick is matching the box to your wiring, location, and the job it needs to handle, so your system stays safe, organized, and code-compliant.
Before you pick a box, consider where it will go and what kind of wiring you’ll use.
Plastic (PVC):
Great for indoor residential jobs using non-metallic (NM) cable
Lightweight, affordable, and easy to install
Non-conductive, which means no grounding the box itself—skip it if you’re using metal-sheathed cable
Doesn’t rust but can crack under stress or high heat
Metal
Durable and fire-resistant
Can be trickier to work with (heavier, sharper edges, and may need knockout tools)
Stronger and more secure for mounting, especially for commercial and outdoor use
Best for armored cable or conduit systems; helps complete the ground path
The shape of your junction box ties into its functionality and the type of fixture or device its wires will house.
Rectangle
Most common for switches or single outlets
Compact, reliable, and easy to fit between studs
Square
Spacious enough for multiple wire splices or branching circuits
Can be adapted with covers to hold switches or outlets
Octagon
Frequently used in wall or ceiling installations (lights, smoke detectors, fans, etc.)
Provides good depth for wire connections
Round
Very shallow
Used for lightweight ceiling or wall fixtures
The size of your junction box isn’t something you can ignore. It’s a matter of code. Electrical boxes are rated by volume (in cubic inches), and the National Electrical Code (NEC) sets strict limits on how much you can pack inside. For example, a 14-gauge wire takes up two cubic inches per conductor, and you’ll need to account for every wire, ground, device, and clamp—it adds up fast. That’s why choosing the right size box is critical.
A deep 4-inch square box is a great go-to for most residential projects, especially when you're dealing with multiple connections in the same area. It gives you room to work, helps prevent overheating, and makes for cleaner installs.

Installing a junction box isn’t rocket science, but it does demand a lot of care, patience, and electrical knowledge. Whether you’re adding a new light or rerouting a circuit, getting the basics right can save you future headaches—and possibly a call to an electrician. You need to focus on more than making things work. It’s about doing the project the right way so your wiring is safe and accessible.
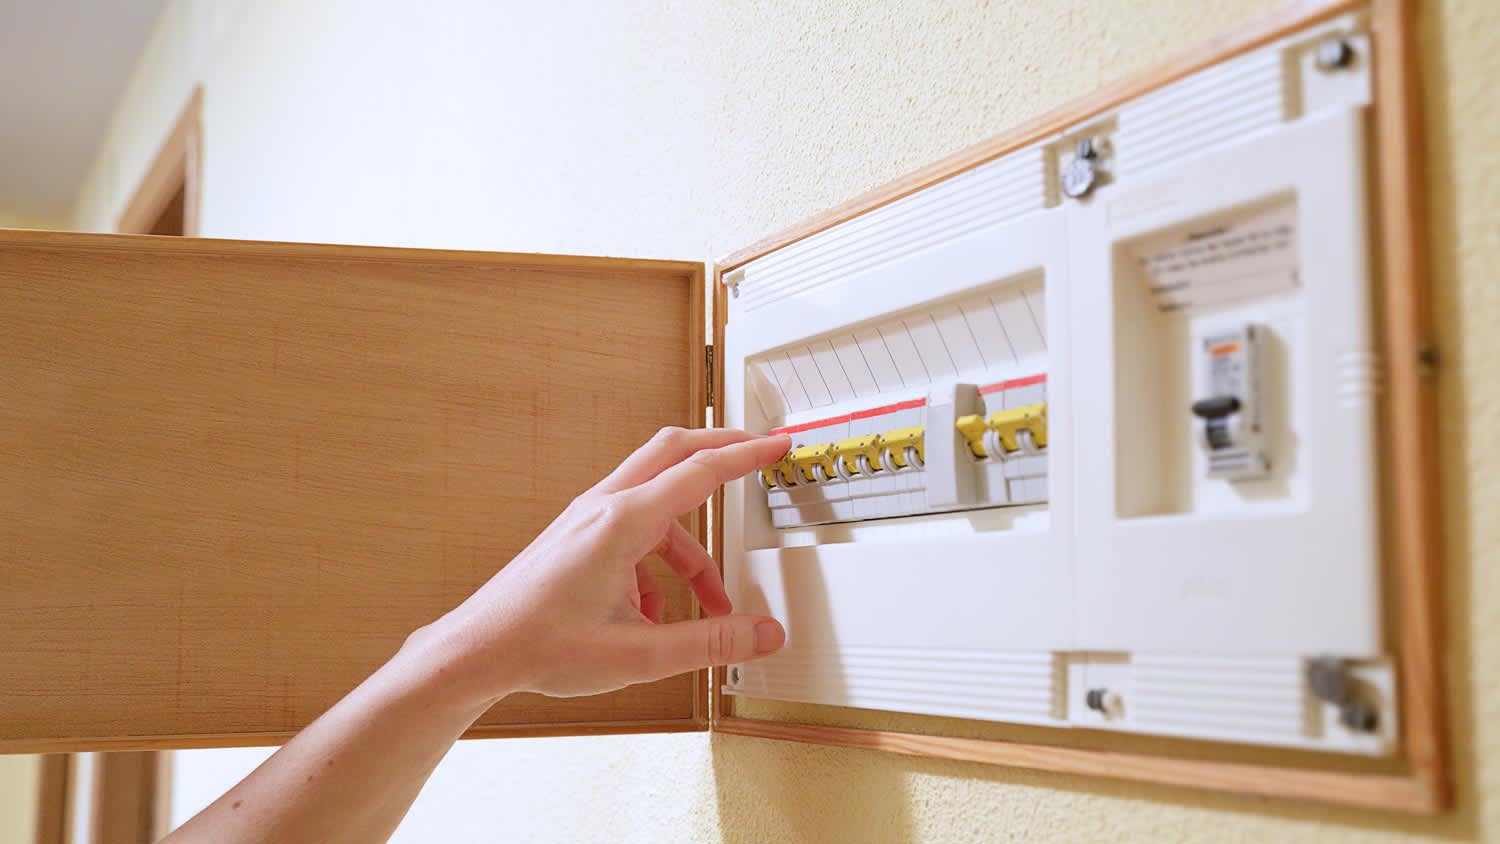
Shut off the power at the main breaker before touching any wires.
Check your local electrical code to ensure your installation meets requirements.
Select a junction box that matches the job: material, size, and location.
Make sure the box remains visible and accessible after installation.
Mount the box securely to a stud, joist, or other framing.
Strip wire insulation cleanly, leaving about six to eight inches of exposed conductor for easy handling.
Use wire connectors to splice wires tightly and securely—don’t just twist and hope for the best.
Connect your electrical wires in the correct order: grounds first, neutrals second, and hots last.
If using a metal box, attach a grounding wire to the box itself for safety.
Avoid stuffing too many wires inside the junction box to prevent overheating.
Wiring might look simple at first glance, but hidden inside a junction box, any mistake—like loose connections or overloaded circuits—can quietly turn into serious hazards. Unlike a leaky faucet or cracked drywall, electrical issues often stay hidden until they cause real damage or pose a safety risk.
Your local licensed electrician, with their years of training and experience, can spot potential issues before they become costly and dangerous. Their work helps guarantee that your system is safe, up to code, and built to last.
The cost of hiring an electrician typically ranges between $163 and $536, with most homeowners spending around $348. That’s a small price to pay compared to the potential fallout: electrical fires, failed inspections, or injury from a DIY mistake. When doing electrical work, hiring an electrician is always money well spent to protect your home and peace of mind.
Great company! Price was competitive, technician showed up on time and completed the job (exterior electric Radon fan replacement) quickly. Would hire them again.
I conferred with 2 other contractors before Armstrong Electric. Nick and his crew showed me that the project was not as convoluted as the other contractors made it appear to be. They completed the entire project on time. They were professional, friendly and cleaned up after at completion. I...
 Armstrong Electric LLC
The techs on my project, Shawn and Cliff, were great. They were prompt, courteous, and efficient. I am very happy with the results and would definitely contact Mr. Electric for any future electrical projects.
Victor was wonderful. He was on time, professional, and explained everything he was doing. He was thorough and figured out that the problem was electrical instead of with my HVAC system. Very knowledgeable. I will be using this company in the future for any HVAC needs. Thanks!
 Hubbs Heating & Air LLC
They were excellent. They did a great job. I was totally satisfied. They put tremendous effort in making sure the work was completed. They were great. They provided immediate response to any inquires I made. I would hire them again. I would recommend them to anyone who needs electrical work....
 Property-Tech Industries, LLC
Initially, the repairman could not find the problem. Apparently, there was some electrical shortage, but he could not find the definite problem. He left, but called back later to say he had a new idea. He returned and replaced the light switches on the doors. The refrigerator seemed to return...
 Appliance Pro LLC
The initial quoted price from a walk-through seemed high, but we discussed that the quote represented worst case scenario (re-wiring to two floors) and we were excited about the opportunity to have the work done in a timely manner with closing for fire safety reasons, etc. When the job was...
I have to tell you I am all about customer service - I will go out of my way and even pay more for it if you give me great customer service. <br> <br>In a world where this is hard to find, these guys were awesome! I can not sing their praises enough. They were prompt, personable, funny, got...
 Waibel Electric
When I challenged the markup on the generator, Bruder Electric withdrew its bid. They only want naïve customers.
We had no power to any of the electrical outlets in the MBR. We'd had an intermittent problem for a few years and they finally went out all together. We live on the 3rd floor of a 100 year old building and I know from past experience the wiring has been added to in hodgepodge ways over the...
From average costs to expert advice, get all the answers you need to get your job done.
If your outside electrical meter box has sustained wear and tear, it might be time for a replacement. How much it costs to replace an electrical meter box depends on labor, model, and box type.

Circuit breaker boxes give you the electricity you want and the safety you need in your home at the convenience of a switch. This guide will give you a comprehensive view of everything you need to know about your breaker box.
Electrical boxes are a crucial part of your home’s electrical system, but it can be challenging to wrap your head around the various shapes, sizes, and types available. Keep reading to learn about the different types of electrical boxes and their uses.
If you’re trying to choose between a circuit breaker vs. a fuse box for your home, our guide will help you decide which electrical panel is right for you.

It can be difficult to tell where the neutral or ground wires are located in your breaker box. Here’s what you need to know about your breaker box wiring.

After the stress of finding a new house or a job, it seems like filling boxes should be the easiest part of your move. It can be if you know what to look for. Don’t wing it; plan ahead with these tips for finding and using the right-sized boxes.