
Fence repair costs depend on the extent of damage, your fence's material, and how much of the fence you need to fix. Explore all the price factors in this guide.
No need to get bent out of shape

Moisture is the primary cause of warped fence posts, as water absorption makes wood expand and contract repeatedly over time.
Typical costs range from $150 to $300 for fence repairs, so addressing warped boards early helps you avoid higher expenses.
Adjusting your sprinklers away from the fence and trimming overhanging trees helps fix moisture buildup that leads to warping.
Hiring a local fencing professional provides reliable support for replacing warped panels and ensuring proper installation that prevents future damage.
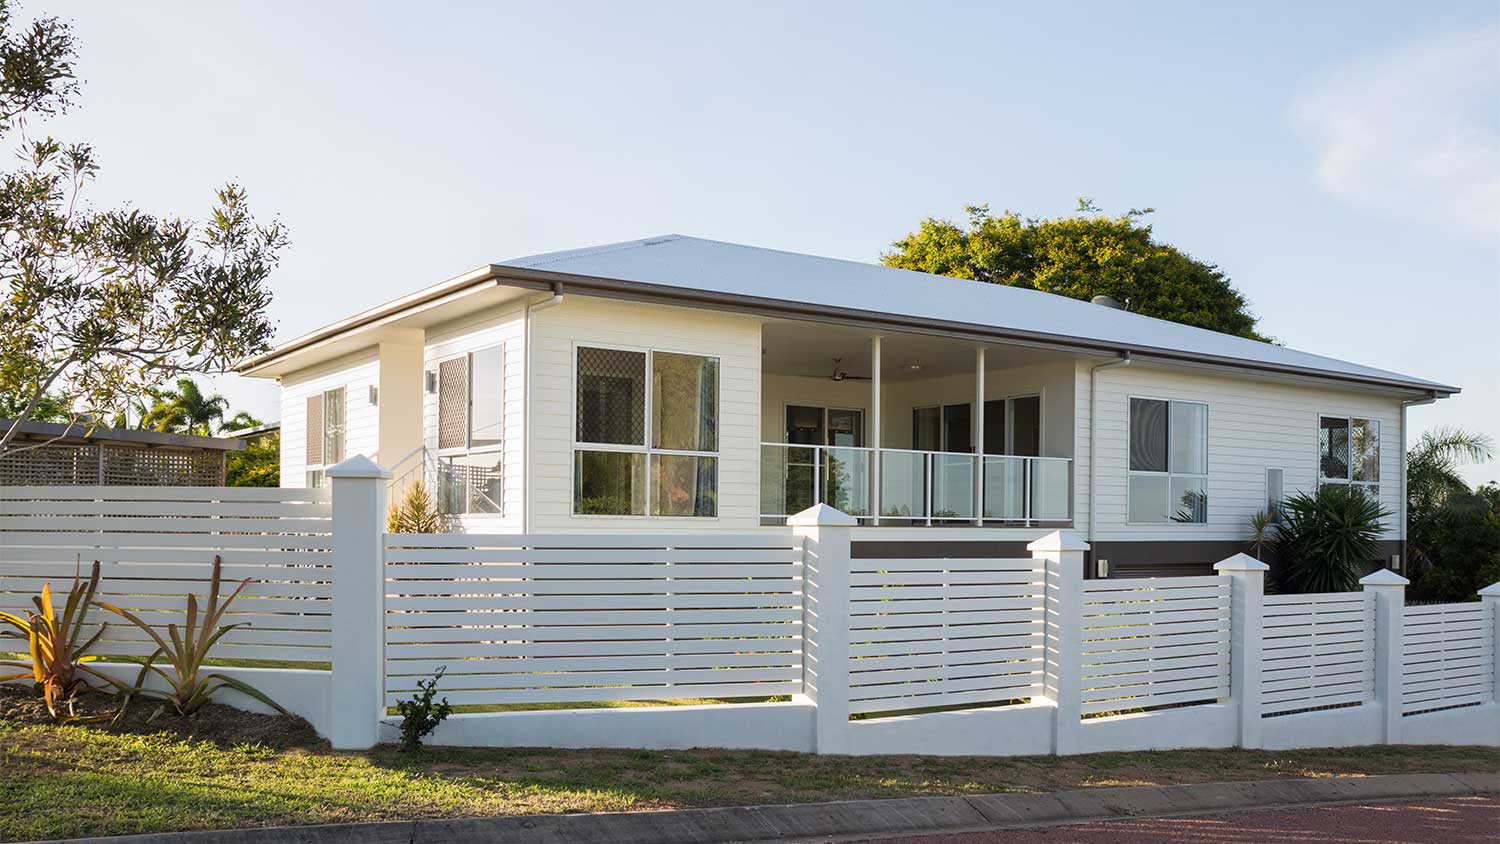
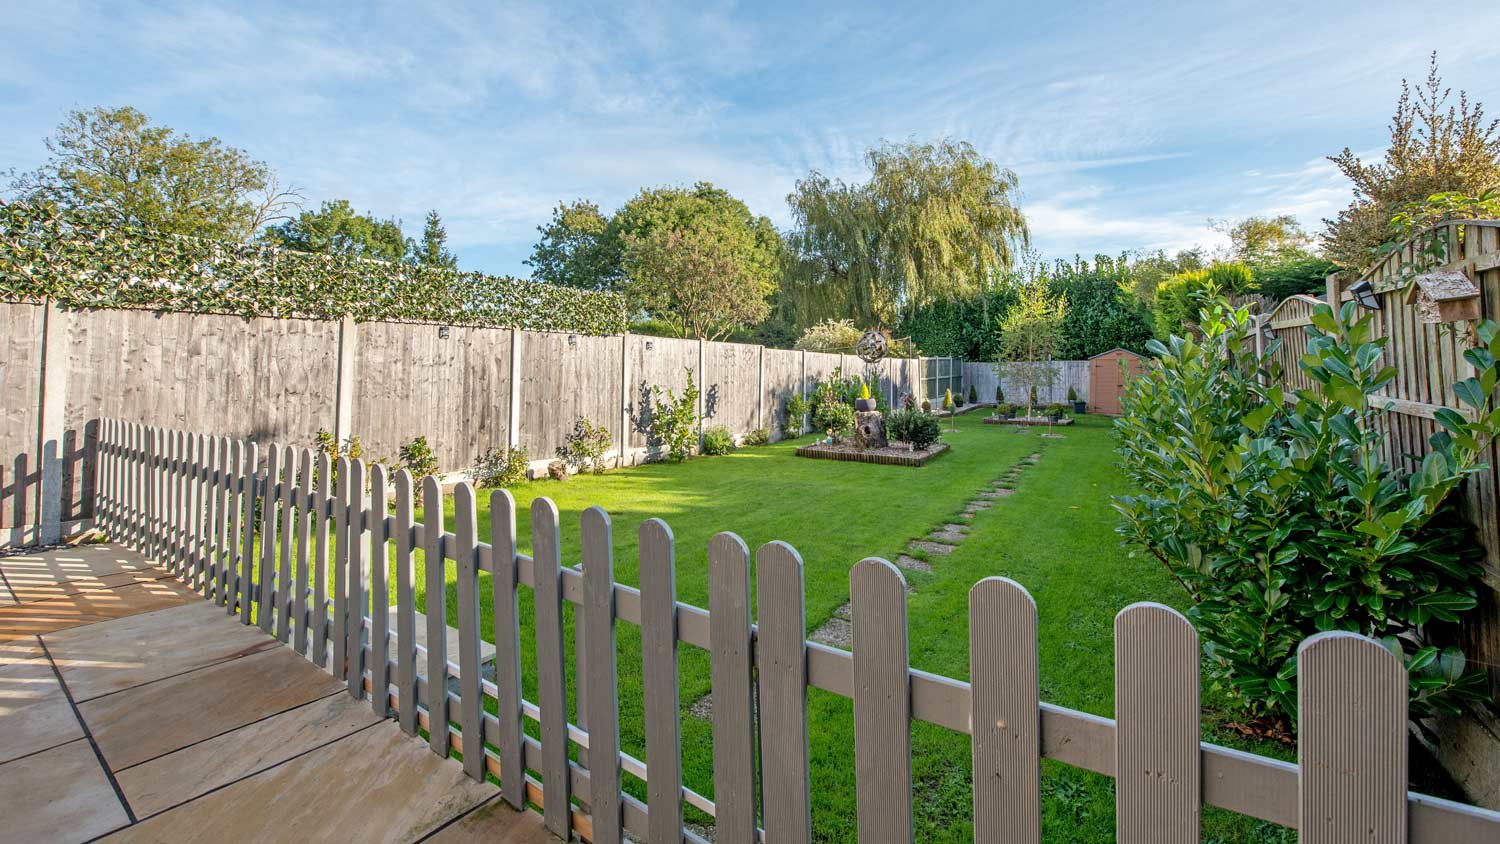
Wood fences are classic and charming, but they’re a little less appealing when they’re warping, splitting, or buckling. If your fence has this type of damage, it’s most commonly due to moisture or humidity—but there are other possible culprits, too. Let’s explore four of the most common causes of warped fence panels.
Moisture is the primary cause of warped fence panels. When water comes into contact with your wooden fence (for example, during a rainstorm or while your sprinklers are on), the wood absorbs the water and expands. When the wood dries out, it contracts. Over time, this can lead to warping.
Whether your fence panels warped due to moisture or something else, replacing them is the best course of action. On average, these kinds of fence repairs cost $150 to $300.
Going forward, there are ways to limit moisture buildup on your fence (even though you can’t fully protect it from snow, rain, or humidity in the air). For example, you can adjust your sprinklers so they don’t spray your fence, and you can trim overhanging trees to prevent water from dripping down onto the fence.

Wood fences can also expand and contract when exposed to direct sunlight for extended periods or when the weather switches between hot and cold—especially if there’s a sudden or extreme shift in temperatures. Eventually, this constant swelling and shrinking can cause the wood to warp or buckle.
Again, replacing the warped panels is the best way to address this issue. In terms of prevention, there’s not much you can do to shield your fence from the sun or protect it against temperature fluctuations (unfortunately). However, you can minimize sun damage by using a fence stain with UV protection.
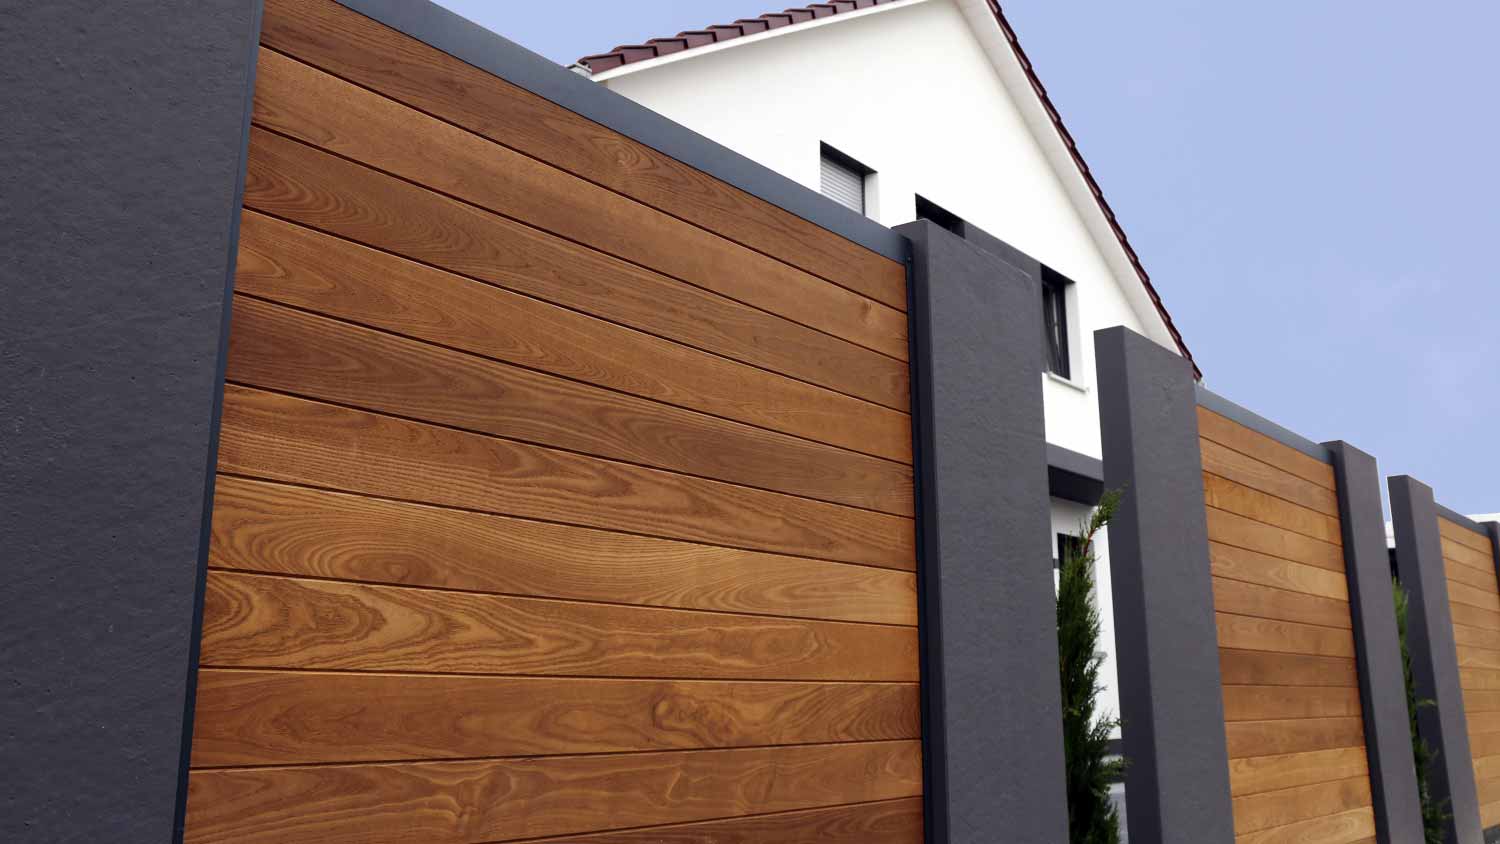
Softwoods (such as pine and cypress) warp more easily than harder types (like cedar and redwood). If your fence is made of softwood, it’s more prone to warping or twisting.
Depending on the extent of the damage, replacing the fence panels or the whole fence is the best way to deal with warping. When it’s time to pick the wood for your new fence, opt for hardwood over softwood.
An incorrectly installed fence is also susceptible to warping. For example, if there’s not enough space between the boards, they can push together—and potentially warp—when they expand and contract. In other cases, your fence could warp if there isn’t enough structural support to hold the panels in place.
Unless you have experience working on fences, it can be difficult to determine whether or not a fence is installed correctly. If you’re unsure, ask a fencing pro near you to take a look and recommend what to do next.

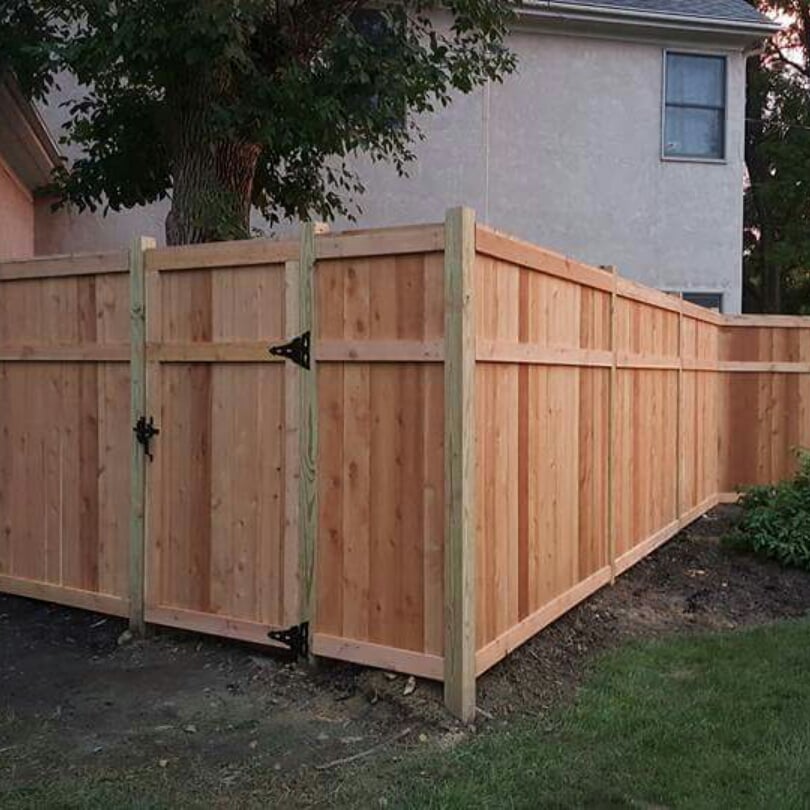
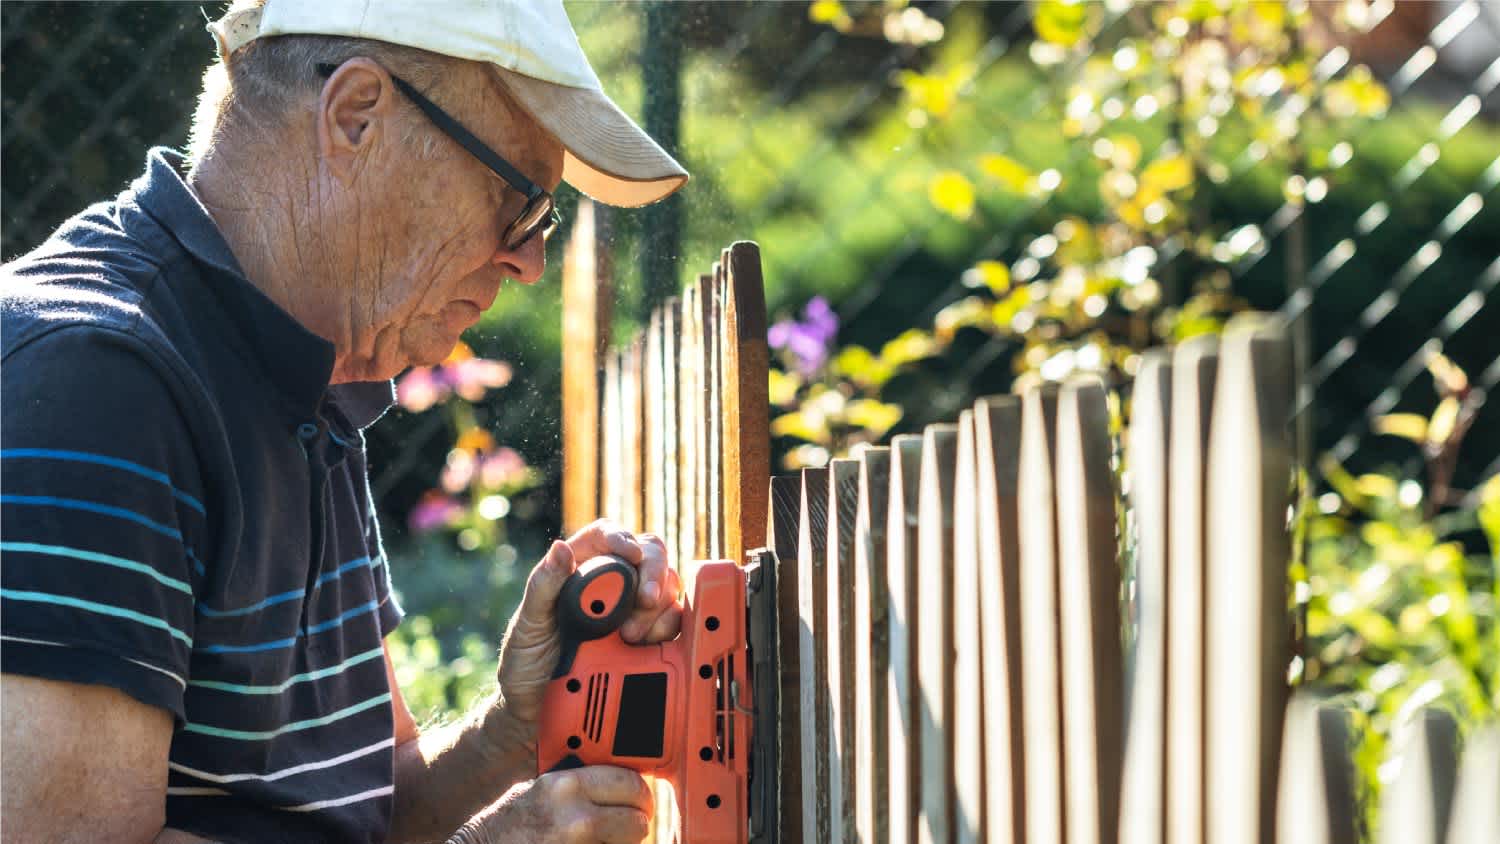
If you’re confident in your DIY skills, you can replace your warped fence panels without hiring a professional. However, much like building a fence, there’s a fair bit of effort required.
Before any physical work begins, you’ll have to find panels that fit with your current fence. From there, you’ll need to make sure your fence posts are in good condition (and if they aren’t, fix them) before removing the old panels and securing the new ones in place.
Of course, you don’t have to go the DIY route. If you’d rather hire a fence contractor, you’ll save yourself a good amount of time and energy. Plus, you won’t have to track down the right panels, buy any special tools or supplies, or worry whether you’re doing the job correctly.
A reliable team for moves across state. My switch to a new place needed careful lifting through tight hallways. The movers checked the doorway first, then carried heavier pieces with slow, controlled movements. Their patience helped prevent damage, and I?d choose them again.
We have used Window Warriors many times with no issues. They arrived on time and were very professional . We have pets and Window Warrior team treated them very well, well trusted team.
We have bought and sold numerous times over the past 50 years. Sherman Hall and Top Line are top notch. Thorough and detailed, he explains every possibility, probability, and eventuality. High class and pleasant. The best.
 Top Line Home Inspections, LLC
Our homes curb appeal skyrocketed thanks to Custom Paint Jobs LLC s exterior painting.
Window Depot did an amazing job on my deck. I wasnt sure what I wanted to do, but their composite decking was affordable and will last a long time. I am excited to have family over, and I am no longer embarrassed by my backyard. Jeff and the ground crew were polite, respectful, and caring for...
Great job...edging and pre clean up went well with a great job with seal coat. Friendly, efficient and professional.
 All Star Paving and Sealing
Did an amazing job transforming my yard. Also installed sod in places, would recommend to everyone.
Manuel Calvillo is the best option in the area for roofing and you won't be disappointed.
We hired Andrew and the team from Midwest Lightscapes for a custom lighting design and installation on a Victorian Village home. The house had outdated low-voltage halogen outdoor lights and many of them were not working. Andrew designed and installed a new system including uplighting on the...
 Midwest Lightscapes
The work was completed in a day and a half. They cut small trees, pulled out an old swing set, pulled out railroad ties and left the place spotless when the job was complete. I am very happy with the fence and their efforts were above and beyond my expectations.
 Elite Fence
From average costs to expert advice, get all the answers you need to get your job done.
Fence repair costs depend on the extent of damage, your fence's material, and how much of the fence you need to fix. Explore all the price factors in this guide.
Find composite fencing costs based on fence type, labor, and more in this guide. You can expect your project to cost $11 to $45 per linear foot.
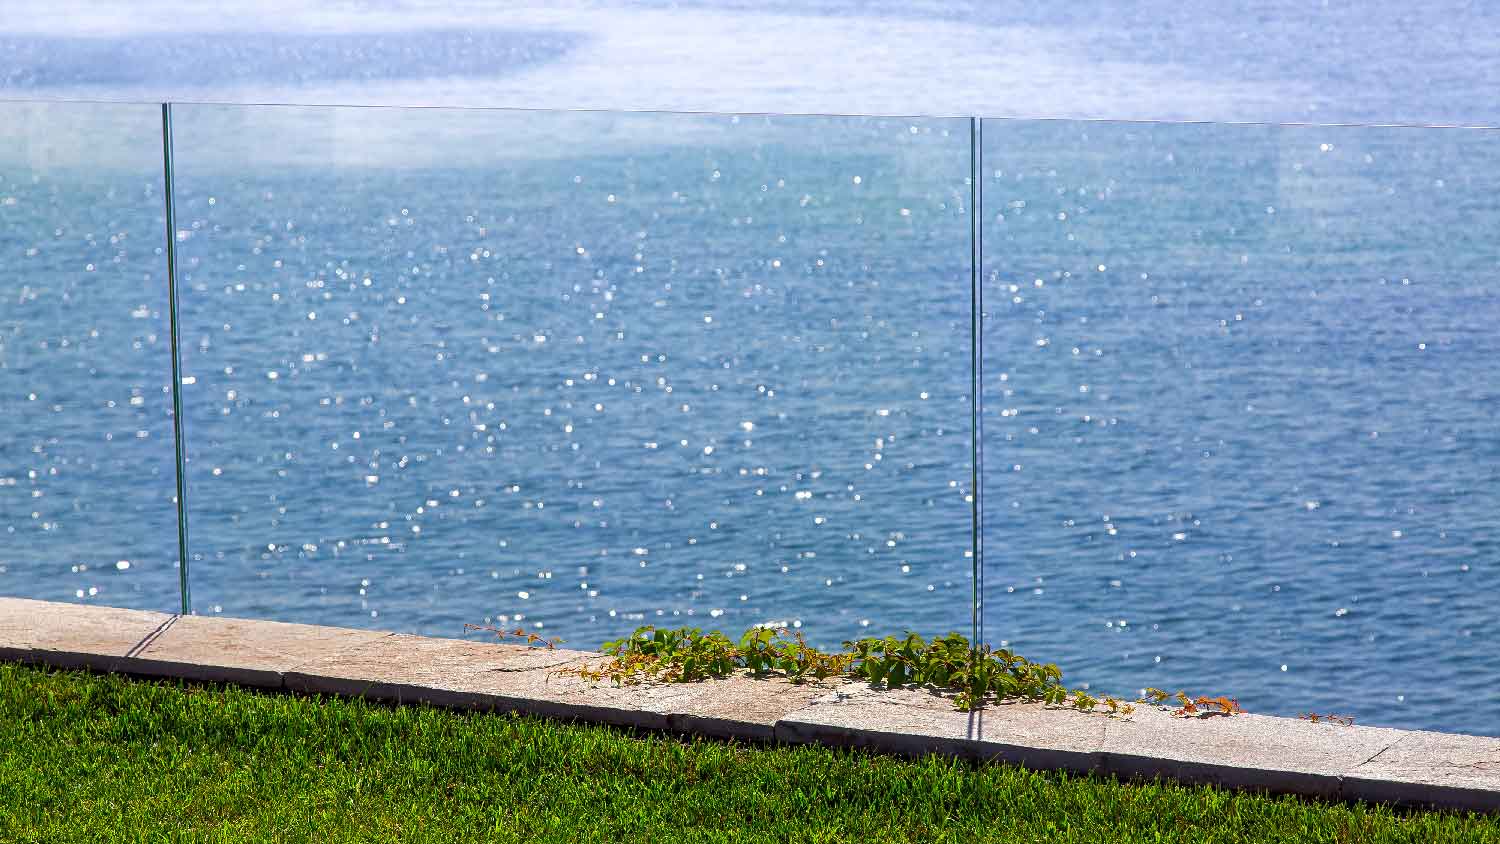
Installing a glass fence costs much more than wood or metal, but those who invest do so for aesthetics. Learn how different types can significantly influence your project budget.
Looking to install a fence in your yard? Learn more about building one with fence pickets versus panels with this guide.

You have the right to feel safe in your backyard. If your home is easily visible from the road or a neighbor’s property, consider these privacy fence ideas.
Looking for a bit of privacy in your backyard refuge? Explore six inexpensive ways to cover a chain-link fence for all the solitude you could ever want.