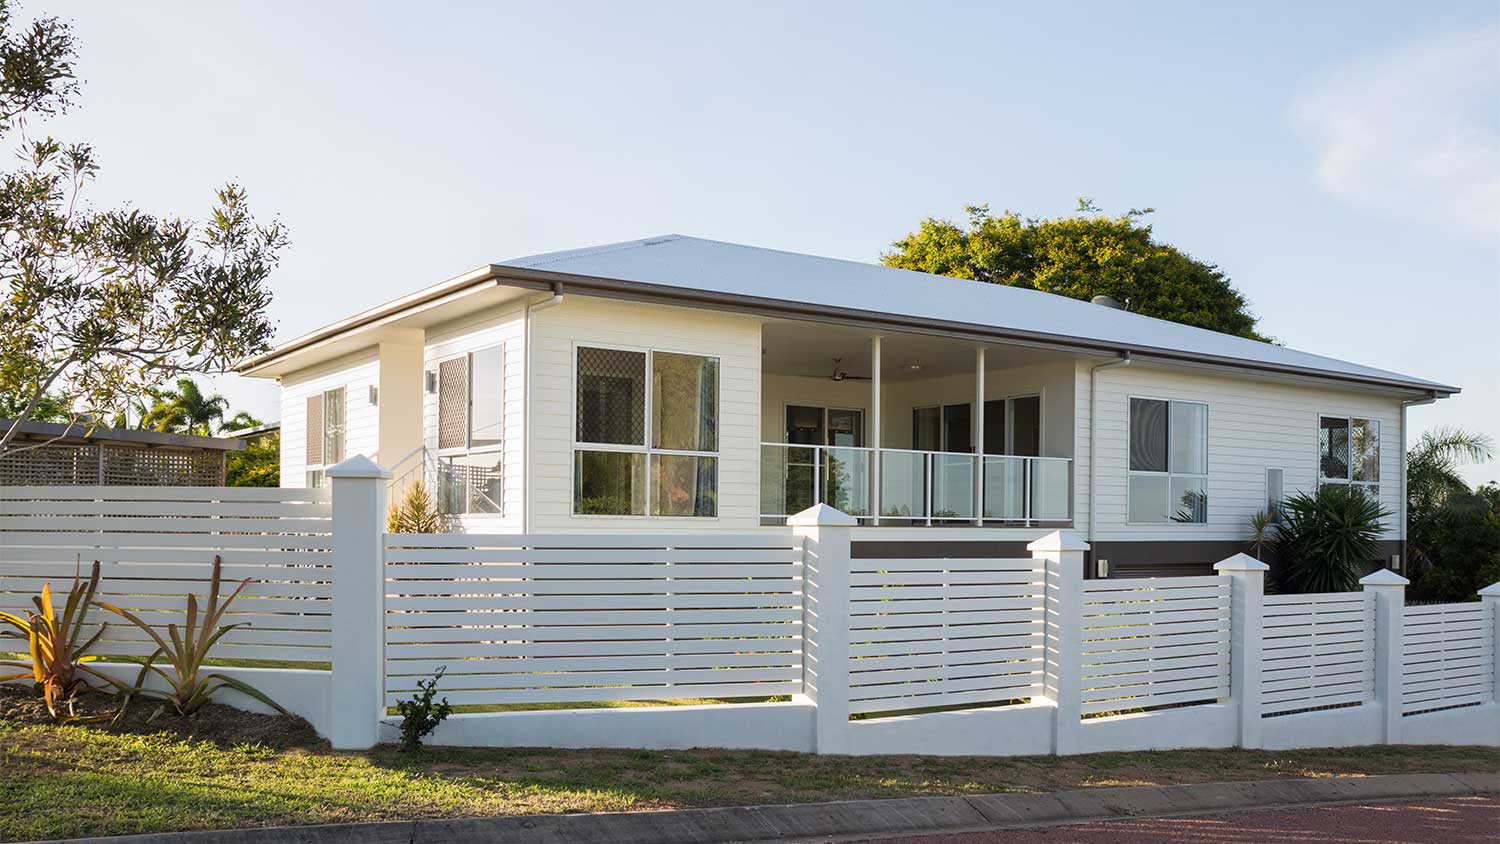
Fence repair costs depend on the extent of damage, your fence's material, and how much of the fence you need to fix. Explore all the price factors in this guide.
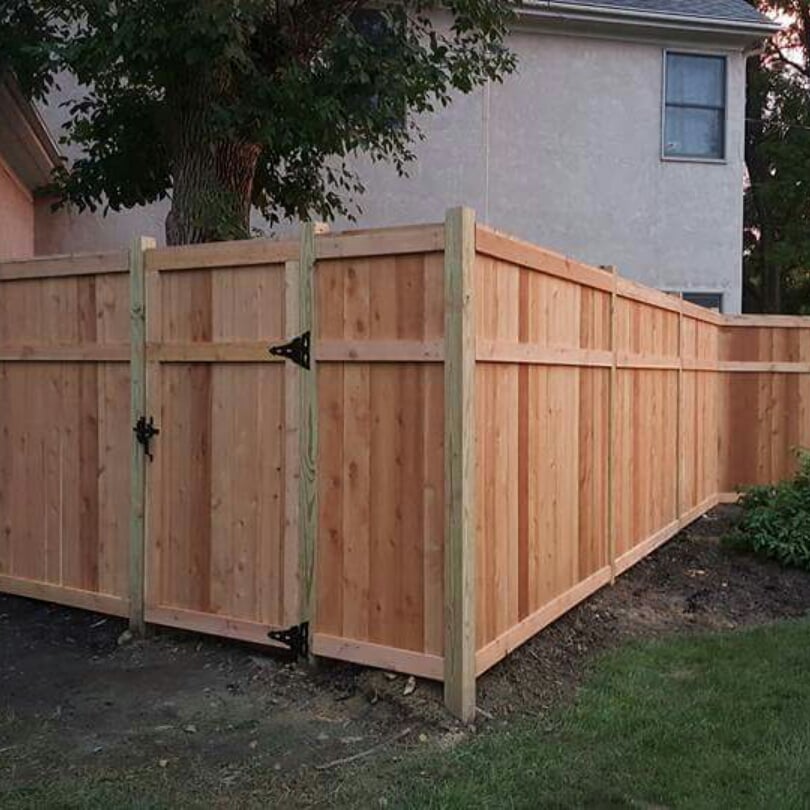
Bring your wood fence back to its original glory with a little TLC

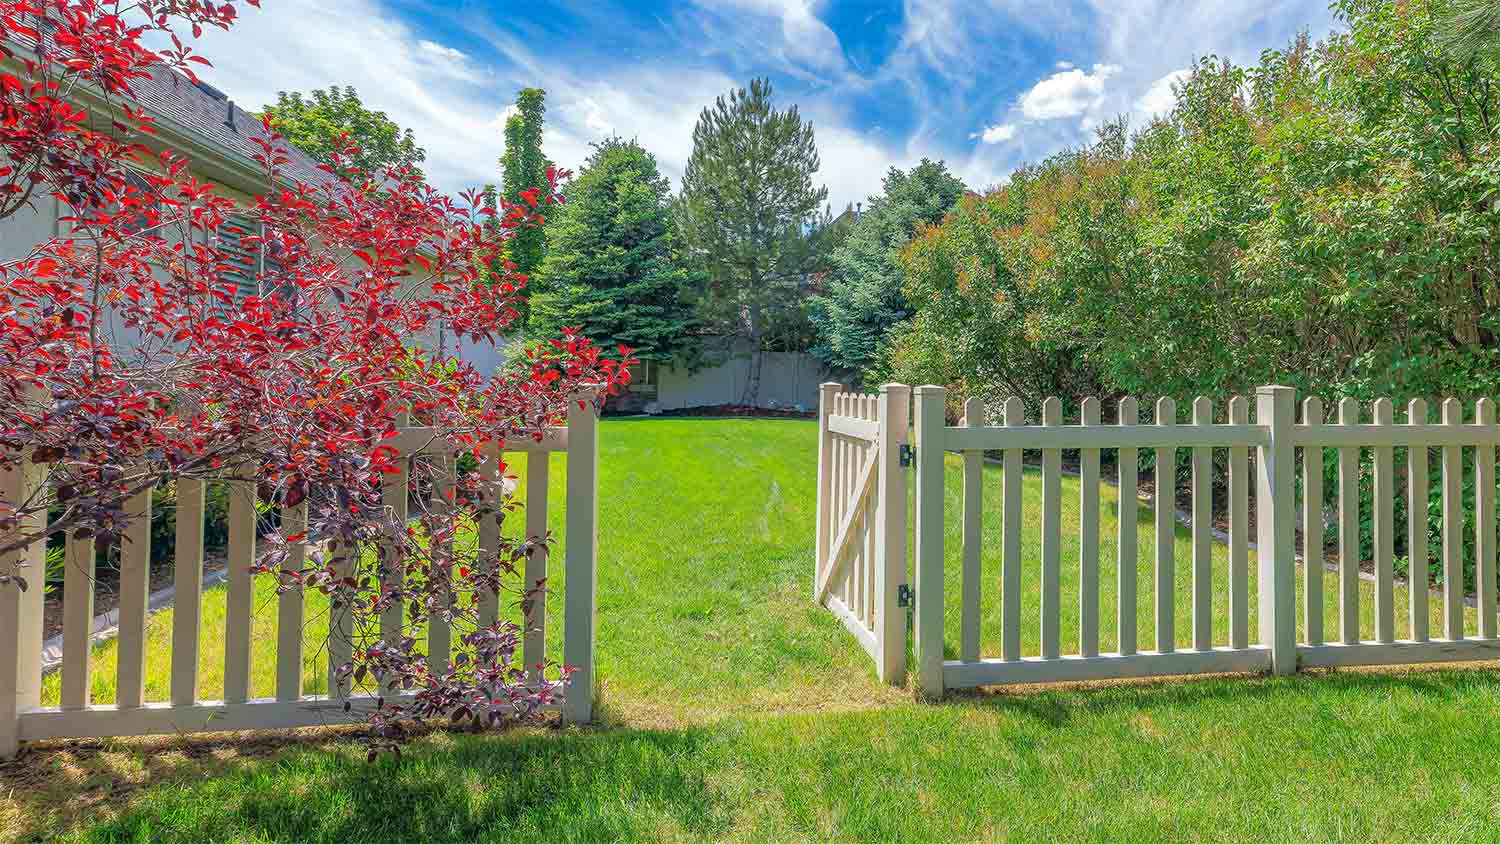
A fence that’s leaning isn’t only an eyesore—it’s also a safety issue. Luckily, with a little time, effort, and a trip to the local hardware store, an average DIYer can fix a leaning fence. In this blog, we’ll cover how to diagnose the issue and how to straighten a fence post in just a day.
A leaning fence post isn’t something to ignore. If you leave it too long, you risk causing more expensive damage or a break-out from your furry friend. Before you begin, it’s important to figure out what the issue is, so you know how to repair a leaning fence properly. Also, you’ll want to contact your neighbor if you share the fence.
It’s important that you first diagnose why the fence post is leaning in the first place. Hopefully, it’s something as easy to spot as not having enough dirt around the post or just needing reinforcement. If your issue is a step beyond that—like rotting wood or a bent metal post—hire a fence repair pro near you to help.
If you share your fence with a neighbor, now would be a good time to let them know you’re working on the issue. You’ll likely need to get on their side of the fence during this process, and they’ll need a heads-up. Sometimes, they may also need to pay for half of the repair.

To work on the leaning post, you need it to be free from the pressure of the entire fence. Start by wedging a few pieces of two-by-four 8-inch wood between the ground and the fence panels on both sides. If you can only access one side of the fence, remove the pickets from either side of the post to create a bracing system.
There’s no real right or wrong way to do this as long as the fence is supported. If you don’t have extra wood lying around or don’t want to go buy some for this project, you can also get creative and use long shovels or rakes as braces.
Once the weight of the braces supports the fence panels, you can start removing the horizontal stringers off the post. You’ll likely need a screwdriver or nail remover, depending on how they're attached.

Take your shovel and dig a hole around the leaning fence post. You may hit a large chunk of concrete from the original fence post installation project. There’s no need to remove this concrete. Instead, focus on removing enough dirt around it so you can move and straighten the post as needed.

Now that you can move the post around, it’s time to follow the steps for how to straighten a fence post. Get the post into the correct position. Use your level to make sure your fence post is straight. If you have extra braces, brace the now-straight fence post to stay in the right spot while you refill the hole in the next step.

You have three options for refilling the hole: a mixture of sand and gravel, quick-setting concrete, or expandable foam. Concrete and expandable foam will be stronger, but you may already have sand and gravel at hand that you want to use. Whatever option you use, wear gloves to protect your hands.
If you can pick up and remove the fence post fully, we recommend adding a layer of gravel before you refill the hole. This will help give moisture a place to go that isn’t your wood to help prevent wood rot. If you already have some rot and want extra support, you can attach steel angles with screws before refilling the hole with your preferred method.
When using sand and gravel, fill your hole with 1 part small gravel to 1 part wet sand. Use a tamper to pack it down. Once the sand is dry, you can reattach your fence panels. Only use this option if your ground is relatively dry and rocky.
Concrete may be a better option if you experience a lot of moisture in your area. After adding the layer of gravel, pour the concrete mix into the hole, then slowly pour a gallon of water on top; use a paint stick to mix it up if needed. The concrete should be slightly above ground level. Before it hardens, take your trowel and create a slight downward slope toward the ground so water can run away from the post.
The concrete will take about an hour to harden. But you should wait four to six hours before reattaching your fence panels.
Before using expandable foam, double- and triple-check that your pole is in place. While sand and concrete give you a bit of leeway in terms of adjustment after the fact, the expandable foam does not. At best, you have only a few minutes to adjust the pole after application before it’s mostly fixed.
Mix your resin following the manufacturer’s instructions. Cut the corner of the bag with scissors and immediately pour the mix into the hole. Quickly readjust your post as needed and wait two hours before reattaching your fence panels. If the foam expands anywhere you don’t want it to, cut it away with scissors or your shovel.

It’s time to reattach the fence panels and rails. Simply attach them to the existing holes using screws (potentially new ones if necessary) and a drill. Your fence should be sturdy now!
If you already have most of the materials around your house, like extra wood for braces, the main cost of this DIY is a few bags of your setting material.
Fast-setting concrete: These cost about $10 per bag, and you’ll need about one bag per leaning post.
Sand and gravel: You can get some sand and gravel mix for as low as $10, although you may already have some you can use.
Expanding foam: These cost about $20 per bag, and you’ll need about one bag per leaning fence post.
If your post is rotting or breaking, you may also consider purchasing and installing a steel wedge repair bracket, which will cost you an additional $30 to $50 per piece. In some cases, this may buy you more time with your fence before you need to hire a repair company; in other cases, it’s a temporary fix that won’t get you very far.
If you choose to pay the cost of professional fence repair, expect to spend between $310 and $900. Your cost will depend on a few things, like the materials required and the extent of the damages. But, if your issue is more than just a simple leaning post, paying for professional support from the beginning of the project can get you better results without running the risk of more damage from insufficient repairs.
A reliable team for moves across state. My switch to a new place needed careful lifting through tight hallways. The movers checked the doorway first, then carried heavier pieces with slow, controlled movements. Their patience helped prevent damage, and I?d choose them again.
We have used Window Warriors many times with no issues. They arrived on time and were very professional . We have pets and Window Warrior team treated them very well, well trusted team.
We have bought and sold numerous times over the past 50 years. Sherman Hall and Top Line are top notch. Thorough and detailed, he explains every possibility, probability, and eventuality. High class and pleasant. The best.
 Top Line Home Inspections, LLC
Our homes curb appeal skyrocketed thanks to Custom Paint Jobs LLC s exterior painting.
Window Depot did an amazing job on my deck. I wasnt sure what I wanted to do, but their composite decking was affordable and will last a long time. I am excited to have family over, and I am no longer embarrassed by my backyard. Jeff and the ground crew were polite, respectful, and caring for...
Great job...edging and pre clean up went well with a great job with seal coat. Friendly, efficient and professional.
 All Star Paving and Sealing
Did an amazing job transforming my yard. Also installed sod in places, would recommend to everyone.
Manuel Calvillo is the best option in the area for roofing and you won't be disappointed.
We hired Andrew and the team from Midwest Lightscapes for a custom lighting design and installation on a Victorian Village home. The house had outdated low-voltage halogen outdoor lights and many of them were not working. Andrew designed and installed a new system including uplighting on the...
 Midwest Lightscapes
The work was completed in a day and a half. They cut small trees, pulled out an old swing set, pulled out railroad ties and left the place spotless when the job was complete. I am very happy with the fence and their efforts were above and beyond my expectations.
 Elite Fence
From average costs to expert advice, get all the answers you need to get your job done.
Fence repair costs depend on the extent of damage, your fence's material, and how much of the fence you need to fix. Explore all the price factors in this guide.
A new fence adds privacy, improves safety, and even boosts curb appeal. But how much does fence installation cost? Find out in this guide.

How deep should a fence post be to keep your fence from falling over? Fence height, frosts, and more affect the depth. Learn more.
A leaning or damaged fence post can make your fence unstable and look unattractive. Learn who to call to fix a fence post and prevent future damage.
One loose post can bring down the whole fence when left unchecked. If you need to know how to fix a loose fence post on your own, here are several easy methods.
Fence posts are the foundation of any sturdy fence. Make sure your fence is straight and strong with this step-by-step guide on how to install a fence post.