

A brand-new pantry can free up a lot of space in your kitchen. But how much does it cost to build a pantry? This guide breaks it down.
Updating your tile game can make your bathroom feel like new without any major renovations


Do you have cracked tile, grody grouting, or a style that is so outdated you can barely look at the room without wincing? If you want to make your bathroom look shiny and new without doing significant remodeling, you have a few options. Learn how to update your bathroom tile without replacing it with these eight creative ideas.
When taking on this project, expect questions only a pro can answer. With our network of local pros, you'll get the job done and your questions answered—without the hassle and stress of doing it yourself.
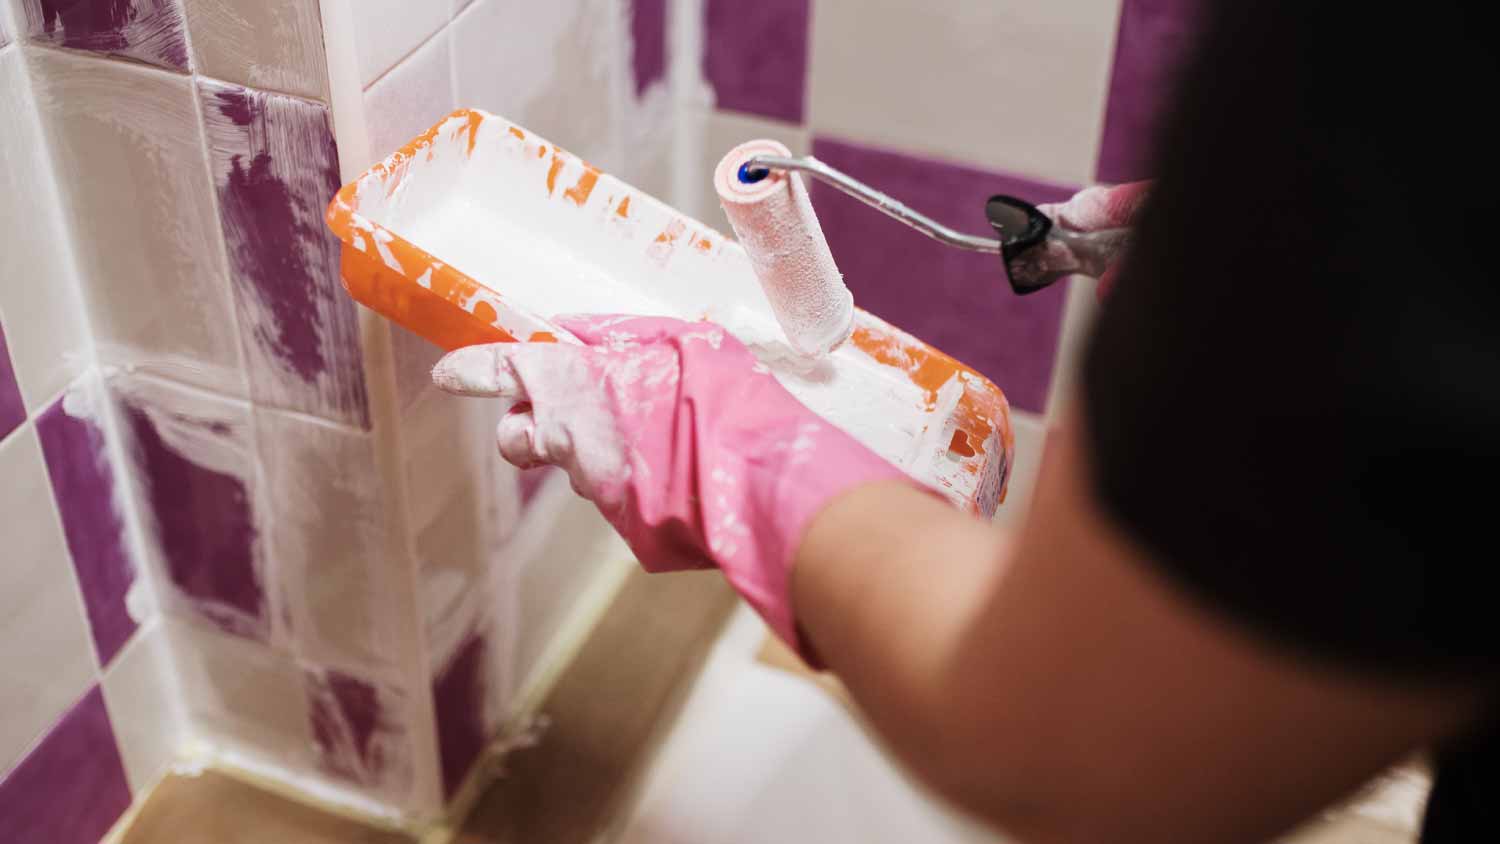
One of the most affordable ways to update bathroom tile without replacing it is to paint over it. However, it may be harder to remove the tile in the future, and your tile and grouting will lose that signature contrasting look.
However, while painting over tiles takes some time and planning, the final result requires far less time, waste, and money than replacing the tiles completely and can transform the look of your bathroom with minimal work.
Always begin by speaking with your local paint store about purchasing the right paint for your tile material. Not all materials require the same paint, though most—such as ceramic and porcelain—respond well to epoxy paints.
Protect the rest of your bathroom from paint splatter with plastic covering—including your tub, sink, mirrors, toilet, and non-tiled walls. You will need to clean, sand, and prime the tile before adding the final coat of paint, so set aside enough time in your week to keep your bathroom out of commission. Additionally, depending on the type of pre-mixed paint you choose, you may also need to add a coat of waterproof sealant to protect the layer from moisture.
Need a quick, temporary, or renter-friendly fix to update your bathroom tile without replacing it? Many adhesive decals can cover up unsightly tiles and come off without leaving a residue.
Decals come in sticker form but adhere to clean tile to add more color, cover a broken tile, or simply change up the style of the room. While they're not best for withstanding long-term bathroom use, they can help you bridge the gap before your upcoming renovations.
A note of warning, however—not all stick-on tiles remove cleanly from all materials, particularly if you're latching them right onto drywall. Be sure to test an area before covering the whole room, especially if you're renting.
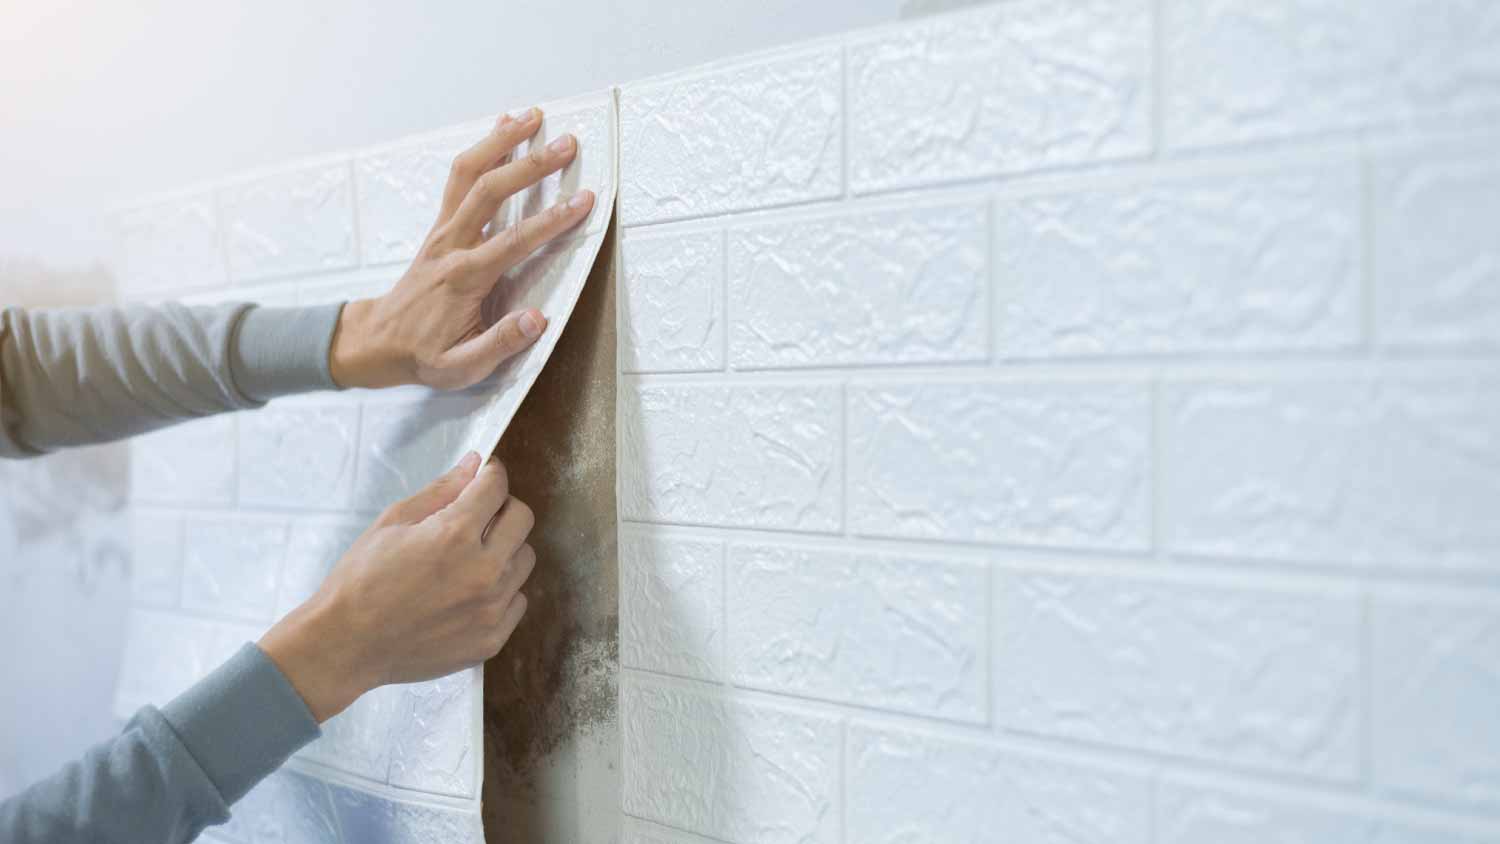
If changing your bathroom tiles will give you the updated look you desire, it could be as easy as peel-and-stick. Installing a peel-and-stick backsplash on your existing tile can transform your bathroom’s look by adding color and shape, all within 5 to 6 hours.
After prepping your existing tiles for this DIY project and cutting the peel-and-stick tiles, you can apply them to your bathroom walls and around outlets. Remember to interlock the sheets for a seamless look if you choose a mosaic pattern, or simply line up the pattern if going with a more traditional look.
You can also add a coat of sealant to protect your peel-and-stick tiles from water damage if placed near a sink. It’s best to research the type of tile you selected to determine the best sealant, or you can call a local handyperson near you to help. And if you change your mind and want to remove your peel-and-stick tiles, don’t worry—removing them is almost as simple as placing them.
An alternate way to update bathroom tile without replacing it is to cover it up with other flooring. Luxury vinyl flooring can instantly give your bathroom the “wow” factor that it deserves, all without the need to remove your existing flooring option first. And since LVF is so durable and easy to maintain, adding it to your bathroom is a perfect upgrade solution.
To get started, you must acclimate your new LVF to the room where it’ll be installed for at least 24 to 48 hours. Like other projects where you cover existing tile with a new option, your current floor must be prepped and thoroughly cleaned before installation. When ready, you can measure and cut the planks to fit in your bathroom, apply the adhesive, and lay your new flooring.
If this seems like a more involved task that you’re not ready to DIY, a professional vinyl flooring installer can take this project off your to-do list.
Replacing your grouting from scratch is a larger project than you may expect. For example, a pro will likely bring in a grouting saw to remove the current material and spend ample time finding the perfect match for your new design.
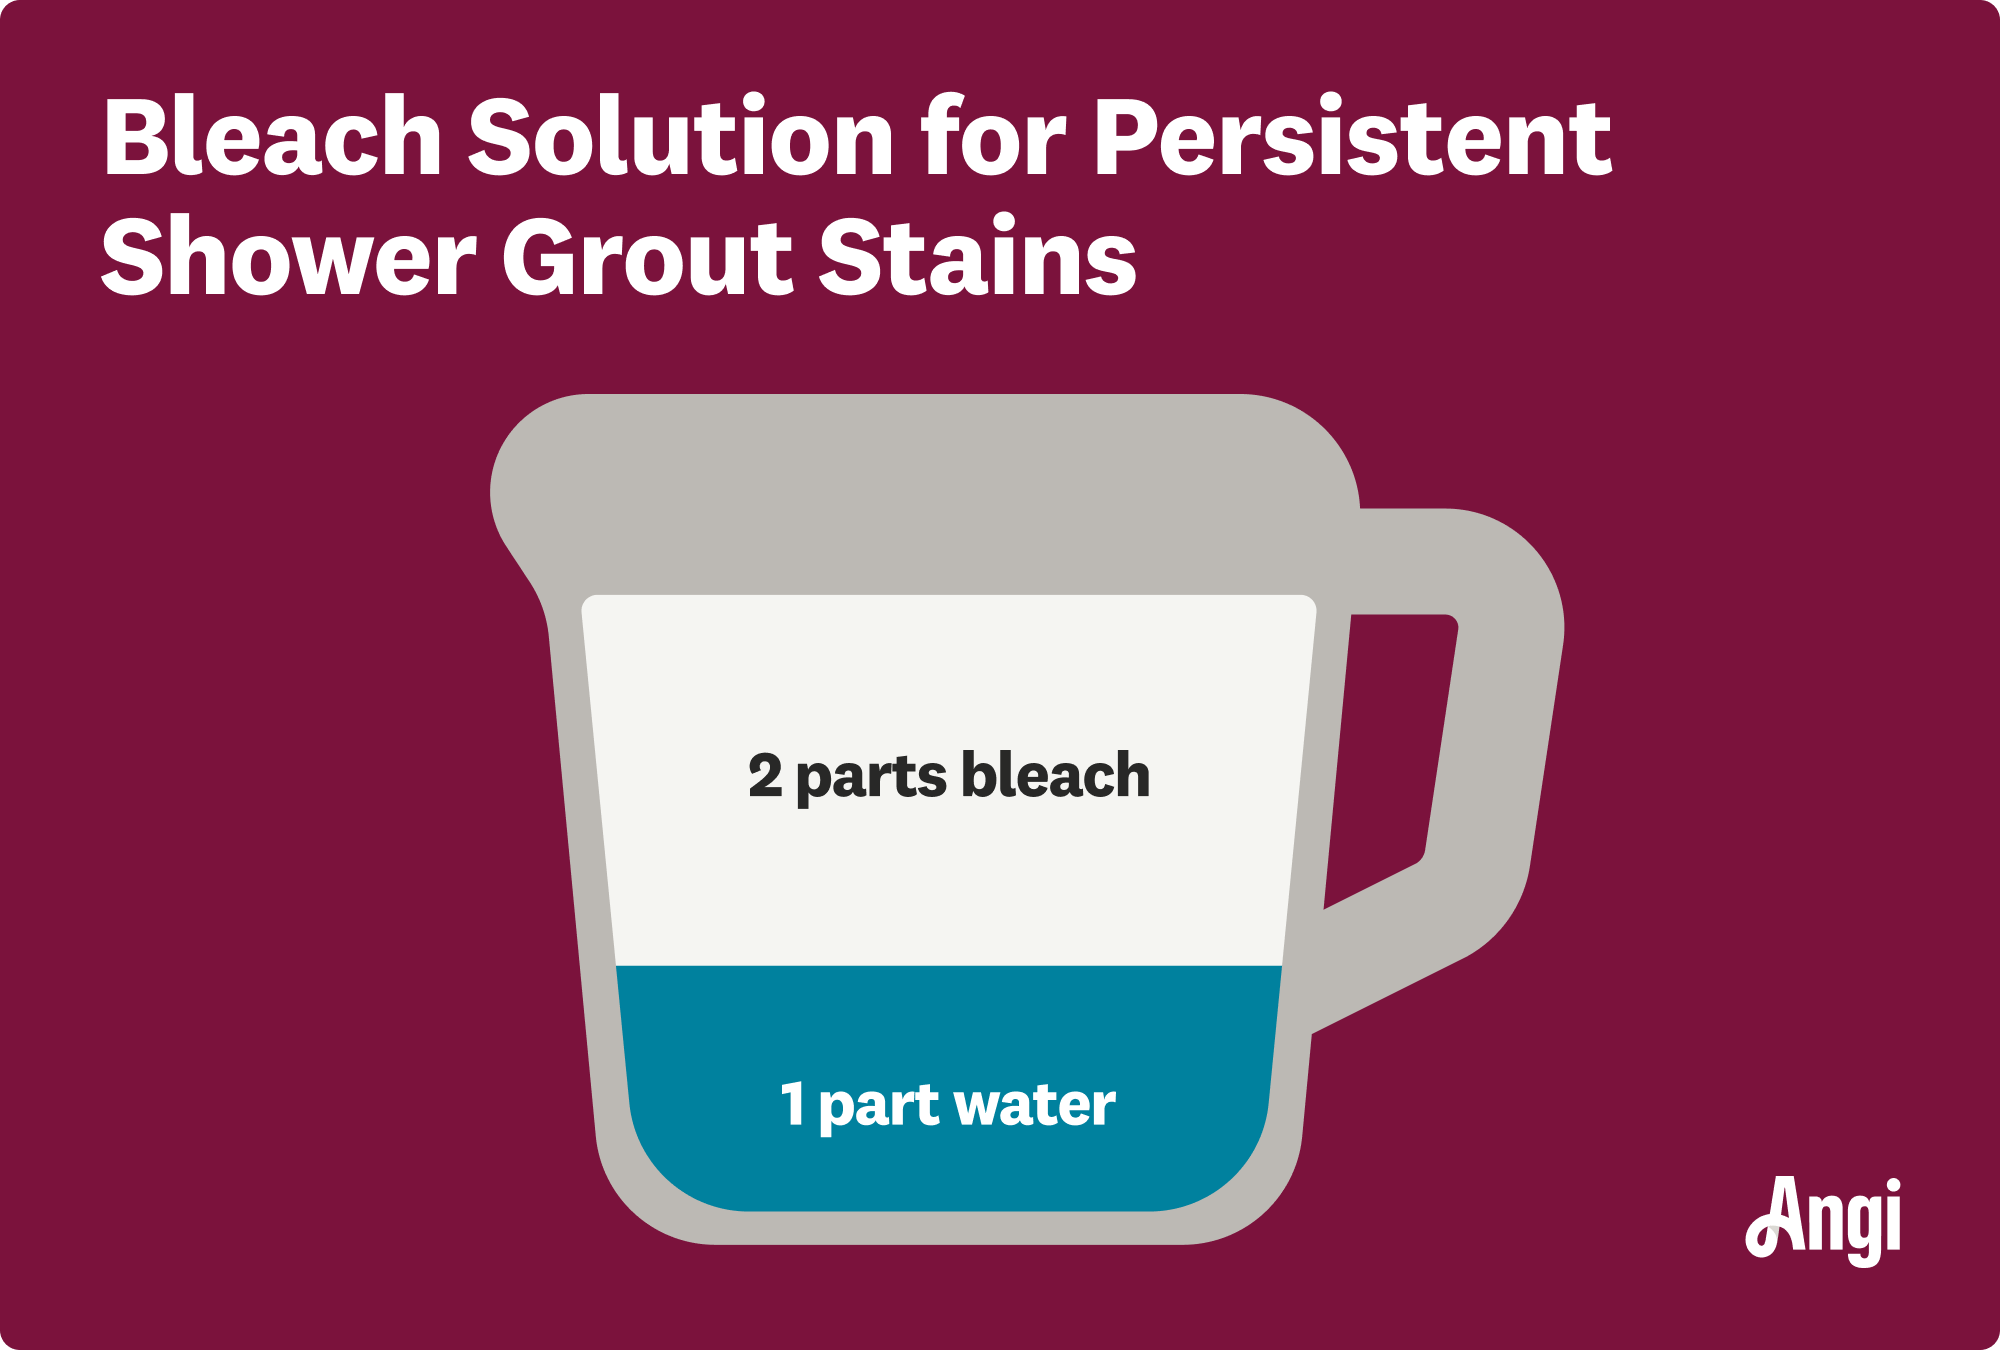
Cleaning your grouting is a quicker and more DIY-friendly approach to brightening up old tile. Depending on the stains in your grouting, you may need anything from a simple warm water and vinegar solution to much tougher oxygen bleach from the store.
Coarse scrubbers such as steel wool and rough scouring pads should never be used on grout. They often scrape away a layer of grout in the process. Instead, use a stone-safe sponge or nylon bristle brush to clean your grout effectively and safely.
Follow these steps to clean your bathroom grout:
Use a nylon brush to test out the stains on your grouting.
Start with warm water before moving to a water-and-vinegar solution or vinegar-and-baking soda solution.
If you switch to bleach, never allow it to mix with any other cleaning supply, even vinegar.
Replacing small sections of grouting in your bathroom—particularly if they do not point to larger structural or water damage problems—can be a DIY project if you're ready to pull out the power tools. While you’re at it, don’t forget to regrout your shower tiles as well to bring new life to your shower.
For this project, you'll need a grouting saw to remove the small area of cracked grouting. Be sure to color-match your new grout before applying it with a putty knife and letting it properly dry in a ventilated space.

Another smart way to update your bathroom tile without replacing it is with a wall panel cover. This is why more and more bathroom designers opt for non-tile solutions, such as wainscotting or other wall panels. Common materials for wall panels include PVC, MDF, and acrylic.
Sometimes, you can add a series of wall panels yourself, especially if covering an easy-to-measure area like an open wall. Remember that you must be comfortable measuring, sawing, and sanding the panel to the perfect size for your bathroom area.
The moment you have to remove fixtures, plumbing, or counters to add the panels, it's best to leave it to the pros. A general contractor near you will be able to complete this project quickly with their expertise and knowledge.
Whether we're talking about the backsplash behind your sink or the tile that runs along the edge of the tub, all bathroom tile and grouting are susceptible to wear and tear. Mold, mildew, cracking, and fading are all too common, and it's no big surprise as to why. After years of cleaning chemicals, frequent moisture, and high traffic, tile can lose its sheen pretty quickly.
But which tile replacement alternative is suitable for you? Begin by asking yourself a few questions:
What is my budget for the project?
Do I want to bring in a professional?
Do I want to freshen up my tiles or cover them altogether?
The options above range from a simple cleaning to fully hiding those tiles from sight until you're ready for an upgrade. But if none of the solutions we’ve presented are what you’re looking for, it might be time for an actual renovation.
You can take control of your bathroom design without tackling a major project, but always keep the longevity of your project in mind. In many cases, a professional tile floor cleaner in your area or tile upgrade will have the largest and most long-lasting effect on the look of your powder room. These DIY options, however, can make a significant impact without revamping the whole space.
From average costs to expert advice, get all the answers you need to get your job done.
A brand-new pantry can free up a lot of space in your kitchen. But how much does it cost to build a pantry? This guide breaks it down.

Remodeling your bathroom can add significant value to your home. Your bathroom remodel cost in New York, NY will depend on size, fixtures, materials, labor, and other factors.

Shower installation costs in New York, NY depend on size, style, and materials. No matter the budget, this guide can help you plan your project and even save a few bucks.

Building a bump-out addition creates more functional space in your home while also boosting its resale value. Learn more about their costs, benefits, and uses.
.jpg?impolicy=leadImage)
Walk-in showers offer plenty of benefits when compared to standard bathtubs, but are they right for you? Discover the pros and cons of walk-in showers.

When planning a bathroom remodel for older adults, start by evaluating the mobility needs of the specific individuals residing in the home.