
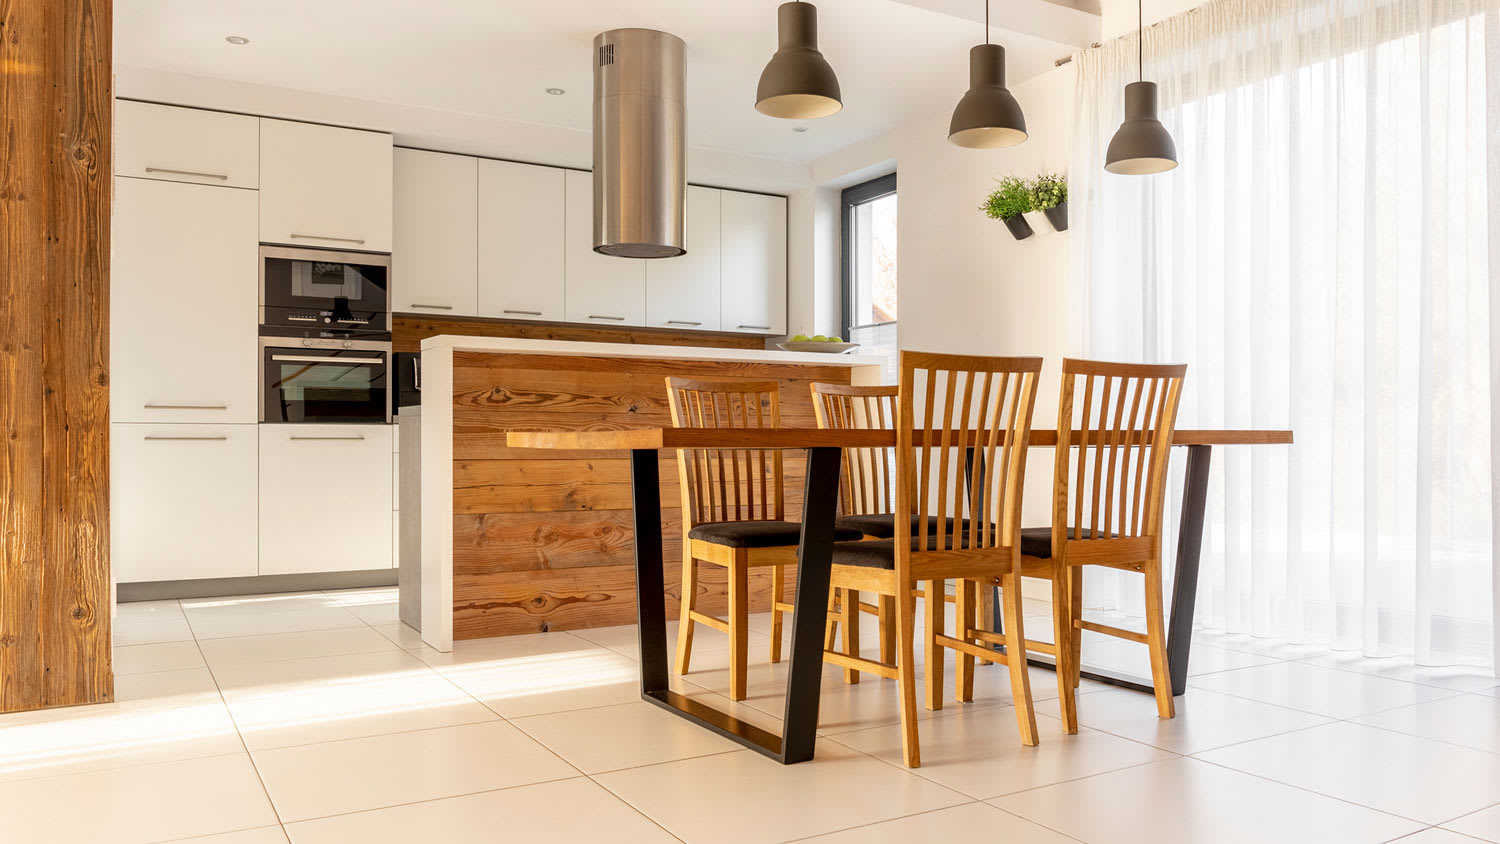
Removing tile flooring is a labor-intensive process. Here’s how much it costs to remove tile flooring, whether you hire the project out or do it yourself.
Out with the old, in with the new (including the sticky residue)

The great thing about peel-and-stick tile is that it’s fairly easy to install and remove. It's also very DIY-friendly. So if you’re ready for a fresh look or need to replace your tile before moving out of a rental, you can follow these five easy steps to learn how to remove peel-and-stick tile yourself.

Before getting started, determine which heat tool you’ll use for removing the adhesive tile flooring. You can use a hair dryer, a heat gun, or an iron. The most efficient tool is a heat gun, but if you want to get this done in a budget-friendly way, you can use a hair dryer or an iron.
However, if you’re removing a large square footage of tile, like your entire vinyl kitchen flooring, it’s definitely a good idea to purchase a heat gun from your local hardware store.
Next, do your research. Stick and peel tiles from the 1980s and earlier may contain asbestos. If you’re not sure about your tiles, call in a pro for an evaluation before getting started.
If you discover that your tiles contain asbestos, you’ll need to hire a professional to do the job for safety reasons.
Otherwise, it’s time to get started on your tile removal.
Ready to start? Follow these steps for a seamless DIY.
The first step is to heat your tiles. This helps to break down the adhesive that’s been keeping your tiles in place. You can use a heat gun, a hair dryer, or an iron.
Regardless of which tool you use, put on some knee pads to protect your knees before you get started.
You don’t want to heat the entire tile floor before moving onto the next step. Instead, start in one corner of the room and focus on completely removing one to three tiles at a time before moving on to the next batch.
Turn your hair dryer onto its highest setting and hold it 1-2 inches from the floor. Spend about one minute per tile and start at the seams. This option should work for most peel-and-stick tiles. However, if the flooring is over 10 years old, you may need a stronger heat tool, so try a heat gun.
Wear gloves when using a heat gun to keep yourself safe. Turn your heat gun to the lowest setting and hold it 2-3 inches from the floor.
Move the heat gun along the seams of the tile before heating the tile itself. It should only take 1-3 minutes for the glue to melt. If it takes longer than that, increase the temperature on your heat gun.
Place a towel on the tile before you use an iron. Place the hot iron on the towel and move it back and forth on the towel until the tile warms up. Spend about 30 seconds to one minute per tile.

Once you’ve heated the tile, it’s time to start removing it. Protect your eyes with goggles before you begin this step. It’s also a good idea to use a dust mask too.
Use a paint scraper or putty knife and slide it under a corner of the tile. If the tool doesn’t slide easily under the tile, repeat the first step and melt the adhesive some more.
Next, lift the corner of the tile at a slight angle. Once you get the corners started, then you should be able to grab the tile and pull it off the floor.
Repeat steps 1 and 2 until you remove all of the peel-and-stick tiles. Depending on the square footage you’re working with, this might require some sweat equity and patience.
You’ve removed all the tiles, but now what? No matter which brand of adhesive you used, you’re likely looking at a subfloor that’s a little sticky here and there.
You should remove as much of the adhesive as possible, regardless of what you plan to do next.
This is especially true if you’re planning on a new peel-and-stick tile installation. A clean subfloor will help the tiles last longer.
And even if you’re planning to install a floating floor, for which you could technically leave the floor as-is, it’s good practice to get all the adhesive off. You never know what projects you may take on in the future, and they may require a subfloor that’s in good condition.
The easiest way to clean your subfloor is by applying an adhesive remover. Follow the directions on the product you purchase, but in general, you simply need to apply the remover and let it sit for 10-20 minutes (sometimes longer).
After the waiting period, use a floor scraper to get all of the gunk off the floor.
If you don’t want to use an adhesive remover, you may be able to get the job done by heating the glue with a heat gun and scraping it off.
Once all of the adhesive is removed, do a quick cleaning to get your subfloor back in tip-top shape.
Most subfloors are made of particle board or plywood, so you want to be careful that moisture doesn’t seep in to avoid mold issues in the future. If you have a steamer on hand, that could be the easiest way to get the job done.
Otherwise, you can use a homemade cleaner. Use a 1:1 mixture of water and vinegar or a 1:1:3 mixture of bleach, hydrogen peroxide, and water. Apply the cleaner onto the subfloor with a stiff broom or a sponge. Focus on small areas to clean and work quickly to soak up any extra moisture with a towel as you go.
Peel-and-stick tile can damage your floors if you don’t take extra care when pulling it up. Slowly and carefully follow our instructions above to give yourself the best chance of avoiding damage from peel-and-stick tiles. They may also leave behind a sticky residue, depending on the type you purchase.
Quick tip: Never put peel-and-stick tile over true hardwood floors. Natural wood can warp and shift, and that means your tile will, too. This will leave you with a less-than-aesthetic floor with gaps, cracks, and damage much sooner than you probably think.
Some DIYers can tackle peel-and-stick tile removal. However, if your tile has asbestos (or you suspect it has asbestos), you don’t have the time, or you simply would prefer to do something else on your weekend, you can always hire a tile contractor near you.
Hiring someone is a great idea if you already have plans for your new flooring installation. That way, workers can remove the old flooring and install the new flooring at the same time. Plus, the pros know how to do it right, and they’re much less likely to damage your floors, especially if you’ve never removed peel-and-stick tile before.
Terrible experience. Walls/trim/floors/cabinets/doors all have drip marks, overspray, etc. Tiling at the fireplace had to be redone by another vendor due to incorrect and shoddy install by Profect. Contractor had his children in our house while he was on site without prior authorization or...
 Profect painting & exteriors
It was wonderful working with Yordy and his team. They were very professional and are experts in what they do. They have completed the work on time, with better quality and with in fairly reasonable price. We just started with backsplash work , but liking his work, we went on to provide...
We were having 2”x 2” tile installed . There was a small installation error and the new additional replacement tile was from a different lot and the colors didn’t match. Joe assured us that he would rectify everything , which he did without hesitation. We decided to go with the 18” x 36” tile...
 CarifaTile
For several months I was looking for somebody to tile a wall in my master bath and move lighting fixtures, and could not find anybody who was responsive. I contacted Rowe through Home Advisor and within days they came by to assess the job and provide an estimate. The cost was very...
It went very well! The end product was amazing and we keep getting a lot of compliments from friends! M&E were very professional and they made sure we were happy with the product before leaving. They met with us in our home and at the tile shop to make sure we were okay with our tile and...
 M&E Remodeling
Involved an extensive bathroom remodel, including removing tub & installing walk in shower, new drywall, custome tile work to ceiling, plumbing, etc. Overall, job was done on time and on budget. Nick & his team were very professional and had high attention to detail. Quality was great. Highly...
 Stamos Flooring and Remodeling LLC
Very pleased with the service and level of professionalism. Courteous and very unobtrusive in performing service. Unlike several other companies, Bradford Xteriors was willing to perform work on a three story home with a clay tile roof. <br />
 Bradford Xteriors
This company did a very good job on the brick wall and it looks just amazing. The staff was always professional and was practically OCD on how the bricks were stacked and how they were laid. Although it took longer than expected, I am willing to sacrifice time over perfection anyday. The...
 My Handy Mate LLC Improvement & Remodeling
He did the tile work and he was good at it. He used other subcontractors for the rest of the work (like putting in the cabinetry) and they were okay but not great. He was a great guy! He was easy to work with and had a good eye for the detail of his work. There were a couple of things that I...
 Brian Miller Custom Remodeling
I was very impressed with Miller Cantrell! I live in an old home in which the sewage line that runs from my home to the sewage system is a line of clay tile. These eventually collapse and need to be replaced - an expensive problem and sure to happen at the worst time. I told them that my...
From average costs to expert advice, get all the answers you need to get your job done.
Removing tile flooring is a labor-intensive process. Here’s how much it costs to remove tile flooring, whether you hire the project out or do it yourself.
Understanding peel and stick tile pros and cons will help you decide whether this low-cost method is the right choice for your project.

Knowing how to grout peel-and-stick tiles can help you achieve a high-end look on a budget. This guide will show you how to do it.

Learn how to install a peel and stick backsplash—and give your kitchen a quick style makeover—with this guide.
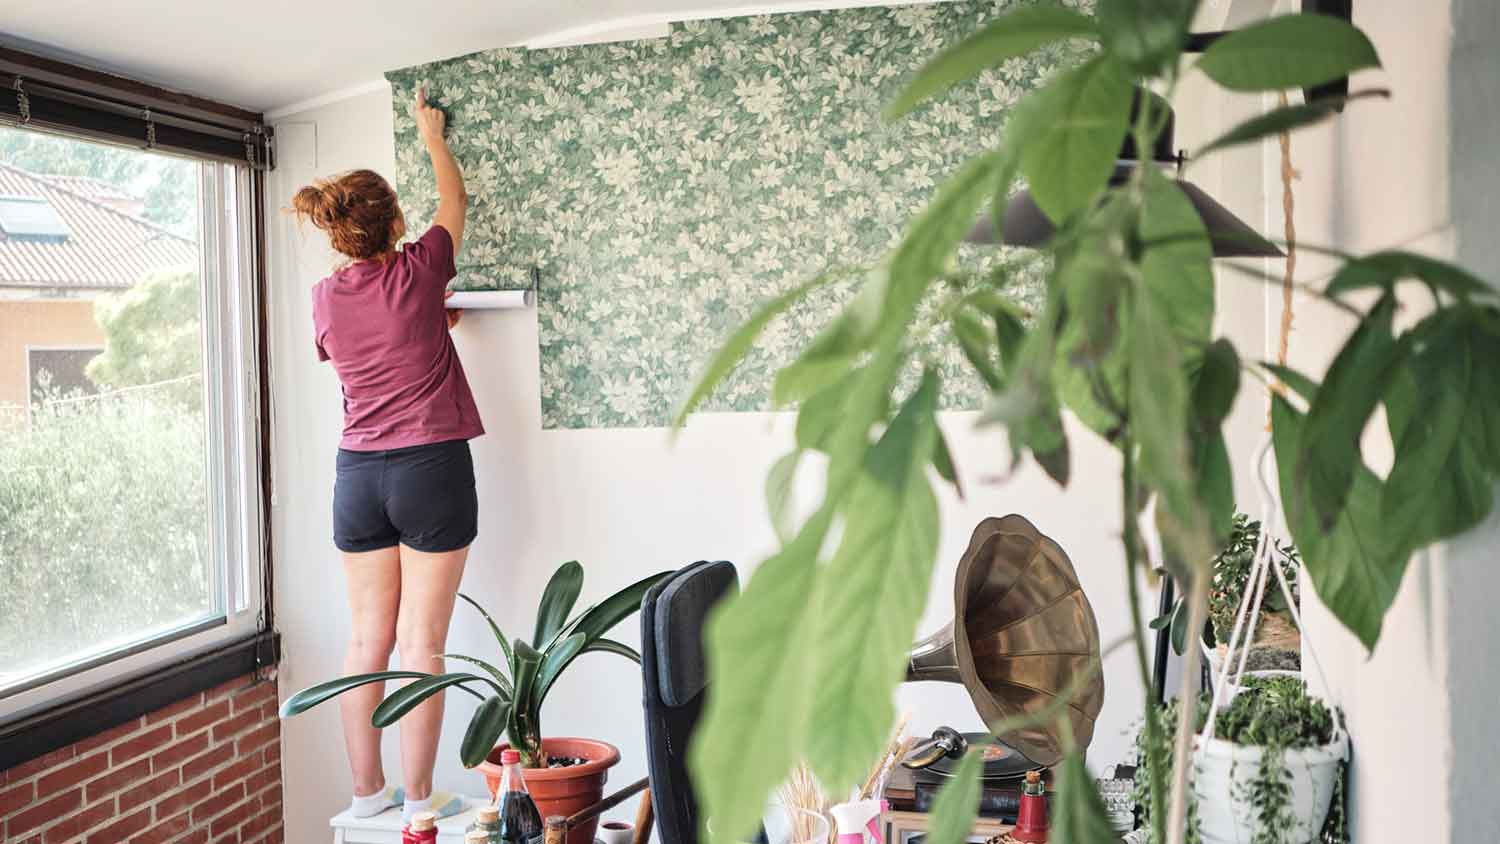
Is peel-and-stick wallpaper removable? Find out how to remove temporary wallpaper without causing damage to your walls.
Does peel-and-stick wallpaper damage walls? Ultimately, it depends on application, adhesive strength, and even removal techniques. Find out more in this guide.