
Drywall texture can create an attractive finish and add dimension to your home’s walls. This guide breaks down the factors that influence the cost to texture drywall.
Swap the sandpaper for a sponge with this drywall sanding technique

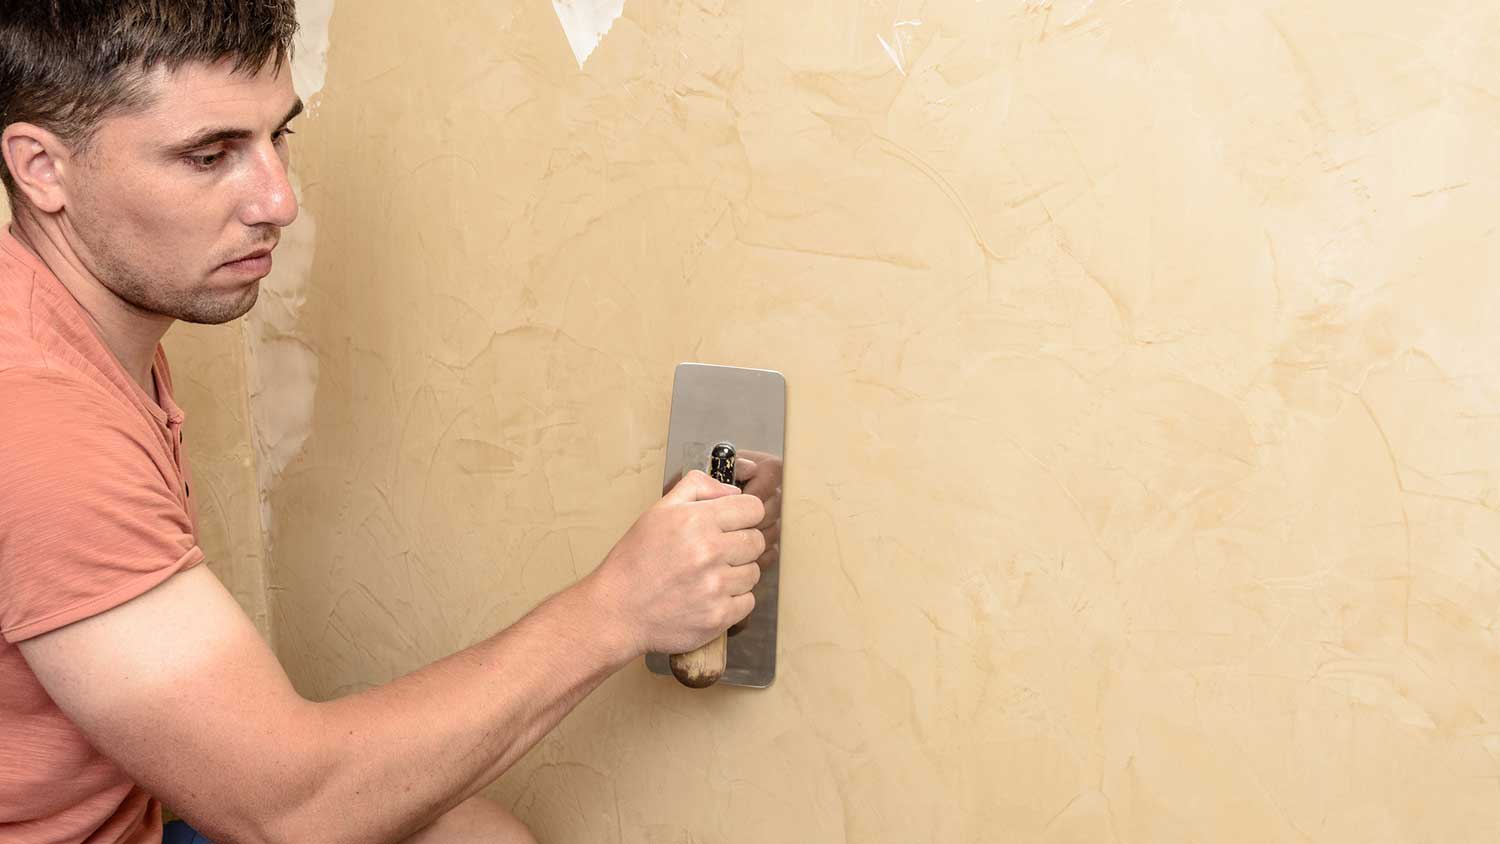
Before you can paint drywall, you’ll need a clean, smooth surface—and that’s where wet-sanding comes in. While this method is a bit trickier to master than dry-sanding, the benefit is that it creates much less dust in the process. Keep reading to learn how to wet-sand drywall and turn your walls into flawless, paint-ready canvases.
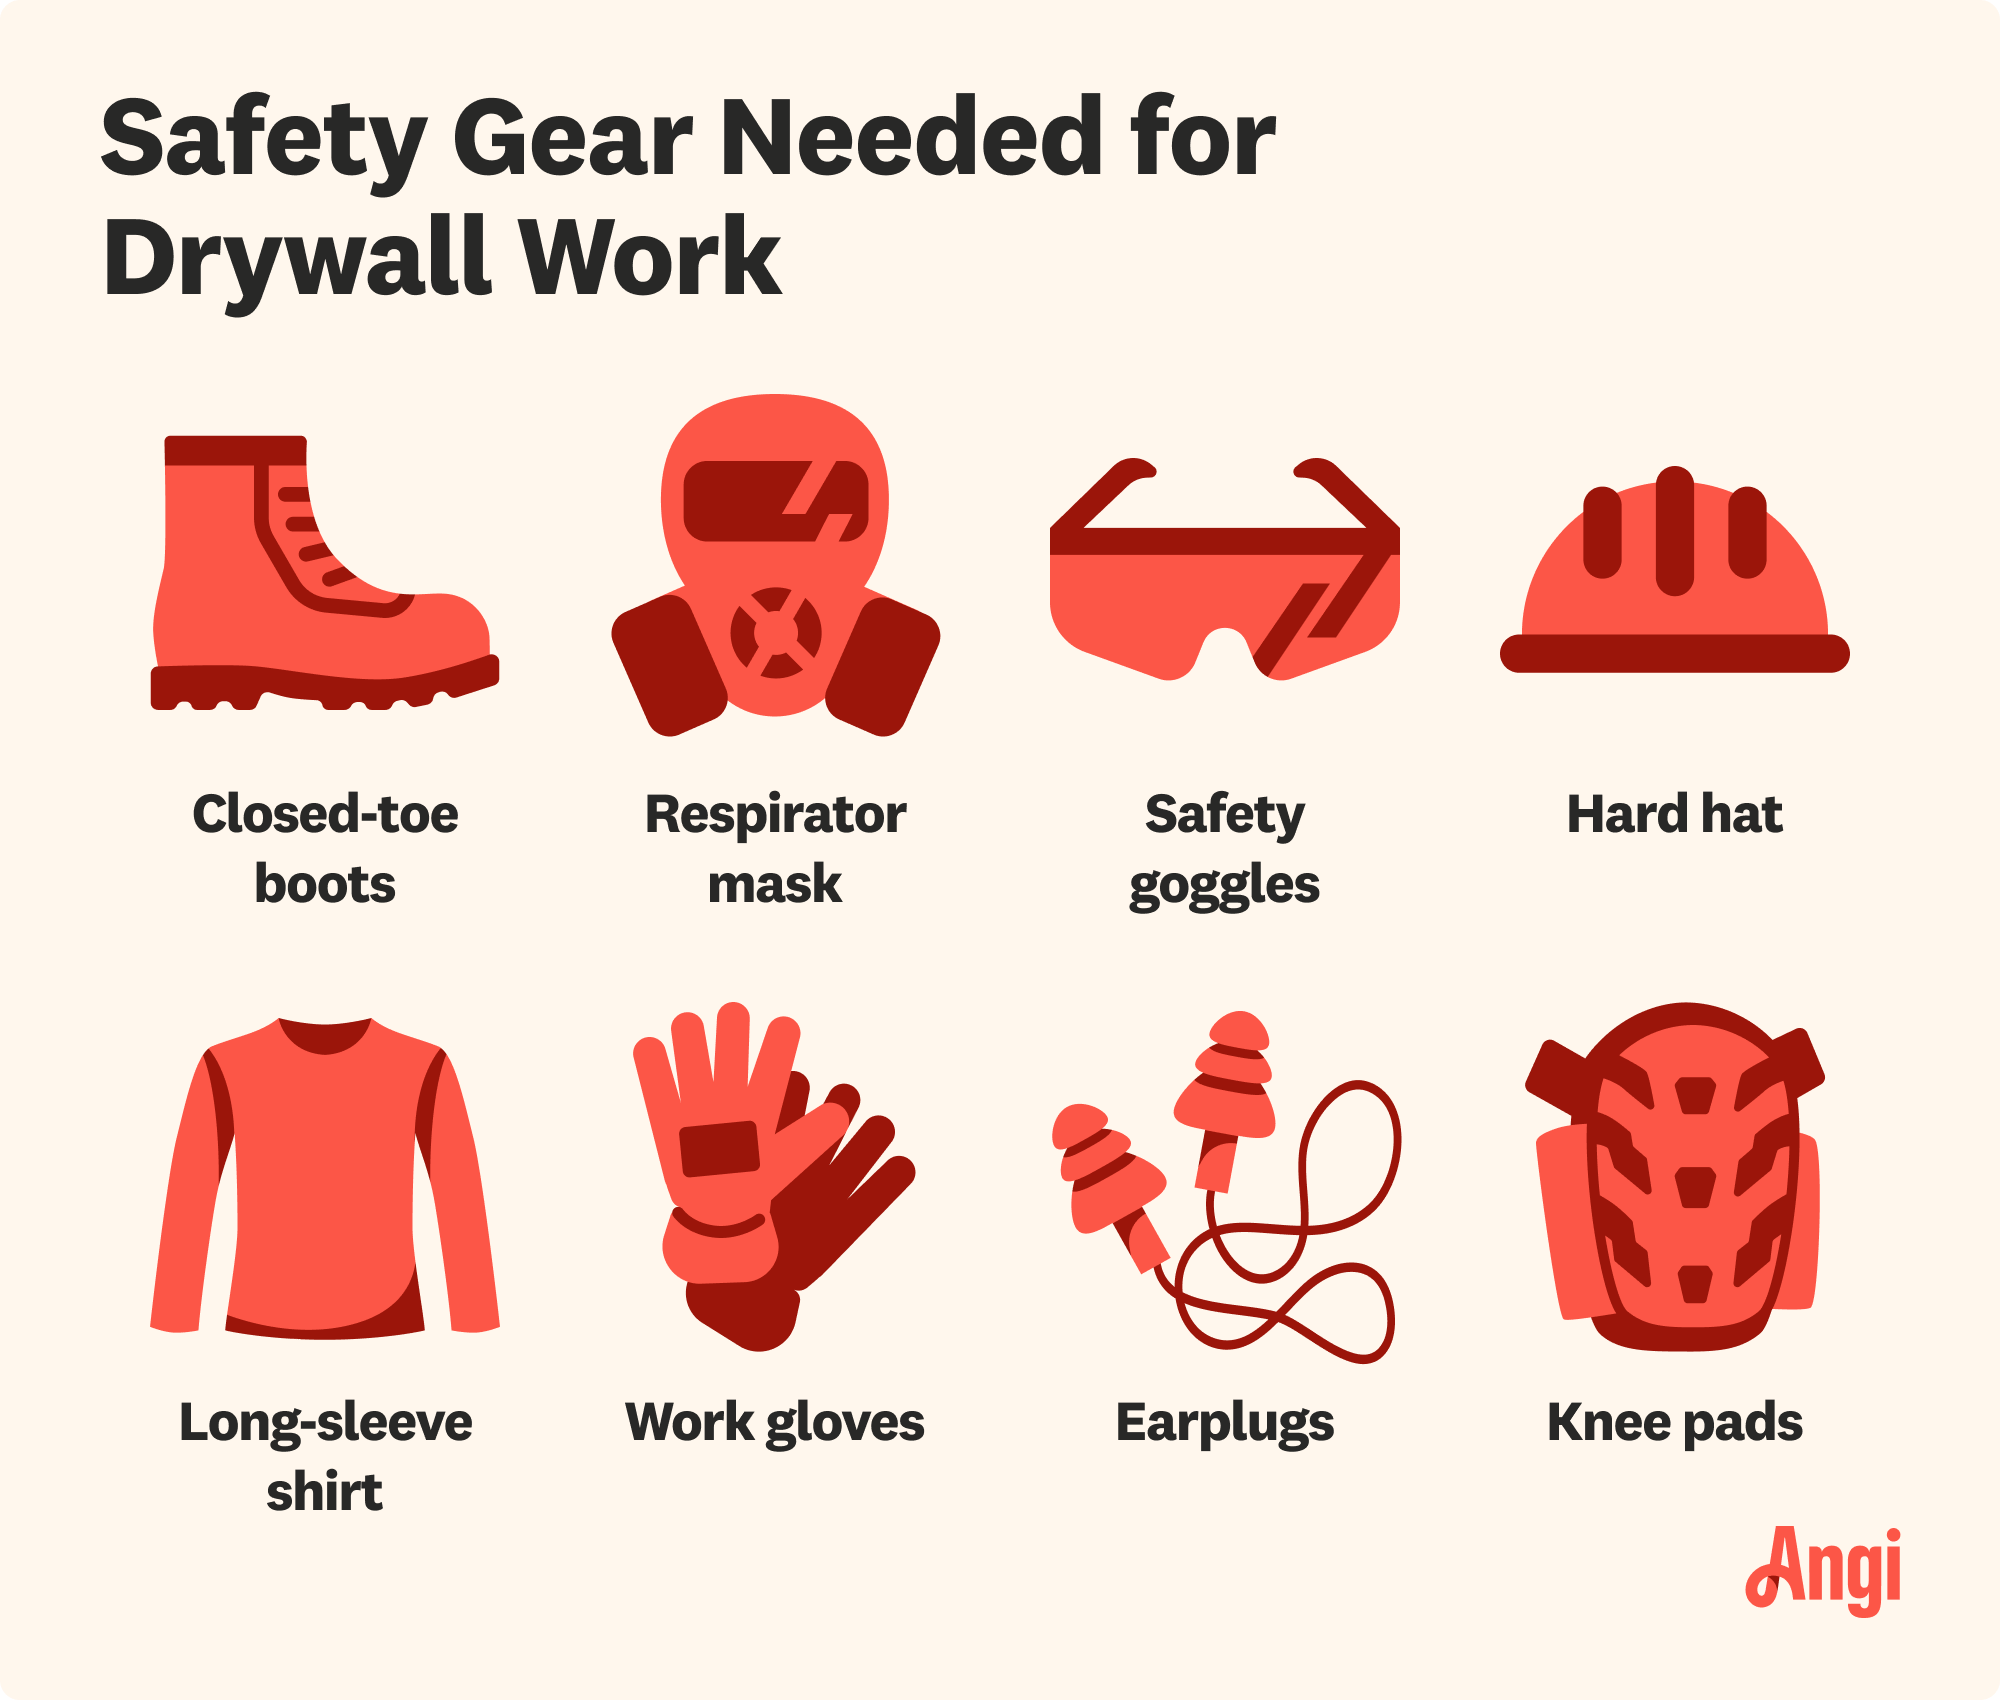
Wet-sanding drywall produces much less dust than dry-sanding, but it’s still important to protect yourself while working. This means putting on safety glasses, gloves, and a dust mask to limit your exposure to silica dust, which can lead to health issues over time.
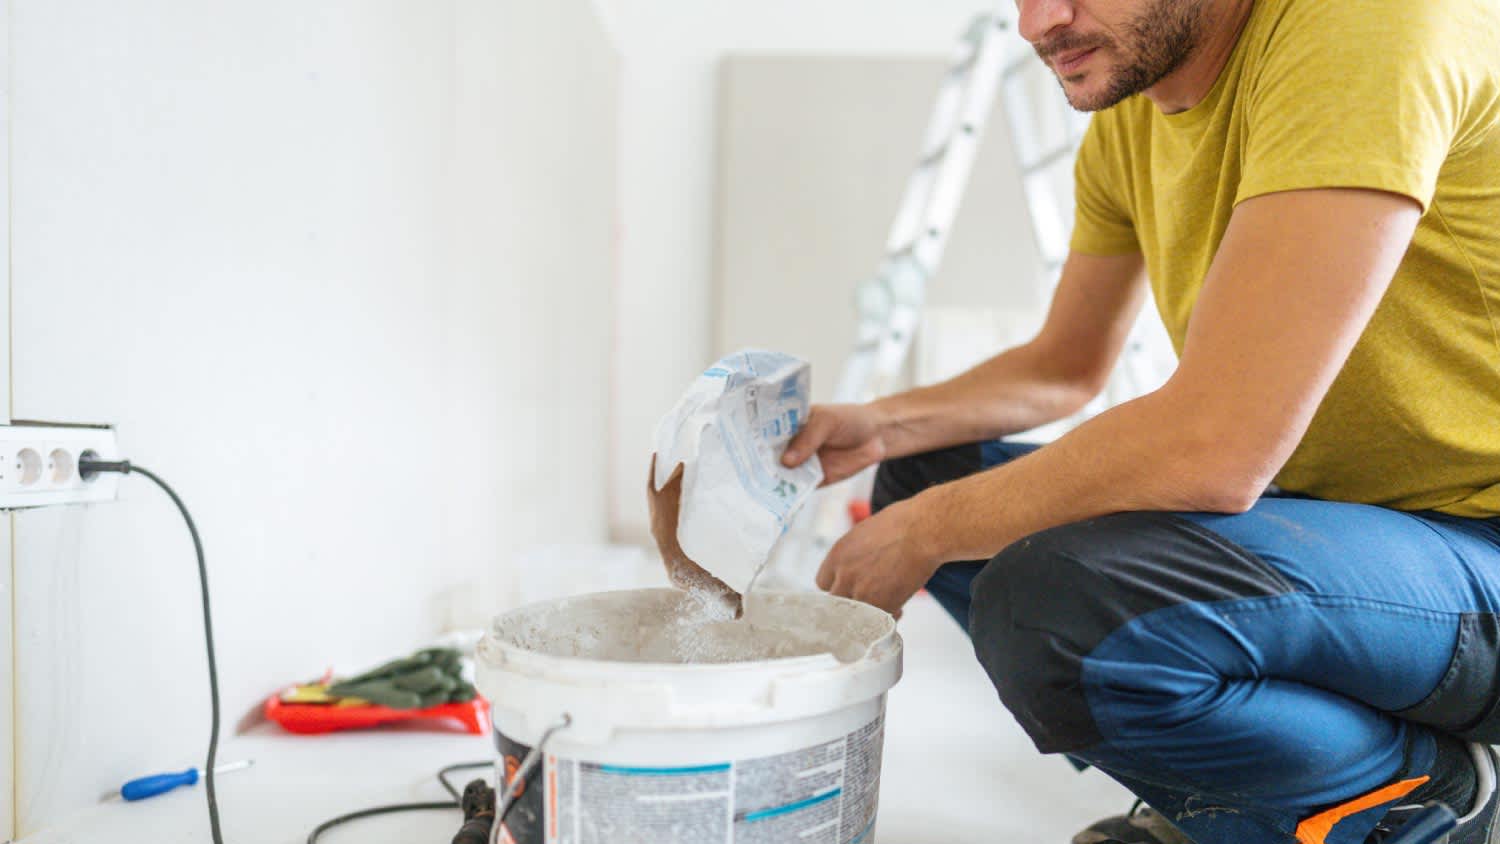
Add clean water to your bucket, then dunk the sponge in it. When the sponge is fully saturated, wring out some of the water. Avoid squeezing out too much water, though, because drywall sponges can dry out quickly. It should feel damp—but not soaked.

Gently sand any bumpy or ridged parts of the drywall with the abrasive side of the sponge. Work in a circular motion, using broad strokes. Don’t use too much pressure in any particular spot, or you could end up with depressions in the drywall mud and problems with the drywall finishing.
As you work, rinse the sponge occasionally to get rid of excess drywall mud and keep it clean.
You may need to use a ladder to reach higher areas. If so, make sure to follow proper ladder safety while working.
When you’re done sanding the uneven spots, rinse off the sponge and dampen it again in the bucket of water. With the sponge’s smooth side, feather the edges of the drywall mud outward to help it blend in with the rest of the wall. Use even pressure to avoid damaging or denting sections of the drywall.
Throughout the process, rinse and re-moisten the sponge often. This will keep the surface wet, which helps reduce drywall dust and delivers a smoother finish. If the water gets dirty, change it.
Once you’ve completed these two passes, let the wall dry completely. You may have to wait up to 24 hours for the re-moistened drywall mud to dry.
When it’s dry, inspect the wall for any remaining uneven spots. If you find any, you’ll need to use sandpaper to smooth them out. Don’t repeat the wet-sanding process again because it can make the drywall too wet and potentially damage it.

After you finish, wipe down the area with a damp cloth or sponge to remove any remaining dust or debris. Once everything is clean and dry, you can prime and paint the walls or apply the drywall texture of your choice.
Even if you aren’t an experienced DIYer, wet-sanding drywall is a simple enough project to tackle on your own. However, it’s time-consuming and requires patience—especially if you’re sanding drywall in multiple rooms or throughout an entire home.
Crystalline silica is a toxic dust that's often generated during drywall installation, which can cause respiratory issues if exposed over time. A professional drywall installation company has the right tools to protect your home and ensure safe air quality after your project is completed.

If you’re short on time, consider hiring a drywall installer near you instead of taking on this job yourself. On average, drywall pros charge between $50 and $100 per hour.
Cancelled appointment two hours after they were supposed to come for drywall work.
I would recommend this company to anyone! He showed up on time, was friendly, completed a very difficult repair on our dryer vent cover, was responsive, and pricing was extremely fair and competitive. I would have him back to do any of our repairs or cleanings without hesitation!
I cant stop admiring my newly painted walls. Custom Paint Jobs LLC made my house feel brand new.
Excellent experience with hiring Tether House to Mount our 77’ Samsung TV in our bedroom. Fast, friendly, and knowledgeable. Highly recommend.
Excellent customer service and knowledge. I was recommend to him from my neighbour. My front door and window came in great and were installed beautifully perfectly, I m very satisfied with their excellent work, so decided to order one more big bow window for my living room. I cant wait for...
Manuel Calvillo is the best option in the area for roofing and you won't be disappointed.
Would hire again. Wall looks great. Happy with job.
 Central Paving
Involved an extensive bathroom remodel, including removing tub & installing walk in shower, new drywall, custome tile work to ceiling, plumbing, etc. Overall, job was done on time and on budget. Nick & his team were very professional and had high attention to detail. Quality was great. Highly...
 Stamos Flooring and Remodeling LLC
We have had a great experience with Rising Height for the past five years on a number of miscellaneous renovation projects. They laid flooring for us and had a very good sub do the finish. Installed drywall for a vaulted ceiling, finished an attic/loft with new subfloor, framing and drywall,...
 Rising Height Unlimited
Mr. Lopez was super nice and professional. He repaired our drywall just as he described during the estimate phase. Our dining room wall looks great again! Thanks Mr. Lopez!
From average costs to expert advice, get all the answers you need to get your job done.
Drywall texture can create an attractive finish and add dimension to your home’s walls. This guide breaks down the factors that influence the cost to texture drywall.

Installing drywall is the most common way to finish your home’s interior. Use this drywall installation cost guide to see what your project is likely to cost.
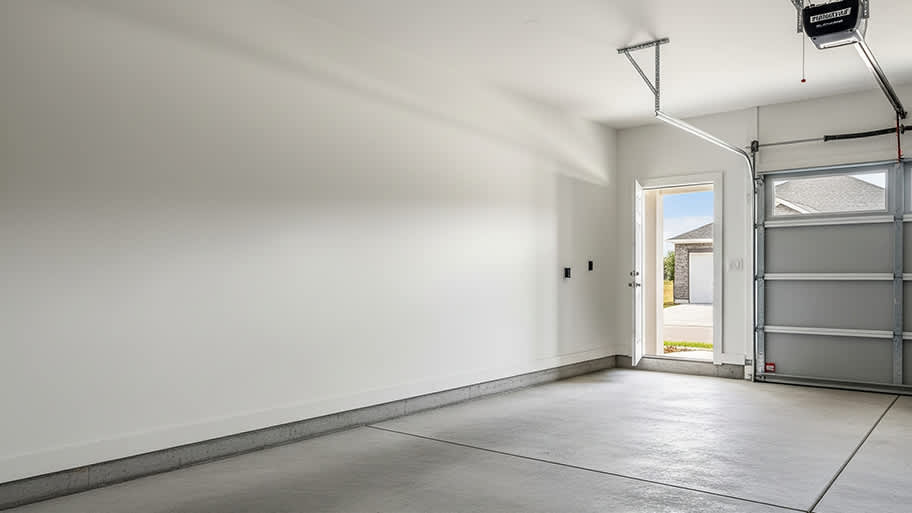
The cost to drywall a garage depends on the size, materials, labor, and more. This guide will help you budget for installing drywall in your garage.
Learning how to sand drywall and drywall mud requires using one of a few different techniques. Use our guide to learn more about your options.
A small leak, flood, or high humidity can dampen your drywall. But can drywall get wet, or if drywall gets wet, is it ruined? Find out in this guide.
Looking for a unique design to accent your home? Consider these drywall texture types for increased style that's sure to be a conversation starter.