
Have a blast creating the perfect accent wall for your home with these unique wall painting textures, colors, and techniques. Use our list of DIY, kid-friendly, geometric, and patterned ideas to inspire your next painting project.
Become the Picasso of home-painting projects

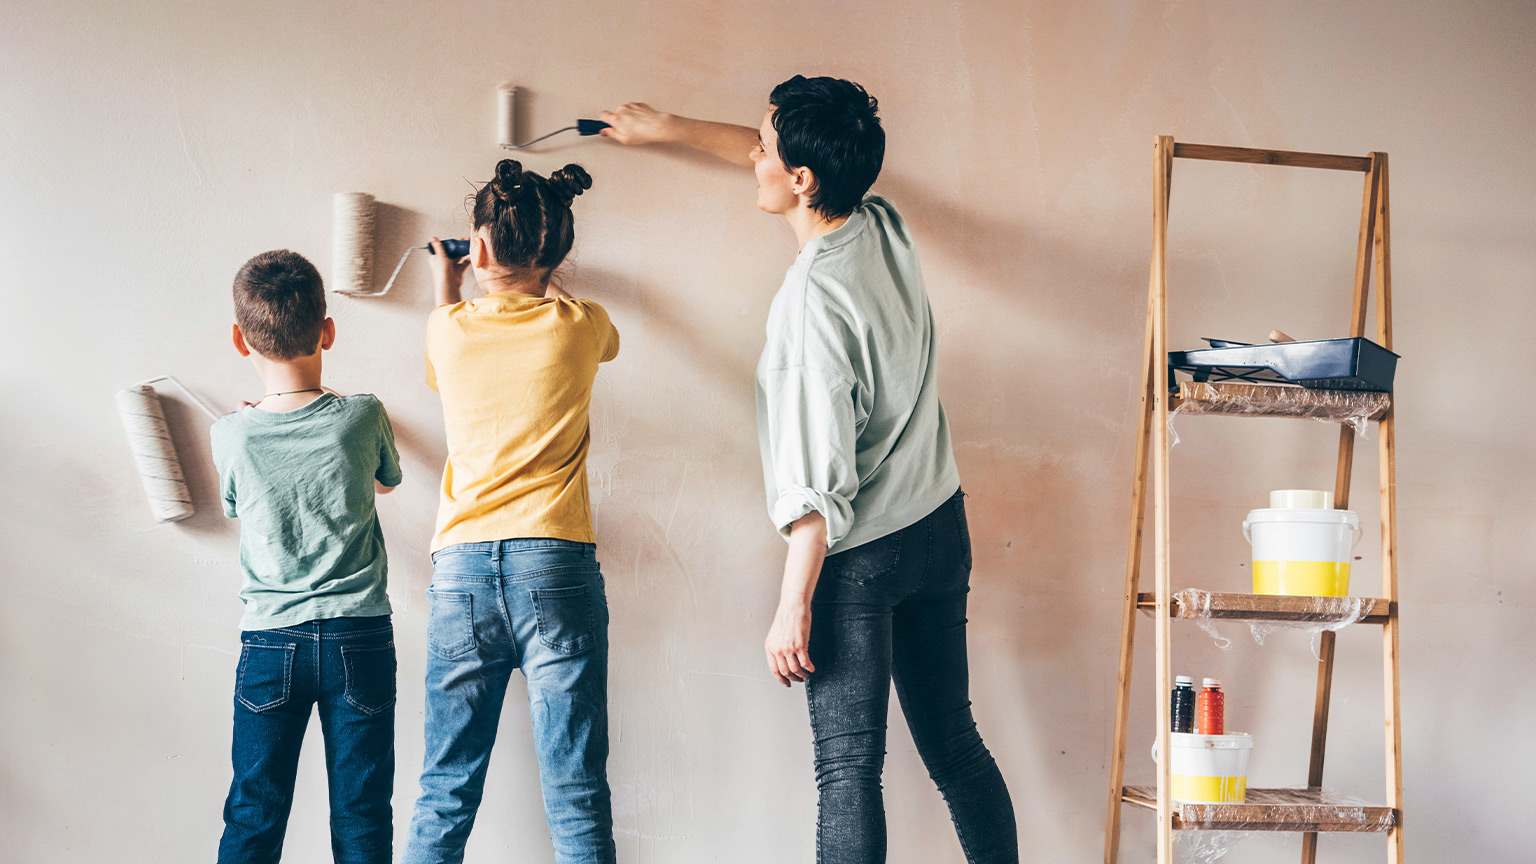
If you’re seeking a simple yet impactful DIY that’s budget-friendly to boot, look no further than learning how to paint the walls in your home. This painting project is great for beginners and dedicated DIY-ers alike—plus, with drop cloths and painter’s tape, it’s practically goof-proof. As long as you’re patient with the prep work, the toughest part of this project will be choosing the right wall color. Here’s how to paint your walls for professional-quality results.

To prepare for your painting project, the first step is to determine how much paint you’ll need. Calculate the square footage of each wall by multiplying the height by the width, then add up the totals for each wall to calculate your total square footage. One gallon of paint covers about 300 to 400 square feet, and you’ll want to purchase enough paint for at least two to three coats. When in doubt, round up. You may also need a paint primer if you’re moving from a dark to a light color or if the surface is textured or porous.
Before you land on a color, remember that the lighting in each room will make certain colors appear lighter or darker or brighter or duller. It’s best to grab paint samples and swatch colors on the wall before committing. At the very least, bring the paint color strips home to test them out because they’ll likely look different than they do under your retailer’s fluorescent lights.
First, carefully unscrew and remove all light switch plates and electrical outlet covers. You can also wrap them in painter’s tape if you prefer to leave them up. Put the covers and screws in a baggie to keep them from getting lost.
Next, lay protective drop cloths over the floor and furniture. If possible, remove furniture or scoot it to the center of the room. Don’t forget to use furniture sliders to protect your floors from scratches or dents.

Lay painter’s tape around any surfaces that you don’t want to get paint on, including window and door frames, the ceiling perimeter, crown and base moldings, and baseboards. Hold the tape taut, line it up, then firmly slide your fingers down the length of the tape to ensure a straight, tight seal.
If your wall has any holes, dents, or dings, cover these imperfections with spackling paste using a putty knife. Once the spackle dries, use fine-grit sandpaper to sand the area until it’s completely smooth. Wipe down any sanded areas with a damp cloth to remove any dust particles.
The next step to prep walls for painting is to wipe down the surface with a damp rag and mild detergent. Be sure to take care of grease splatters, crayon marks, and other oily messes off the walls. If you’re painting in a light color, you’ll also want to remove scuffs and other dark marks that could show through. You can clean these with vinegar, a degreasing spray, or a melamine sponge.

Use a flathead screwdriver to open your paint can, then give it a stir with a paint stirrer. Pour it into your paint tray to a depth of two to three inches, depending on the square footage of your wall.
Follow this pro painting tip before going in with your paint roller: Grab a paintbrush and paint around—or “cut in” as the pros call it—areas that will be difficult to reach with the paint roller. That includes the perimeter of the wall and any awkward bends or crevices. Once you’re done cutting in the edges, move immediately to the next step as you’ll see the marks if they’re allowed to dry.

Dip your paint roller in the paint tray and roll it to saturate it with paint. Roll the paint onto the wall using a vertical motion and working from top to bottom.
Give the paint at least two hours to dry before touching it or adding additional paint coats. Use this downtime to clean your paint rollers and brushes to prepare them for your next coat or painting project. If you’re done painting, hammer the lid back onto the paint can and store it for later use.
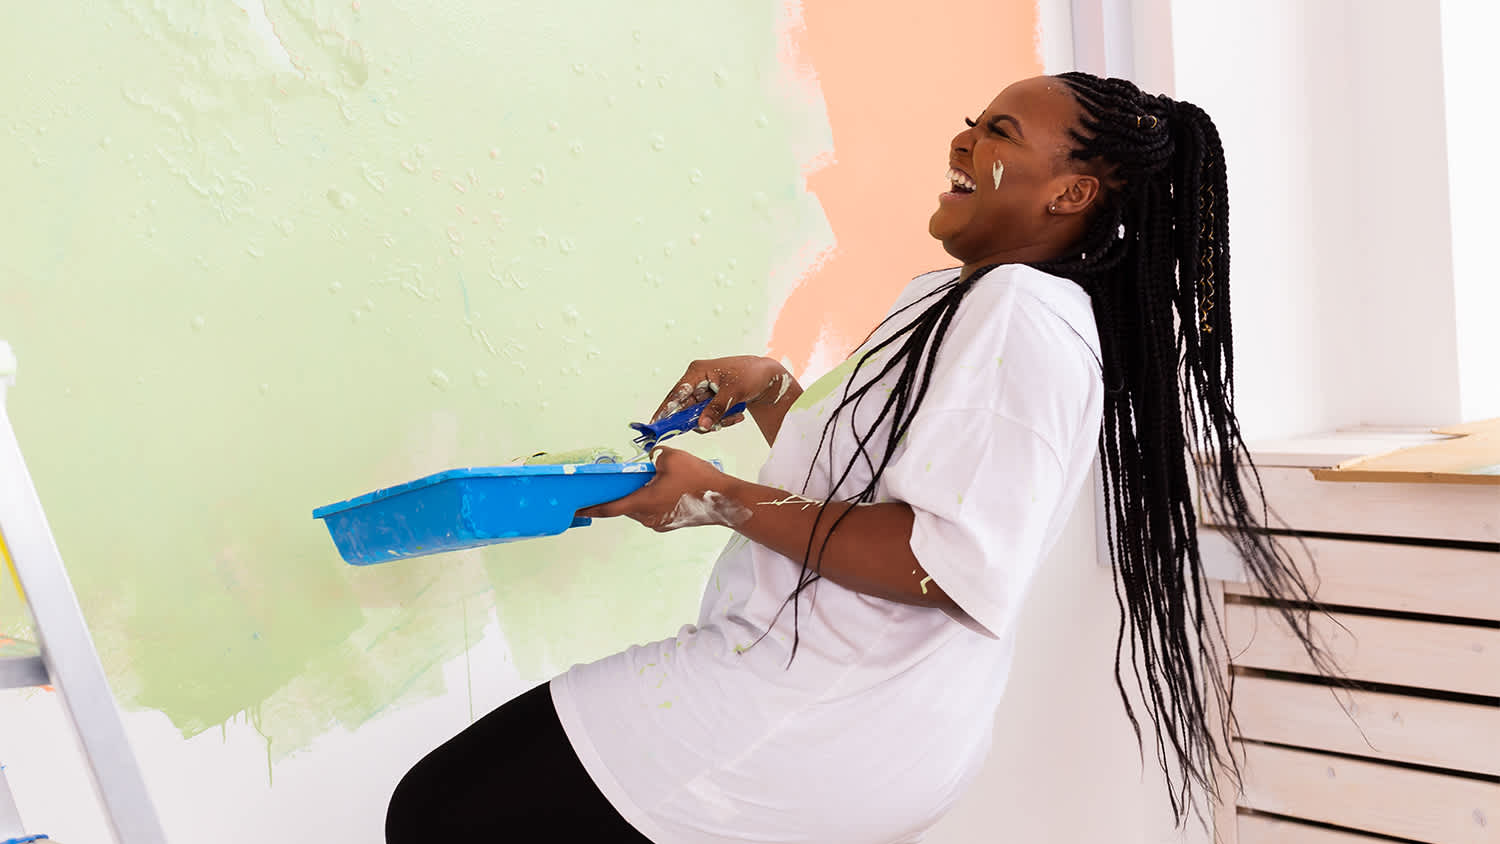
Painting your walls is a highly approachable DIY, but it requires patience and preparation to ensure your home’s surfaces are protected from drips, splotches, and splatters. If there’s one major benefit to hiring a local interior painter, it’s the peace of mind that the job will get done efficiently and accurately.
Plus, if you’re working with high ceilings or other hard-to-reach spaces, you’ll likely want to bring in a pro to get it done safely. In any case, if you’re not confident, or if you just want to save time and effort, it’s worth investing in the cost of professional painting services rather than attempting the DIY.
Custom Paint Jobs LLC is the go-to choice for all your painting needs. They painted both the interior and exterior of my house flawlessly. Their work speaks for itself!
Beginning with the estimate, Larry and Peyton were super helpful in getting my new condo's interior re-painted. Not only was the job well done, but also done in a super timely manner as promised.
 Five Star Painting of Plain City and Powell
From average costs to expert advice, get all the answers you need to get your job done.
Have a blast creating the perfect accent wall for your home with these unique wall painting textures, colors, and techniques. Use our list of DIY, kid-friendly, geometric, and patterned ideas to inspire your next painting project.
Feeling blah about your decor? A splatter paint wall might be the perfect solution to give your walls a boost. Here are some tips for creating a splatter wall.
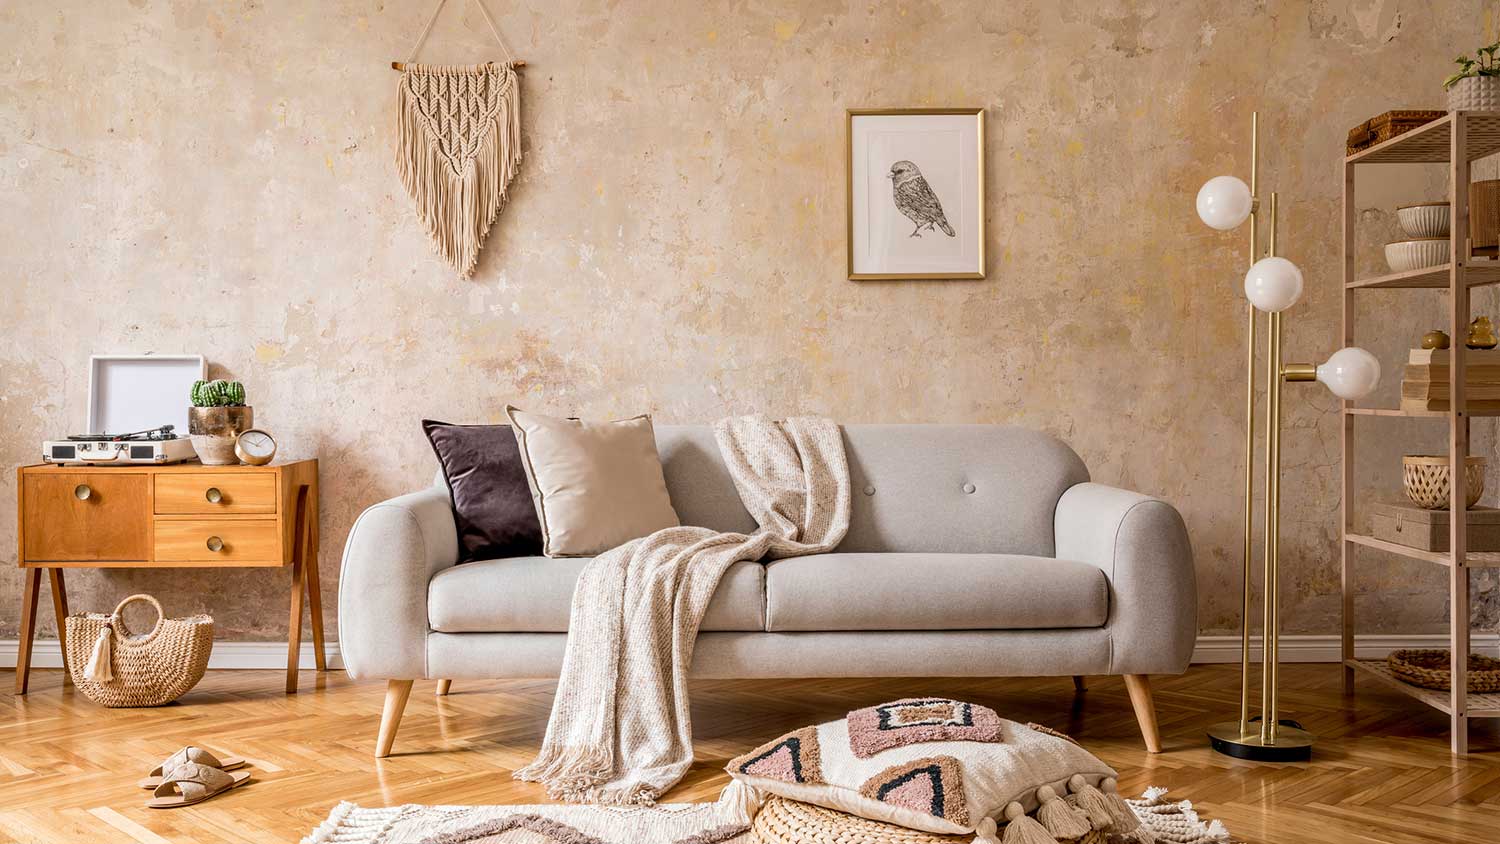
These creative paint techniques can help you create a show-stopping aesthetic with a few supplies and a free afternoon. Try these wall painting techniques today.
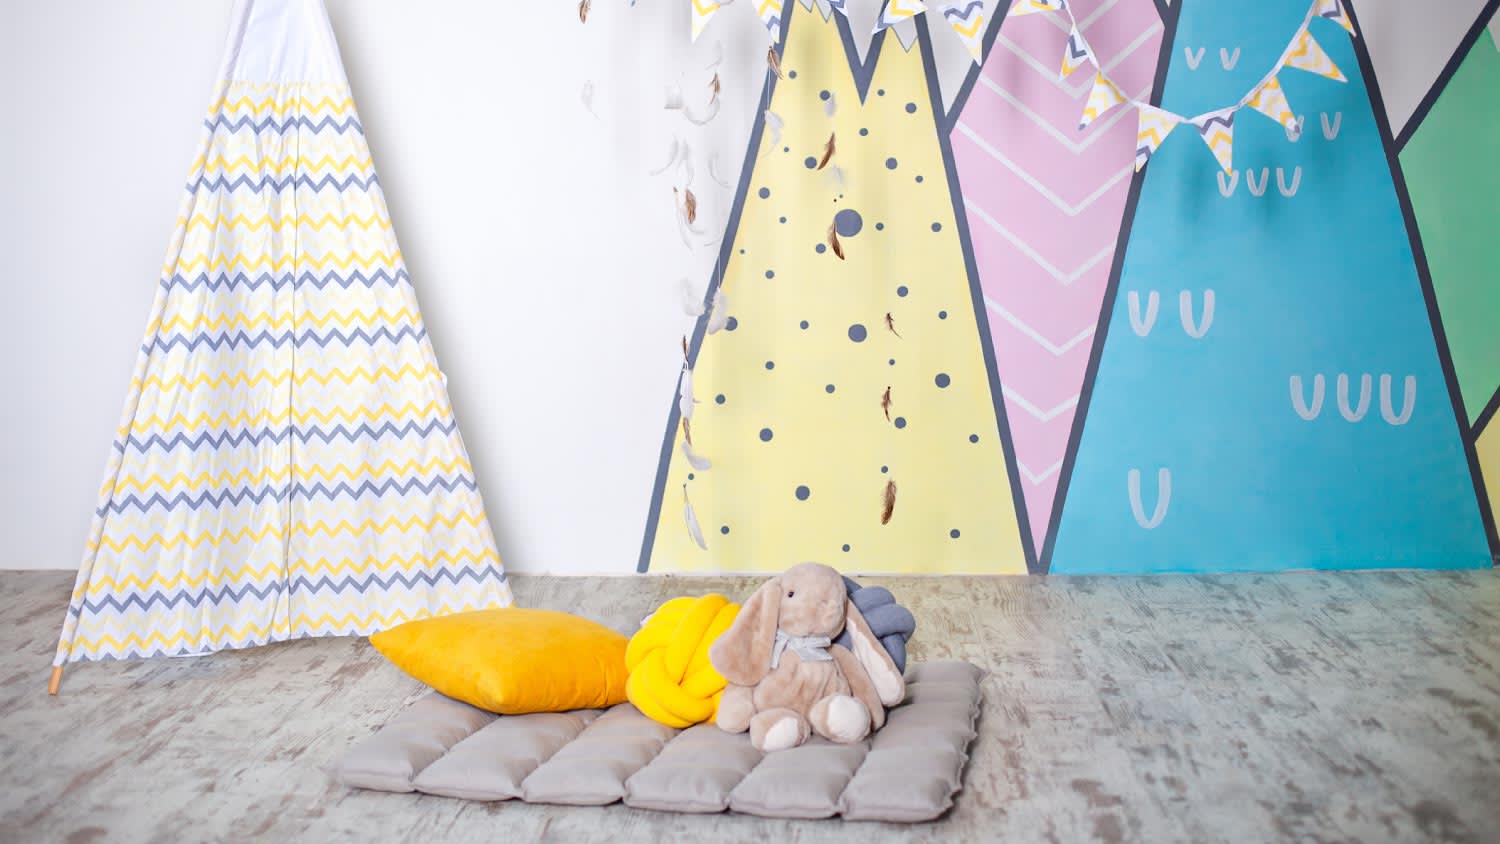
Looking to spice up a kid’s room or play area with a unique mural design? You don’t have to be an artist—anyone can paint a mural on a bedroom wall with these easy tips.
When looking to alter a room's appearance, you may ask: Can you sand texture on a painted wall? You can, but there are some key things to know.
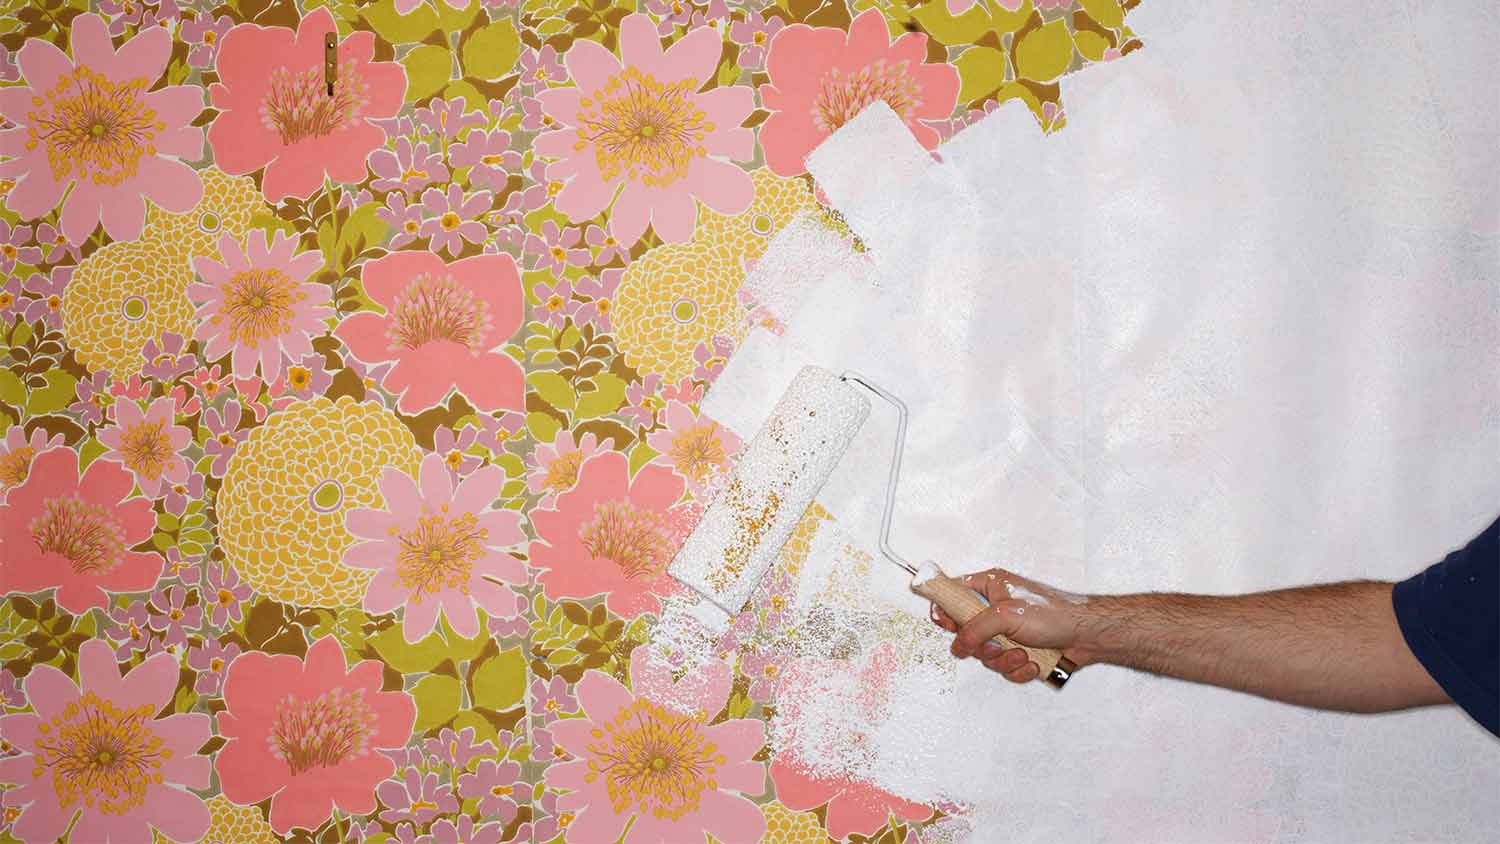
Before you dive into that new paint, make sure you know what you’re getting into. Learn about when you can paint over wallpaper and when you should peel it off.