

Installing drywall is the most common way to finish your home’s interior. Use this drywall installation cost guide to see what your project is likely to cost.
Should your new drywall get one coat of mud or two?

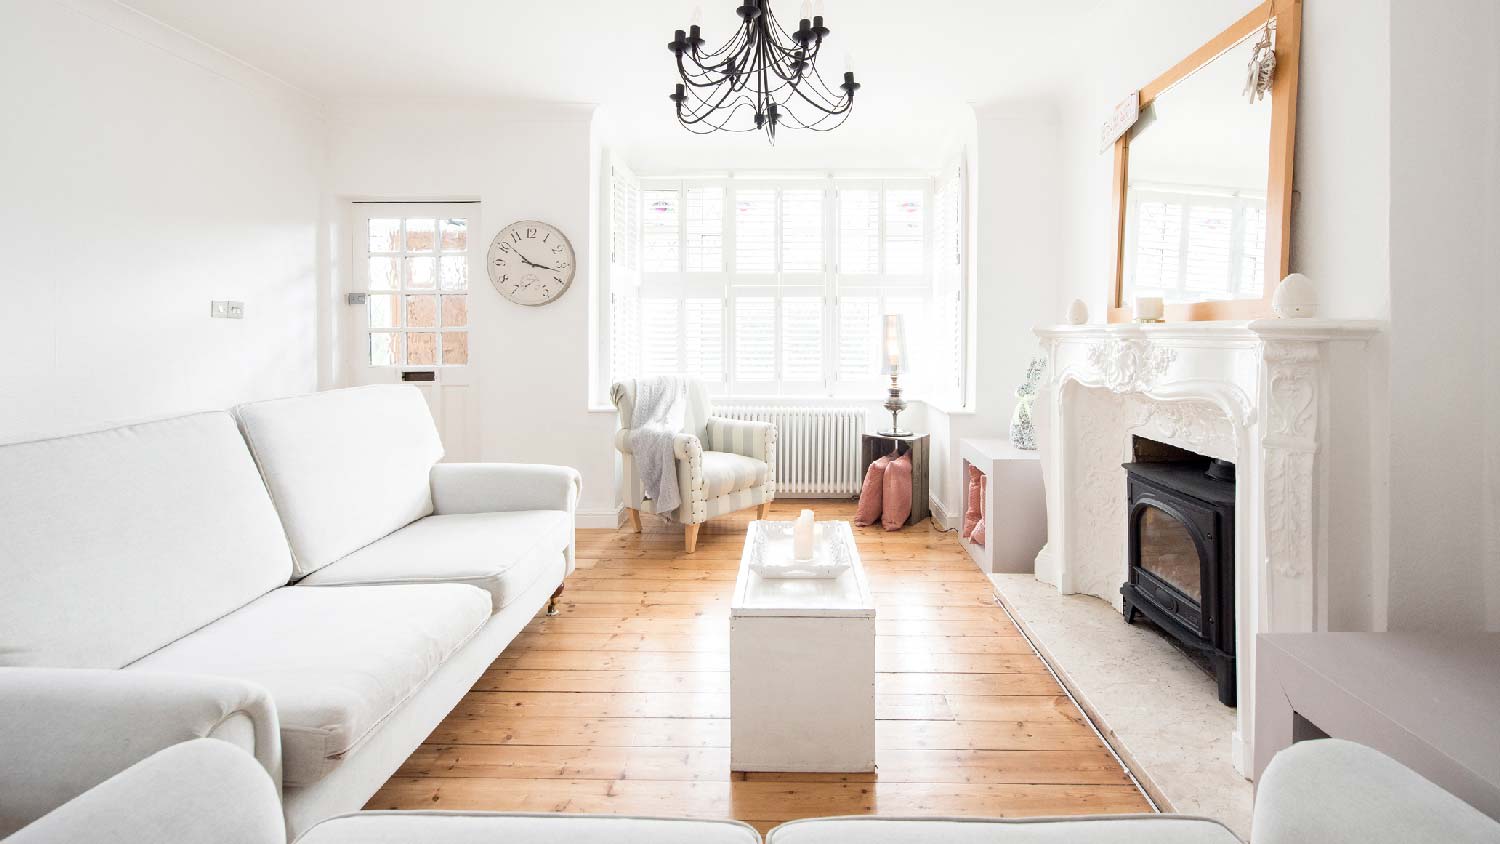
A Level 4 drywall finish includes three coats of joint compound on screws and up to two coats on joints, creating smooth walls ready for your paint.
Level 3 finishes work well when you plan to cover walls with textured wallpaper, while Level 5 adds a final skim coat for high-gloss paint applications.
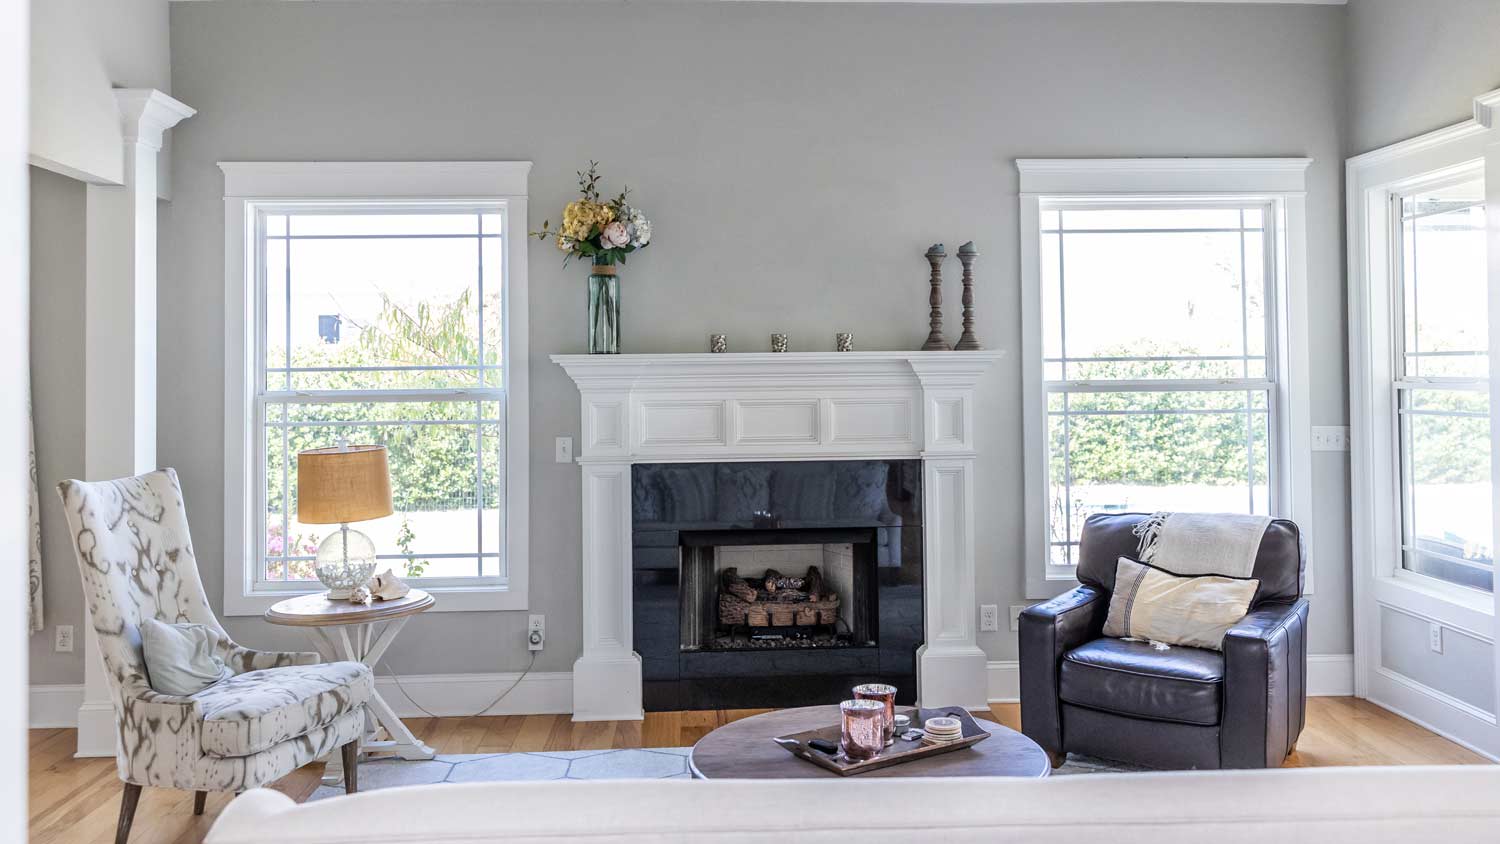
Choose your finish level based on lighting exposure and wall coverage, since bright rooms need smoother finishes to prevent imperfections from showing through paint.
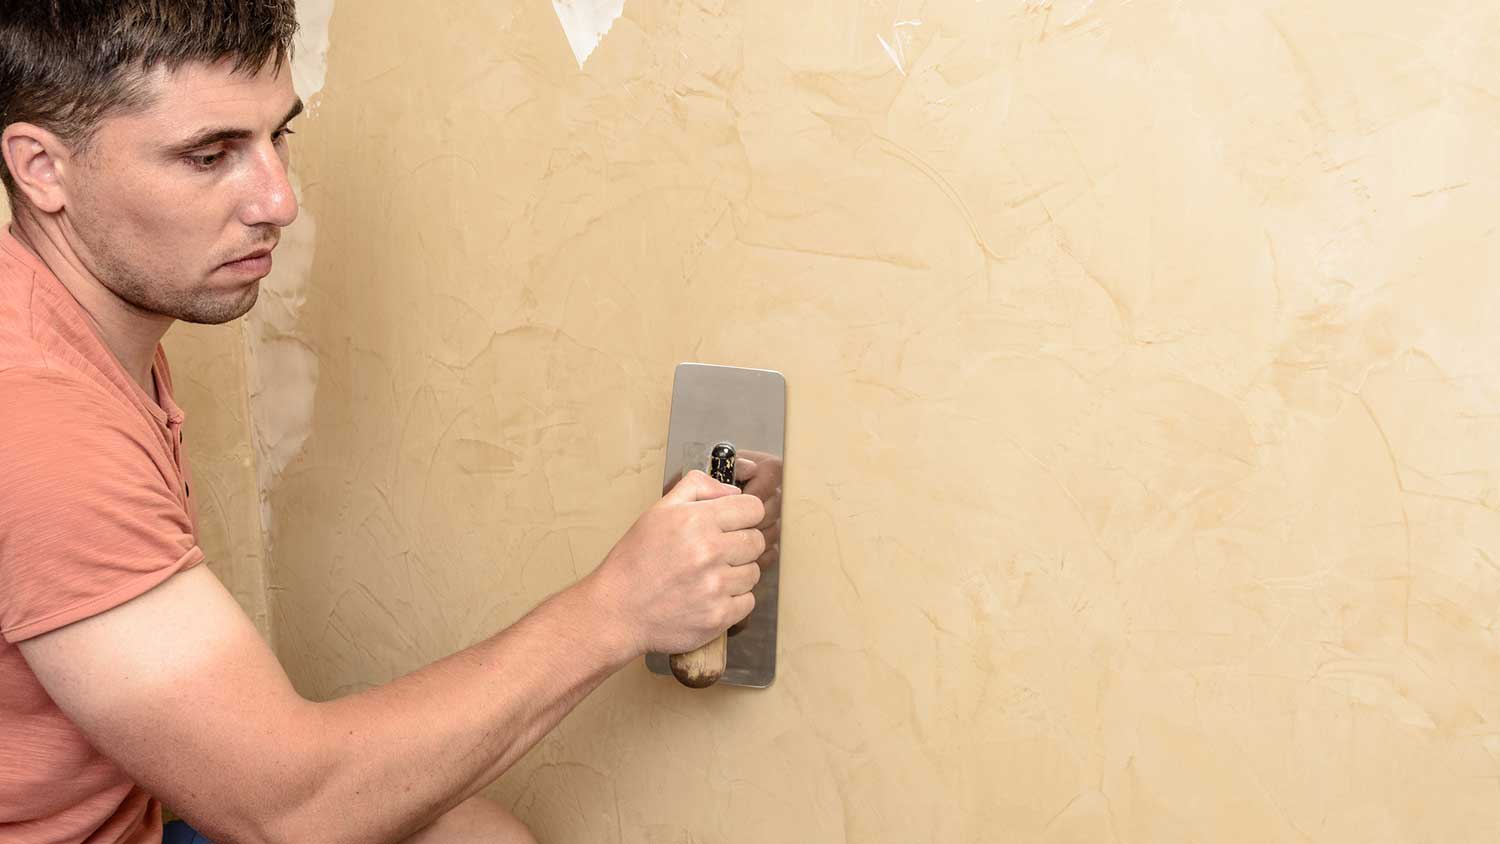
Hiring a local drywall professional takes the guesswork out of taping, mudding, and sanding, ensuring your walls get the smooth finish they need.
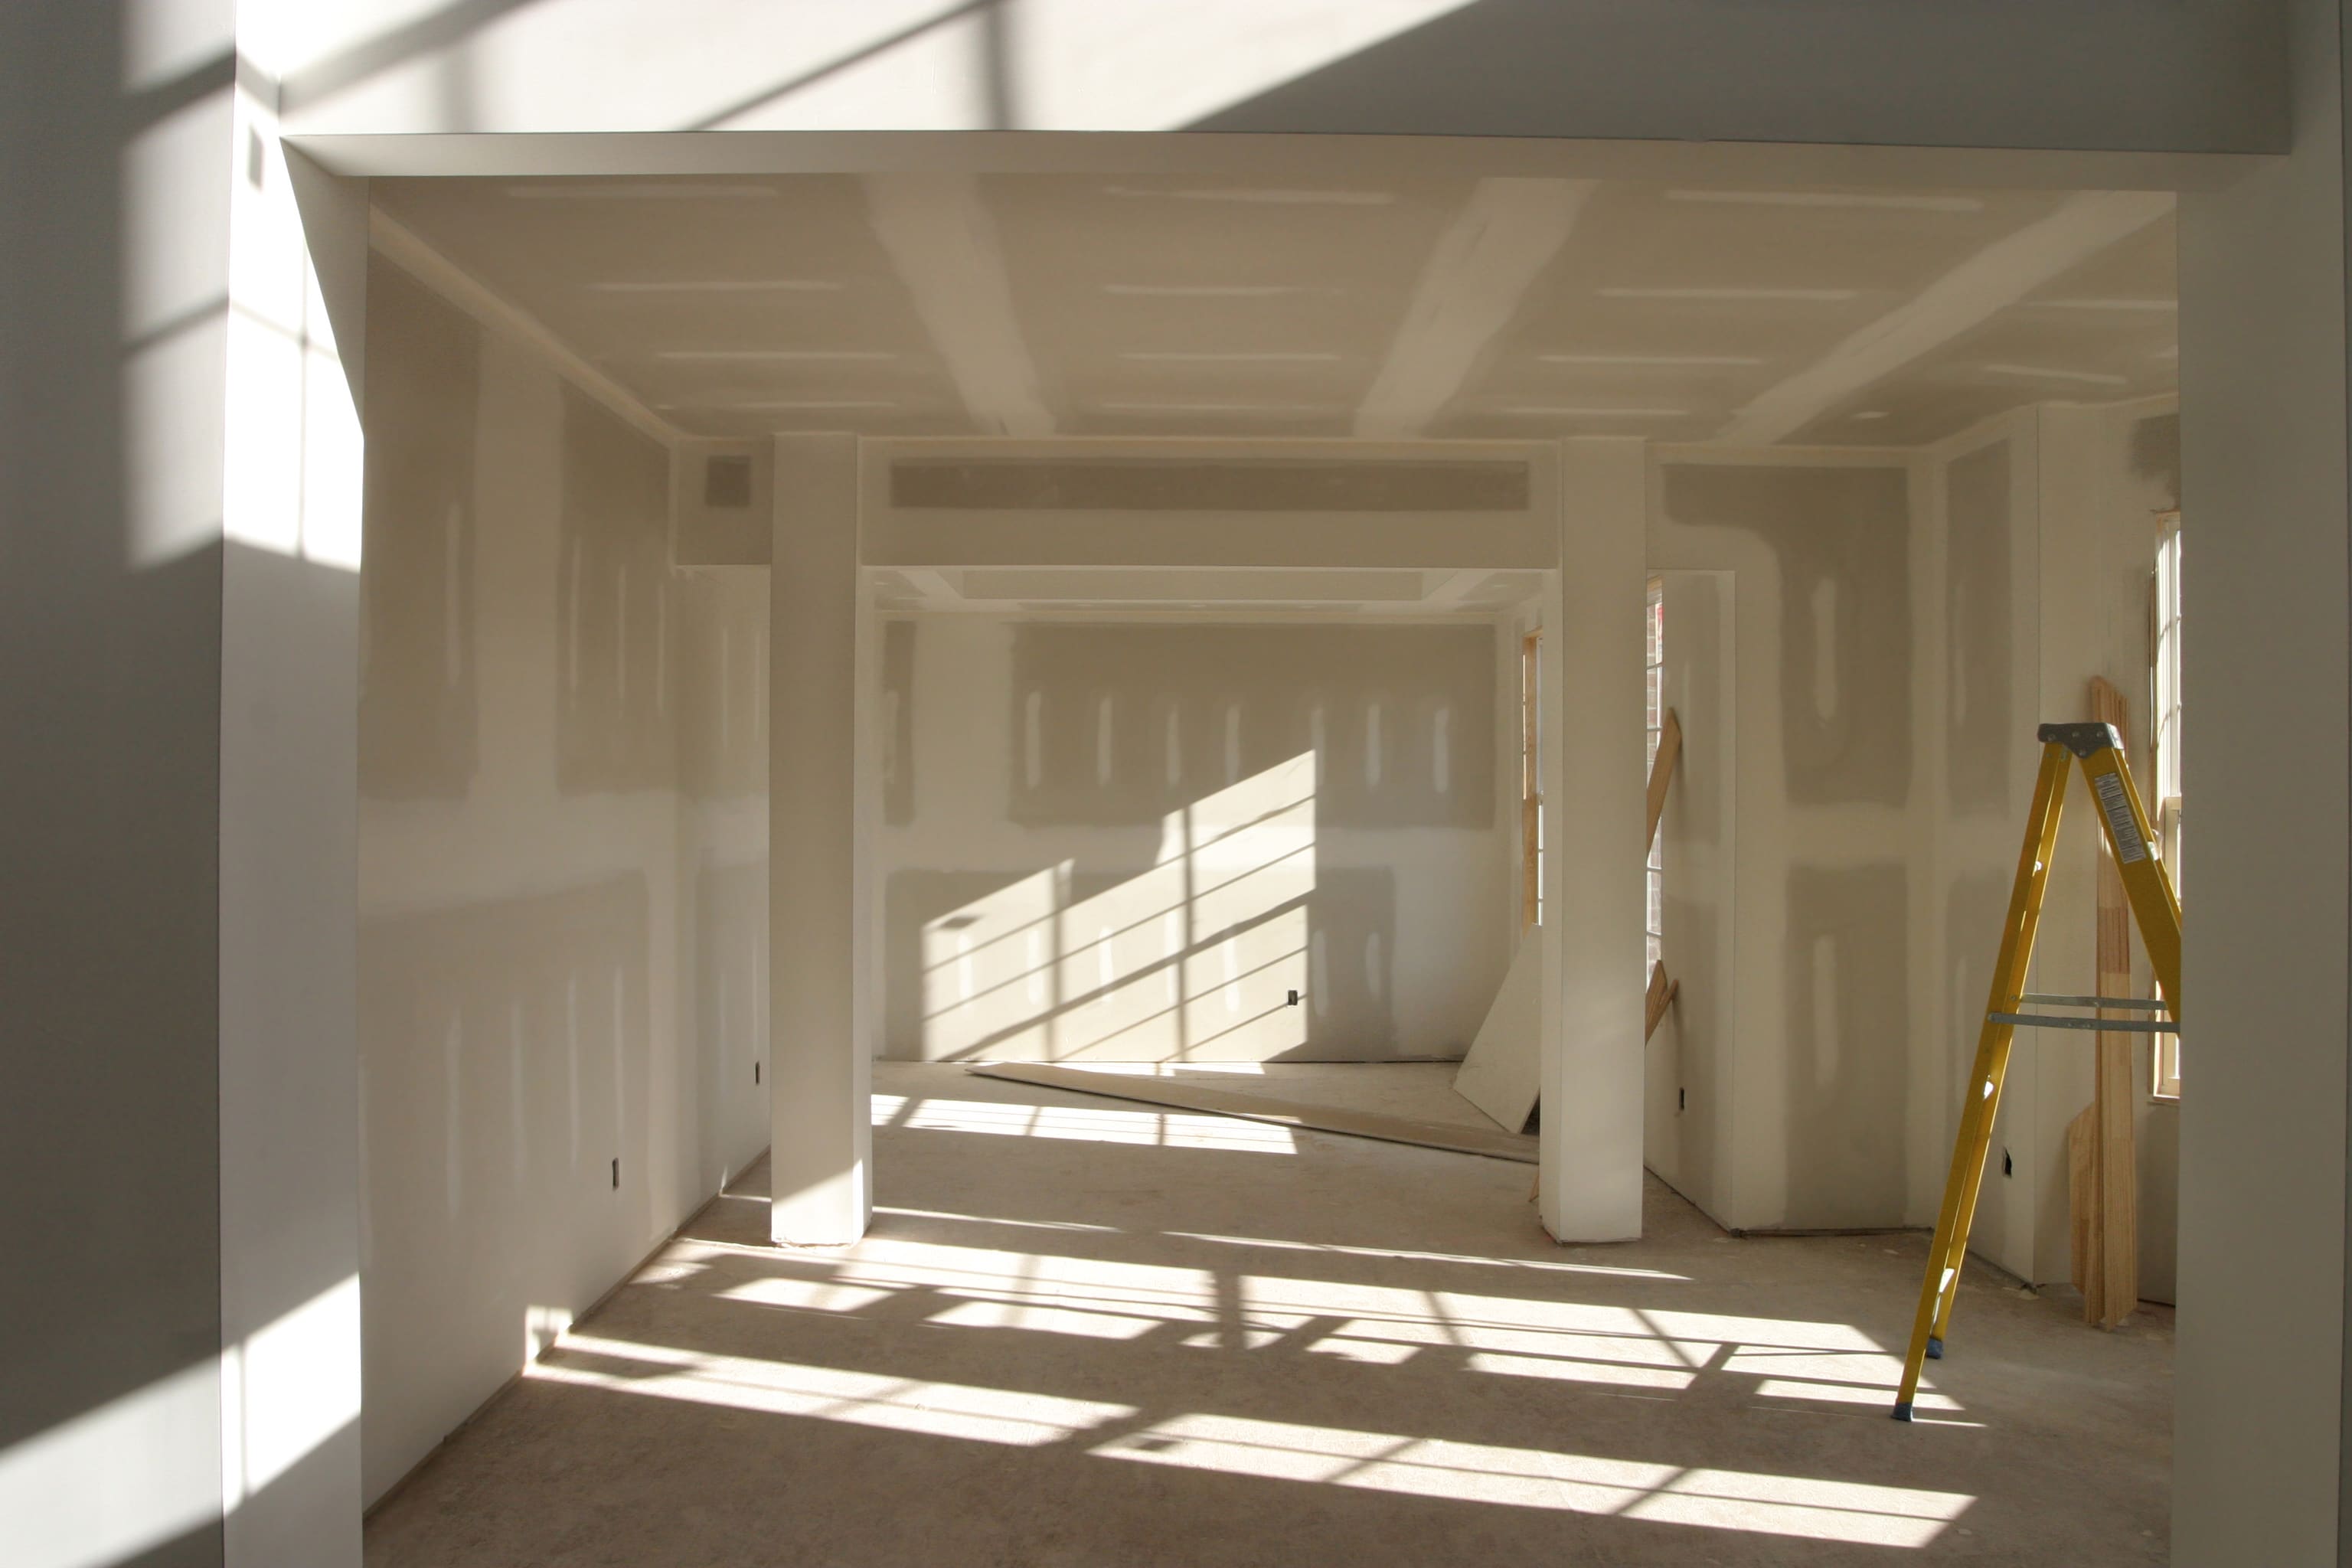
Hanging the drywall is just the beginning. Once you've hung it, the next step is to finish it. The Gypsum Association, Drywall Finishing Council, and other industry leaders have developed standards for drywall finish levels that clearly define finishes and make it easier for homeowners to communicate their wishes to contractors. From Level 0 to Level 5, learn what's expected of each type of finish.

Another way to describe a Level 0 drywall finish is "no finish." At Level 0, the drywall panels are bare, with no taping or mud. Level 0 drywall finishing is reserved for areas out of the public eye or temporary installations. It can also be used as a placeholder until you decide what you want to do with a space.
The next level up, Level 1, is a little more finished, but barely. The seams and angles are taped, but there’s no mud coating on top of the tape.
At this level, the screws are left uncoated. Excess joint compound or mud from the tape is cleaned up without sanding.
Level 1 drywall finishing is best for walls in out-of-the-way areas. While you wouldn't choose Level 1 for the walls of your bedroom or living room, you could use it in a garage or unfinished basement.
"Joint compound" and "drywall mud" are often used interchangeably when explaining drywall projects. That's because they're referring to the same thing—"drywall mud" is simply a more colloquial term.


Things get smoother starting with Level 2. Along with taped seams and angles, Level 2 finish sees the addition of a thin coat of joint compound or mud, enough to cover the tape and any screws. There's no need to sand for a Level 2 finish.
Level 2 can be a good choice for basements and garages. It's also appropriate if you’re covering the drywall with another material, such as tile or wainscoting. If you plan to install cabinets over the drywall, there's no need to finish the drywall behind those cabinets beyond Level 2.
Level 3 drywall finish smooths things out even more. At this level, you add another coat of mud over the first layer, fully covering the seams and screws. You also sand the compound between coats and again after the second coat. A skilled and experienced drywall installer near you can take on the job and create a smooth and finished surface.
Unlike the first three finish levels, you can use Level 3 in interior areas, such as your living room and bedroom walls. If you're going to stop at Level 3, though, just ensure you're coating the drywall with something textured, such as wallpaper. While Level 3 is smoother than some options, it's still a little rough around the edges.

For most painted drywall projects, Level 4 is the target level. Here, things are smooth, smooth, smooth. At this stage, you apply a third coat of joint compound to the screws and between one and two coats to the joints and angles. Then, you sand everything down until there are no bumps or ridges.
The top level of drywall finishing, Level 5, adds one final skim coat, making the walls as smooth and even as possible. It's the level of choice for interior walls under bright lighting or with high-gloss paint. Your walls will be ready for their close-up with a Level 5 finish.
The goal of a Level 5 finish is to prevent any imperfections from showing on the drywall's surface.
There are several different ways to apply the final drywall finish, and your choice will depend on your skill level and the supplies you have.
Roller: To apply the final skim coat, you can use a roller to roll thinned-out joint compound to the entire wall, immediately smoothing and scraping any excess to create a smooth, flat surface.
Taping knife: Throughout the drywall finishing process, you’ll use a taping knife to add joint compound to the seams and smooth out the coats that cover the tape. For Level 5 finishes, you can also use a taping knife to smooth the drywall compound across the entire wall.
Spray finish: A spray finish is ideal for large jobs. It requires spray equipment to apply an even layer of drywall compound to the wall and create the final product.
How you plan to use the room and what will happen to the drywall after installation will help you determine which finish level is right for your project. If you cover the wall with fixtures such as cabinetry, there's no need to get a completely finished surface—Level 2 or 3 will suffice. The same is true if you install a backsplash on top of the drywall or cover it with paneling.
Areas that get a lot of light exposure will need a higher finish level. For example, even if you choose Level 4 for the rest of the room, you may want to use Level 5 on a ceiling since light reflects off of it and shows imperfections.
Save Level 1 and Level 0 finishes for rough spaces, such as your attic, garage, or unfinished basement.
Cancelled appointment two hours after they were supposed to come for drywall work.
I would recommend this company to anyone! He showed up on time, was friendly, completed a very difficult repair on our dryer vent cover, was responsive, and pricing was extremely fair and competitive. I would have him back to do any of our repairs or cleanings without hesitation!
I cant stop admiring my newly painted walls. Custom Paint Jobs LLC made my house feel brand new.
Excellent experience with hiring Tether House to Mount our 77’ Samsung TV in our bedroom. Fast, friendly, and knowledgeable. Highly recommend.
Excellent customer service and knowledge. I was recommend to him from my neighbour. My front door and window came in great and were installed beautifully perfectly, I m very satisfied with their excellent work, so decided to order one more big bow window for my living room. I cant wait for...
Manuel Calvillo is the best option in the area for roofing and you won't be disappointed.
Would hire again. Wall looks great. Happy with job.
 Central Paving
Involved an extensive bathroom remodel, including removing tub & installing walk in shower, new drywall, custome tile work to ceiling, plumbing, etc. Overall, job was done on time and on budget. Nick & his team were very professional and had high attention to detail. Quality was great. Highly...
 Stamos Flooring and Remodeling LLC
We have had a great experience with Rising Height for the past five years on a number of miscellaneous renovation projects. They laid flooring for us and had a very good sub do the finish. Installed drywall for a vaulted ceiling, finished an attic/loft with new subfloor, framing and drywall,...
 Rising Height Unlimited
Mr. Lopez was super nice and professional. He repaired our drywall just as he described during the estimate phase. Our dining room wall looks great again! Thanks Mr. Lopez!
From average costs to expert advice, get all the answers you need to get your job done.
Installing drywall is the most common way to finish your home’s interior. Use this drywall installation cost guide to see what your project is likely to cost.
The cost to replace plaster with drywall can quickly add up. This guide will help you budget for this project and decide if it's worth the effort and cost.
Drywall texture can create an attractive finish and add dimension to your home’s walls. This guide breaks down the factors that influence the cost to texture drywall.
How long does it take to finish drywall? Get the rundown on the factors that affect the timeline of your drywall dilemma.

Finishing drywall can be a tricky part of DIYing your home. Our handy guide teaches you how to tape and mud drywall like a pro.
Hanging and finishing drywall can be hard work if you don’t have experience. These professional-level drywall mudding tips make the project easier.