

For a bathroom remodel, touch-up, or home perimeter, caulking is worth the investment. Find out average costs for window caulking, shower caulking, and more.
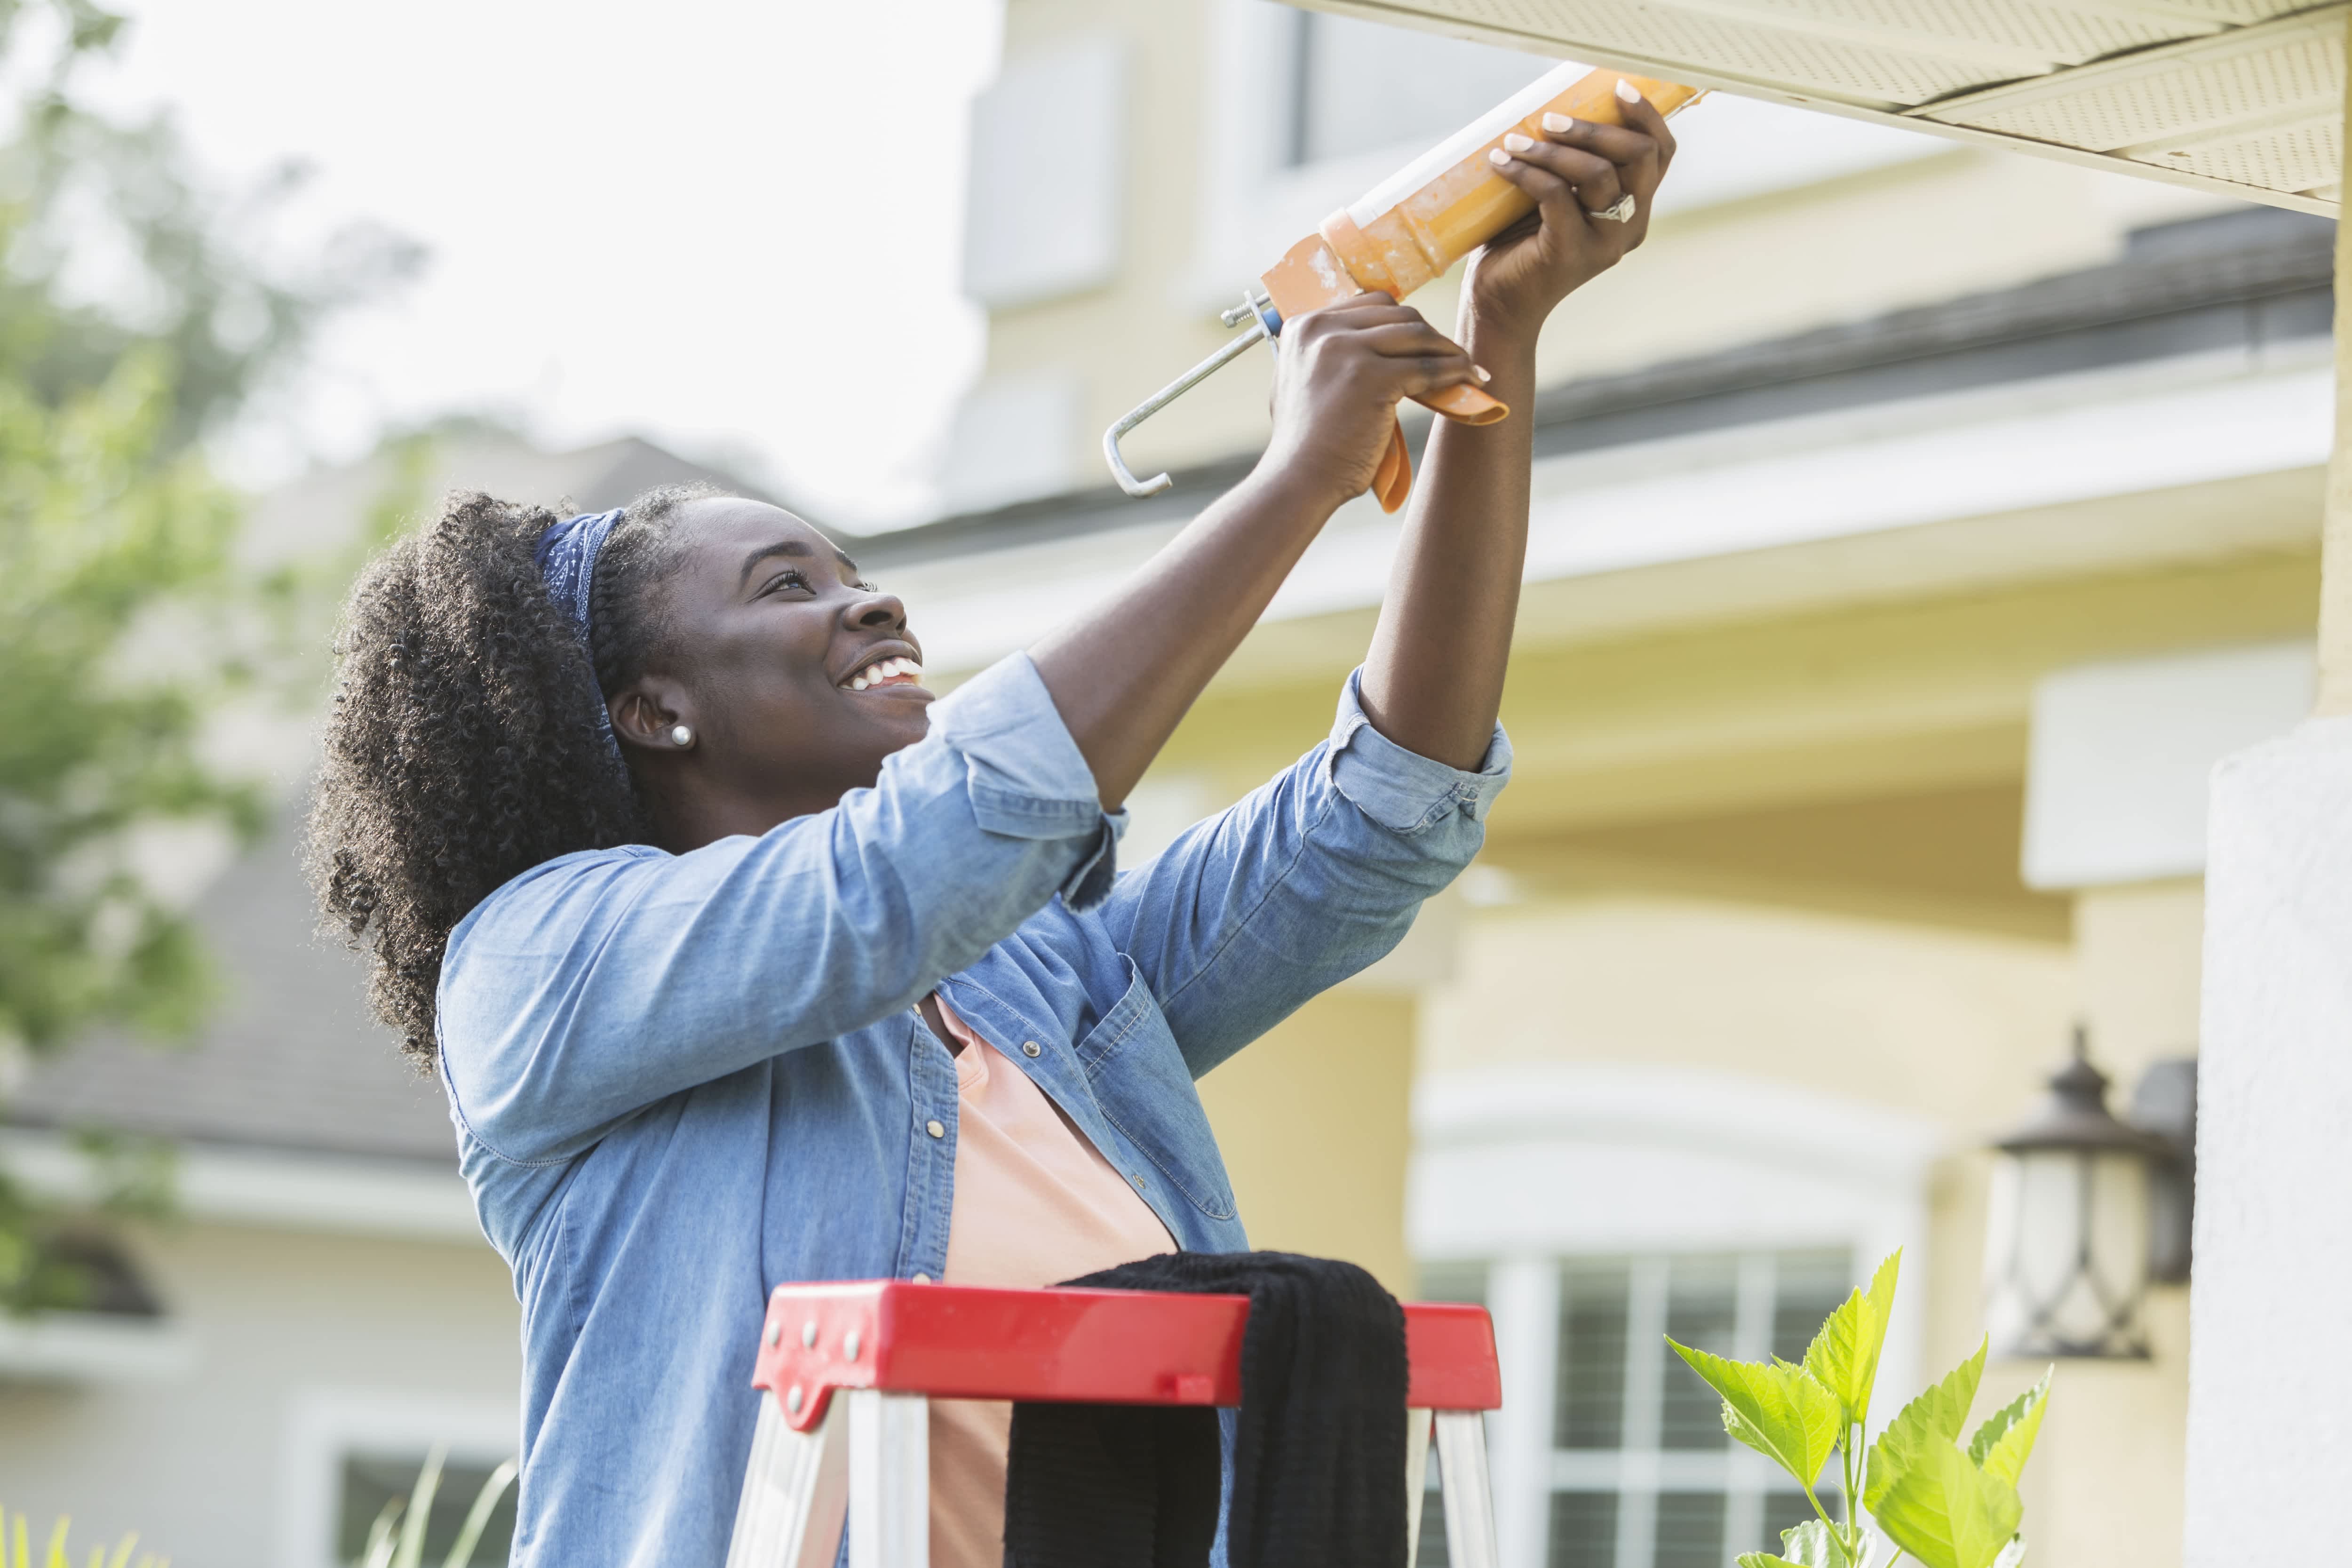
A few tools and some elbow grease go a long way in removing old caulk


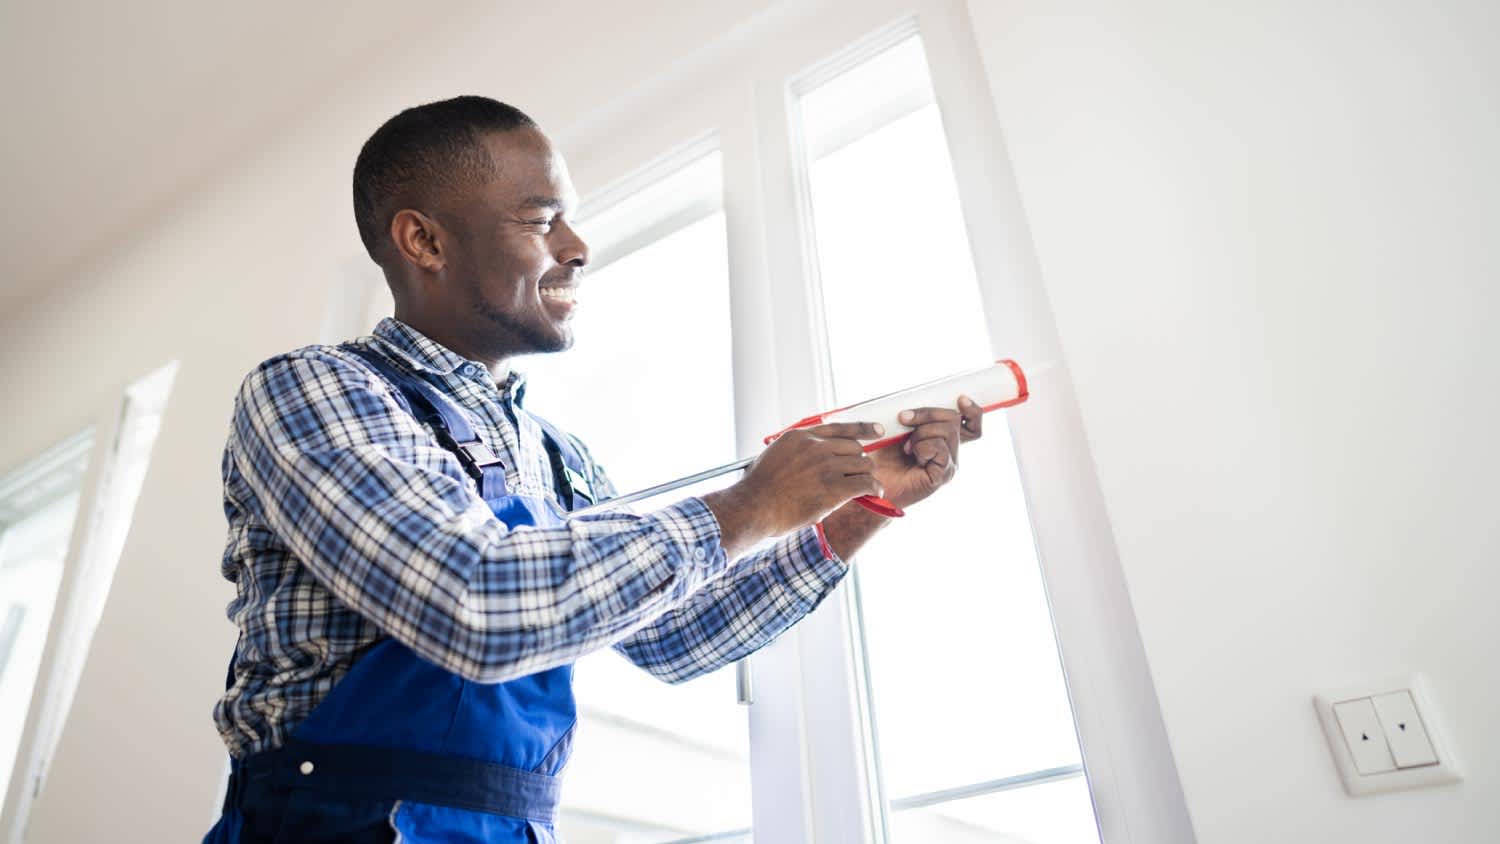
Caulk is a household essential that’s easy to overlook—until it’s worn, torn, and covered in mildew. At that point, the old, unsightly caulk is all you can see when you walk into a room.
This small but mighty material easily solves common household concerns, from minding the gap on countertops and cabinets to sealing crown molding and baseboards. With a few common tools and a little patience, here are simple steps for how to remove old caulk.
First things first: It’s essential to know what type of caulk material you’re removing. Silicone-based caulk has a rubber texture that slightly stretches. Water-based caulk is much harder and is prone to chipping away. While some caulk-removing products will work on both types of material, having this information handy can help you shop for the right item the first time.

Before you get started, clean the caulk and surrounding surface with mild dish soap and water to rid the area of dirt, dust, or grime. Dry the area with a cloth. This step will give you a clean slate to work with for removing old caulk.
There may be some caulk that’s already loose or flaking off. Use a flexible putty knife to loosen the caulk’s edge. You can then use the knife to pull the caulk off in strips.
You’re just trying to remove what easily peels away. You don’t need to scrape too hard, which can potentially scratch the surrounding surface. The caulk remover you’ll apply in a later step will loosen the remaining caulk.
Use a utility knife and a steady hand to create a gap in the seal between the caulk and the surrounding surface. Scoring the edge of the caulk helps to break the bond between the two. Be careful not to score any nearby surfaces, like tile or laminate.
Give the caulk remover product instructions a quick read before spraying. If you want to be extra careful, slip on some rubber gloves to protect your hands from chemicals in the caulk removal product.
Completely cover the caulk with the removal product according to the manufacturer's instructions. Now, it’s a waiting game. Your caulk removal product will advise you to wait a few hours, with three to four hours being fairly average. Depending on the condition of the caulk, you might want to leave the removal solution overnight to fully soften it.
The longer it sits, the easier the caulk will come off. This method is especially helpful if you’re dealing with aged, hardened caulk or caulk that’s several layers deep, a remnant of a past project.

Once the caulk has softened, you can get to work. Scrape away the old caulk using an angled caulk-removing tool. The caulk should come off fairly easily, thanks to the remover product. In fact, some pieces of the softened caulk might peel off in different-sized strips.
Needle-nose pliers will come in handy for stubborn or hard-to-reach areas. Grab a piece of the softened caulk with the pliers and gently pull. If stubborn caulk won’t budge, use a utility knife to cut the material away from the sides. Be careful not to nip any sensitive areas, such as tiling or countertops. Lastly, scrape away residual caulk using a plastic putty knife.

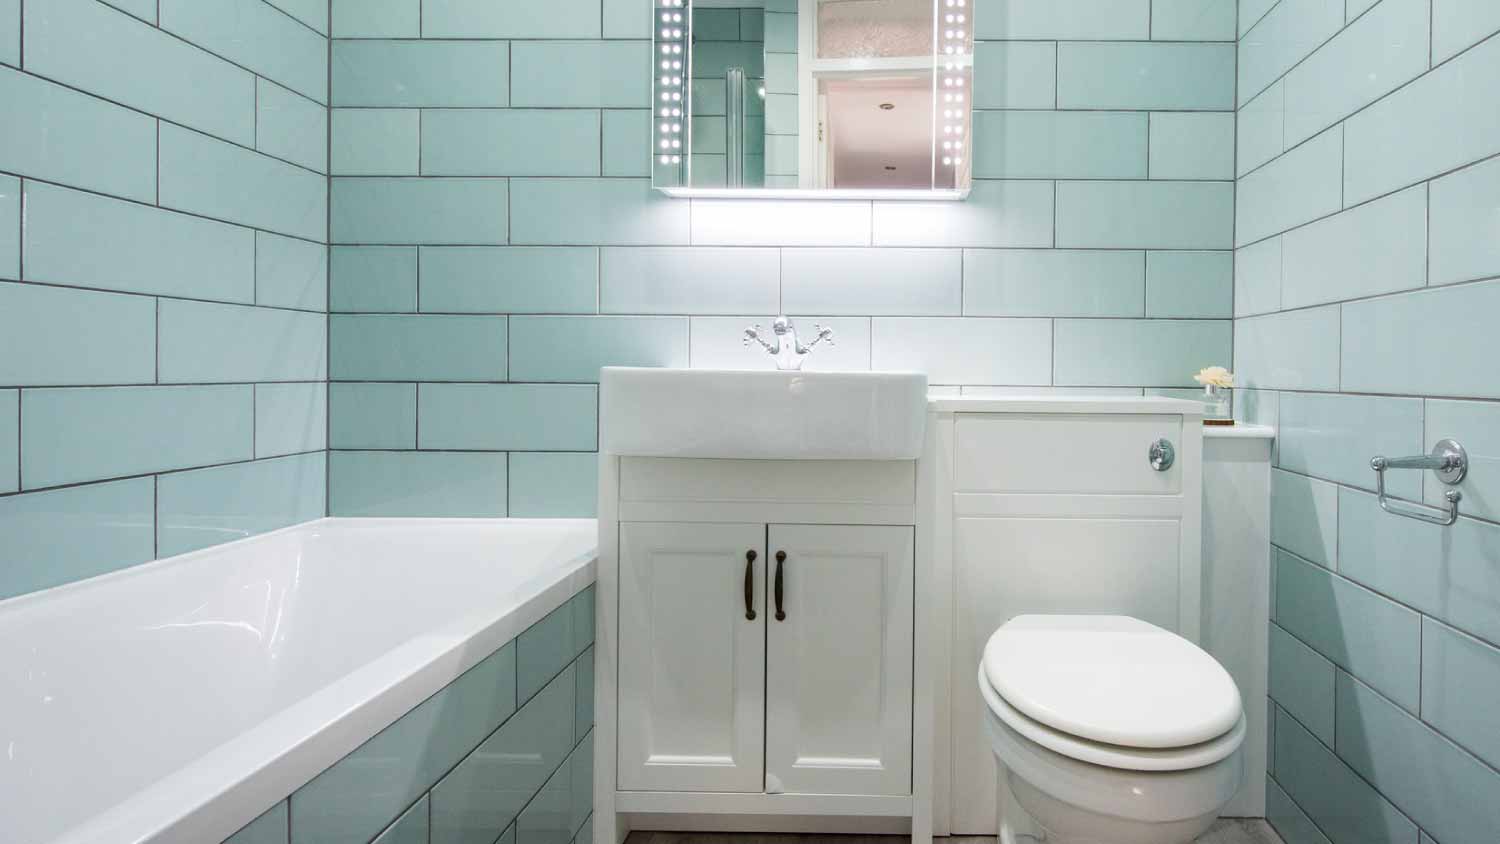
For the final step, wipe the surface with a cloth drenched in rubbing alcohol. Once dry, clean the area with a solution made of 1/3 cup of bleach and 1 gallon of water. This step will kill any mold, mildew, or soap scum left lurking behind—an essential step if you plan on re-caulking your bathtub.
Use a paintbrush or old toothbrush to get into tight areas or gaps left by the removed caulk. Rinse the area thoroughly. Let the area air dry before re-applying caulk to the surface.
"When removing mold or mildew, bleach is a necessary component of the solution,” said Asya Biddle, Angi Expert Review Board member and manager of The Dustbusters, a family-owned and operated janitorial company in Williamsport, PA. “It will be efficient in the buildup removal and in preparing the surface for further processes or use."
Once you’ve mastered removing old caulk, you’ll see that it’s a pretty straightforward task. But if you’re short on time or want a professional’s touch, consider hiring a local handyperson to tackle straightforward caulking jobs. Depending on the amount of caulk removal required, a handyperson could charge between $60 and $125 per hour.
If you’re already hiring someone to remove the old caulk, it makes sense to have them install the new seal. They can get the old caulk out and the new caulk in within one day. You might need to leave some time for the caulk to dry, but a pro can make short work of the project. They will also have access to other tools to finish the project, like brad nailers, wood putty or fillers, mixing tools, and torque wrenches.
Staci Parks contributed to this piece.
Excellent, Prompt, Courteous Service!!! They were super friendly and quite personable. I felt very comfortable with the gentlemen that did the installation. They installed it exactly where I asked them to and they did an excellent job!! I loved their service so much.
Ace Fireplace Services' chimney sweep service is truly exceptional. They used advanced technology to ensure a thorough cleaning process, and my chimney has never looked better. I highly recommend their services.
 Ace Fireplace Services
Binion and Alex did such a good job. Fast, fair, efficient. Would def use them again. Best experience Iâ ve had in moving - someone should give them a raise. Will undoubtedly recommend this service.
Great customer service. The owner Ilia was wonderful to work with. Would definitely recommend this company.
I definitely recommend Ramonaâ s cleaning service! I have booked services with her many times and she arrives on time, ready to work and provides a great service.
Excellent experience! Left my place looking great. Friendly customer service too. Would recommend!
The service was excellent! They gave me a quote, and had it done 4 days later. My driveway looks amazing, very professional! I would definitely recommend their service to anyone. I have had neighbors stop by and ask for their information as well.
 All Star Paving and Sealing
Webb â s was priced well, flexible on scheduling, great with communication, and detailed in their work. Iâ ll definitely use their services again.
They’ve been great to work with. All of my clients that have used them have nothing but good things to say about the experience. Quick responses and fast service. They’re a trustworthy team!
 Total Home Roofing
Mary cleaning service does an amazing job cleaning my home. They go over and beyond the cleaning services that I have had in the past. They are very punctual and thorough with cleaning my home, I’m extremely happy with the service they provide and I highly recommend them.
From average costs to expert advice, get all the answers you need to get your job done.
For a bathroom remodel, touch-up, or home perimeter, caulking is worth the investment. Find out average costs for window caulking, shower caulking, and more.

If your crown molding has edges or seams, you may want to caulk it. You can DIY this work or hire a pro—use this guide to learn the cost for both.
Caulking isn’t as easy as it looks, but with some tricks, even a beginner can do it like a pro. This guide will show you how to caulk in nine simple steps.

Learn how to remove mold from under silicone caulk with our expert guide. These safe, effective methods will keep your home clean and mold-free.
Caulking is used to seal and protect vulnerable spots in your home. Anyone can learn how to use a caulk gun, even beginner DIYers. Use this guide to get started.
Discover the best methods for how to clean silicone caulk and prevent mold. Keep your bathroom and kitchen spotless with our expert cleaning tips.