

For a bathroom remodel, touch-up, or home perimeter, caulking is worth the investment. Find out average costs for window caulking, shower caulking, and more.
Refresh the caulk on your bathtub for a watertight seal

Bathtub caulking needs replacing when you see cracks, discoloration, or gaps that allow water to seep behind your tub and into walls.
Your DIY bathtub caulking supplies cost about $21, making this an affordable refresh that protects your bathroom from water damage and mold.
Remove all old caulk with a razor scraper before applying new silicone caulk, ensuring your fresh seal sticks properly and lasts longer.
Hiring a local caulking service professional takes the guesswork out of achieving clean, uniform lines and ensures your bathtub stays watertight for years.
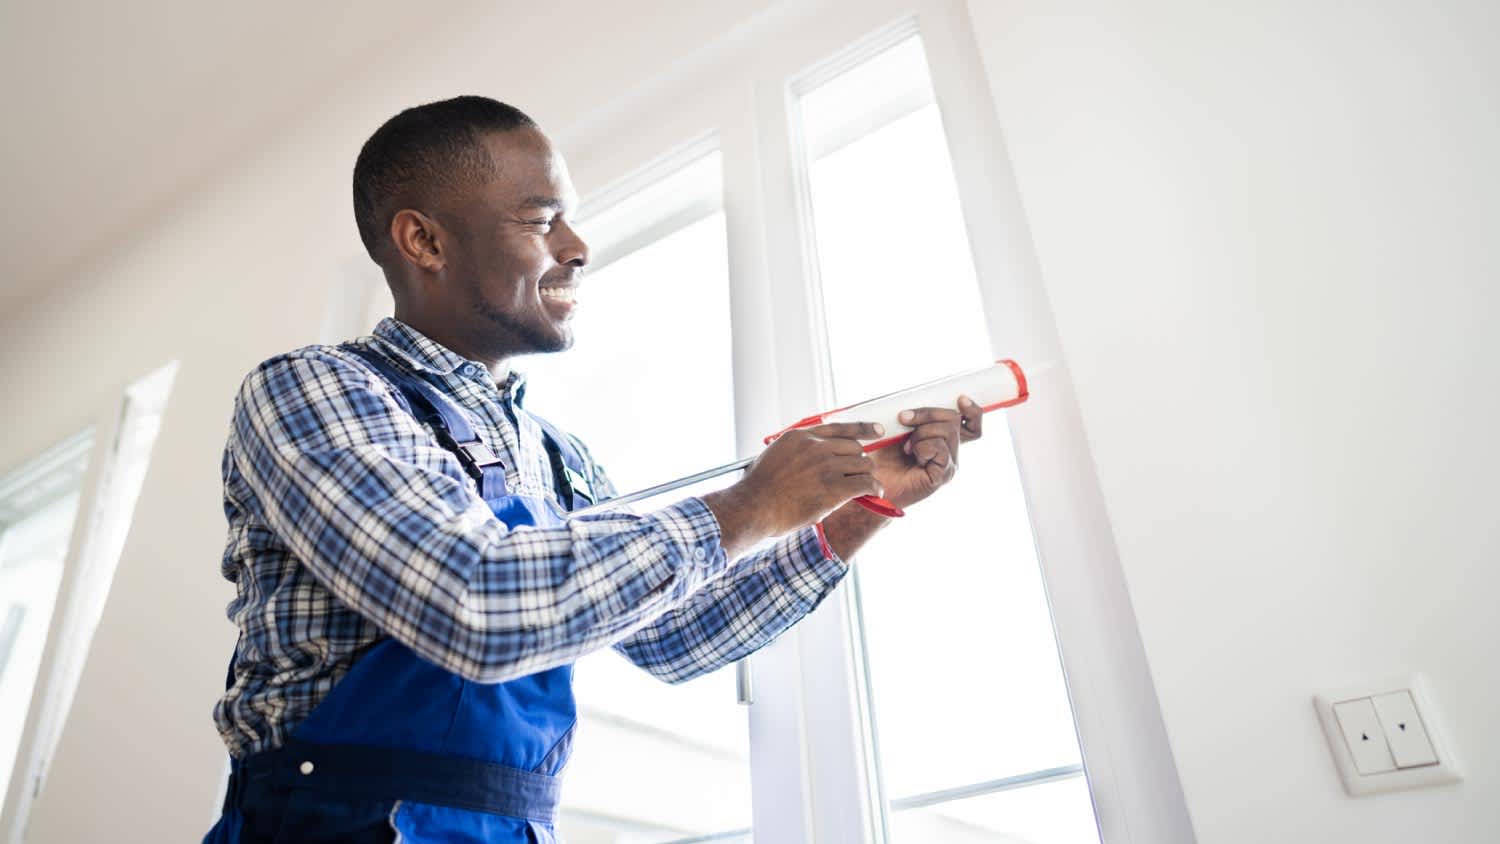
Is discolored or cracked caulk marring your otherwise beautiful bathroom? If the caulk around your tub is overdue for a refresh, there’s an easy fix. Break out the caulk gun and get to work. In just a few hours, your bathtub—and bathroom as a whole—will look new again.
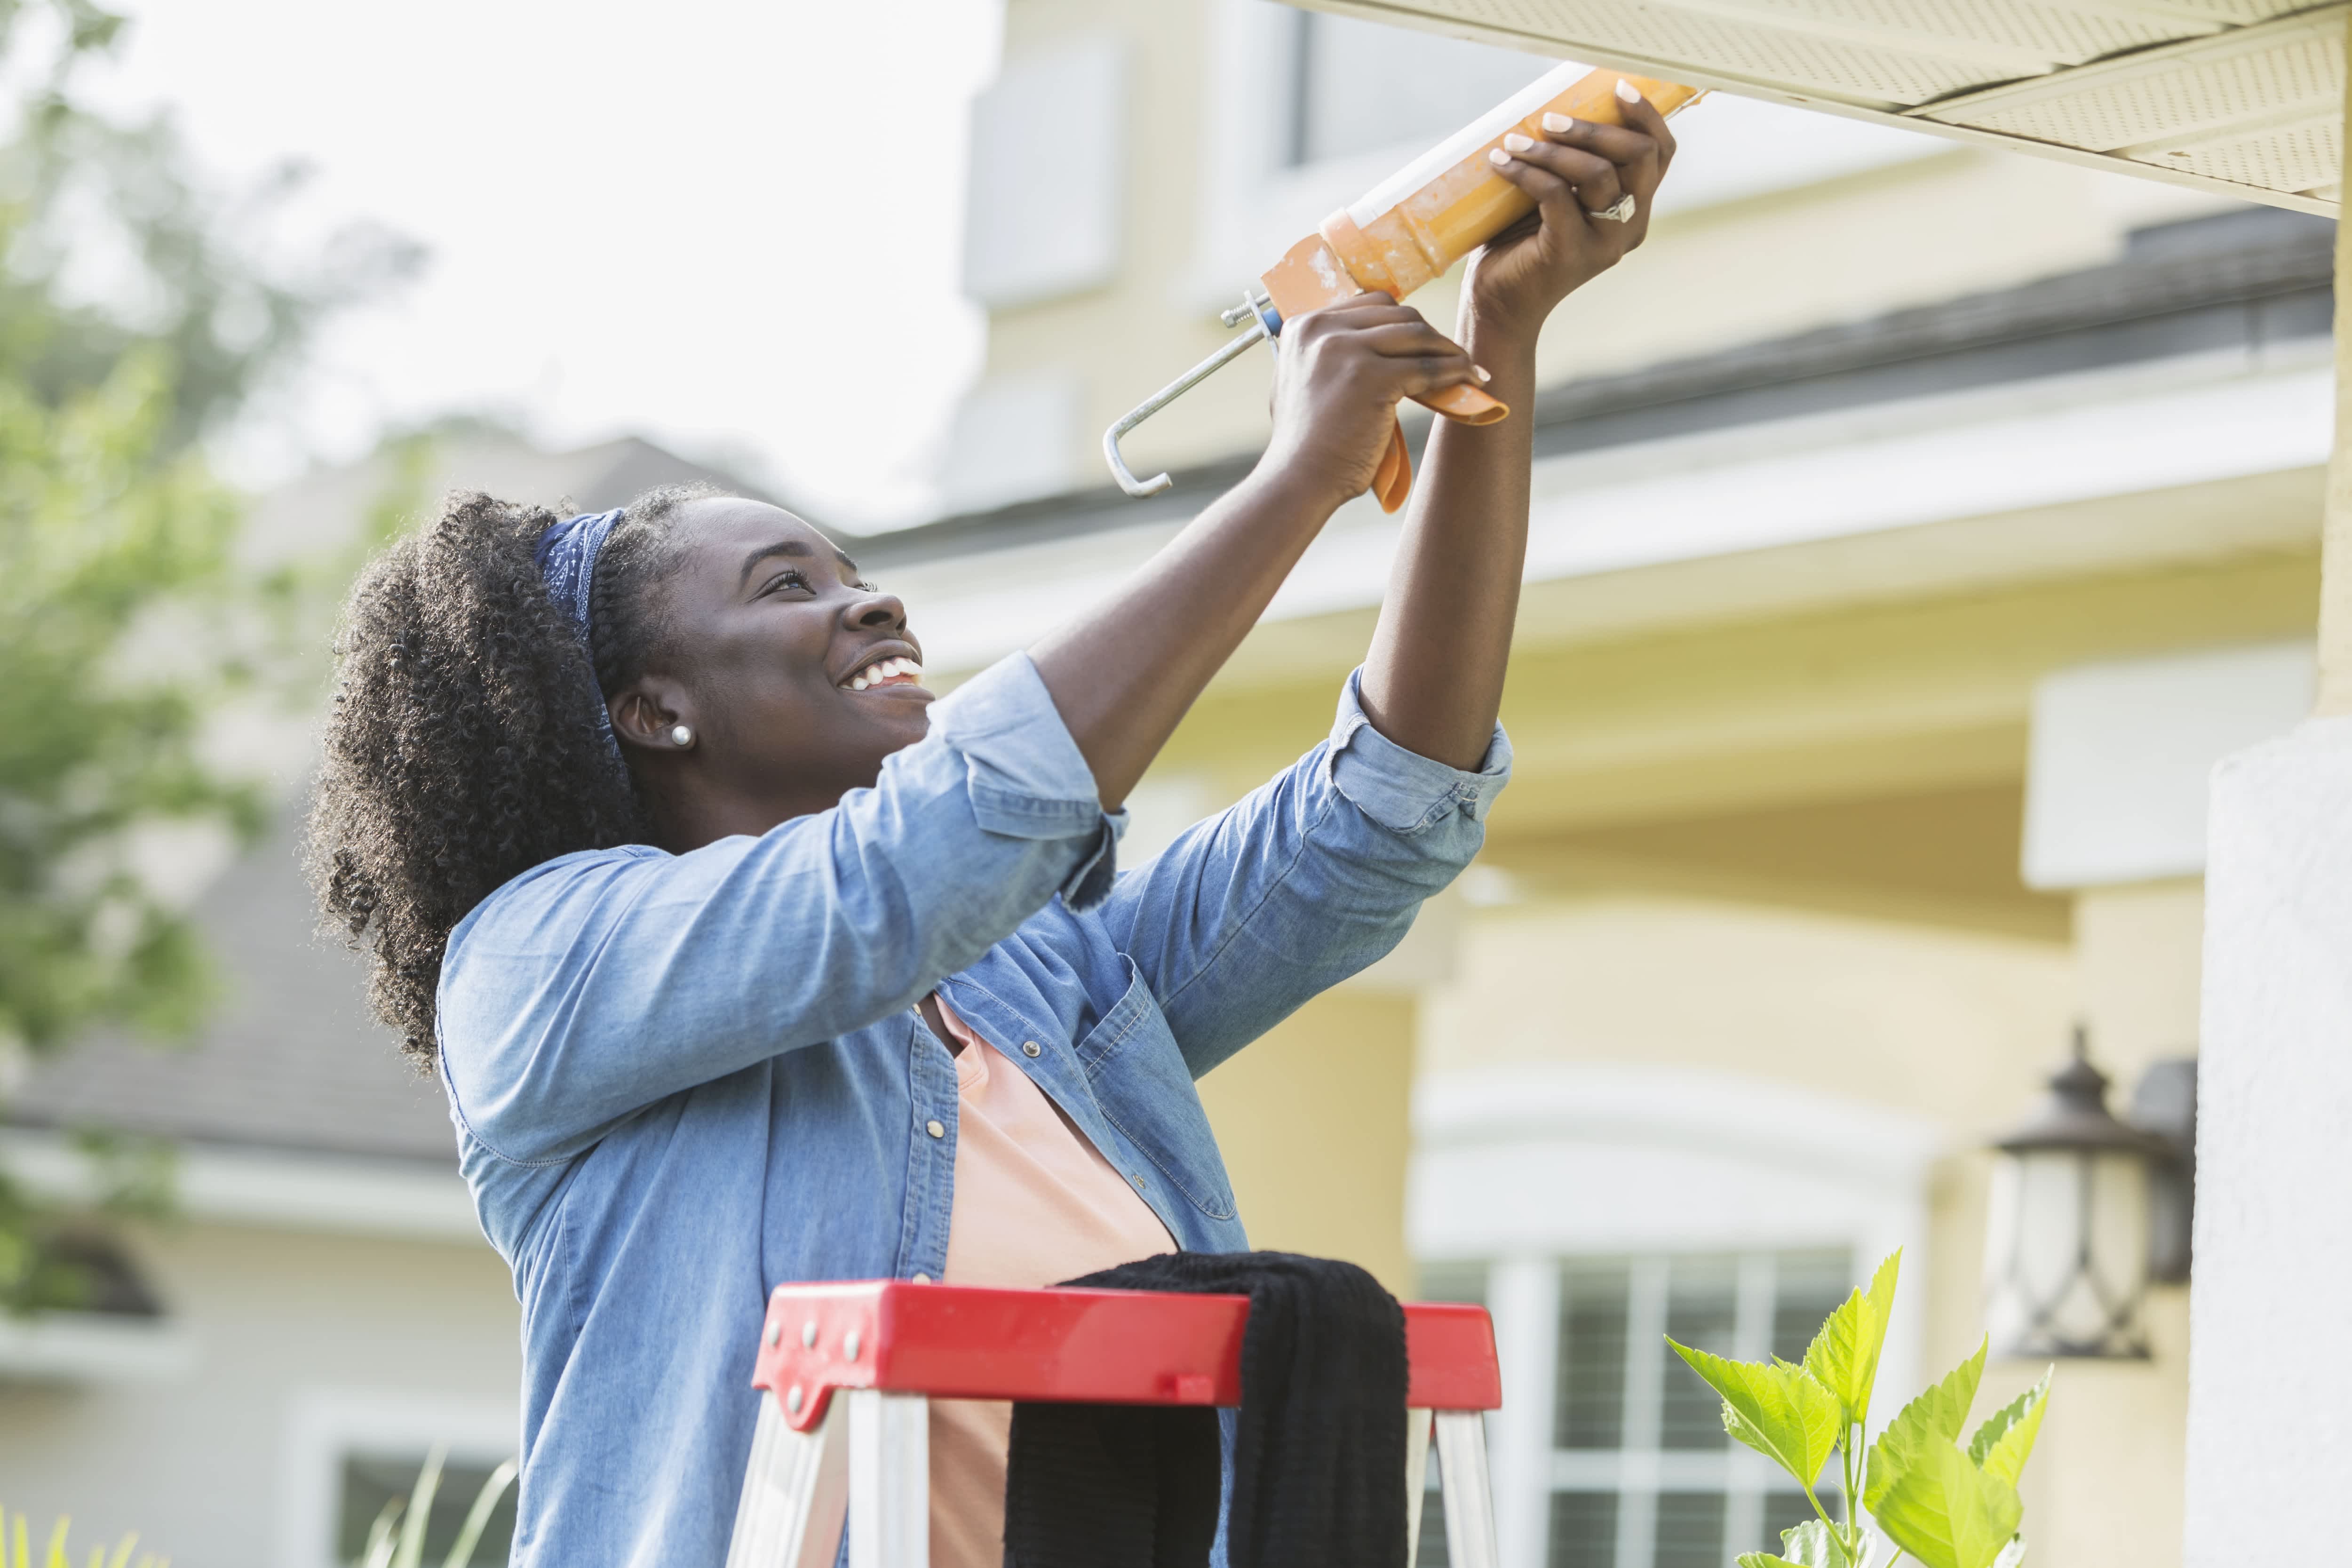
Before caulking your bathtub, drape a rag over the bottom of the tub to protect it from scratches and caulk residue. Make sure it’s large enough to cover the entire length of the tub or use multiple rags if needed. It’s important to take this simple step because it ensures that cleaning up is much easier.

Take the razor blade and scrape the old caulking from your tub. Keep your blade at a low angle as you scrape to avoid scratching your tub. Be thorough so you completely remove the old caulking. If there is any old caulk left, it will prevent the new caulking from sticking properly.
Use a scouring pad and scrub to clean the remaining caulk residue. Then dampen a rag with mineral spirits and run it over the gap for a deeper clean. The mineral spirits help remove the rest of the caulk residue to prepare it for new caulking. Let the surface of the gap dry using paper towels or a hairdryer.
To ensure your caulking is neat, take painter’s tape and lay it in parallel lines. As you lay the tape, leave an opening that is about 1/4-inch wide. By laying down painter’s tape you’ll be able to keep your caulking uniform and the surface of the tub clean.

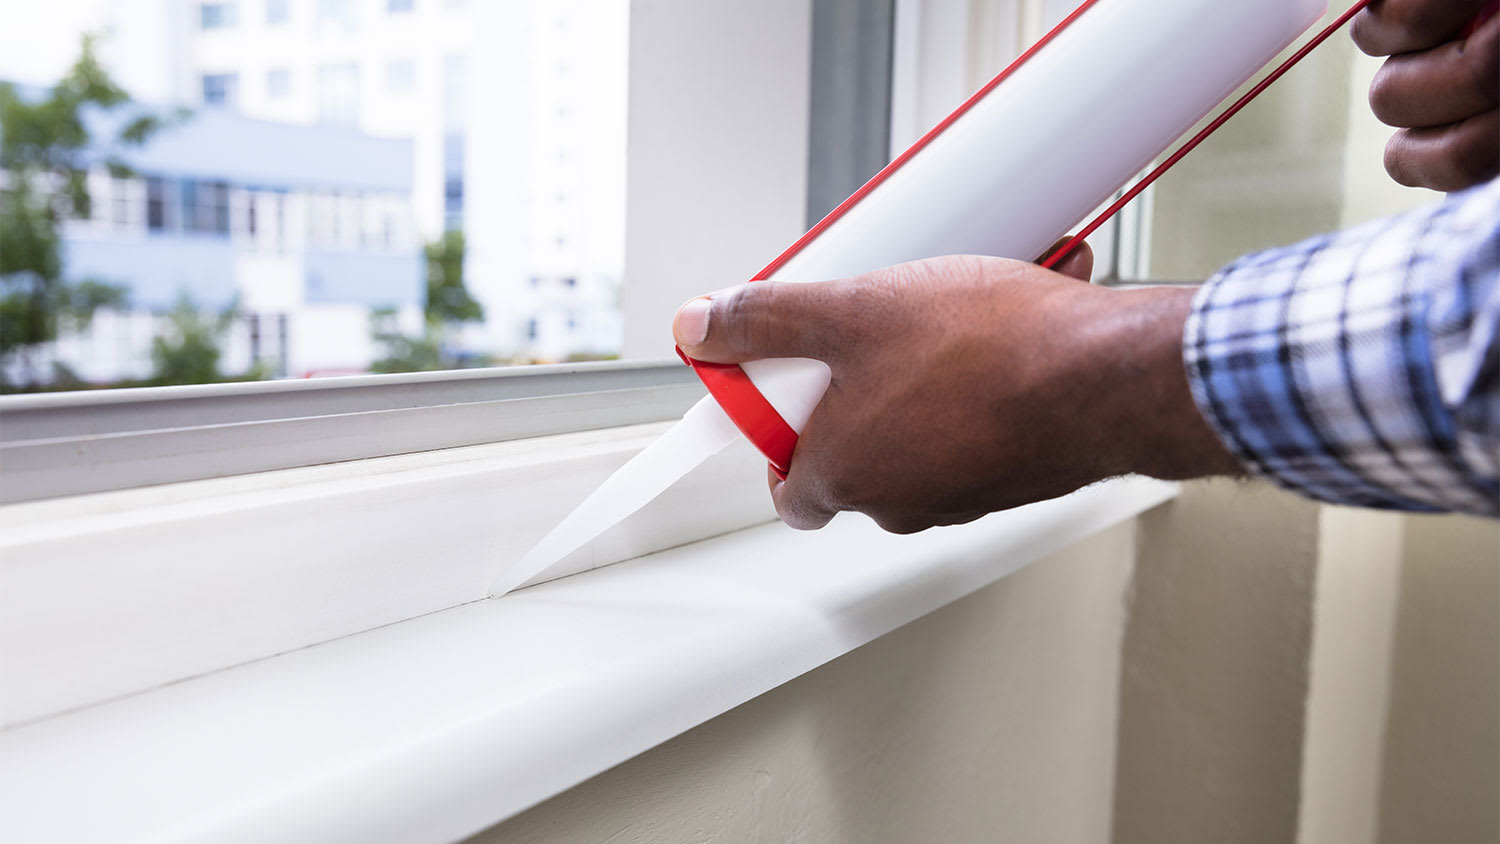
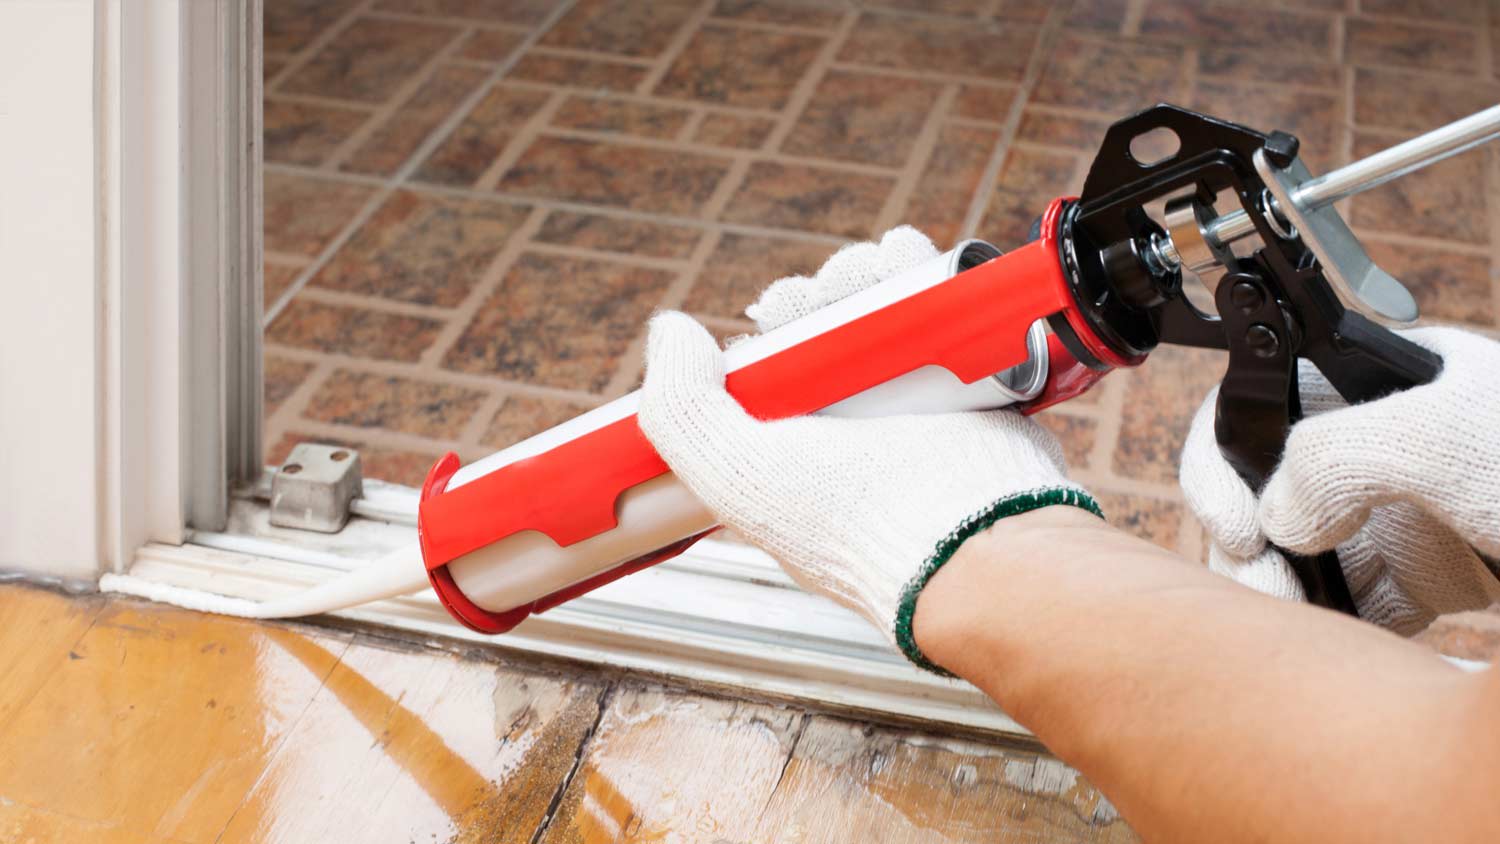
The best caulk to use around a bathtub is a waterproof, silicone option. When it comes to knowing how to apply caulk, you just need some patience and attention to detail. Place your caulk into the caulk gun, then cut the tip of the nozzle on the caulk to match the width of the gap between the painter’s tape.
Place the gun to the gap at a 45-degree angle and push out the bead of caulk with steady pressure and speed. Move the caulk gun along the gap until you run it along the entire length of the gap.
With a clean rag, push in the caulk and smooth it out and remove the extra caulk from the gap. As you do this, press the caulking into the gap. Once you’re done, carefully remove the painter’s tape, avoiding the caulking as you pull it off.

Caulking needs at least 24 hours to completely dry, so avoid using your tub to keep it from getting wet. If your tub is the only place to take a bath, use the tub beforehand, let it dry, and caulk your tub afterward.
Caulking your bathtub is a straightforward task, but it does require you to be comfortable using tools like a razor scraper or a caulk gun. If you’re unsure about whether you can DIY your next caulking job to your desired results, you can always have a professional do it.
For handy homeowners, the supplies for a DIY bathtub caulking costs about $21. If you’re more comfortable having a professional do it instead, it costs about $20 to $25 per hour to hire a handyperson.
Jason has helped me with multiple household projects, with the most recent being new door installation. He has always showed up on time and organized and has done an incredible job! Jason is very professional and he's now my go-to for anything around my house that needs to be fixed or...
Cole has been handling plumbing and general contracting for our four properties over the past three years, and he’s always done a great job. Most recently, he installed a sink and countertop in our retail store where none existed before, and it turned out exactly how we needed. He’s...
 ANB Renovations LLC
1st Choice Renew is simply the best! We hired them for a complete home renovation, and they transformed our space into something truly amazing. The team attention to detail and commitment to quality were evident throughout the project. They were easy to work with, very responsive, and always...
This company went above and beyond with their work, chimney sweeps are usually pretty messy, but the clean up was spot on.!! Josh explained every thing that he was doing, and the things that he was checking to make sure the chimney was safe for me and my family. He was very professional,...
 Supreme brick & chimney
Custom Paint Jobs LLC turned our outdated bathroom into a modern masterpiece.
Excellent customer service and knowledge. I was recommend to him from my neighbour. My front door and window came in great and were installed beautifully perfectly, I m very satisfied with their excellent work, so decided to order one more big bow window for my living room. I cant wait for...
If I could give 10 stars for Kitchen Tune Up, I would. I cannot say enough good things about my experience with Kitchen Tune Up and the entire team involved in the process of my kitchen project. They went above and beyond as far as service and quality with my cabinets, paint, countertops, and...
It was wonderful working with Yordy and his team. They were very professional and are experts in what they do. They have completed the work on time, with better quality and with in fairly reasonable price. We just started with backsplash work , but liking his work, we went on to provide...
We were having 2”x 2” tile installed . There was a small installation error and the new additional replacement tile was from a different lot and the colors didn’t match. Joe assured us that he would rectify everything , which he did without hesitation. We decided to go with the 18” x 36” tile...
 CarifaTile
They work that 360 did on my kitchen cabinets is nothing short of amazing. I still cannot believe the difference from before and after. Jon and Jeff were both so incredibly professional throughout the whole process and their communications with me were constant and consistent. These guys...
 360 Painting Columbus
From average costs to expert advice, get all the answers you need to get your job done.
For a bathroom remodel, touch-up, or home perimeter, caulking is worth the investment. Find out average costs for window caulking, shower caulking, and more.
Many home improvement projects require caulk, but if you’re a new DIYer, you may not be familiar with this versatile product. So, what is caulk? Let’s explain.
Caulking isn’t as easy as it looks, but with some tricks, even a beginner can do it like a pro. This guide will show you how to caulk in nine simple steps.
Learn how to hire a bathtub refinishing pro with confidence. Find qualified professionals, ask the right questions, and get quality results.
Explore the best caulk alternative options to seal gaps, prevent leaks, and enhance your DIY projects. Find the perfect solution for any application.
Caulking is used to seal and protect vulnerable spots in your home. Anyone can learn how to use a caulk gun, even beginner DIYers. Use this guide to get started.