

Tile varies dramatically in price, but there’s something for every budget. This guide will help you plan for tile installation costs, no matter the project.
Stack your style with tile-on-tile know-how

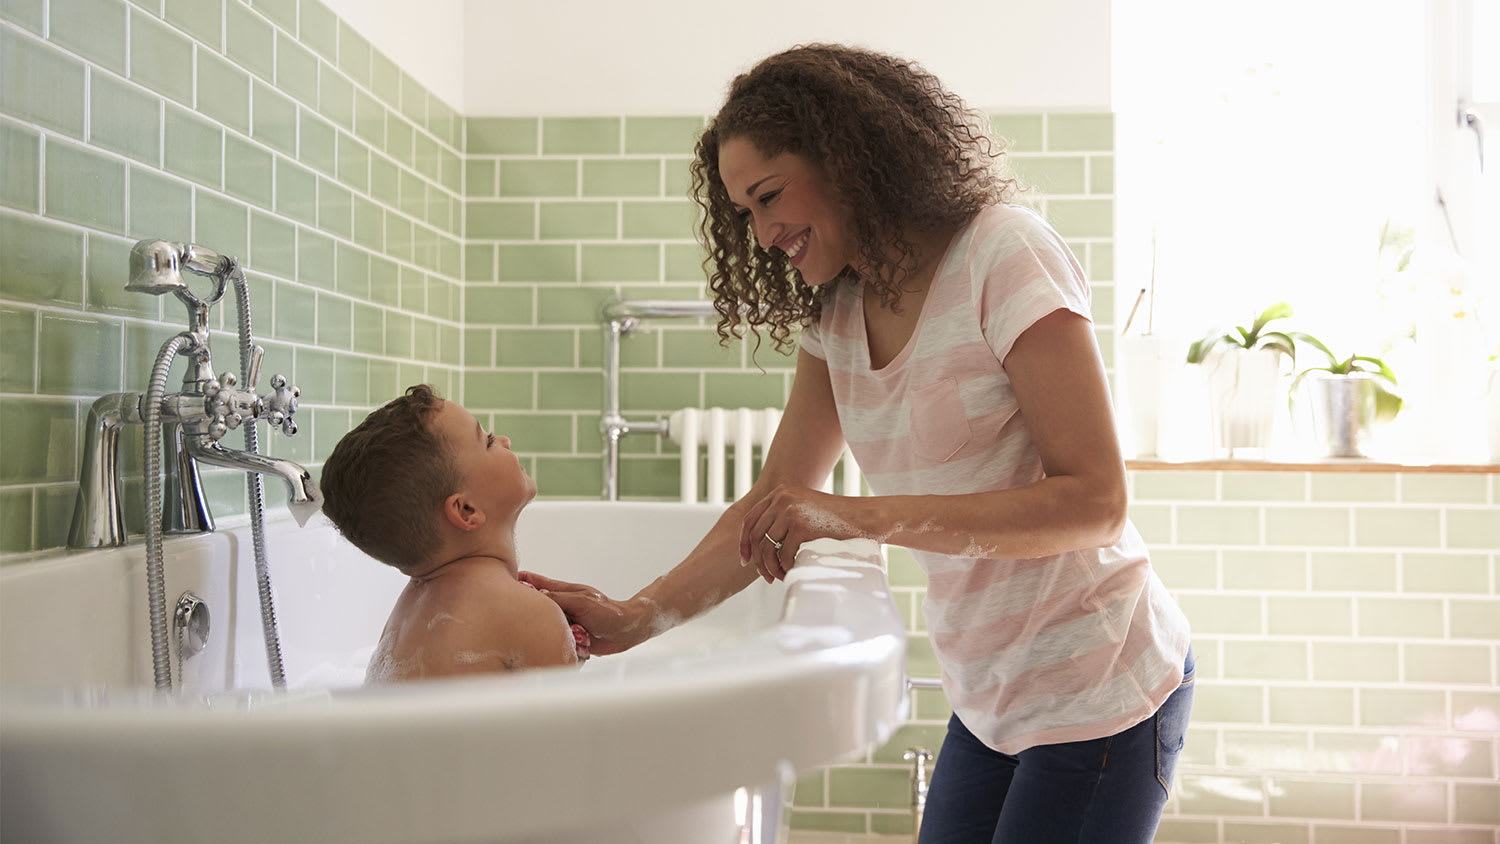
This project can take a long time to complete if you’re doing it in your off-time. Hiring a pro ensures a job done well and a quicker turnaround—plus you get your weekends back.
You may be curious about this age-old home renovation question: Can you tile over tile? The good news is that, in many cases, the answer is yes—but only if the existing tile is in good condition and you properly prep it. Tiling over tile can be a huge time saver, cutting out the need to rip out old materials and haul away debris. However, skipping key steps could cause problems with your new tile down the road. We’re going to break down exactly what you need, how to do it right, and what pitfalls to avoid for a successful tile-over-tile project.
Determining if you can tile over tile starts with examining the condition of your existing surface. If the current tile isn’t stable, clean, or level, your new installation could be compromised. Here’s what to check before you begin.
Your current tiles must be securely bonded to the surface below. Tap across the tiles and listen for hollow sounds—this indicates looseness. Loose tiles can cause uneven pressure on your new tile layer and lead to cracking or lifting. If too many tiles are loose, consider fully removing your existing tile instead.
Even a slight unevenness can cause alignment issues when laying new tile over old tile. Use a level to check the surface in multiple directions. If the surface is uneven, use a self-leveling compound or grind down high spots before proceeding.
Cracked, chipped, or damaged tiles may seem minor, but they can create an unstable base for your new tile. Remove or patch damaged areas before continuing. Remember, your new tile will only be as strong as its foundation.
Moisture behind tiles can lead to mold and mildew. Use a moisture meter to check for hidden issues. If you find moisture or detect a musty smell, address the cause before tiling over it.
Adding a new layer of tile increases the height or thickness of your flooring or wall. This can cause problems with baseboards, doors, and transitions to other floor surfaces. Check that doors will still be able to open freely and that your transitions won't become tripping hazards or aesthetic eyesores.

If your old tile passed your inspection, it’s time to prep the surface. This step is critical for good adhesion and long-term durability. Put on some protective gear and get started.
Start with a thorough clean. Use a degreasing cleaner or trisodium phosphate (TSP) to remove soap scum, grime, and oils. Rinse the surface thoroughly and allow it to dry completely before proceeding. A clean, dry surface ensures your primer and adhesive bond properly.
Use an orbital sander or sanding block to scuff and roughen up the glazed surface of the old tiles. This helps the new adhesive grip the surface. You don’t need to remove the glaze completely—just rough it up enough to dull the shine.
After sanding, apply a bond-promoting primer designed for non-porous surfaces like tile. This creates a chemical bond between the old tile and your new adhesive. Follow the product instructions and let the primer dry fully before moving on in the process.
Now it's time to gather your new tiles and plan your layout. This includes selecting an adhesive and cutting your tiles.
So, what is the best adhesive for tiling over tiles? A high-quality modified thin-set mortar is often the best option. Look for one that specifically states it's suitable for tile-on-tile applications. For high-moisture areas like showers, opt for waterproof adhesives approved for wet environments.
Next, measure and cut your new tiles to fit your space. Use a tile cutter or wet saw for accurate cuts, especially around corners, outlets, and irregular edges. Dry-lay your tiles, if possible, to check spacing and alignment before adding mortar.

This is the meat of the project, so follow these steps carefully:
Start in the center of the space and work your way outward to ensure an even layout.
Apply your adhesive using a notched trowel, holding it at a 45-degree angle to evenly distribute mortar and fill grout lines below.
Press each tile firmly into place and use spacers to ensure uniform gaps.
Work in small sections so the adhesive doesn’t dry before the tile is placed.
Allow the adhesive to dry completely—often 24 hours—before walking on the surface or moving to the next step.
Once the adhesive is dry, remove the tile spacers and begin grouting. Use a grout float to press grout into the joints at a 45-degree angle. Make sure you wipe off excess grout immediately with a damp sponge, and rinse the sponge frequently.
At this point, you’ll need to let the grout cure according to the product’s instructions. After it’s cured, apply a grout sealer to protect against moisture and stains, especially in kitchens, bathrooms, or high-traffic areas.
For the final step, caulk the perimeter edges where your new tile meets another material (for example, countertops, tubs, or walls). You should use a flexible silicone or mold-resistant caulk for wet areas to prevent water infiltration. A caulking gun helps control the flow and ensures a clean finish, but be sure to smooth the bead with a wet finger or caulking tool.

A DIY tiling project is often complicated on its own, but when you’re tiling over existing tile, there are some other common mistakes that can turn your project into a headache. Here are a few mistakes to avoid when tiling over tile:
Skipping prep: Not sanding, cleaning, or priming will lead to failed adhesion.
Ignoring height concerns: Measure door clearances and transition heights carefully.
Using the wrong adhesive: Only use adhesives rated for tile-on-tile applications.
Tiling over loose or damaged tiles: These weaken the structural integrity of your new installation.
Not checking for moisture issues: Tiling over damp surfaces can trap moisture and cause long-term problems.
Tiling over tile is certainly an option for confident DIYers, especially in small spaces like a bathroom wall or a kitchen backsplash refresh. However, if your tiled area is large, you’re dealing with moisture-prone surfaces, or you’re not confident in your existing tile’s stability, hiring a local tile contractor is worth it.
A professional can assess your space and identify hidden problems. They can also ensure correct preparation and leave you with a high-end finish in less time than you can do it in. New tile installation may cost more up front with a pro, but it could save you more in repairs later.
Terrible experience. Walls/trim/floors/cabinets/doors all have drip marks, overspray, etc. Tiling at the fireplace had to be redone by another vendor due to incorrect and shoddy install by Profect. Contractor had his children in our house while he was on site without prior authorization or...
 Profect painting & exteriors
It was wonderful working with Yordy and his team. They were very professional and are experts in what they do. They have completed the work on time, with better quality and with in fairly reasonable price. We just started with backsplash work , but liking his work, we went on to provide...
We were having 2”x 2” tile installed . There was a small installation error and the new additional replacement tile was from a different lot and the colors didn’t match. Joe assured us that he would rectify everything , which he did without hesitation. We decided to go with the 18” x 36” tile...
 CarifaTile
For several months I was looking for somebody to tile a wall in my master bath and move lighting fixtures, and could not find anybody who was responsive. I contacted Rowe through Home Advisor and within days they came by to assess the job and provide an estimate. The cost was very...
It went very well! The end product was amazing and we keep getting a lot of compliments from friends! M&E were very professional and they made sure we were happy with the product before leaving. They met with us in our home and at the tile shop to make sure we were okay with our tile and...
 M&E Remodeling
Involved an extensive bathroom remodel, including removing tub & installing walk in shower, new drywall, custome tile work to ceiling, plumbing, etc. Overall, job was done on time and on budget. Nick & his team were very professional and had high attention to detail. Quality was great. Highly...
 Stamos Flooring and Remodeling LLC
Very pleased with the service and level of professionalism. Courteous and very unobtrusive in performing service. Unlike several other companies, Bradford Xteriors was willing to perform work on a three story home with a clay tile roof. <br />
 Bradford Xteriors
This company did a very good job on the brick wall and it looks just amazing. The staff was always professional and was practically OCD on how the bricks were stacked and how they were laid. Although it took longer than expected, I am willing to sacrifice time over perfection anyday. The...
 My Handy Mate LLC Improvement & Remodeling
He did the tile work and he was good at it. He used other subcontractors for the rest of the work (like putting in the cabinetry) and they were okay but not great. He was a great guy! He was easy to work with and had a good eye for the detail of his work. There were a couple of things that I...
 Brian Miller Custom Remodeling
I was very impressed with Miller Cantrell! I live in an old home in which the sewage line that runs from my home to the sewage system is a line of clay tile. These eventually collapse and need to be replaced - an expensive problem and sure to happen at the worst time. I told them that my...
From average costs to expert advice, get all the answers you need to get your job done.
Tile varies dramatically in price, but there’s something for every budget. This guide will help you plan for tile installation costs, no matter the project.
Damaged tiles should be fixed right away. In this guide, find out all of the different factors that affect your tile repair cost.
The cost to install porcelain tile depends on materials, size, and whether you DIY or hire a pro. This guide will help you choose the perfect porcelain tile for your home and budget.
Less fuss and mess: Here's every type of flooring that can be installed right on top of your ceramic tile.

You can install carpet over tile, but only in certain situations, and you must be careful to ensure the floor is even and stable before doing so.

Can you install hardwood floors over tile? The answer is yes, if you do it the right way. Here’s everything you need to know to upgrade your floors.