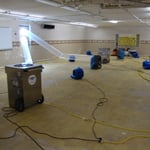
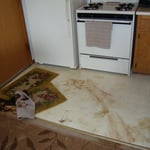
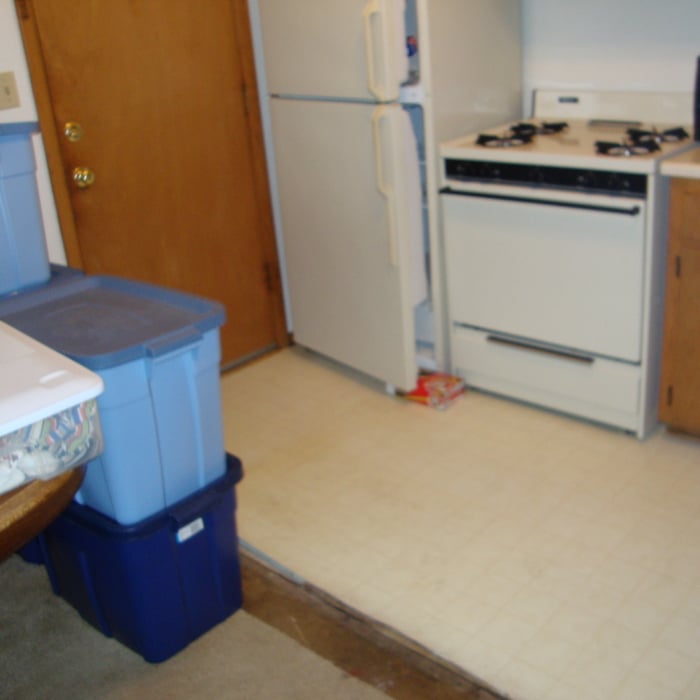
"After getting recommendations and checking Angie's list, I called Rich Reimer of Custom Craft Environmental. Rich was very cooperative and came almost right away. He outlined what he was going to do and after we agreed, he and his crew immediately started to go to work. After vacuuming up as much of the water as possible, they set up huge dehumidifiers and 25 fans to finish the drying. They also sprayed chemicals to prevent mold and to disinfect the flooring; this they did several times during the next days. We had a lot of stuff in our basement and there was a lot to move up off the floor. Rich and his men were extremely helpful and careful with our belongings and never once did they complain about the amount of things they had to move. Rich came back numerous times during the drying out process to check on the progress and to move furniture and fans around for better coverage - for that care we were most grateful. When things were finally dry, we had Steve, one of Rich's crew, shampoo our carpet and he did a great job in spite of all the challenges caused by having to move a lot of furniture, etc. All in all, Custom Craft did an excellent job and it was a pleasure to work with Rich and his crew."
"The furnace took 4 days to get approved( not counting a Sunday) the others were quick but the water heater had to be ordered so without hot water for a week. One ceiling fan was easy but within a year their policy changed and They would not install the one I purchased and had to get a new one approved and then ordered online and took several weeks to get straightened out. Not sure who was at fault, AHS, installer or scheduling with renter. Fee is usually $75 per visit"
Owner operated. I am Jack of all trades. No job to big or small. We do everything from hauling to painting , Plumbing electrical , rental unit turnovers , trash outs roofing , windows and doors. My contact information has been outdated on here for a while. sorry to any customers who tried to reach me. And as always a 20% VETERANS & senior discount.
Jack of all trades, there is nothing we can't do! Available to start your project and complete ON TIME. Remodeling, plumbing, flooring, painting, electrical - you name it!
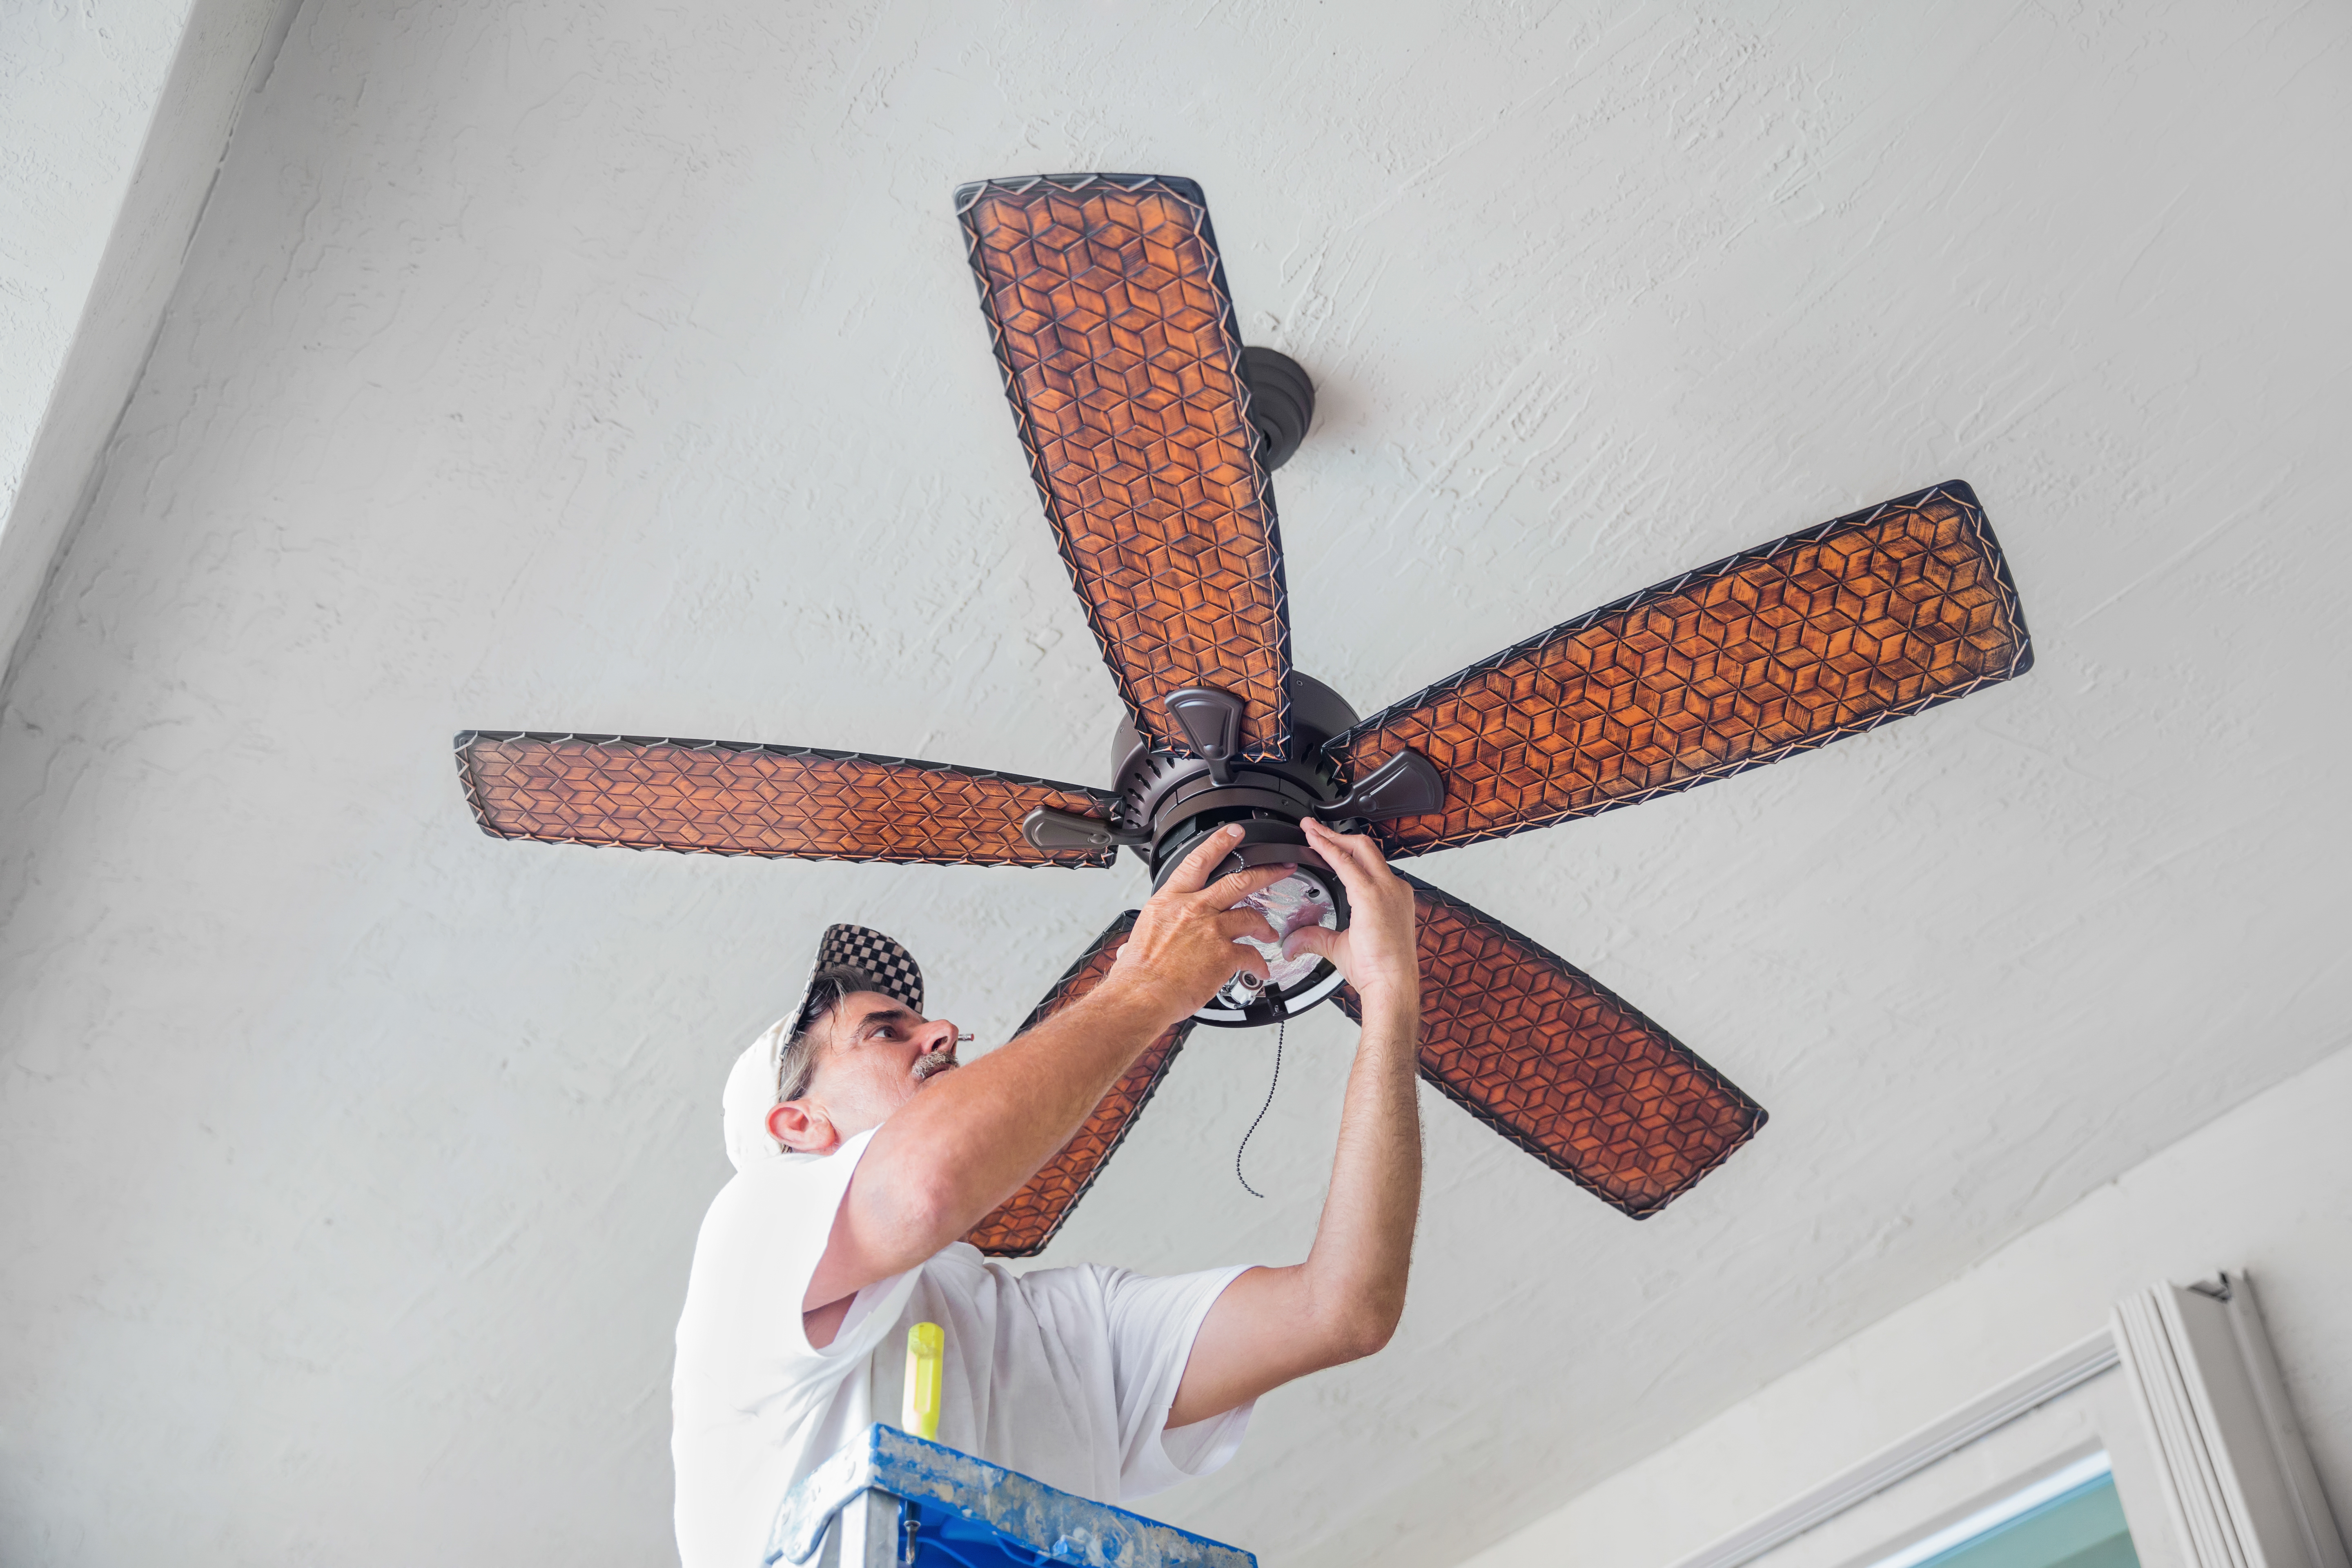
Yes, you can install a ceiling fan where a standard light fixture is, as the electrical wiring is often similar and may not need to be replaced. The most important step is to ensure the ceiling can support the fan's weight and motion. You will need to replace the existing light fixture's electrical box with a fan-rated electrical box, which is specifically designed to handle the extra weight and vibration. These boxes will be labeled as suitable for ceiling fan support and will indicate the maximum weight they can hold. Before you begin, also consider if you need an extension rod for a high ceiling or a special mount for an angled ceiling.
For a 12x12 room, a fan between 36" and 50" will work, as it falls in the range for spaces up to 144 square feet. These size fans provide adequate air circulation and ensure a comfortable environment without being overpowering. Even better, they come in a broad range of styles, offering aesthetics and functionality, making them suitable choices for maintaining an ideal room temperature and enhancing overall comfort.
There are many types of ceiling fans available, each designed for different spaces and needs. Standard ceiling fans are the most common type and work well in most rooms. Low-profile ceiling fans are better suited for rooms with low ceilings. Smart ceiling fans can be controlled with a smartphone or voice commands. For larger spaces with ceilings between 10 and 25 feet high, large ceiling fans are ideal. Dual-motor fans have two motors to produce more airflow in multiple directions. You can also find energy-efficient or Energy-Star models that can be up to 60% more efficient, as well as fans with built-in lights or retractable blades.
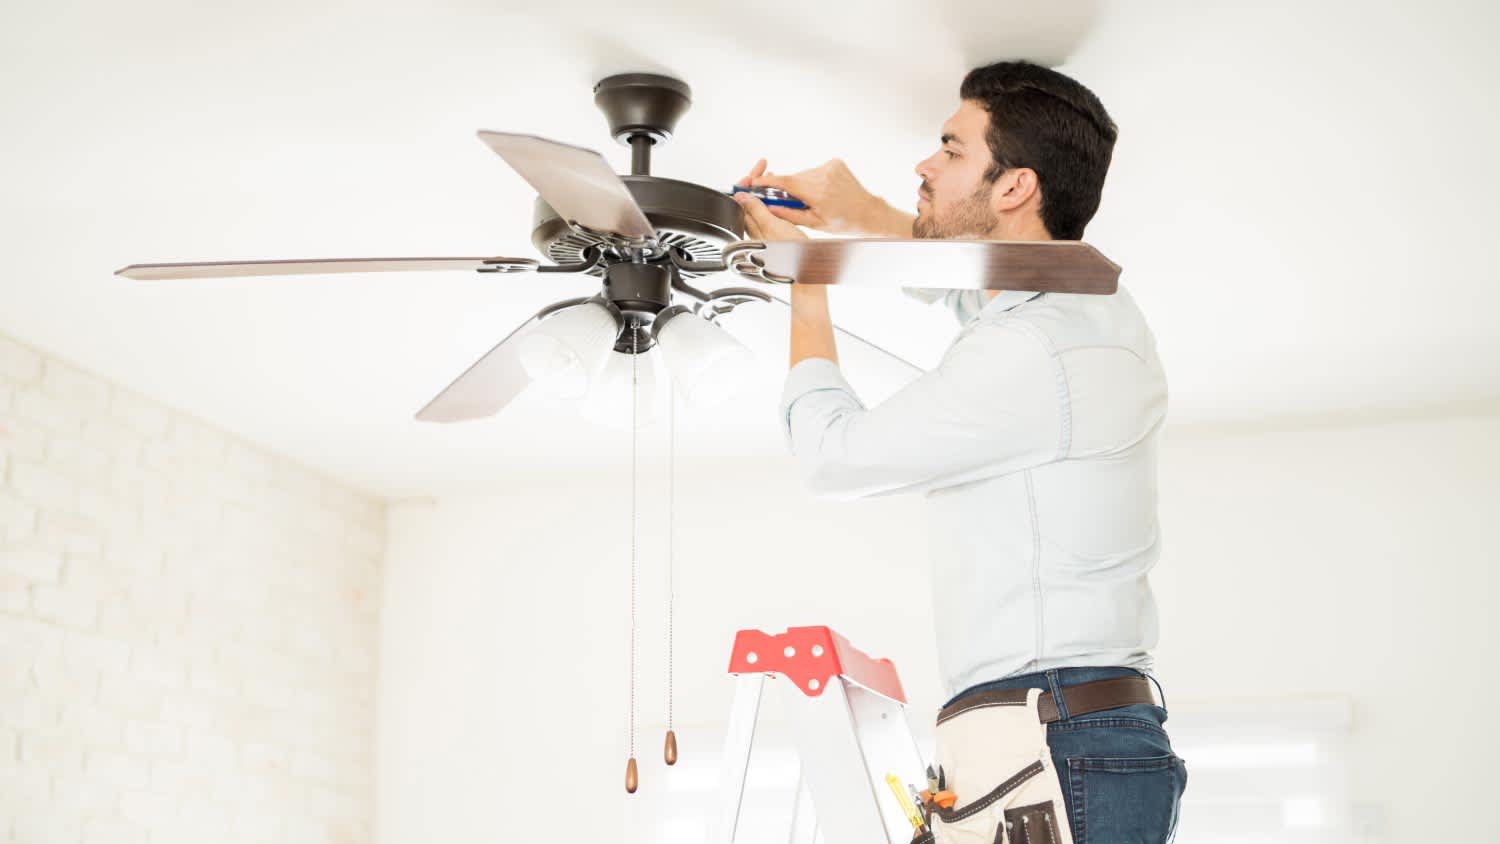
If your home already has wires for a ceiling fan (and optional light kit), then it’s quite safe to wire and install it yourself. Always be very careful to shut off the power before you begin, and confirm that the power is safely off with a non-contact voltage tester before touching anything. It’s also highly recommended to use eye protection, rubberized gloves, and tools with rubber handles to keep yourself safe from electric shock.
If you’re removing a ceiling fan without visible screws, start by locating the fan canopy—a round cover placed above the fan blades and motor. There should be a thin ring that can be turned counterclockwise to remove the canopy and reveal the screws. After unscrewing the fan, you can disconnect the wires and remove the entire fan from the mounting hardware. For safety, make sure the fan switch is turned off before you remove the canopy. It may be easier to remove the fan blades first, too.
The Phelps, WI homeowners’ guide to ceiling fan services
From average costs to expert advice, get all the answers you need to get your job done.
Discover the cost to install a ceiling fan, including labor, materials, and tips to save. Learn what impacts your price and how to budget for your project.
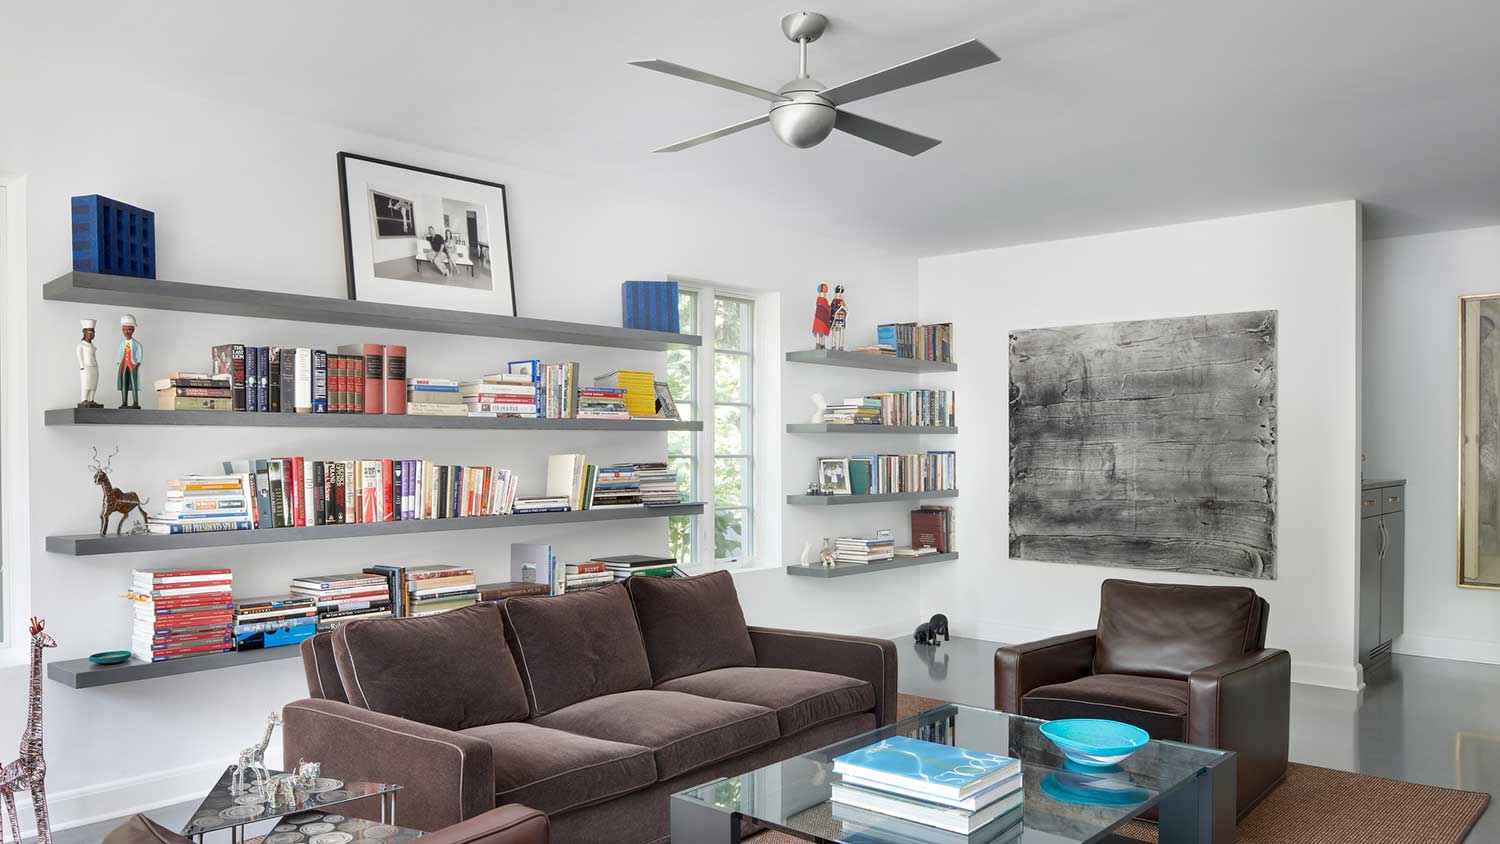
Ceiling fans cool down your home while stylishly accenting your space. With a variety of types of ceiling fan on the market to choose from, you can’t go wrong.
Although the risk is low, there are a few telltale signs that a ceiling fan will fall off your ceiling. This guide explains when to worry (and when not to).