


Top-rated drywall pros.

Get matched with top drywall pros in Mount Calvary, WI

Enter your zip and get matched with up to 5 pros

Need a pro for your drywall service project in Mount Calvary, WI?

Select your specific project to find the pro for you.

TRUSTED BY MOUNT CALVARY, WI HOMEOWNERS

  • Average homeowner rating star icon4.1
    Average homeowner rating
  • Verified reviews icon15
    Verified drywall services reviews

Find Drywall pros in Mount Calvary

Avatar for Midwest Remodeling & Handyman Services
Midwest Remodeling & Handyman Services
5.0(
8
)
Drywall - Install

Serving Mount Calvary, WI and surrounding areas

Approved

In business since 2016

Free estimates

Small jobs welcome

"Definitely not enough choices on here because Cody has performed multiple Large projects from flooring to plumbing and remodeling, wall and door installation, ceiling tiles, clearing a tree and debris after storm, and new siding plus decking. Really you name it and Cody will tackle it with great knowledge and care. Always courteous and efficient and does not leave a mess. Very highly recommend!"
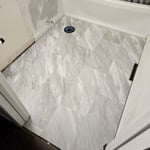
Bathroom flooring
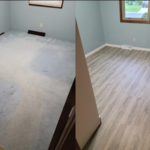
Bedroom flooring
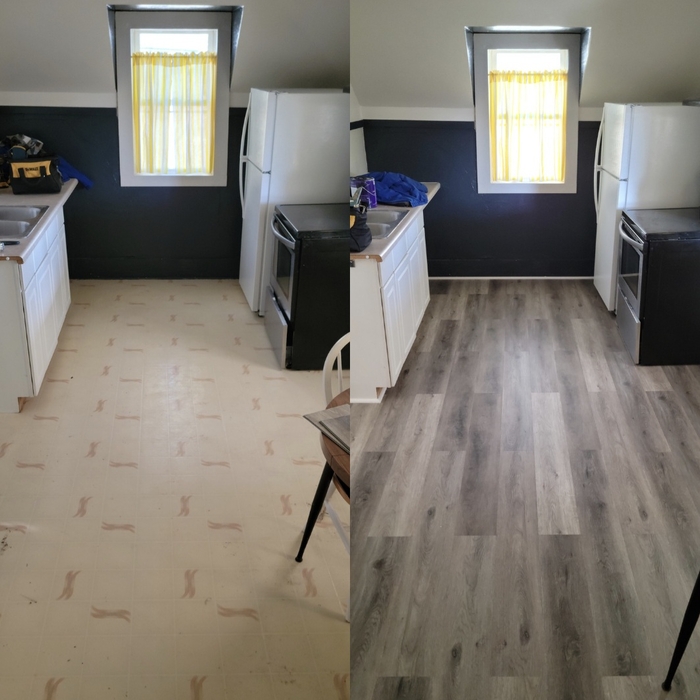
Kitchen flooring
Entry flooring
Kitchen flooring

+17

Response time4 hrs
Recommended by75%of homeowners
Avatar for S&S Painting and Restoration, LLC
S&S Painting and Restoration, LLC
3.9(
37
)
Drywall - InstallDrywall - Install - For BusinessDrywall - Repair - For Business

Serving Mount Calvary, WI and surrounding areas

Approved

In business since 2016

Free estimates

Warranties offered

"S & S Painting & Restoration did a great job. Once we were scheduled They contacted us as to the start date & came out to pressure wash our roof, which they completed in one day.. when the weather was right, they came out to apply the primer & 2 top coats to our roof. They also completed it in one day. We have a large farmhouse with a 2 story metal roof with a few different pitches & levels of roof. They were very professional & meticulous in the spraying of the paint. I would recommend their services to anyone looking for a painting company. We have another couple of buildings that we will be scheduling for next spring. We are very satisfied with their work!"
After Restoration
Before Restoration
Before Restoration
After Restoration
Before Restoration

+14

Response time1 day
Response rate93%
69 neighbors recently requested a quote
Chase Daus
New to Angi
Drywall - Repair

Serving Mount Calvary, WI and surrounding areas

Approved

Small jobs welcome

Offers commercial services

I am newer to residential construction and remodeling and am currently looking for general labor and small home-improvement jobs in Northeast Wisconsin. I have hands-on experience with drywall, demolition, plastering, concrete work, siding, trim, window and door installation, and general construction assistance. I'm comfortable taking on smaller projects within my experience level and am always willing to learn. I have many of my own tools and carry commercial insurance. I'm dependable, willing to work hard, and happy to discuss your project to determine whether I'm a good fit.

Small stair deck framing
1 neighbors recently requested a quote
...
Showing 1-10 of 68
Drywall questions, answered by experts

Yes, it matters which side of drywall you use. One side is smooth, and the other is rough. The smooth side should be facing outward, toward the room, while the rough side should be hidden and facing the studs and framing of the house. The smooth side will be easier to apply tape, joint compound, and, later, paint to.

When used correctly, drywall patch kits can work well. However, there are limitations. Specifically, these kits can only cover holes up to 5 inches in diameter. For anything larger than that, you’ll need to cut out the affected section of drywall and replace it with a new piece. That’s a far more complicated process that involves buying the right type of drywall, finding the wall studs, cutting into your wall, and screwing the replacement drywall in place.

The easiest way to cut holes in drywall for electrical boxes is to use a spiral saw with a drywall router bit. Hang the drywall without cutting out a hole for the box, but make sure you measure and mark where the box is located on the wall. Once you screw in the drywall sheet, drill a small hole into the box void, insert the spiral saw bit, and move it around the edge of the box using the inside wall as a guide. You can also use an oscillating multi-tool with an electrical box cutout for fast, professional results.

If the holes in the plaster are small, you can fill them with layers of patching plaster until they’re filled. After it dries, you can sand the plaster and paint over it. If the hole is much larger, consider using bonding plaster first and then a layer of patching plaster, completing the process with sanding and a layer of paint.

The short answer is yes, a sagging plaster ceiling is dangerous. Sagging plaster on a wall is something you should fix immediately, but it isn’t a major concern. If the same type of sagging occurs on a ceiling, however, you could be in danger of your ceiling falling in large chunks. When plaster sags, it loses its strength and ability to hold itself up. The bonds that hold it together are strong, though, so if a sagging area falls, it will take large pieces down with it.

The Mount Calvary, WI homeowners’ guide to drywall services

From average costs to expert advice, get all the answers you need to get your job done.