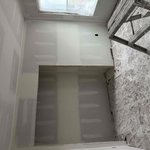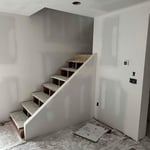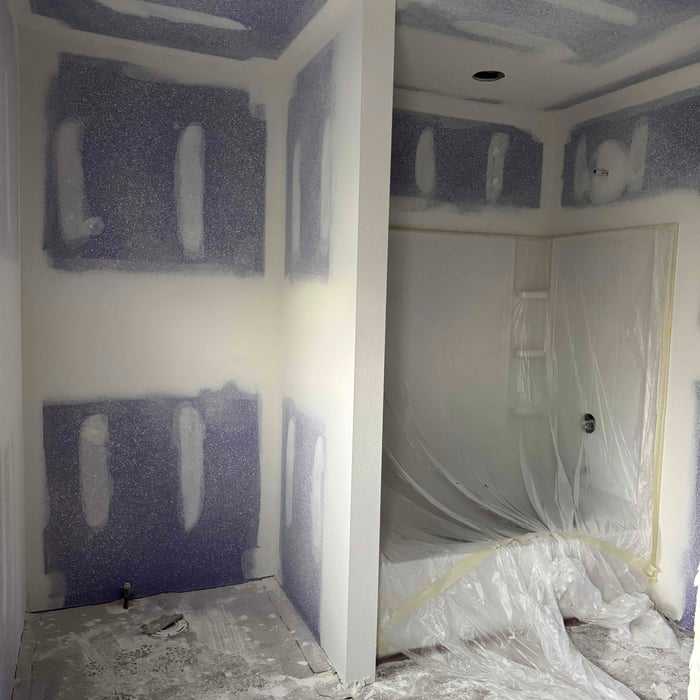







Top-rated drywall pros.

Best drywall pros near Fox Lake, WI

Enter your zip and get matched with up to 5 pros

Need a pro for your drywall service project in Fox Lake, WI?

Select your specific project to find the pro for you.

TRUSTED BY FOX LAKE, WI HOMEOWNERS

  • Average homeowner rating star icon5
    Average homeowner rating
  • Verified reviews icon11
    Verified drywall services reviews

Top-Rated Drywall pros in Fox Lake - Updated Nov 2026

Avatar for Spartan Remodeling and Yard Service - Home  Facebook
Spartan Remodeling and Yard Service - Home Facebook
4.9(
16
)
Drywall - RepairDrywall - Repair - For Business

Serving Fox Lake, WI and surrounding areas

In business since 2016

Free estimates

Small jobs welcome

"I really liked the work Thad did for me on two storm doors he installed. Everything looks & functions like it should & Thad was helpful in determining what materials I should get before work was stated and even met me at Menards to pick it up. Great Job"
Hauling service
Response time2 days
Recommended by100%of homeowners
Avatar for H Square Drywall Services LLC
H Square Drywall Services LLC
4.2(
10
)
Drywall - Install - For BusinessDrywall - RepairDrywall - Repair - For Business

Serving Fox Lake, WI and surrounding areas

In business since 2020

Free estimates

Offers commercial services

"We appreciate Bernardo's integrity and authentic approach to explaining the details of our drywall patches. He did a remarkable job. He communicates throughly, is prompt, and informs us when he will be here. Thumbs up!"
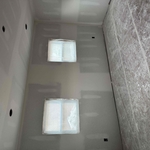
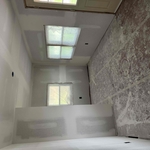
New Residential project
living room
master bedroom
Response time1 day
Recommended by100%of homeowners
Avatar for Custom Craft Environmental
Custom Craft Environmental
4.6(
117
)
Drywall - InstallDrywall - Install - For BusinessDrywall - Repair+1 more

Serving Fox Lake, WI and surrounding areas

In business since 1991

Emergency services offered

Credit card accepted

"They seemed to do a good job. They were good at cleaning up after themselves. They spent time explaining what they were doing and why they were doing it. They were able to come at a timely manner when we requested the work to be done. They were attentive to details."
Additional Photos
Additional Photos
Additional Photos
Before
After

+1

Recommended by94%of homeowners
...
Showing 1-10 of 59
Drywall FAQs, answered by experts

If the holes in the plaster are small, you can fill them with layers of patching plaster until they’re filled. After it dries, you can sand the plaster and paint over it. If the hole is much larger, consider using bonding plaster first and then a layer of patching plaster, completing the process with sanding and a layer of paint.

Plaster ceilings can sag for several reasons. In some cases, the plaster and other building materials shift and come apart over time, which is why you’ll commonly find drooping plaster ceilings in older homes. Improper installation, foot traffic, and water damage—often from a leaky roof or a broken pipe—can also cause plaster ceilings to sag.

There are six levels of drywall finish, from 0 to 5, that refer to the amount of work performed during the finishing process.

Level 0: Drywall is hung with no finishing work.

Level 1: Tape is placed over the seams between drywall sheets.

Level 2: A thin layer of mud is applied over the tape and screw holes. This level is common for utility rooms or walls that will be covered.

Level 3: A full coat of mud covers the screw holes and tape, but the surface is not sanded. This is often used in garages.

Level 4: This is the most common finish for visible interior walls. It involves applying two coats of mud over seams and screw holes, with sanding between each coat, creating a smooth surface ready for flat paint.

Level 5: This is a high-end finish for luxury homes. It includes full taping, mudding, and sanding, plus a final skim coat over the entire surface before painting.

While every home has its own unique needs, ceiling drywall installation typically follows a staggered or stepped pattern to enhance structural integrity and reduce the visibility of seams. Starting from one corner, sheets are placed perpendicular to the ceiling joists, with the ends of adjacent sheets meeting along the center of the joist. The next row begins with a half sheet, ensuring joints don't align vertically. This alternating pattern, combined with proper taping and mudding, creates a seamless appearance and strengthens the ceiling structure, minimizing the risk of cracks over time.

Yes, even if you’re being careful, removing tile can damage your drywall to some degree. However, you can minimize the damage done to it by eliminating a majority of the grout and taking your time prying each tile off. Also, it's worth noting that you might have more drywall damages to deal with if your tile is set into the mortar.

The Fox Lake, WI homeowners’ guide to drywall services

From average costs to expert advice, get all the answers you need to get your job done.