




Top-rated drywall pros.

Get matched with top drywall pros in Lacey, WA

Enter your zip and get matched with up to 5 pros

Need a pro for your drywall service project in Lacey, WA?

Select your specific project to find the pro for you.

TRUSTED BY LACEY, WA HOMEOWNERS

  • Average homeowner rating star icon4.4
    Average homeowner rating
  • Verified reviews icon105
    Verified drywall services reviews

Find Drywall pros in Lacey

Avatar for Barbers Drywall Inc
Barbers Drywall Inc
5.0(
10
)
Drywall - RepairDrywall - Install

Serving Lacey, WA and surrounding areas

Approved

In business since 1984

Free estimates

Credit card accepted

"We couldn’t be happier with the drywall repair after a major water leak in our home. The workmanship was outstanding—the repairs blended seamlessly with the existing walls, Sean and the crew were professional, punctual, and left everything spotless. I highly recommend Barbers Drywall to anyone looking for top-quality drywall work and exceptional service!"
Home remodel
4 neighbors recently requested a quote
Recommended by77%of homeowners

Avatar for FixForte
FixForte
5.0(
16
)
Drywall - RepairDrywall - Repair - For Business

Serving Lacey, WA and surrounding areas

Approved

In business since 2019

Free estimates

Credit card accepted

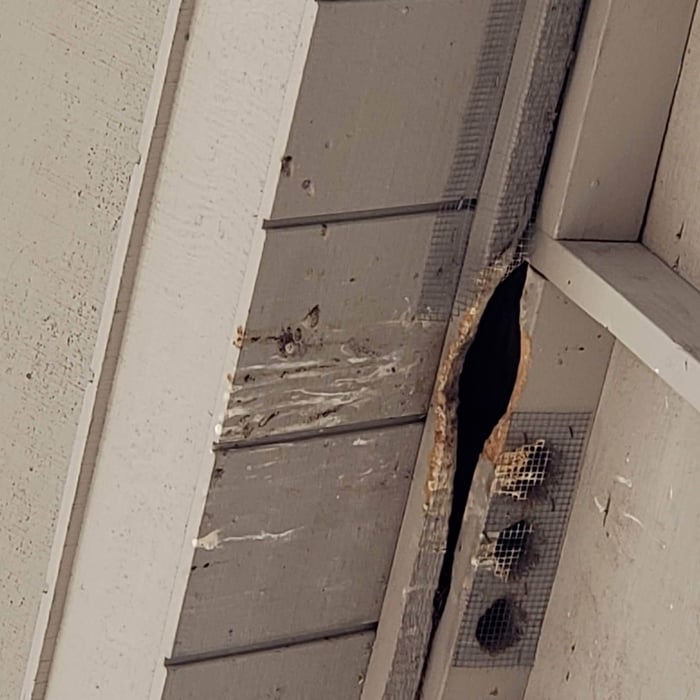
"FixForte was very organized, very efficient, finished all work in the time frame. He did a little of everything, including installed 100+ bird barriers under my eaves, replaced 11 lighting fixtures and replaced 4 outlets, repaired some tiling, fixed a n entry light, plumbed a sink, installed shelving. Work was excellent! I would definitely hire him again!"
Kitchen+ 2 bath remodel

+13

1 neighbors recently requested a quote
Recommended by80%of homeowners
All In One Construction
5.0(
4
)
Drywall - RepairDrywall - InstallDrywall - Install - For Business+1 more

Serving Lacey, WA and surrounding areas

Approved

In business since 2023

Free estimates

Warranties offered

"They have now done two separate jobs on different occasions. Jobs consisted of preparing a floor for carpeting after a animal had ruined the previous carpet and wood. Also fixed my front door which was a little crooked so it stuck. I then called them back for drywall work after I had redid my plumbing. Excellent, professional work for both jobs. Well priced. Went above and beyond. Was also very nice and great to talk to. All around great work that I recommend. And I know we will have other projects for this company."
Office addition
Office addition
Office addition
Office addition
Office addition

+20

6 neighbors recently requested a quote
Recommended by50%of homeowners

...
Showing 1-10 of 230
Drywall questions, answered by experts

Yes, it matters which side of drywall you use. One side is smooth, and the other is rough. The smooth side should be facing outward, toward the room, while the rough side should be hidden and facing the studs and framing of the house. The smooth side will be easier to apply tape, joint compound, and, later, paint to.

While every home has its own unique needs, ceiling drywall installation typically follows a staggered or stepped pattern to enhance structural integrity and reduce the visibility of seams. Starting from one corner, sheets are placed perpendicular to the ceiling joists, with the ends of adjacent sheets meeting along the center of the joist. The next row begins with a half sheet, ensuring joints don't align vertically. This alternating pattern, combined with proper taping and mudding, creates a seamless appearance and strengthens the ceiling structure, minimizing the risk of cracks over time.

While it’s most common to sand plaster dry, it is possible to wet-sand plaster, too. Doing so can reduce the amount of plaster dust released into the air and make it easier to work in smaller, more delicate areas (such as around wall trim). However, some people find that wet sanding leads to more imperfections, which is why larger walls are more often dry sanded to ensure an even finish.

There are six levels of drywall finish, from 0 to 5, that refer to the amount of work performed during the finishing process.

Level 0: Drywall is hung with no finishing work.

Level 1: Tape is placed over the seams between drywall sheets.

Level 2: A thin layer of mud is applied over the tape and screw holes. This level is common for utility rooms or walls that will be covered.

Level 3: A full coat of mud covers the screw holes and tape, but the surface is not sanded. This is often used in garages.

Level 4: This is the most common finish for visible interior walls. It involves applying two coats of mud over seams and screw holes, with sanding between each coat, creating a smooth surface ready for flat paint.

Level 5: This is a high-end finish for luxury homes. It includes full taping, mudding, and sanding, plus a final skim coat over the entire surface before painting.

New plaster must be fully dry and cured before painting. The drying time for plaster ranges from 1 to 4 hours, but the curing process can take more than five days, depending on various factors, including humidity levels, temperature, the amount of plaster used, and airflow in the area. You should always apply primer before painting plaster.

The Lacey, WA homeowners’ guide to drywall services

From average costs to expert advice, get all the answers you need to get your job done.