






Top-rated backsplash installation pros.

Get matched with top backsplash installation pros in Marietta, PA

Enter your zip and get matched with up to 5 pros

Need a pro for your backsplash installation project in Marietta, PA?

Select your specific project to find the pro for you.

TRUSTED BY MARIETTA, PA HOMEOWNERS

  • Average homeowner rating star icon4.4
    Average homeowner rating
  • Verified reviews icon351
    Verified backsplash installation services reviews

Find Backsplash installation pros in Marietta

M&S lawn and landscape
New to Angi
Tile: Ceramic and Porcelain - Install - For BusinessTile: Natural Stone (Granite, Marble, Slate, Quartz, etc) - Install - For Business

Serving Marietta, PA and surrounding areas

Approved

M&S Lawn and Landscape provides reliable and professional lawn care services in Scranton, PA and surrounding areas. 🌱\n\nWe specialize in lawn mowing, trimming, edging, mulch installation, and yard cleanups. Our goal is simple: quality work, dependable service, and a property you can be proud of.\n\n🏡 Residential Lawn Care\n🌱 Lawn Mowing & Maintenance\n✂️ Trimming & Edging\n🪵 Mulch Installation\n🍂 Yard Cleanups\n💬 FREE ESTIMATES\n\n📍 Serving Scranton and surrounding areas.\n\nMessage us today for a free estimate!

...
Showing 1-10 of 142
Backsplash Installation questions, answered by experts

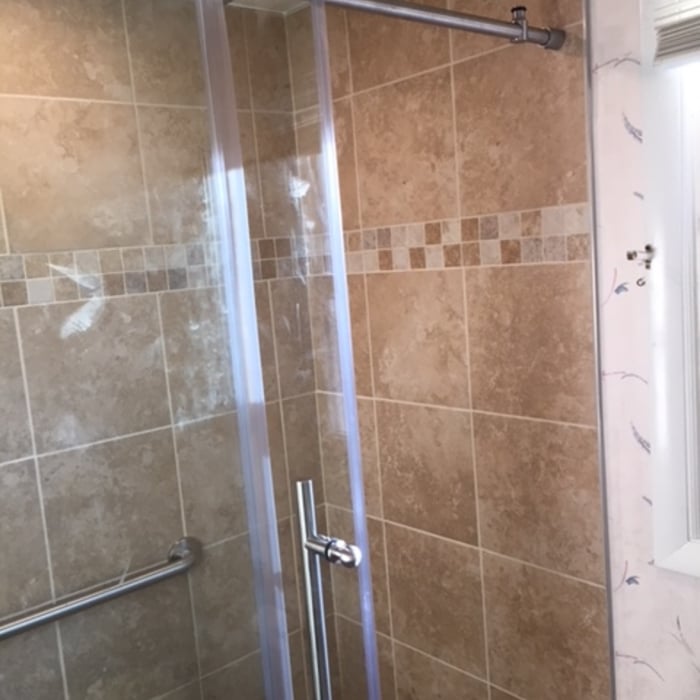
Yes, you can tile a shower as a DIY project, and you can save hundreds of dollars in labor costs by doing so. However, you’ll need to rent or buy quite a few tools and supplies for the job, including a saw, tile nippers, and a new shower pan. In terms of the work itself, you should be prepared to tackle a variety of different tasks, including measuring and ordering materials, removing old tile, waterproofing the wall, adding rows of tile, grouting, and more.

Glass, ceramic, porcelain, and natural stone are all excellent choices for tiling a shower floor. Some glazed finishes can be slippery when wet. Your tiling contractor can provide more information on which tiles will work best for your shower floor.

There are several different products that allow underwater repair. Pool putty can help repair chips, cracks, and loose tiles without draining your pool, but it should only be used for a temporary fix. Certain two-part epoxy adhesives will cure underwater, too. That said, while it is technically possible to fix pool tiles underwater, it is usually not ideal, depending on the depth of your pool. You will still have to reach the tile, which means you might have to dive and make the repair while submerged.

The process takes two to four days, depending on the size of the area and your experience level. The first day involves assessing and prepping the existing tile, while the second day is for laying the new tile. This may take longer in complex areas. After letting the adhesive dry for 24 hours, grouting and sealing can be completed on day three. For larger projects or intricate tile patterns, expect the timeline to stretch a bit longer. Also, proper drying time between steps is essential for long-lasting results, which extends the project’s time.

Uniform spacing between tiles is important for a professional and clean appearance. To achieve this spacing, tile spacers should be placed between the tiles and left in place until the mortar hardens and the tiles are secure. You can use X-shaped spacers vertically in between the tiles and laid flat at the corners.
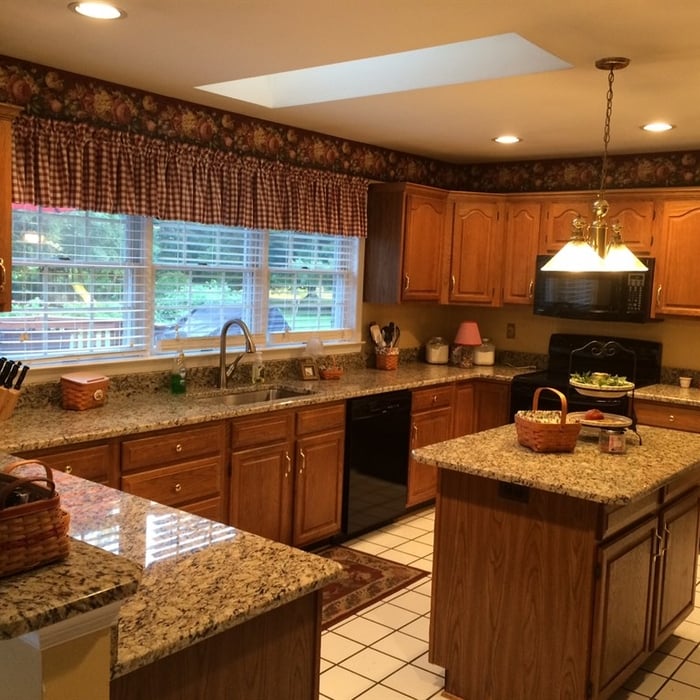


The Marietta, PA homeowners’ guide to backsplash installation services

From average costs to expert advice, get all the answers you need to get your job done.