



Top-rated drywall pros.

Get matched with top drywall pros in Mcarthur, OH

Enter your zip and get matched with up to 5 pros

Need a pro for your drywall service project in Mcarthur, OH?

Select your specific project to find the pro for you.

Find Drywall pros in Mcarthur

HHC Construction
4.8(
66
)
Drywall - RepairDrywall - Install

Serving Mcarthur, OH and surrounding areas

Approved

In business since 1996

Emergency services offered

Warranties offered

"Excellent, quality service from this business. Keeps you informed and explains the work being done, based on my request. On time, prompt and if anything doesn't go as planned (weather, etc.) he will contact you. I'm hiring HHC Construction for other projects in my home. :)"

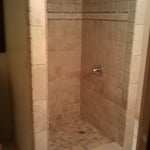
Bath improvement
Built in shower shelf
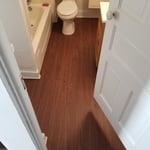
Bath room new flooring
Add upstairs shower
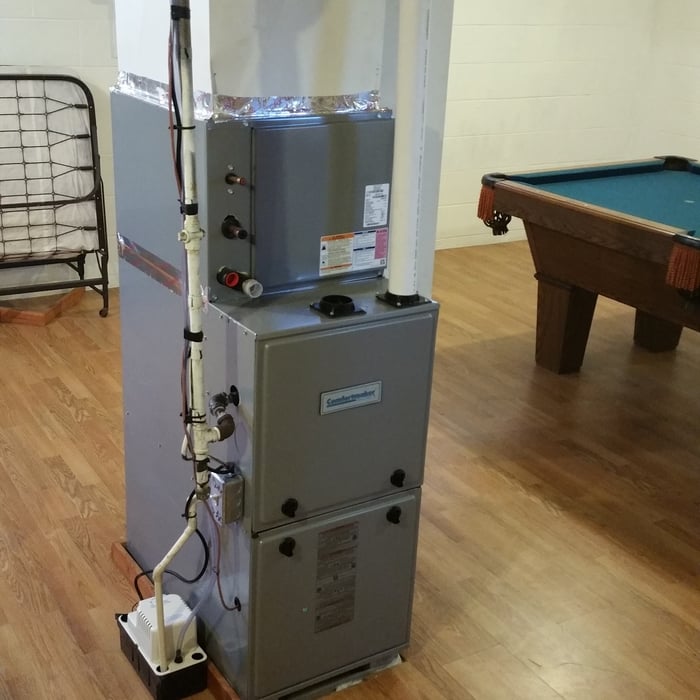
New Furnace

+8

Response time1 day
19 neighbors recently requested a quote
Recommended by88%of homeowners

Avatar for Gleason's Home Repair
Gleason's Home Repair
New to Angi
Drywall - Repair

Serving Mcarthur, OH and surrounding areas

Approved

Free estimates

Emergency services offered

Warranties offered

I’m a reliable, detail-oriented contractor dedicated to delivering quality work that lasts. I take pride in doing the job right the first time, whether it’s a small repair or a full project. I believe in honest communication, fair pricing, and showing up when I say I will. My goal is simple: leave every customer satisfied and confident in the work done on their home.

Breaker box upgrade
Breaker box upgrade
Breaker box upgrade
Addition
Addition

+2

Crabtree Home Improvements, LLC
0.5(
2
)
Drywall - Repair

Serving Mcarthur, OH and surrounding areas

Approved

In business since 2014

Free estimates

Crabtree Home Improvement is a family owned and operated company. We pride ourselves on quality work and friendly service. We have over 18 years experience and always strive to make sure we keep everything organized, clean, and as convenient for you as possible. We do free estimates and always do our best to work with you to ensure you get exactly what you want out of your home. We are always professional, honest, and up front about all costs. There are no hidden fees. Every job always has a custom feel, built with your thoughts and needs in mind. We have the knowledge to show you some options, and to make helpful suggestions to generate new ideas. We look forward to working with you in the future, and bringing out the full potential in your home.

...
Showing 1-10 of 72
Drywall questions, answered by experts

There are six levels of drywall finish, from 0 to 5, that refer to the amount of work performed during the finishing process.

Level 0: Drywall is hung with no finishing work.

Level 1: Tape is placed over the seams between drywall sheets.

Level 2: A thin layer of mud is applied over the tape and screw holes. This level is common for utility rooms or walls that will be covered.

Level 3: A full coat of mud covers the screw holes and tape, but the surface is not sanded. This is often used in garages.

Level 4: This is the most common finish for visible interior walls. It involves applying two coats of mud over seams and screw holes, with sanding between each coat, creating a smooth surface ready for flat paint.

Level 5: This is a high-end finish for luxury homes. It includes full taping, mudding, and sanding, plus a final skim coat over the entire surface before painting.

You should wait at least 24 hours for drywall mud to dry before sanding or applying another coat. However, the exact drying time depends on several factors, including the thickness of the application, room temperature, humidity, and the type of compound used. Thicker layers, or projects in high humidity, may require 48 hours or more. Lightweight compounds tend to dry faster than heavier, all-purpose ones. You'll know the mud is ready when it feels completely dry and firm to the touch and has changed to a consistent light color. Sanding too early can cause smudging or gouges, so patience is essential for a smooth finish.

Ceiling-mounted curtains won’t damage the ceiling if they’re installed properly. Using the right anchors or securing the brackets into joists will ensure the curtain weight is properly supported and prevent damage. However, overtightening screws, using weak anchors, or repeatedly removing and reinstalling hardware in the same spot can cause cracking or sagging over time. In that case, you might have to call a pro for ceiling repair.

Whether a drywall anchor can be reused depends on its material, type, and the method of removal. Plastic anchors, including expansion and self-drilling types, are generally designed for single use as they tend to break or deform upon removal. Metal anchors, such as toggle bolts, are more durable and may be reusable if they are not damaged during extraction. However, with toggle bolts, the toggle piece can fall into the wall cavity when the bolt is removed, making it difficult to retrieve. If an anchor is damaged during removal, for instance by having its head cut off, it cannot be reused regardless of the material.

You can put drywall mud over paint to even out the surface or entirely resurface it. Sand the surface with 280-grit sandpaper, vacuum the debris and dust with a shop vac, and clean it with a slightly damp cloth. Allow the surface to dry. Apply drywall primer, especially if you’re skim-coating an entire wall. Apply the right type of drywall mud over the surface and smooth it with a trowel. Allow the layer to cure fully, then sand it before applying another layer or painting it.

The Mcarthur, OH homeowners’ guide to drywall services

From average costs to expert advice, get all the answers you need to get your job done.