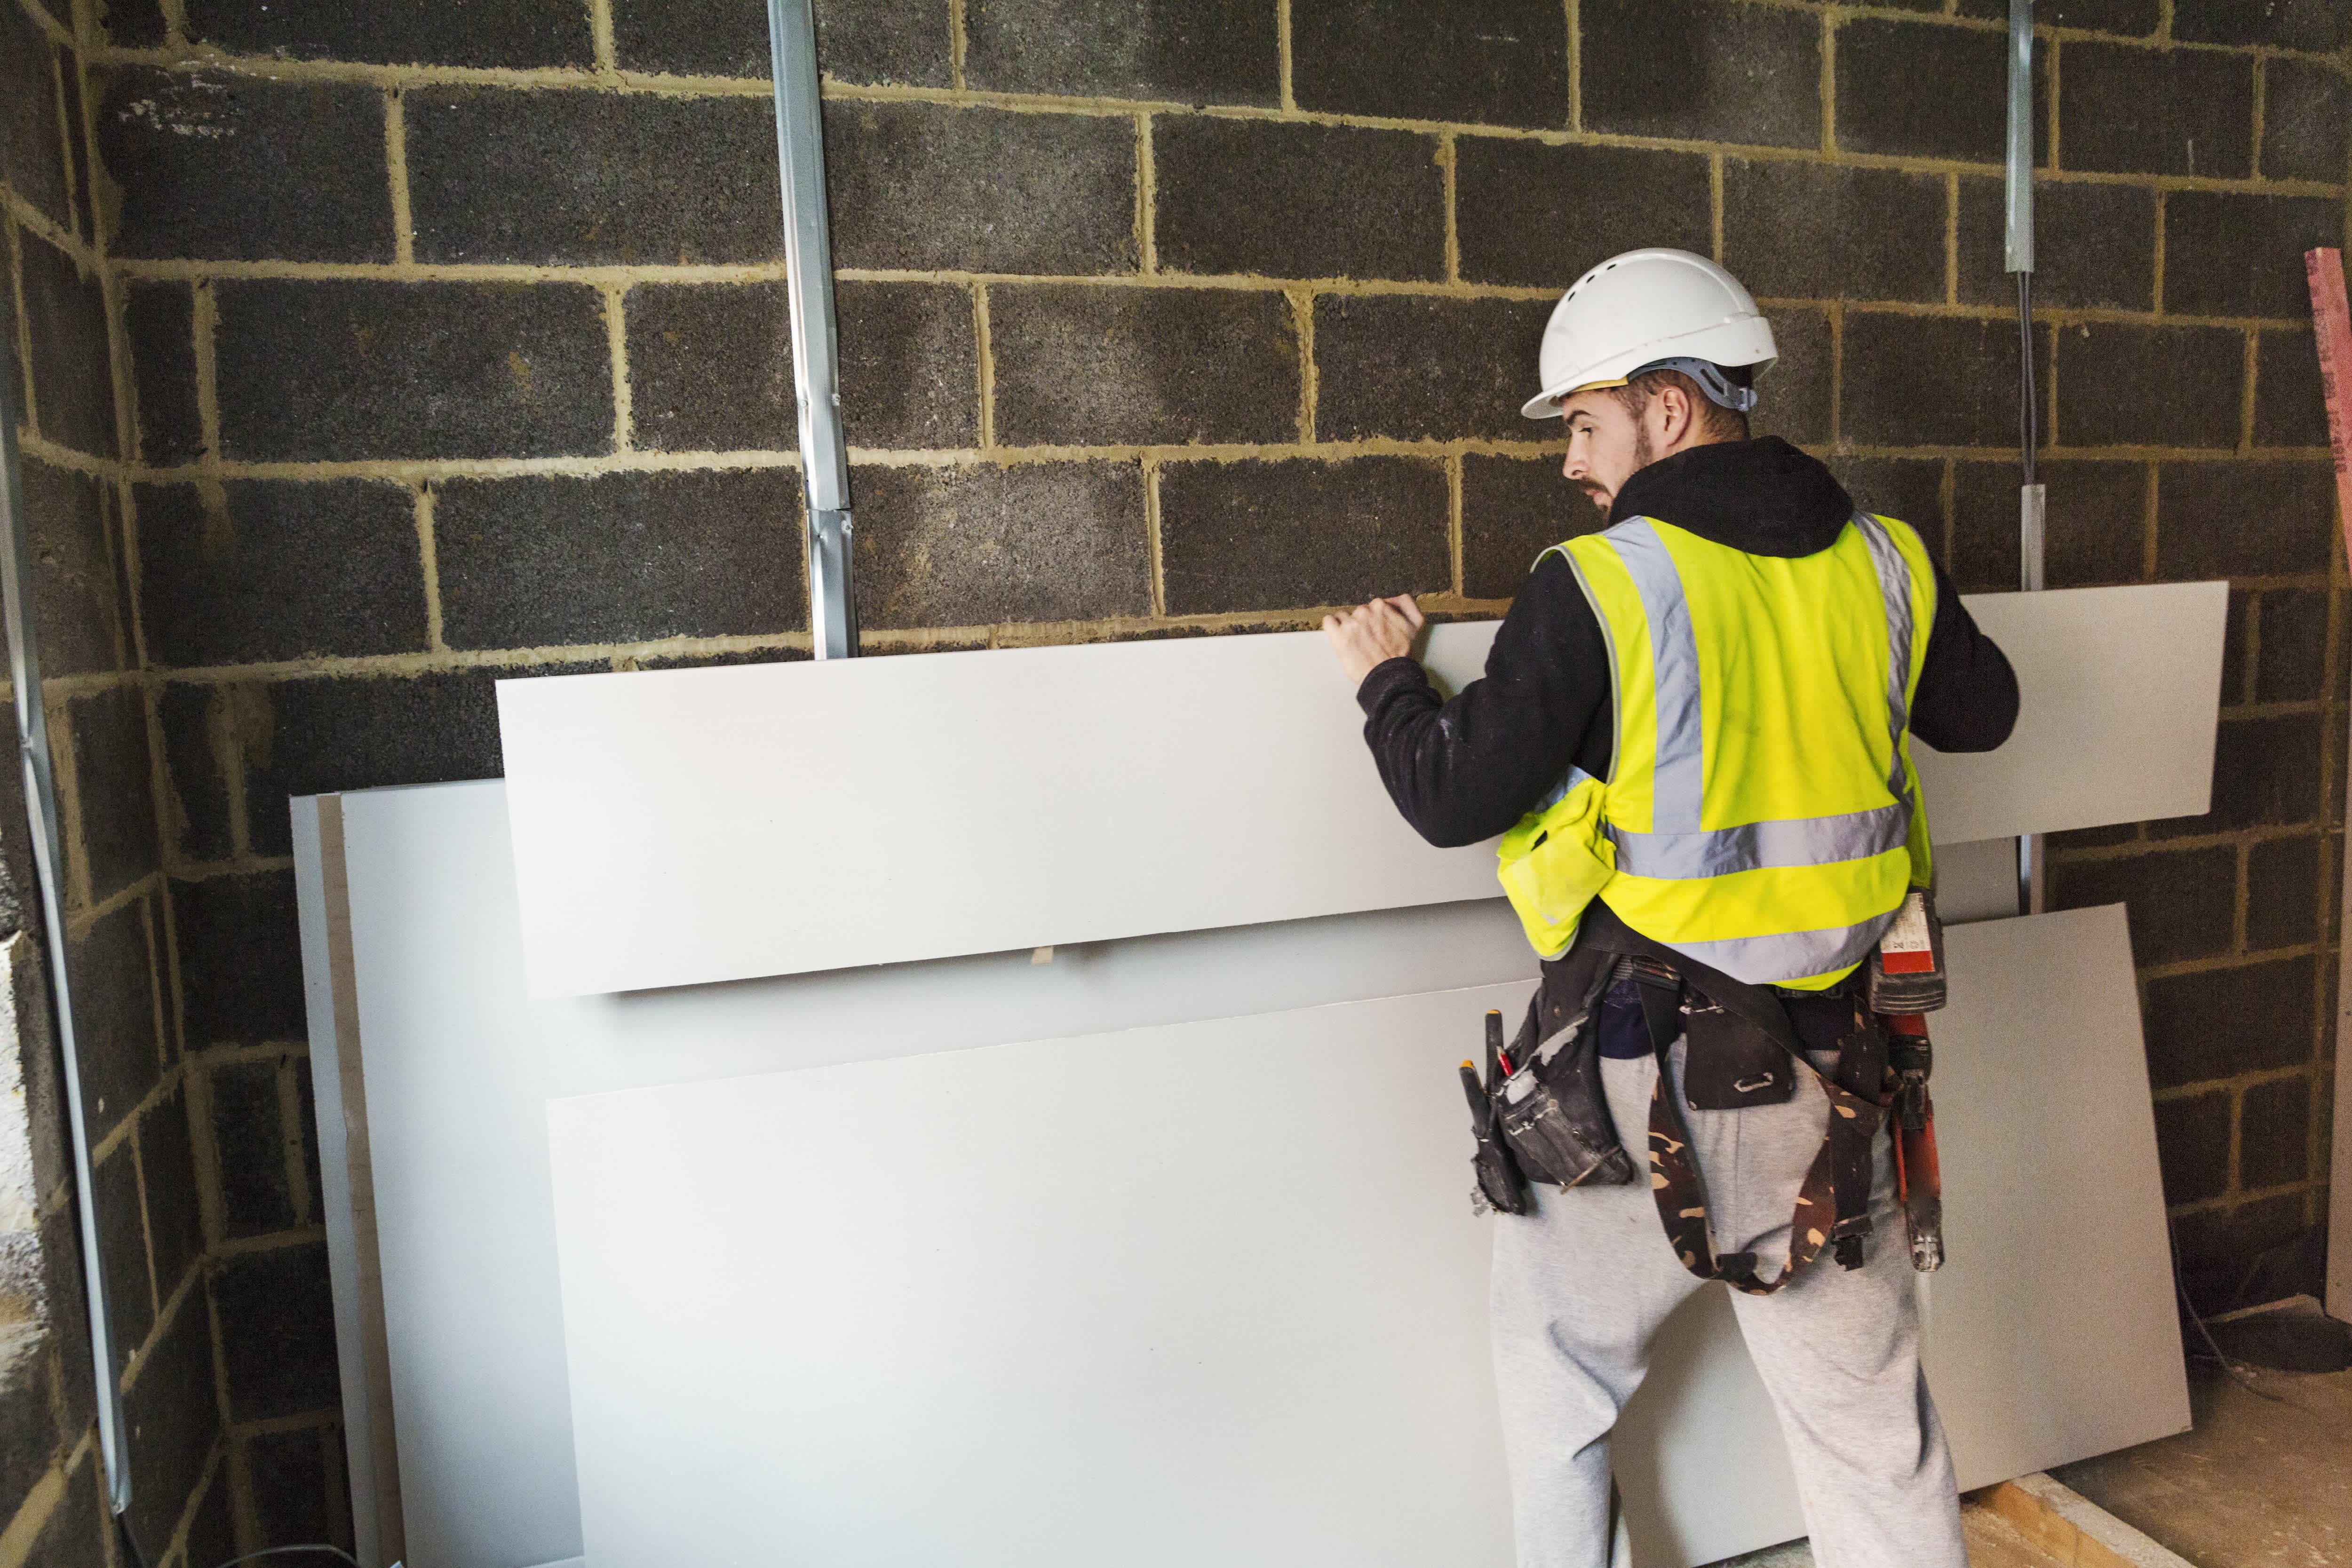
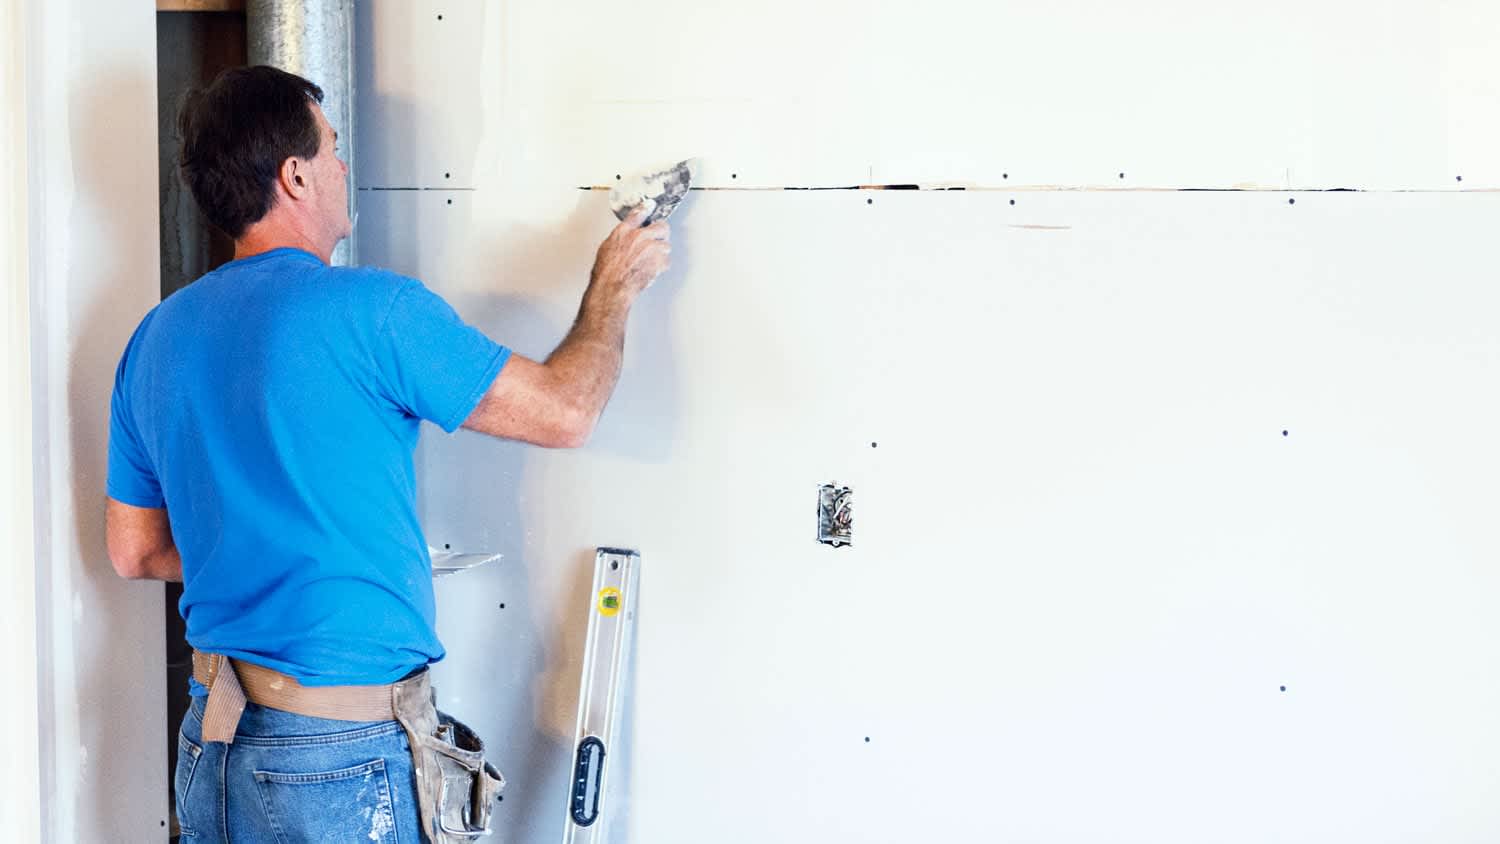
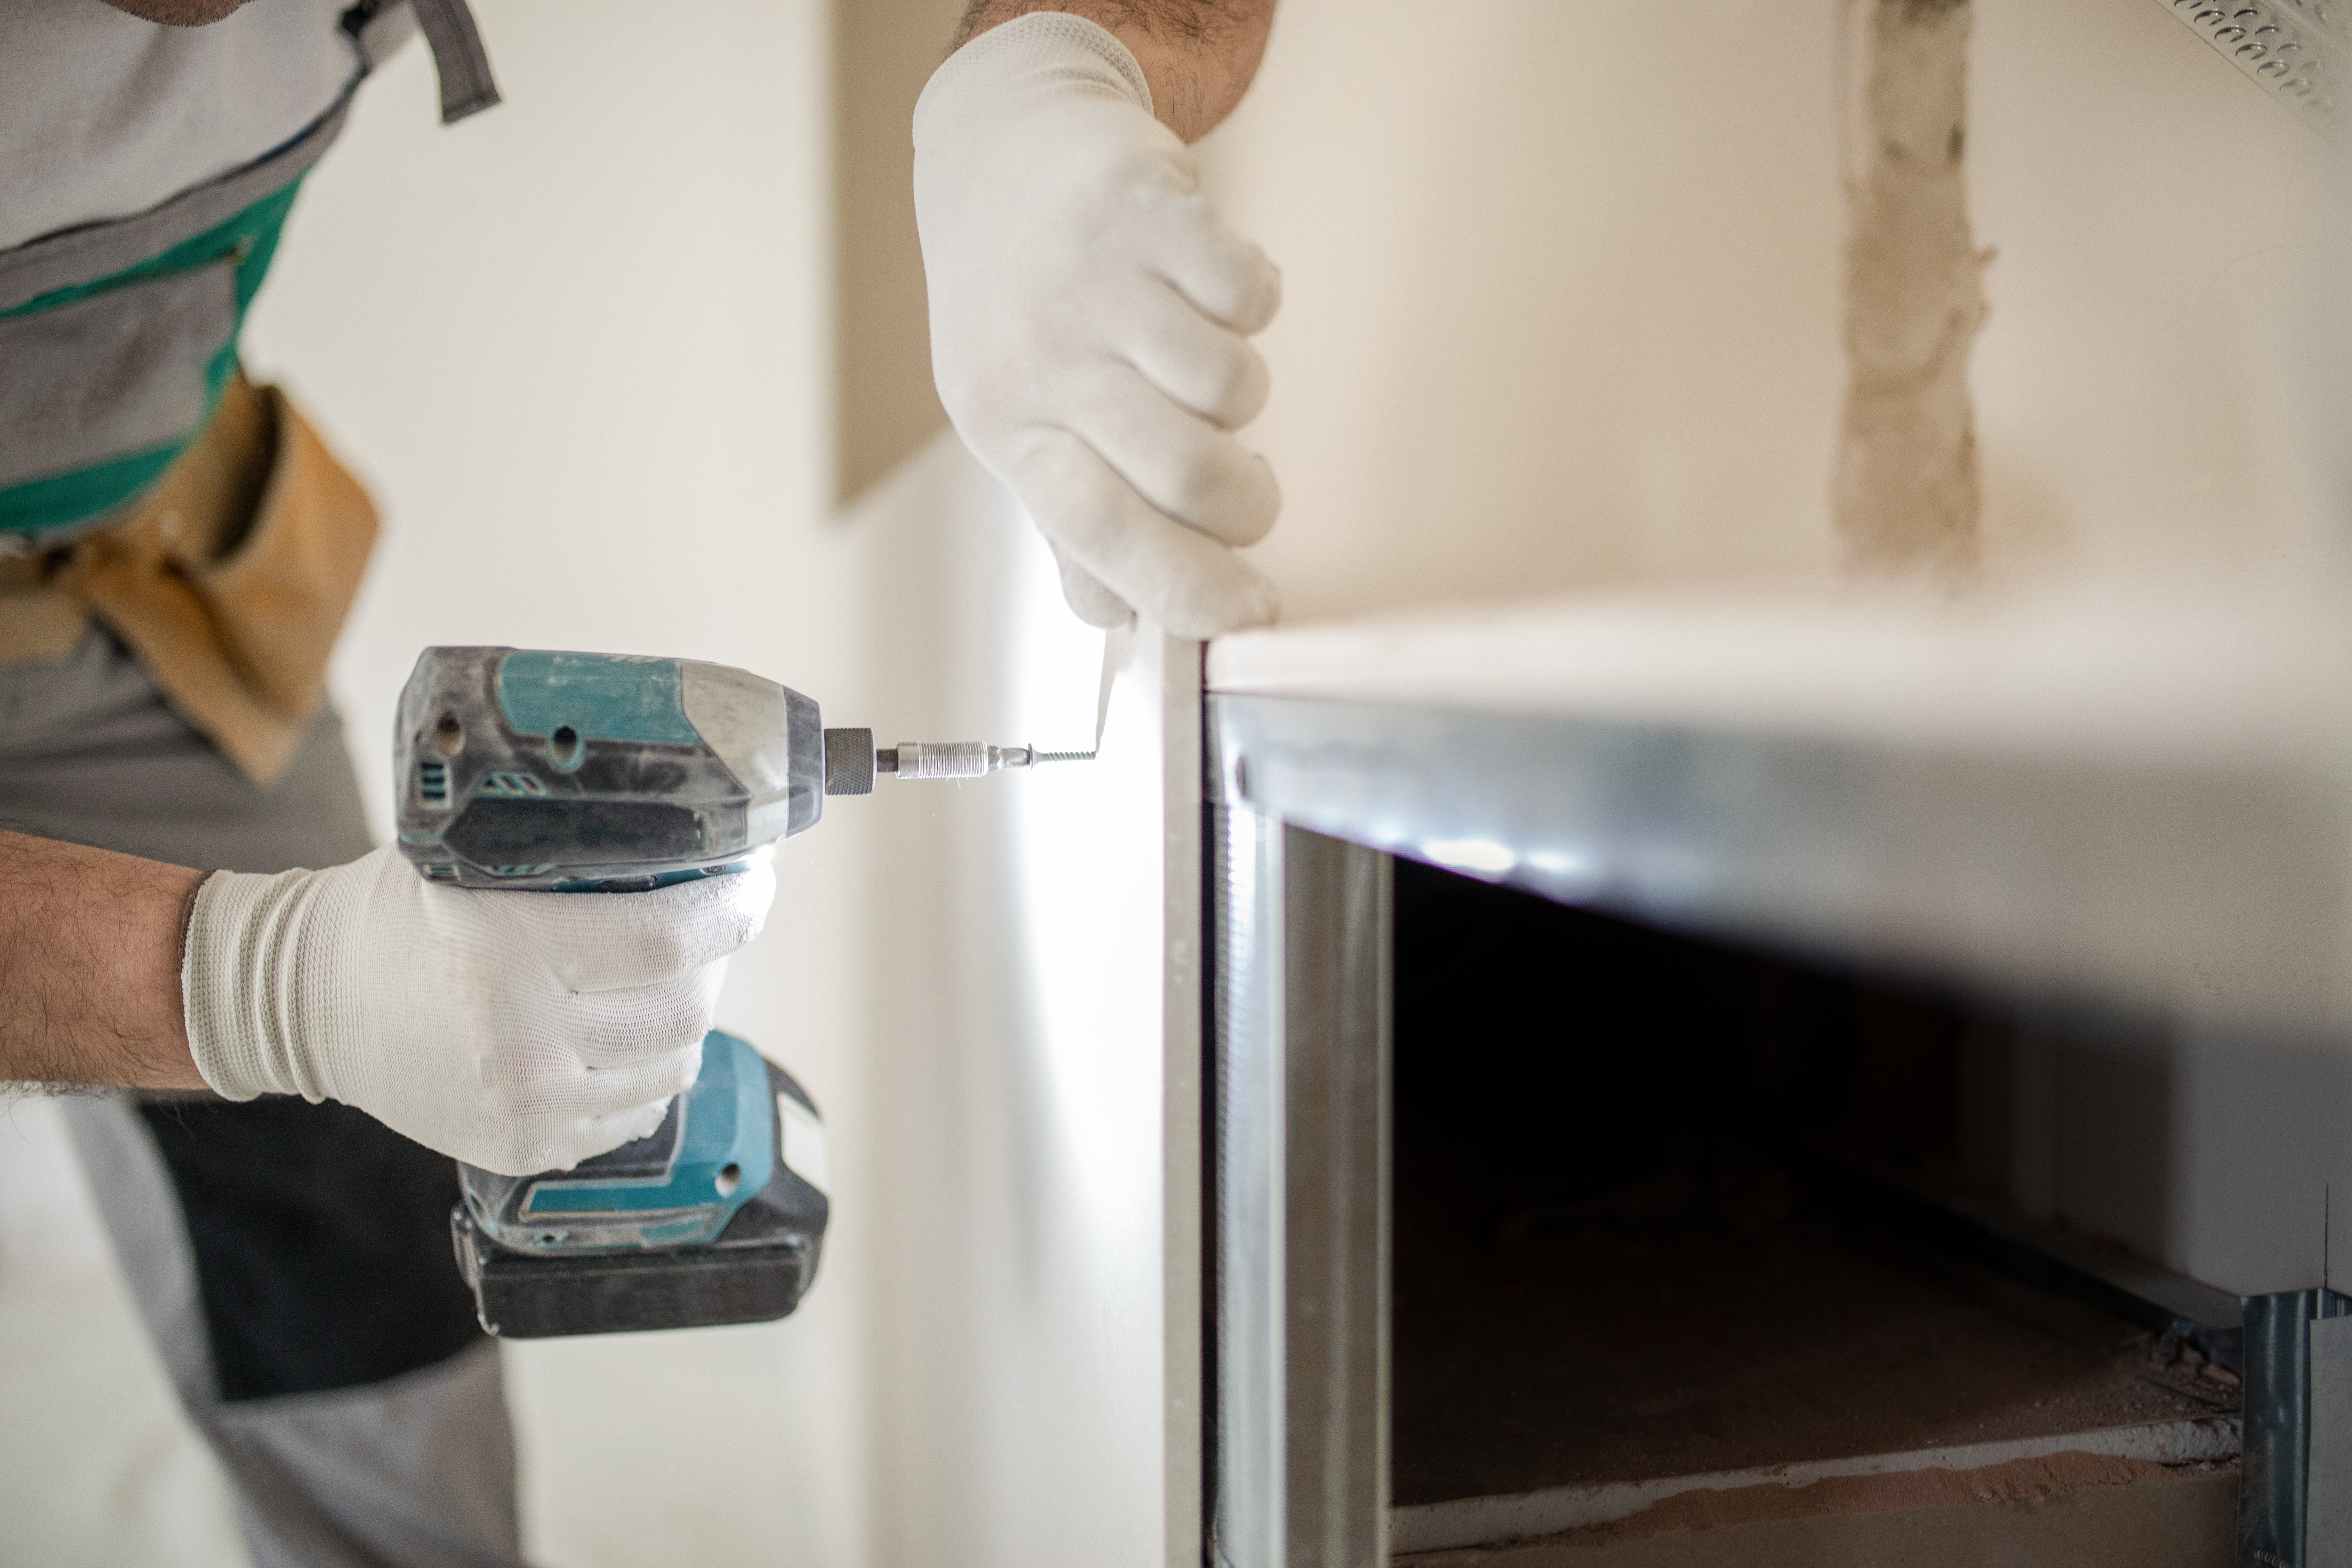
Top-rated drywall pros.

Get matched with top drywall pros in Stateline, NV

Enter your zip and get matched with up to 5 pros

Need a pro for your drywall service project in Stateline, NV?

Select your specific project to find the pro for you.

TRUSTED BY STATELINE, NV HOMEOWNERS

  • Average homeowner rating star icon4.6
    Average homeowner rating
  • Verified reviews icon14
    Verified drywall services reviews
Drywall questions, answered by experts

Applying plaster to a wall will usually cost between $2 and $10 per square foot for both the material and labor. The cost will vary based on the quality of the plaster you’re using and whether or not prep work is required before the work begins. Wall prep can add up to about 10% to your total costs. Plastering exterior walls can be more expensive in many cases because they are taller and require scaffolding and safety equipment.

Yes, walls on the top floor can be load-bearing if stacked on the floor’s foundation.

All plaster walls will crack over time due to normal house settling and expansion and contraction from temperature and moisture changes. Small, thin hairline cracks are generally not serious and are mostly a cosmetic issue. However, larger or more significant cracks can indicate structural problems.

Here's how to tell the difference:

  • Cosmetic Cracks: Cracks that are 0.5 cm (0.2 inches) or thinner are typically cosmetic.

  • Structural Cracks: Cracks wider than 0.5 cm, excessive or deep cracks, multiple cracks in the same area, or cracks that span around corners can signify a structural or foundation issue. Cracks along the joints where walls meet the ceiling also warrant attention.

For cracks wider than 0.5 cm, structural repair is needed. If a crack is 2.5 cm (1 inch) or wider, or if you notice any signs of a structural problem, it is best to contact a plaster repair professional to assess the damage.

Wet-sanding and dry-sanding each have pros and cons. Dry-sanding is less messy, so it’s a good option if you’re trying to minimize dust (for example, if you’re sanding an occupied home or working with particularly dry or dusty drywall mud). However, dry-sanding is quicker because you don’t have to keep rinsing a sponge or wait for it to dry before painting.

If your premixed drywall mud is dried out or has begun to set in the bucket, you may be able to revive it by adding warm water and stirring. However, the first and most important step is to scrape off any hard, dried bits of drywall that may have accumulated toward the top of the container and throw them away because they will not easily reconstitute back into the drywall mud mix.