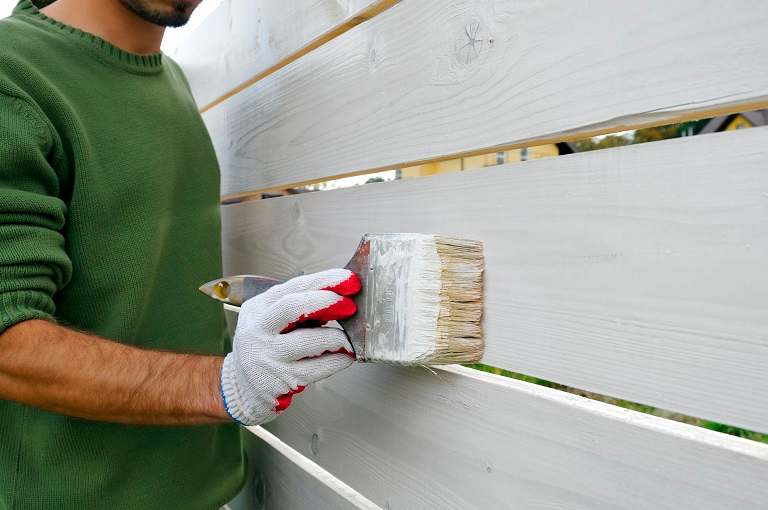
Limewash and whitewash are two techniques used to give brick a light, matte finish, but they differ in composition, application, and permanence. The best choice depends on your aesthetic goals and the specific surface.
Composition
Limewash: A natural and environmentally friendly option made from limestone, water, and sometimes pigments. It is breathable and soaks into porous surfaces like brick.
Whitewash: Traditionally made from lime, water, chalk, and binders, but a similar look can be achieved with watered-down white paint. It is paint-based and sits on top of the surface.
Appearance and Finish
Limewash: Provides a natural, textured appearance that allows the brick's character to show through. It offers a more traditional finish.
Whitewash: Creates a softer, more opaque finish, often used for a rustic or shabby-chic style.
Application and Permanence
Limewash: Is semi-permanent and can be removed, making it a good choice if you might want to change the look in the future. It requires more skill to apply and cannot be used on previously painted brick.
Whitewash: Is a more permanent solution. It is more forgiving to apply and can be used on painted brick. However, because it sits on the surface, it can trap moisture.
Ultimately, if you want a breathable, natural, and reversible finish for unpainted brick, limewash is a great option. If you need a more permanent, opaque coating that can be applied over painted surfaces, whitewash is the better choice. Whitewashing may also be more economical, costing approximately $1.40 to $4.20 per square foot.
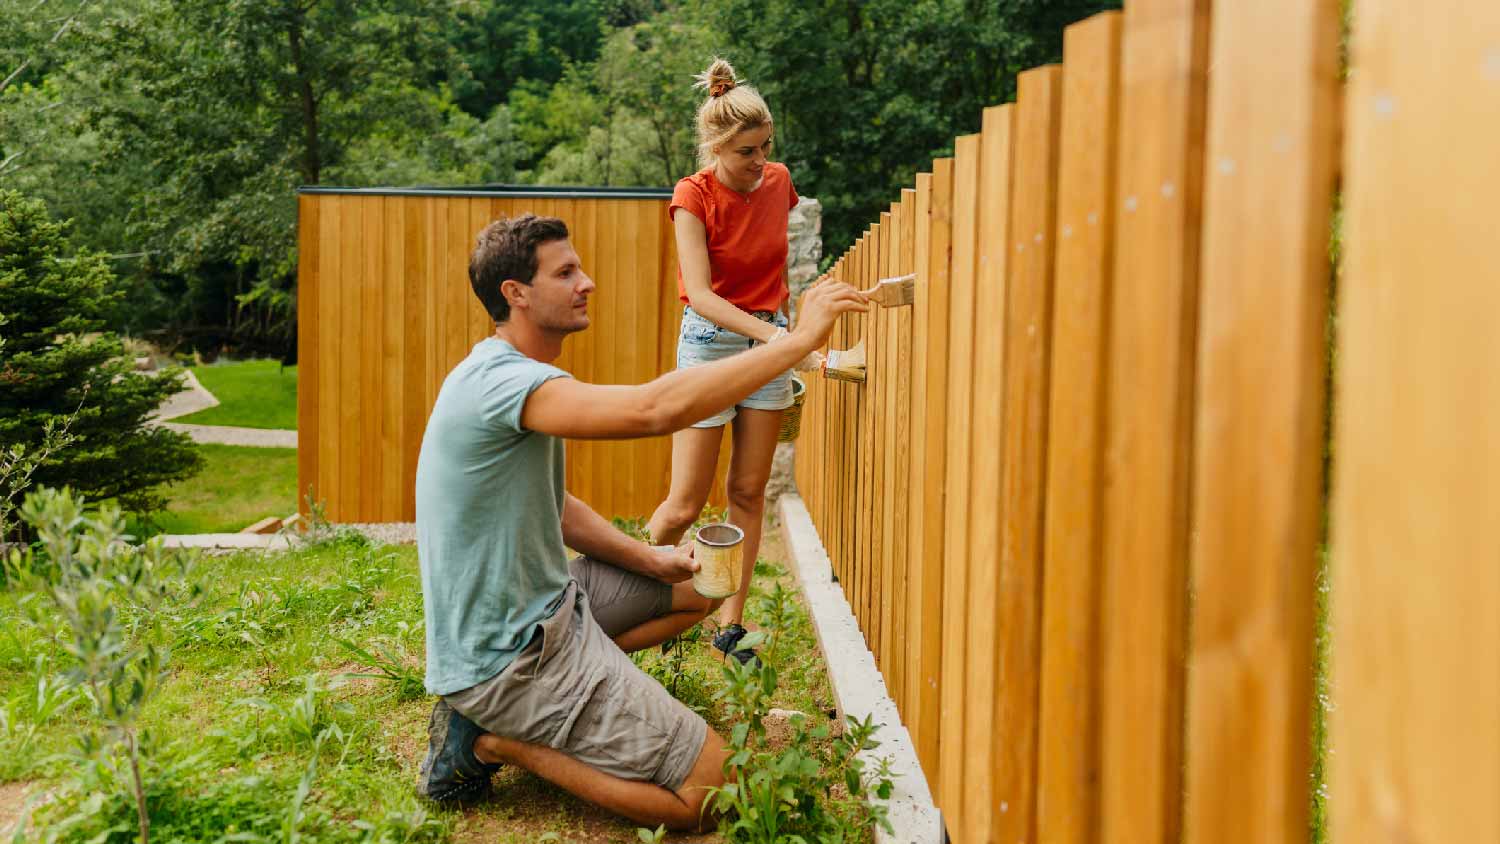
You can paint an old wooden fence, but make sure first to do a deep clean (ideally with a pressure washer) and inspect the fence for any existing damage. Painting over dirt and debris will cause your paint to peel. Once you’ve cleaned and repaired any minor issues, use a primer and high-quality satin paint.
Pricing depends on prep work, paint/stain choice, area size, scaffolding needs, and detailed trim inclusions like precision-balanced windowsills.
Whether to brush or roll stain on wood depends on the project and your preference. Brushing is ideal for smaller, intricate areas and offers more control over the application, ensuring thorough coverage and penetration into the wood's grain.
Conversely, rolling is efficient for more extensive, flat surfaces and can save time. However, it is not always the best fit for textured or uneven wood. Some projects may benefit from combining both methods, using a brush for detail work and a roller for broader areas. Ultimately, the choice between brushing and rolling depends on the specific requirements of your staining project.
The process of painting or staining a fence typically takes between one and five days. The total duration depends on factors like the size of the fence, weather conditions, and necessary drying times. A significant portion of this time is for drying, as stain won't properly absorb into wet wood. You should wait 24 hours to stain a fence after washing it and allow 12 to 24 hours of drying time between each coat. The active work time is generally about one hour for every 10 to 20 linear feet of fencing.
The Jal, NM homeowners’ guide to fence painting services
From average costs to expert advice, get all the answers you need to get your job done.
Deciding on the best fence paint color is difficult. This guide will help you choose a shade that creates the right vibe alongside your house color and landscaping.
Increase your curb appeal by taking your chain link fence from dull to bold with fresh paint. Here’s how to paint a chain link fence to keep it looking great.