







Top-rated plaster repair specialists.

Get matched with top plaster repair specialists in Mill Spring, NC

Enter your zip and get matched with up to 5 pros

Need a pro for your plaster repair project in Mill Spring, NC?

Select your specific project to find the pro for you.

TRUSTED BY MILL SPRING, NC HOMEOWNERS

  • Average homeowner rating star icon4.6
    Average homeowner rating
  • Verified reviews icon25
    Verified plaster repairs reviews

Find Plaster repair specialists in Mill Spring

Apple Valley Stucco and Repairs, LLC
5.0(
6
)
Plaster - InstallPlaster - Install - For Business

Serving Mill Spring, NC and surrounding areas

Approved

In business since 2012

Free estimates

Credit card accepted

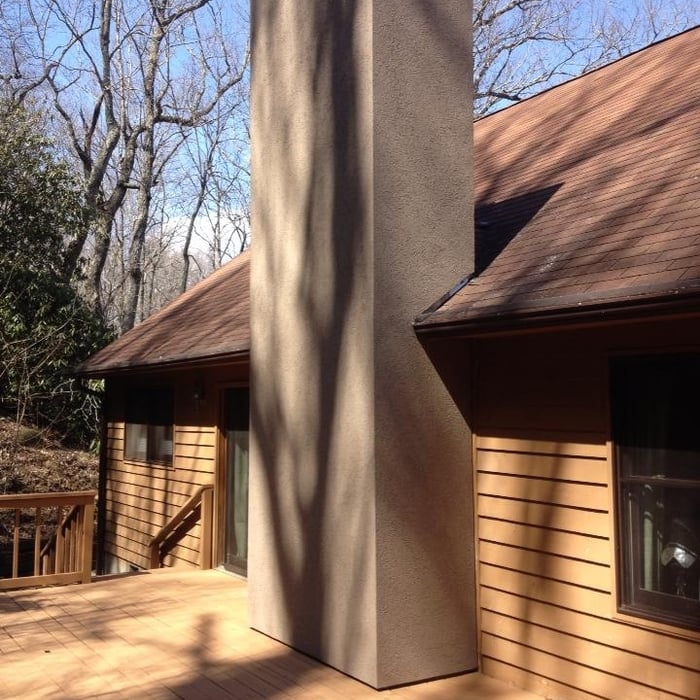
"We had leaks coming from two chimneys and we found Apple Valley Stucco on Home Advisor. Sebastian and his crew did an outstanding job of not only replacing the existing stucco on both but repairing one that had been badly damaged. Their work met the highest professional standards. The chimneys were painted to match the house, and they completely cleaned up the porch and yard where some debris had accumulated. They did the work on time and within the estimated cost. I recommend them without reservation."
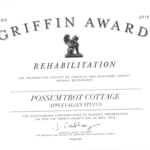
Griffin Award
Pebble Dash stucco
Traditional hard coat with pigment added
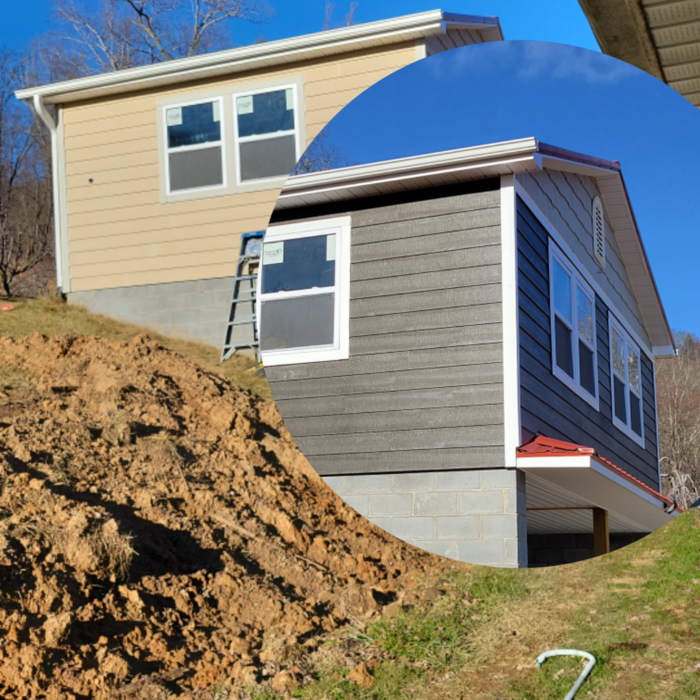
Before Chimney
After chimney

+1

Response time11 hrs
Recommended by100%of homeowners
Avatar for All in One Handyman Company - Home  Facebook
All in One Handyman Company - Home Facebook
4.9(
13
)
Plaster - InstallPlaster - Install - For BusinessPlaster - Repair+1 more

Serving Mill Spring, NC and surrounding areas

In business since 2018

Free estimates

Emergency services offered

"Nathan Nate was fantastic! He did a beautiful and thorough job on the task I hired him for. I then asked if he could do a few handyman repairs for me, like getting a bi-fold closet door back on its track and getting my doorbell to work. He easily completed these tasks. He even found a few things that needed repair that I didnâ t see. All of this was a tremendous help to me as I prepared to sell my home. With his help, my home sold 4 hours after it was listed!"
Response time2 days
Recommended by100%of homeowners
...
Showing 1-10 of 54
Plaster Repair questions, answered by experts

While it’s most common to sand plaster dry, it is possible to wet-sand plaster, too. Doing so can reduce the amount of plaster dust released into the air and make it easier to work in smaller, more delicate areas (such as around wall trim). However, some people find that wet sanding leads to more imperfections, which is why larger walls are more often dry sanded to ensure an even finish.

The tool you use to sand plaster will depend on the size of the project. If you’re just working on a small section of your wall to get rid of an uneven spot on the surface, hand-sanding might work. However, for larger projects, a drywall sander can make a huge difference when it comes to both time and elbow grease—and an orbital sander can help for detailed areas such as around ceiling fans.

Drying alone can take 1 to 4 hours to dry to the touch per plaster layer, but some types of plaster take several hours longer to dry. However, this doesn’t mean the job is done because plaster doesn’t fully harden until it cures, which can take a few days to a couple of weeks. It may take even longer if you’re building a new, pretty thick plaster wall. Allow the plaster to cure before painting it.

Smaller is better when patching holes with spackle. Any holes wider than four to six inches in diameter tend to be too wide to repair with spackle alone. You'll likely want to patch bigger holes with a drywall panel. 

Even holes measuring up to 6 inches may be challenging to fill with spackle alone. For best results, purchase a wall repair patch made from wire mesh. Cut the patch to fit over the hole, then use the spackle to hold it in place. Apply the spackle over the patch as you would for a smaller hole.

If your premixed drywall mud is dried out or has begun to set in the bucket, you may be able to revive it by adding warm water and stirring. However, the first and most important step is to scrape off any hard, dried bits of drywall that may have accumulated toward the top of the container and throw them away because they will not easily reconstitute back into the drywall mud mix.

The Mill Spring, NC homeowners’ guide to plaster repairs

From average costs to expert advice, get all the answers you need to get your job done.