Top-rated plaster repair specialists.

Get matched with top plaster repair specialists in Pineville, MO

Enter your zip and get matched with up to 5 pros

Need a pro for your plaster repair project in Pineville, MO?

Select your specific project to find the pro for you.

TRUSTED BY PINEVILLE, MO HOMEOWNERS

  • Average homeowner rating star icon4.5
    Average homeowner rating
  • Verified reviews icon52
    Verified plaster repairs reviews

Find Plaster repair specialists in Pineville

Avatar for NWA Handy Solutions
NWA Handy Solutions
5.0(
2
)
Plaster - RepairPlaster - Repair - For Business

Serving Pineville, MO and surrounding areas

Approved

In business since 2023

Free estimates

Emergency services offered

"I recently hired NWA handy for some construction and repair work around my house, and I couldn’t be happier with the results. He is very professional, punctual, and pays great attention to detail. The quality of his work exceeded my expectations, and he made sure everything was completed perfectly. I highly recommend him for any handyman or construction jobs. You won’t be disappointed!"
Response time9 hrs
Showing 1-10 of 29
Plaster Repair questions, answered by experts

Plaster can be a difficult DIY to master, especially if you plan to plaster an entire room, rather than patch a small area. Before you begin a plaster DIY project, you need to know which tools and type of plaster to use. It's also important to know how to prepare the surface and apply the plaster for a smooth finish. If that all sounds like a lot of work, you may prefer hiring a local plaster repair contractor to do the job.

It may take a bit of patience and trial and error to match your particular drywall texture type when making repairs. For orange peel or knockdown finishes, use a spray texture product or a thinned joint compound applied with a roller or sponge. Practice on scrap drywall or cardboard first. Once dry, lightly sand and prime before painting.
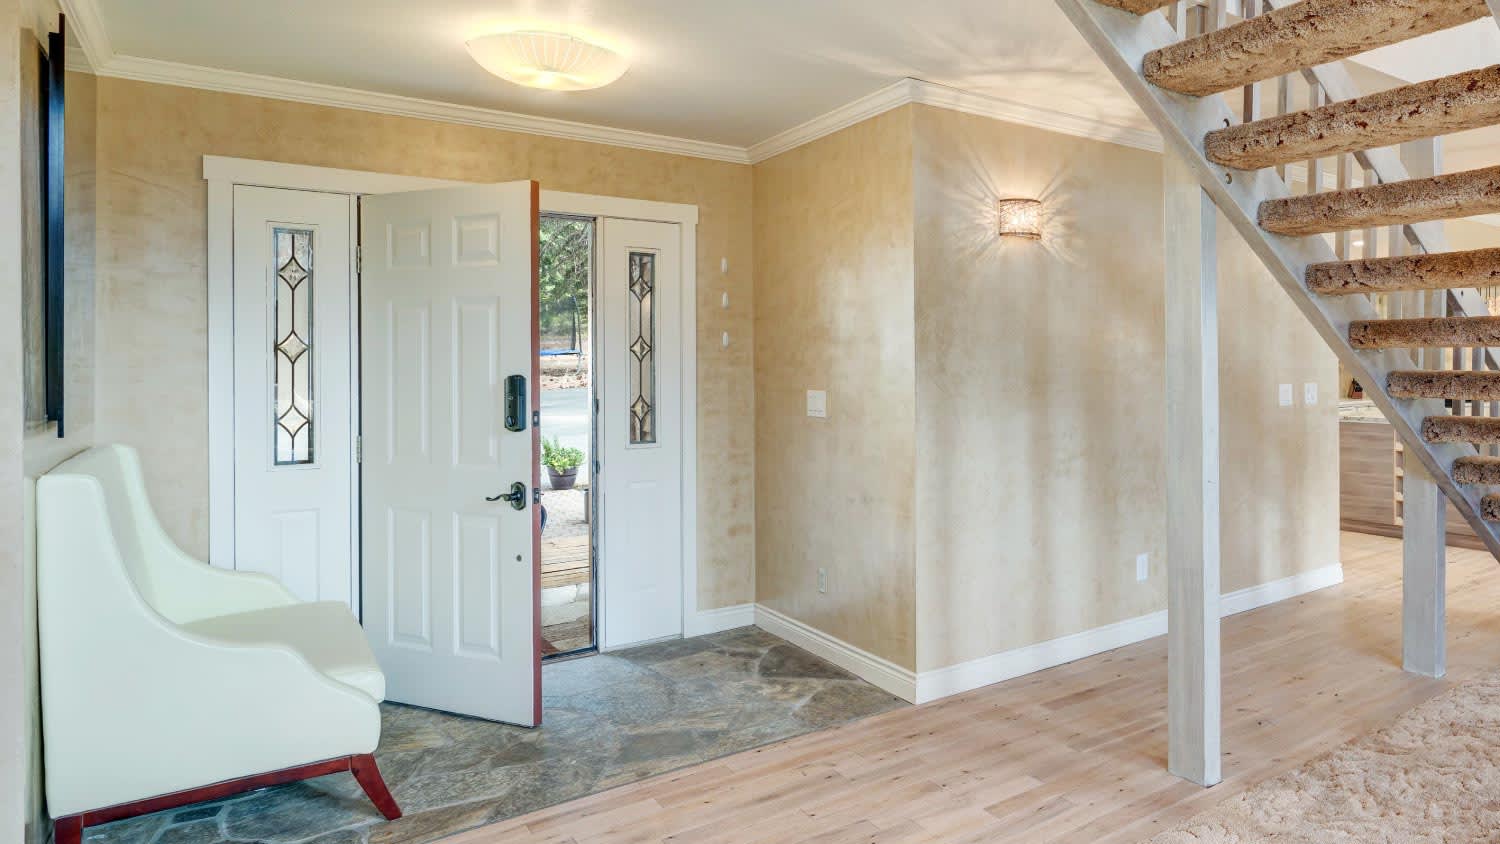
This depends on how much plaster is applied and in how many layers, but a decent estimate is around 150 square feet. If you are applying only two coats on a small wall, there is a chance you may only need one or two gallons for the entire project. If you are plastering a large living room wall with high ceilings, using one of the more involved techniques–like Scagliola–that requires several coats, expect the project materials costs to add up quickly. 
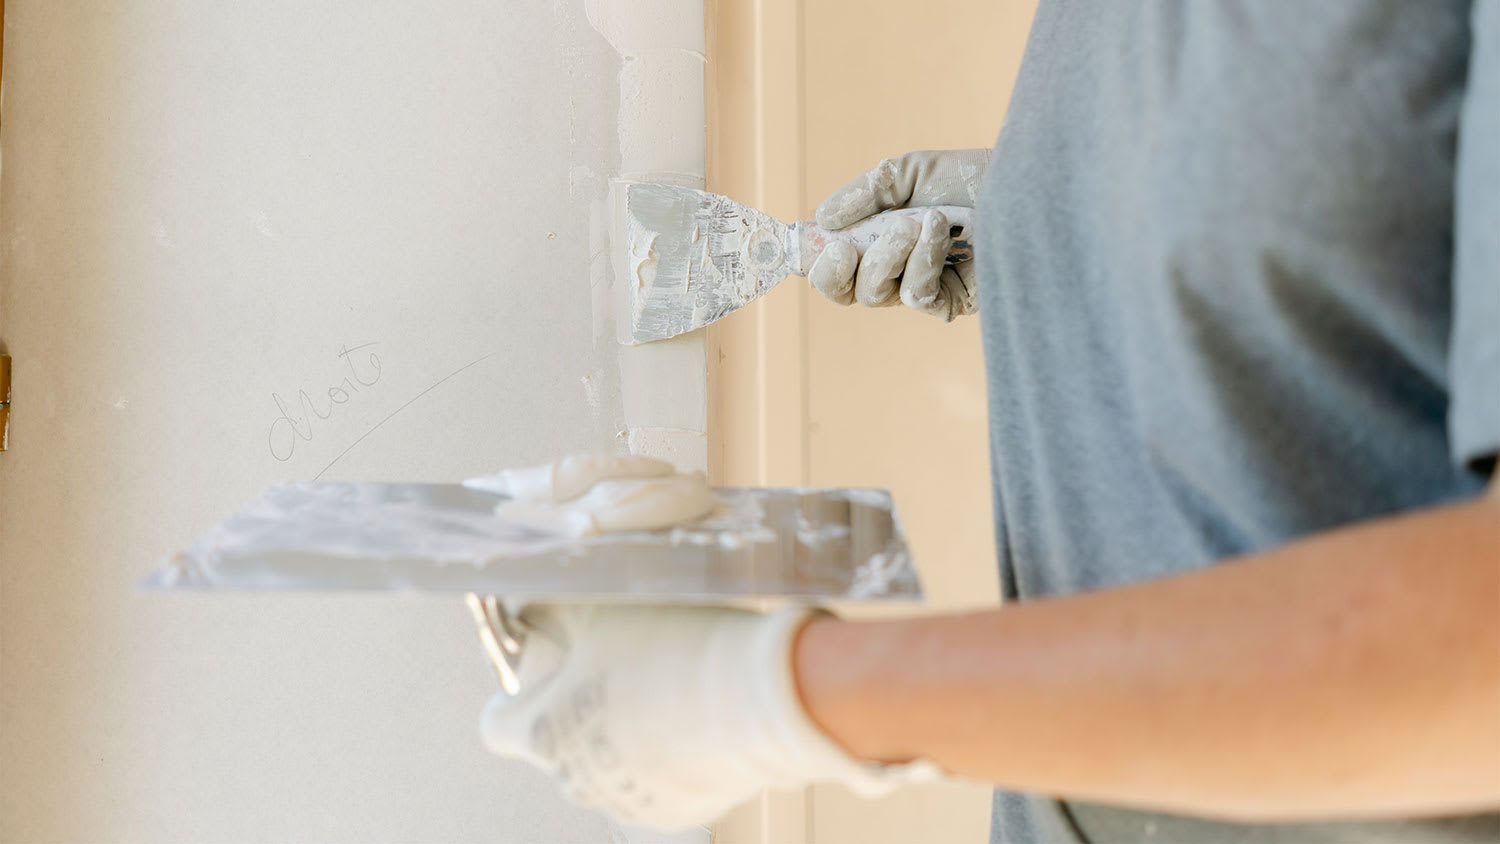

The tool you use to sand plaster will depend on the size of the project. If you’re just working on a small section of your wall to get rid of an uneven spot on the surface, hand-sanding might work. However, for larger projects, a drywall sander can make a huge difference when it comes to both time and elbow grease—and an orbital sander can help for detailed areas such as around ceiling fans.

Although they have similar applications, spackle and joint compound are not the same. Their primary differences lie in their composition, consistency, and ideal use cases.

Spackle is composed of gypsum and binding agents, making it thicker than joint compound. It dries quickly and is easy to sand, which makes it ideal for small wall repair projects like filling nail holes or patching minor damage.

Joint compound, also known as drywall mud, consists of limestone and gypsum. It is primarily used for large-scale projects, such as taping and finishing the seams on newly installed drywall. It tends to shrink more than spackle and can be more difficult to spread.

While both products can be used to fill small depressions and cracks, spackle cannot replace joint compound for taping and mudding new drywall. Conversely, you can often use joint compound for small patching jobs typically done with spackle.

The Pineville, MO homeowners’ guide to plaster repairs

From average costs to expert advice, get all the answers you need to get your job done.