


Top-rated backsplash installation pros.

Get matched with top backsplash installation pros in Blue Springs, MO

Enter your zip and get matched with up to 5 pros

Need a pro for your backsplash installation project in Blue Springs, MO?

Select your specific project to find the pro for you.

TRUSTED BY BLUE SPRINGS, MO HOMEOWNERS

  • Average homeowner rating star icon4.4
    Average homeowner rating
  • Verified reviews icon1k+
    Verified backsplash installation services reviews

Find Backsplash installation pros in Blue Springs

Avatar for Granite Transformations
Granite Transformations
4.1(
53
)
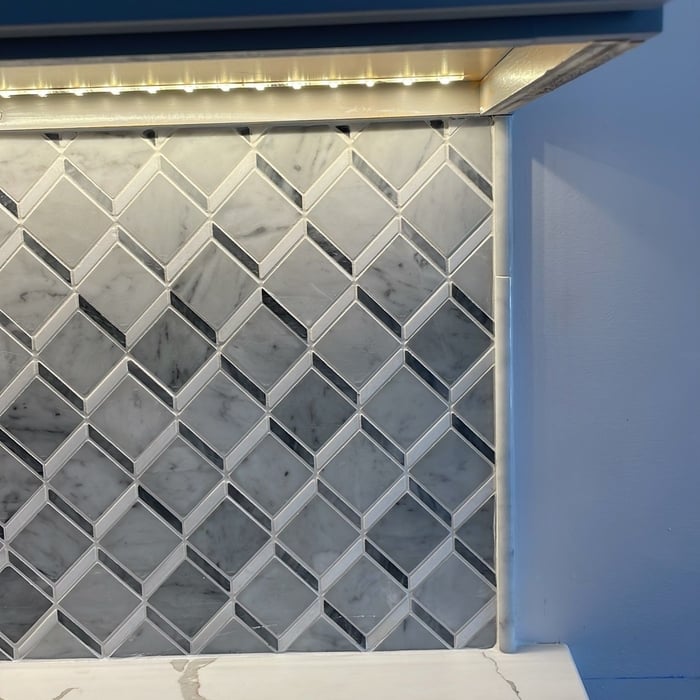
Tile: Natural Stone (Granite, Marble, Slate, Quartz, etc) - InstallTile: Natural Stone (Granite, Marble, Slate, Quartz, etc) - Install - For Business

Serving Blue Springs, MO and surrounding areas

Approved

In business since 2024

Free estimates

Warranties offered

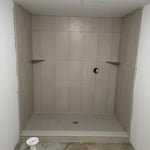
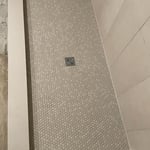
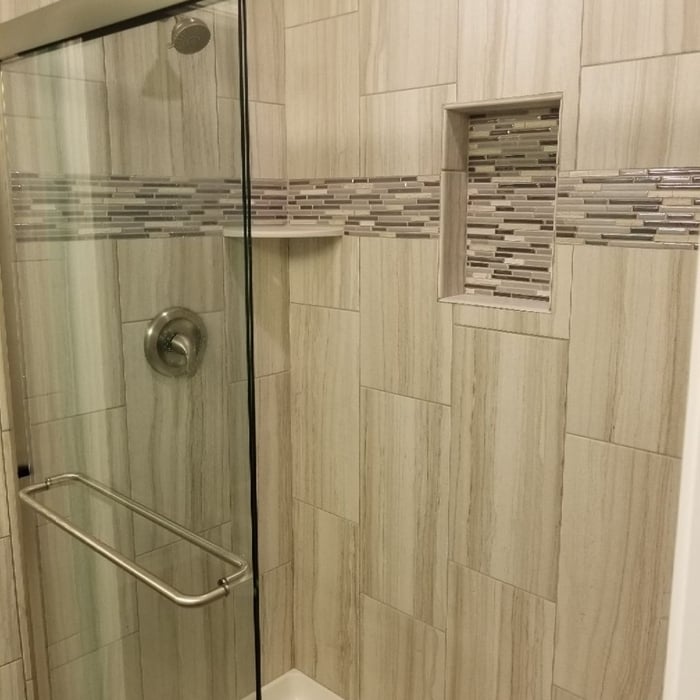
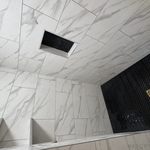
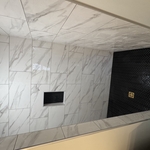
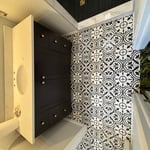
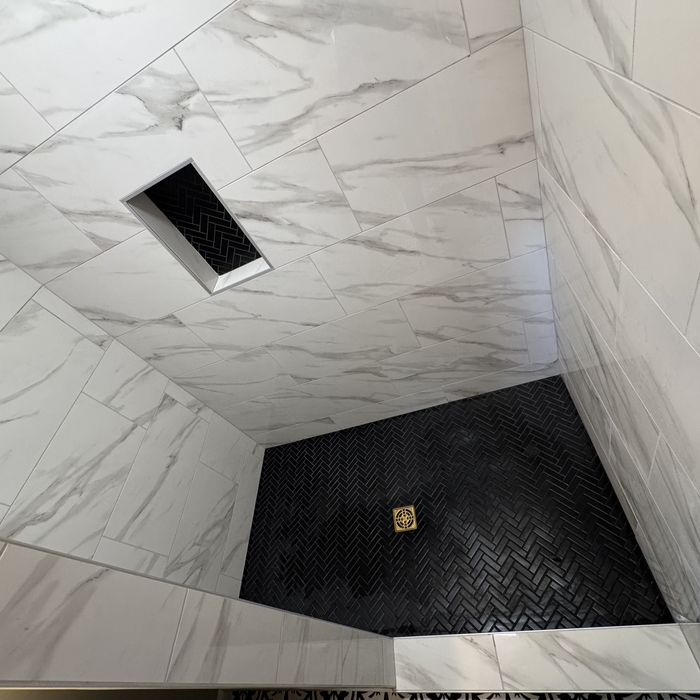
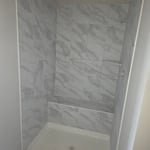
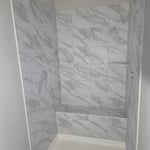
"This experience from start to finish of our remodel of our master shower changing from a standard shower to a handicap setup with classy completion has been great. Josh Howard and Nathan Smith were great to work with getting the project setup and designed. They are very caring young men and the installer was very professional, pleasant, quick and cleaned up fantastically afterwards. I have enjoyed having a new and improved shower that is much safer now."
Backsplash Installation
Cabinet Refacing
Countertop Installation
Response time2 days
Response rate100%
23 neighbors recently requested a quote
...
Showing 1-10 of 300
Backsplash Installation questions, answered by experts

If you want your ceramic tiles to be evenly spaced and installation to take less time, spacers are a crucial part of the installation process.

Your floors should be completely level for tile, otherwise you risk damaging the tiles in the future. When there are even small gaps or hills in the subfloor beneath the tile, this puts more pressure on the tile when you walk around on the floor. With repeated traffic, the tiles are at risk of cracking, and you’ll have to deal with tile repairs sooner than if the floor was completely level.

If the hearth ends against a wall, you can use a tile cutter as you normally would. However, if the edge of your hearth ends with no surface pressing against it,you may want to look into rounded tiles. These give a smooth edge to your hearth and make sure cut edges aren’t visible. You can also see if the tile you have has pieces that have been glazed or rounded on one edge. You’d then cut the tile and place it normally, with the cut edge facing inward. 

To make a small bathroom look bigger, choose light-colored tiles in a medium- to large-format size. Lighter colors like white, cream, or light gray help open up a room, making it feel larger and more airy. While it may seem counterintuitive, small tiles can actually make a bathroom look smaller because the increased number of grout lines creates a busy pattern that visually shrinks the space. Instead, opt for medium- or large-format tiles for a more seamless, expansive appearance. For the best effect, pair your tiles with a matching or similarly colored grout to create a continuous surface that enhances the illusion of a larger area. Avoid dark colors, heavy patterns, and contrasting grout, as these can make the space feel more confined.

You can, in theory, tile your fireplace hearth with most tiles. However just because you can, doesn’t mean you should. For example, it’s much better to use unglazed tiles because glazed tiles are more resistant to cracking under extreme heat. Porcelain is more heat-resistant than ceramic, but you can still design the hearth as you like by putting the most heat-resistant tiles directly under the fire and, if it matches your style, add more decorative tiles further from the center of the fire. 

The Blue Springs, MO homeowners’ guide to backsplash installation services

From average costs to expert advice, get all the answers you need to get your job done.