

Top-rated ceramic tile pros.

Get matched with top ceramic tile pros in Hinckley, MN

Enter your zip and get matched with up to 5 pros

Need a pro for your ceramic tile service project in Hinckley, MN?

Select your specific project to find the pro for you.

Find Ceramic tile pros in Hinckley

Rock-It Construction
5.0(
4
)
Tile: Ceramic and Porcelain - InstallTile: Ceramic and Porcelain - RepairTile: Ceramic and Porcelain - Repair- For Business

Serving Hinckley, MN and surrounding areas

In business since 2005

Free estimates

Warranties offered

"Rock-It Construction was awesome. Extremely prfessional, punctual, courteous. The end result was exactly what we were looking for and Casey notified us with any hiccups along the way and guided us to what turned out to be a great result. We will be specifically requesting Casey and Rock-It Construction for future projects. Thanks-Bill & Laural Combs"
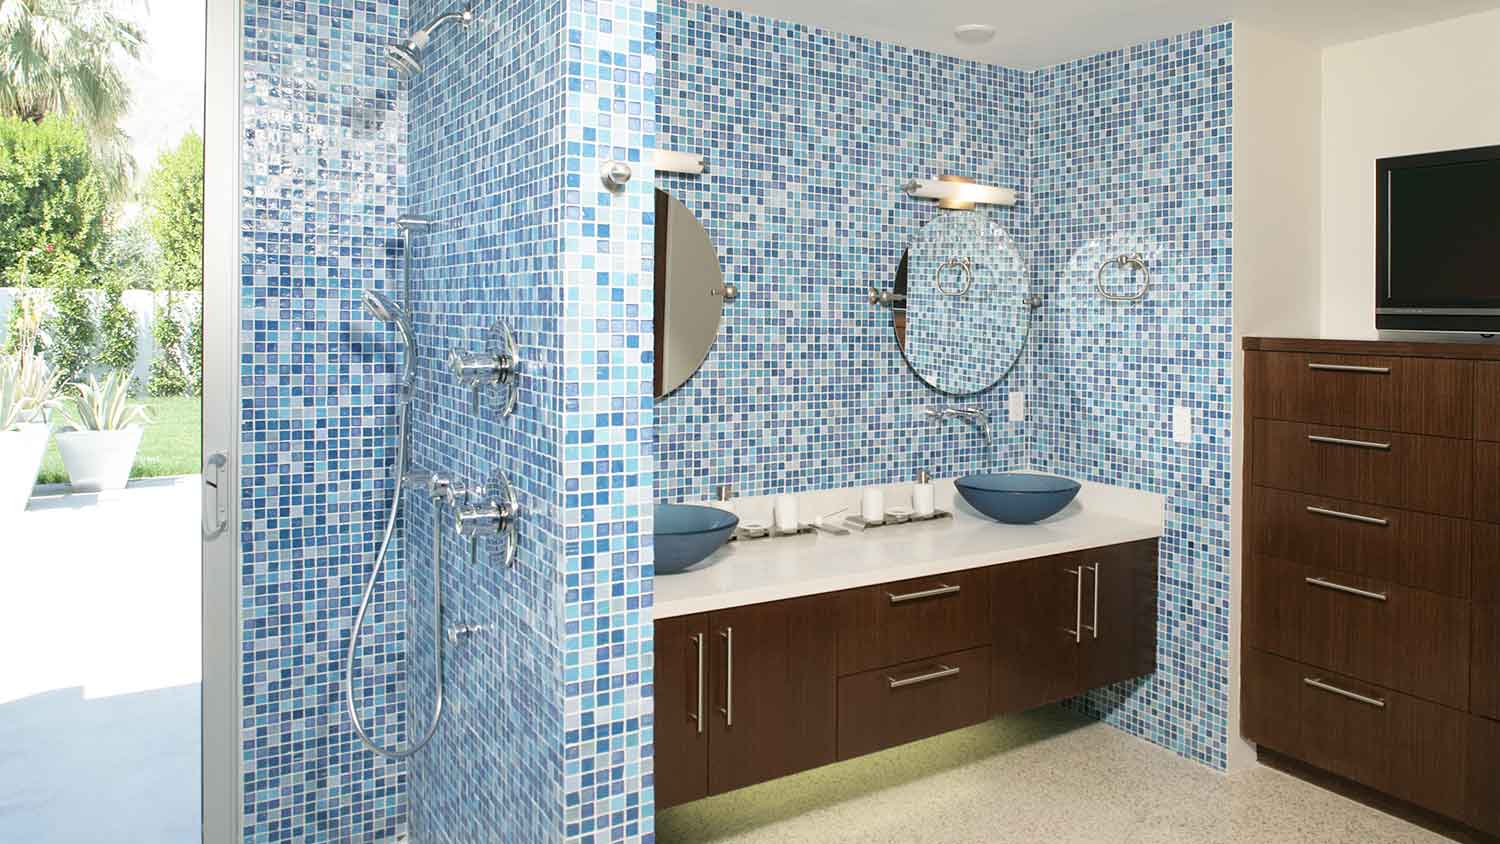
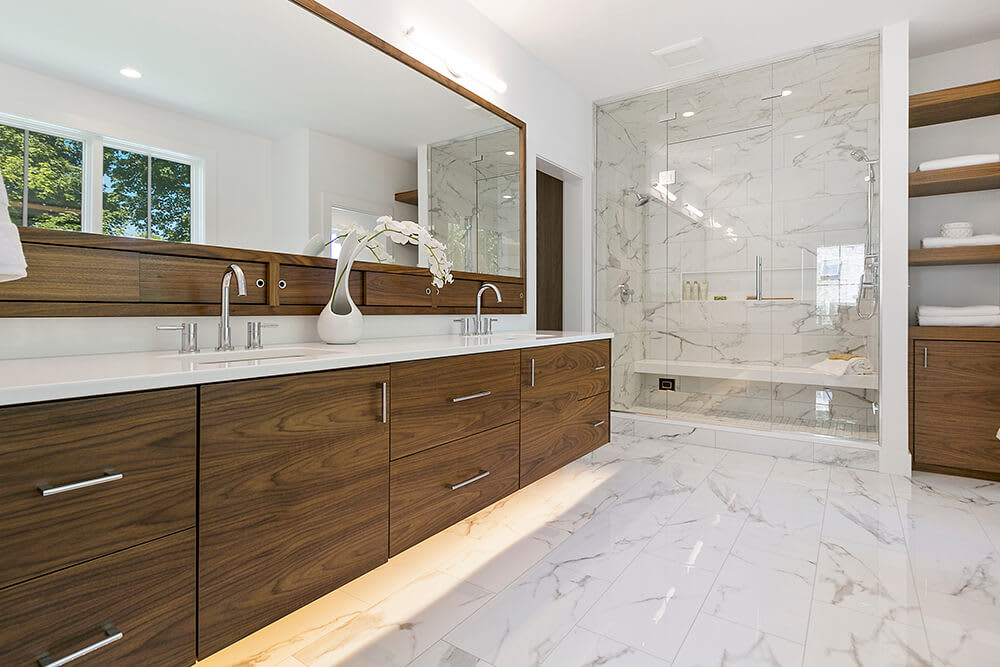
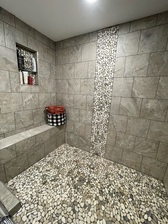
Walk-in Tile Shower
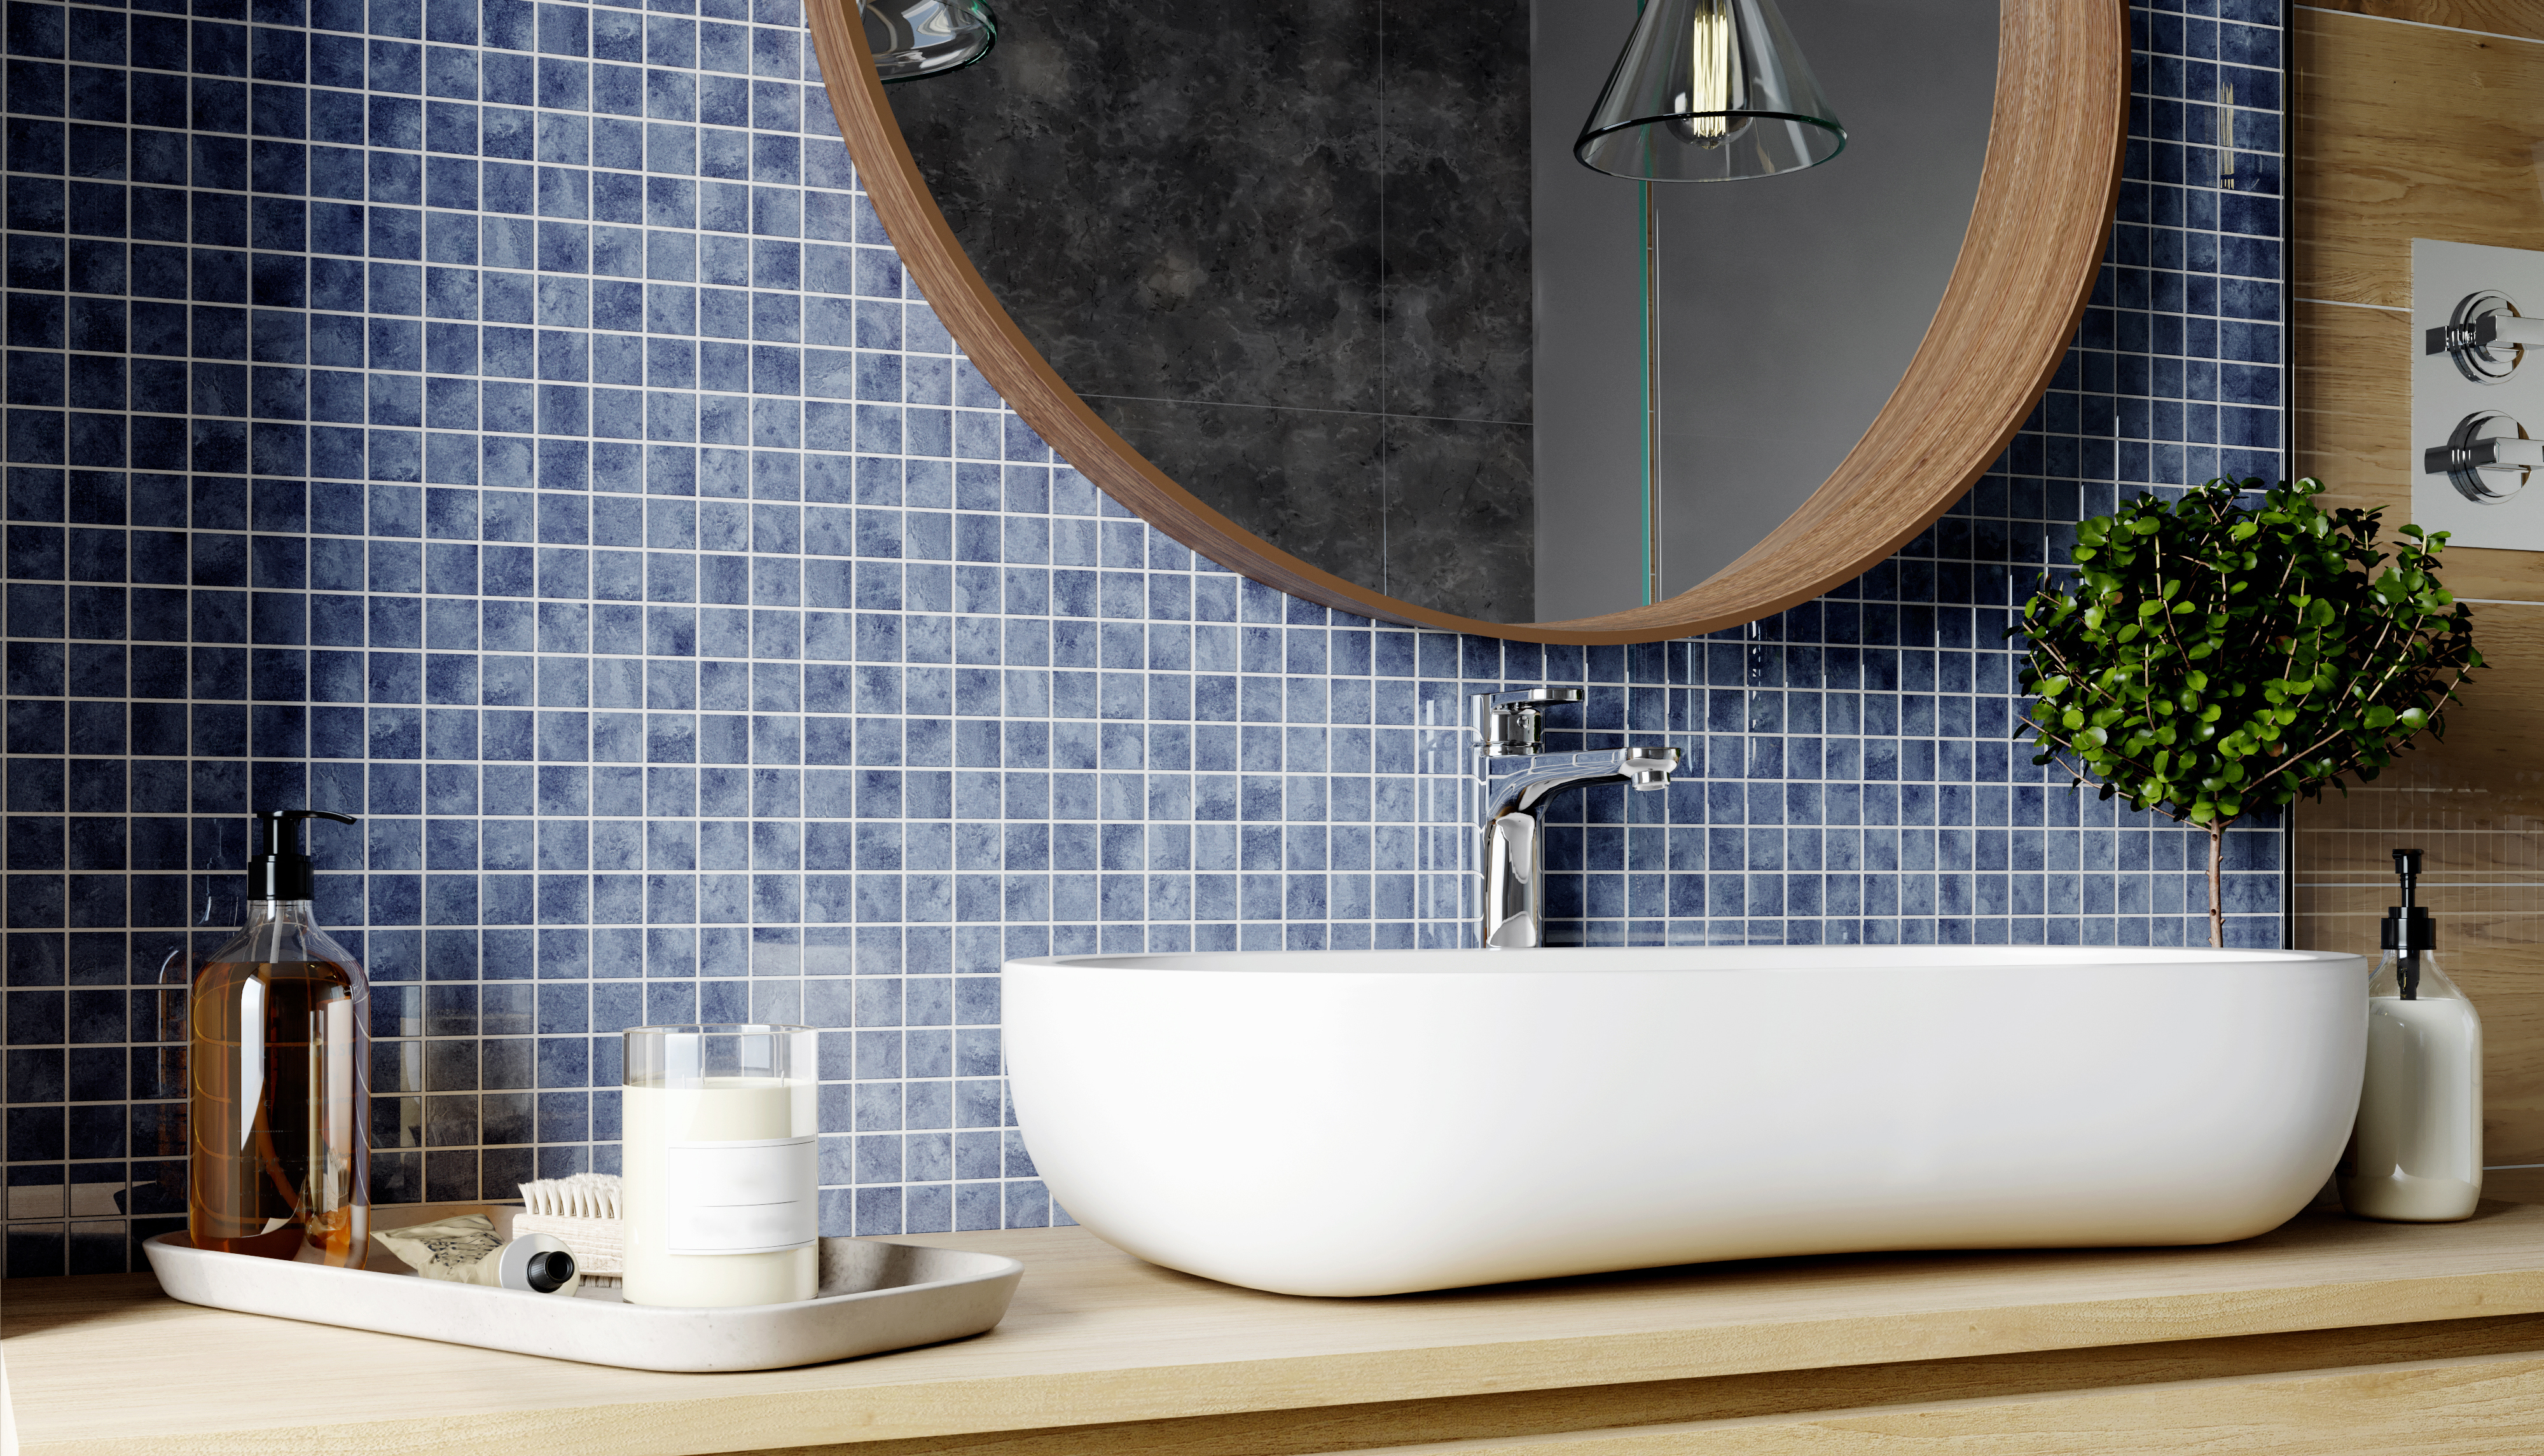
Glass top mount sink
Recommended by100%of homeowners
Avatar for Falls Flooring And More
Falls Flooring And More
5.0(
4
)
Tile: Ceramic and Porcelain - Install

Serving Hinckley, MN and surrounding areas

In business since 2019

Free estimates

Credit card accepted

"I had them do a tile shower for me from start to finish, he offered many creative unique twists to your standard tile shower. Turned out awesome and guests compliment it anytime they see it. Highly recommend!"
Response time10 hrs
Recommended by100%of homeowners
Showing 1-10 of 16
Ceramic Tile questions, answered by experts

The grout shade you choose comes down to personal taste and preference. A darker grout will give you a more dramatic and noticeable contrast with the tile around it; however, lighter grout helps create a more uniform look when blending the colors together. Additionally, a darker grout combined with a patterned tile could be overwhelming to the eye, while lighter grout makes the pattern stand out as the main focus.

Many homeowners have successfully retiled a bathroom themselves. It can be a challenging but rewarding process, but it’s best for someone who already has at least intermediate DIY skills.

The process takes two to four days, depending on the size of the area and your experience level. The first day involves assessing and prepping the existing tile, while the second day is for laying the new tile. This may take longer in complex areas. After letting the adhesive dry for 24 hours, grouting and sealing can be completed on day three. For larger projects or intricate tile patterns, expect the timeline to stretch a bit longer. Also, proper drying time between steps is essential for long-lasting results, which extends the project’s time.

Add a T-shaped spacer to each corner of a tile when placing it. You’ll want to nudge the tiles closer together so the spacers are touching each corner. When you’re done installing your tile, you can remove each spacer, wash them, and use them for your next project.

If you’re out of spacers for your tile installation, you can use pennies. Each time you place a tile, stick the pennies around the edges (on the sides and the corners). Like working with spacers, you’ll want the same amount of space around each tile before they set.

The Hinckley, MN homeowners’ guide to ceramic tile services

From average costs to expert advice, get all the answers you need to get your job done.