




Top-rated drywall pros.

Get matched with top drywall pros in Sandisfield, MA

Enter your zip and get matched with up to 5 pros

Need a pro for your drywall service project in Sandisfield, MA?

Select your specific project to find the pro for you.

Find Drywall pros in Sandisfield

Sonart Construction Corp.
2.3(
7
)

Serving Sandisfield, MA and surrounding areas

Approved

In business since 2013

Free estimates

Credit card accepted

"I recently had my shingle roof replaced and I?m very happy with the results. The team was professional, punctual, and completed the job efficiently. The quality of the work is excellent, and the new roof looks great. They kept the work area clean and communicated well throughout the process. I would definitely recommend them to anyone needing a roof replacement."
Avatar for The BullBag
The BullBag
5.0(
15
)

Serving Sandisfield, MA and surrounding areas

In business since 2001

Credit card accepted

"It is very convenient, and reasonably priced.  The only thing that they could work on is the punctuality of the pick up times.  The rest of the experience was satisfactory.  My daughter has also used them.  I would highly recommend this service."
The BullBag truck in MA
The BullBag truck in NY
Toys for Tots
Recommended by100%of homeowners
Avatar for Home Facelifters
Home Facelifters
4.5(
31
)

Serving Sandisfield, MA and surrounding areas

In business since 1999

Free estimates

Credit card accepted

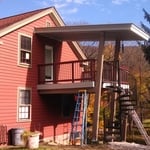
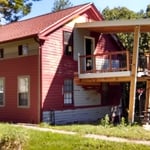
"I contacted Home Facelifters to remove a small concrete barrier from my garage, to repair the porch at the end of my house that was developing cracks and holes around the foundation, and to perform a couple of handyman tasks (replace a doorknob and replace smoke detectors). Joe replied to my inquiry and came out to give me an estimate within a couple of days of when I contacted him. When he and his crew started working on the porch repair they found that the problems were much more extensive than originally anticipated. The porch was actually pulling away from the house, and as the crew started to work on the porch they found a couple of large cracks running the length of the foundation under the floor of the porch, making it unsafe. It was clear to all of us that the porch would have to be replaced. Joe quickly came up with some estimates and found a solution to retain the roof over one end of the porch. He proposed replacing the porch with a new deck. The crew supported the roof on the side of the porch and removed the underlying porch and the concrete slabs. They dug holes for new piers and footing and poured concrete. It was also discovered there was some old (not active) termite damage on the lower side of the house where the new deck would be attached (this was damage that was treated when I bought the house 16 years ago so it was no longer active but the bottom portion of part of that side of the house had to be repaired and reshingled). During the entire process Joe was great about communicating the latest set-back and keeping me up to date on additional expenses. In the end the crew built a beautiful new deck with railings up to code. The job was much more complicated than what I originally anticipated and ended up being more expensive but was necessary. I may have been able to get the work done elsewhere for slightly less money but I do not know that I would have received the same quality craftsmanship. Joe and his assistant were great to work with throughout the process. They communicated clearly about when they were going to show up and about the progress of the work. They worked long days, often after dark, in freezing cold weather but finished most of the work as quickly as possible. There are still a couple of things left to be done (painting and building stairs to the deck) but those things have to wait until warmer weather. This is the second time I have used Home Facelifters for a major project at my home, and I highly recommend them."
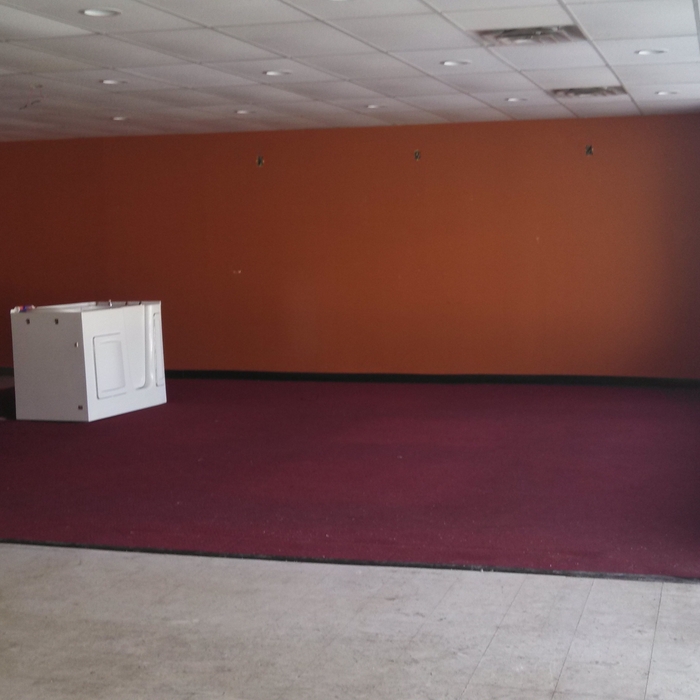
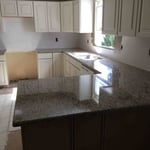
Kitchen Before
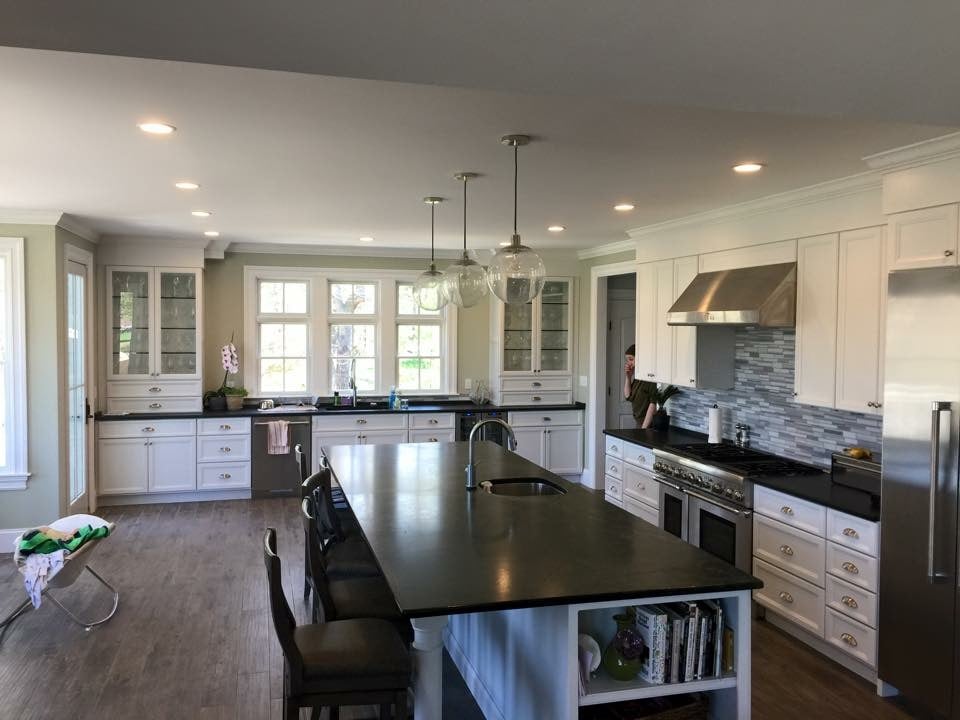
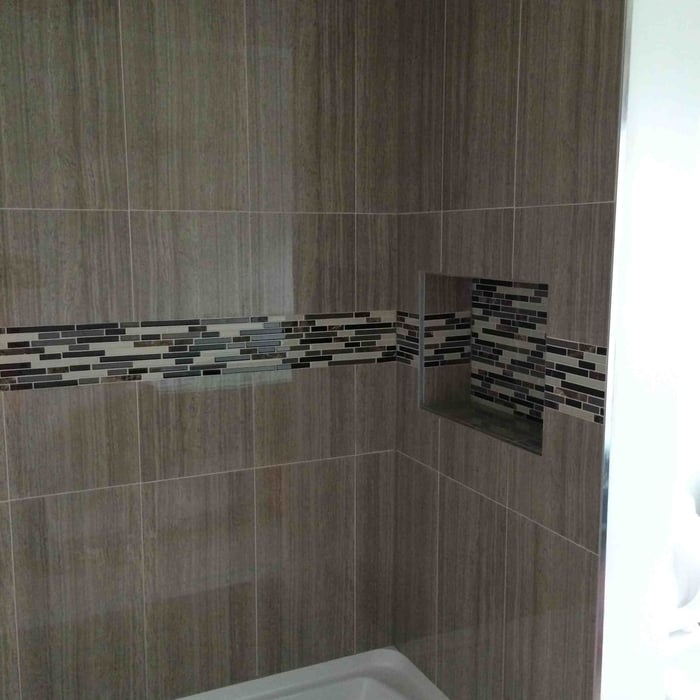
Kitchen After
Front of house after
Recommended by96%of homeowners
...
Showing 1-10 of 90
Drywall questions, answered by experts

If your home was built before the 1940s and was not remodeled in the past 50 or so years, you probably have plaster walls. Aside from assuming, there are some practical ways to tell if you have plaster walls, including the following: If you knock on the wall and it feels solid, not hollow, if you can’t insert a thumbtack easily, if there are cracks that look like spiderwebs, or if your home has curved, arched, or swirled walls, doorways, or window openings.

If you have an unfinished basement or attic, you could examine the backs of any finished walls to check, too.

If your home’s foundation shifts slightly over time, any seams in the drywall represent the weakest point in the wall, leading to cracks. If your home has significant changes in temperature and humidity, this can cause the drywall to swell and contract slightly, causing a crack at the weak point of the seam. If your drywall installer did a poor job securing the panels to the wall studs, this could cause a weak layout and cracks in the seams.

Yes, you can speed up the time it takes for plaster to dry, but it's important to do so carefully to avoid issues like cracking or crumbling. Proper ventilation is key; open a window or use a fan to circulate air in the room. Heat can also accelerate drying, but be cautious, as too much heat can cause the plaster to dry too quickly and crack. Check the plaster's packaging for the recommended drying temperature and set the room's thermostat accordingly. While managing humidity is important, avoid using a dehumidifier, which can remove moisture too aggressively and result in crumbly plaster.

The average cost to apply a skip-trowel drywall texture to walls is $1.25 to $2.00 per square foot. Ceilings cost slightly more because of the increased difficulty of working overhead. Additional cost factors include any drywall repairs and removal of existing textures or wallpaper.

While every home has its own unique needs, ceiling drywall installation typically follows a staggered or stepped pattern to enhance structural integrity and reduce the visibility of seams. Starting from one corner, sheets are placed perpendicular to the ceiling joists, with the ends of adjacent sheets meeting along the center of the joist. The next row begins with a half sheet, ensuring joints don't align vertically. This alternating pattern, combined with proper taping and mudding, creates a seamless appearance and strengthens the ceiling structure, minimizing the risk of cracks over time.

The Sandisfield, MA homeowners’ guide to drywall services

From average costs to expert advice, get all the answers you need to get your job done.