



Top-rated backsplash installation pros.

Get matched with top backsplash installation pros in Council Bluffs, IA

Enter your zip and get matched with up to 5 pros

Need a pro for your backsplash installation project in Council Bluffs, IA?

Select your specific project to find the pro for you.

TRUSTED BY COUNCIL BLUFFS, IA HOMEOWNERS

  • Average homeowner rating star icon4.5
    Average homeowner rating
  • Verified reviews icon160
    Verified backsplash installation services reviews

Find Backsplash installation pros in Council Bluffs

Avatar for Y & M remodeling llc
Y & M remodeling llc
5.0(
8
)
Tile: Ceramic and Porcelain - InstallTile: Ceramic and Porcelain - Install - For Business

Serving Council Bluffs, IA and surrounding areas

Free estimates

Credit card accepted

"It went very well. Julian communicated with me throughout the whole process. I had additional requests that Y&M were not expecting, but took care of very admirably. Tile, mortar, and caulking is very beautiful. English and Spanish communication is very fluent. Definitely would recommend!"
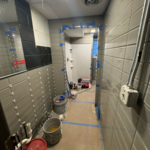
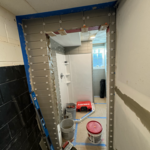
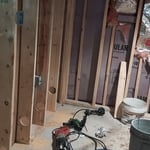
new walls for plumbing on second bathroom
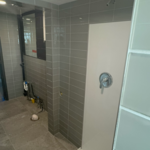
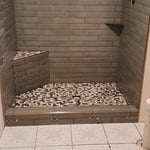
Shower wall and floor tile install
green wall tile and stone shower floor
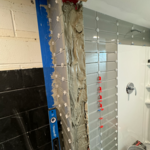
Making new wall, floor, water lines and plumbing
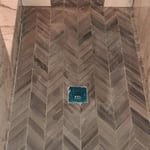
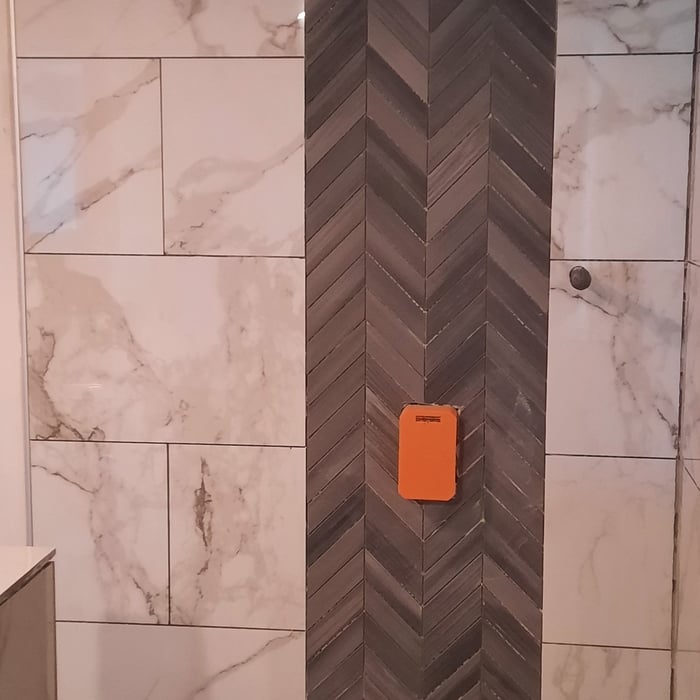
Center wall pattern tile coming up from shower floor

+33

Recommended by100%of homeowners
Showing 1-10 of 37
Backsplash Installation questions, answered by experts

On average, tiling a bathroom involves about 12 hours of labor, usually spread over two to three days to accommodate prep work and curing times. A professional tiler can often complete the installation in 6 to 8 hours, whereas a DIYer might take 10 to 16 hours. The total project time is influenced by factors like the bathroom layout, tile type, and necessary prep work, such as removing old tile. The process includes specific timelines for different areas; for example, tiling a floor takes about six hours, while a shower area can take six to ten hours. It is essential to allow for adequate curing time—typically 24 hours each—for the mortar, grout, and caulk, which is why the project extends over several days.
When working on your bathroom floor tiling, you should always tile the floor first and then refit the toilet afterward. This has both practical and visual advantages—the tile will have a better seal, and the installation will look cleaner.

On the other hand, when you try to cut the tiles to fit around the toilet, you’re putting yourself at a disadvantage. It’s a lot more work, it’s hard to be precise, and mistakes or miscalculations can lead to future moisture damage to the tiling, grout, and subfloor.

Generally speaking, it is better to cut tile wet when using a fast-moving wet saw to reduce dust and chipping. However, tile can be cut dry when using just about any cutting tool. Dry cutting will result in a bigger mess and may increase the risk of chipping or cracking, but if you’re just making small cuts, dry cutting is a safe and viable option. Cutting dry also means you can apply tile grout sooner, so it’s better for rushed projects.

Solvents dissolve tile adhesive, but the right solvent for the job depends on what type of adhesive you are trying to remove. For instance, dispersion adhesive requires stronger removers, like bile soap or even paint stripper, but some adhesives, like cement-based products, can come off with water and soap or mortar remover.

Whether you use a brush or roller depends on the size, shape, and amount of tiles. Rollers are easier to maneuver over large areas and can apply a more even coat of paint in a shorter time frame with no visible brushstrokes. Brushes are best for precision work, particularly in very small areas. If you don't want visible brushstrokes on your painted tiles, you can paint details with small foam brushes instead of bristled paint brushes.

The Council Bluffs, IA homeowners’ guide to backsplash installation services

From average costs to expert advice, get all the answers you need to get your job done.