

Top-rated drywall pros.

Get matched with top drywall pros in Santa Paula, CA

Enter your zip and get matched with up to 5 pros

Need a pro for your drywall service project in Santa Paula, CA?

Select your specific project to find the pro for you.

TRUSTED BY SANTA PAULA, CA HOMEOWNERS

  • Average homeowner rating star icon4.8
    Average homeowner rating
  • Verified reviews icon101
    Verified drywall services reviews

Find Drywall pros in Santa Paula

Avatar for Dynasty Interior Drywall
Dynasty Interior Drywall
4.9(
35
)
Drywall - InstallDrywall - Install - For BusinessDrywall - Repair+1 more

Serving Santa Paula, CA and surrounding areas

Approved

In business since 2000

Free estimates

Credit card accepted

Dynasty Interior Drywall, is committed to excellence in every aspect of our business. We uphold a standard of integrity bound by fairness, honesty, and personal responsibility. Our distinction is the quality of service we bring to our customers. Accurate knowledge of our trade combined with ability is what makes us true professionals. Above all, we are watchful of our customers' interests, and make their concerns the basis of our business.

Drywall
1 neighbors recently requested a quote
Recommended by84%of homeowners

Avatar for Clark Drywall Inc.
Clark Drywall Inc.
5.0(
96
)
Drywall - RepairDrywall - InstallDrywall - Install - For Business+1 more

Serving Santa Paula, CA and surrounding areas

In business since 1995

Free estimates

Emergency services offered

"I needed to get popcorn ceiling removed throughout my entire home and I was drawn to this company because they had the most reasonable prices and quickest completion time. Matt was very communicative throughout the process and it’s clear that he has a lot of experience and knows his stuff. Matt and his team did such a great job. Everything was done in 3 days! I highly recommend hiring Clark Drywall Inc for any of your drywall needs."
Additional Photos
Additional Photos
Additional Photos
Additional Photos
Additional Photos

+10

Response time8 hrs
Response rate100%
2 neighbors recently requested a quote
Avatar for ZVN Drywall
ZVN Drywall
5.0(
16
)
Drywall - InstallDrywall - Install - For BusinessDrywall - Repair+1 more

Serving Santa Paula, CA and surrounding areas

In business since 2021

Free estimates

Credit card accepted

"It went very well. While removing the old flooring it was discovered that the drywall around the stool area needed to be replaced. New drywall was installed and painted to match the rest of the wall. Floor boards were repainted. The new flooring was installed as was the new toilet."
Handymen Project
Remodeling - Kitchen & Bathroom Project
Handymen Project
Handymen Project
Additional Photos

+30

Recommended by100%of homeowners
...
Showing 1-10 of 201
Drywall questions, answered by experts

In framing, studs are placed at 16-inch intervals to coincide with the typical spacing of wall materials such as drywall or plywood. This spacing is called "on-center" and is necessary for maintaining structural stability and efficient use of materials. The 16-inch spacing also helps to distribute the weight evenly across the building's structure. For those looking to cut material costs and improve energy efficiency, 24-inch stud spacing can be employed through a method called "advanced framing". This requires careful planning and adherence to local building codes to ensure structural integrity.

When doing a DIY paint job, it can be tricky to achieve the perfect, straight line between your wall and ceiling. There are several methods, including lining it with painter’s tape and using the “cut in” brush tactic. Some homeowners choose to apply a thin line of caulk to the wall-ceiling seam to create the appearance of a perfect line.

A utility knife is sharp enough to score the drywall and it may work in a pinch for outlet box holes. However, one of the best tools for drywall when you need to make exact cuts for an outlet box quickly is a drywall saw. This handheld tool has a longer blade than a utility knife, so it penetrates the thickness of the drywall easily. The design of its handle and the teeth in its blade make it easier to control while cutting quicker than you can with a utility knife.

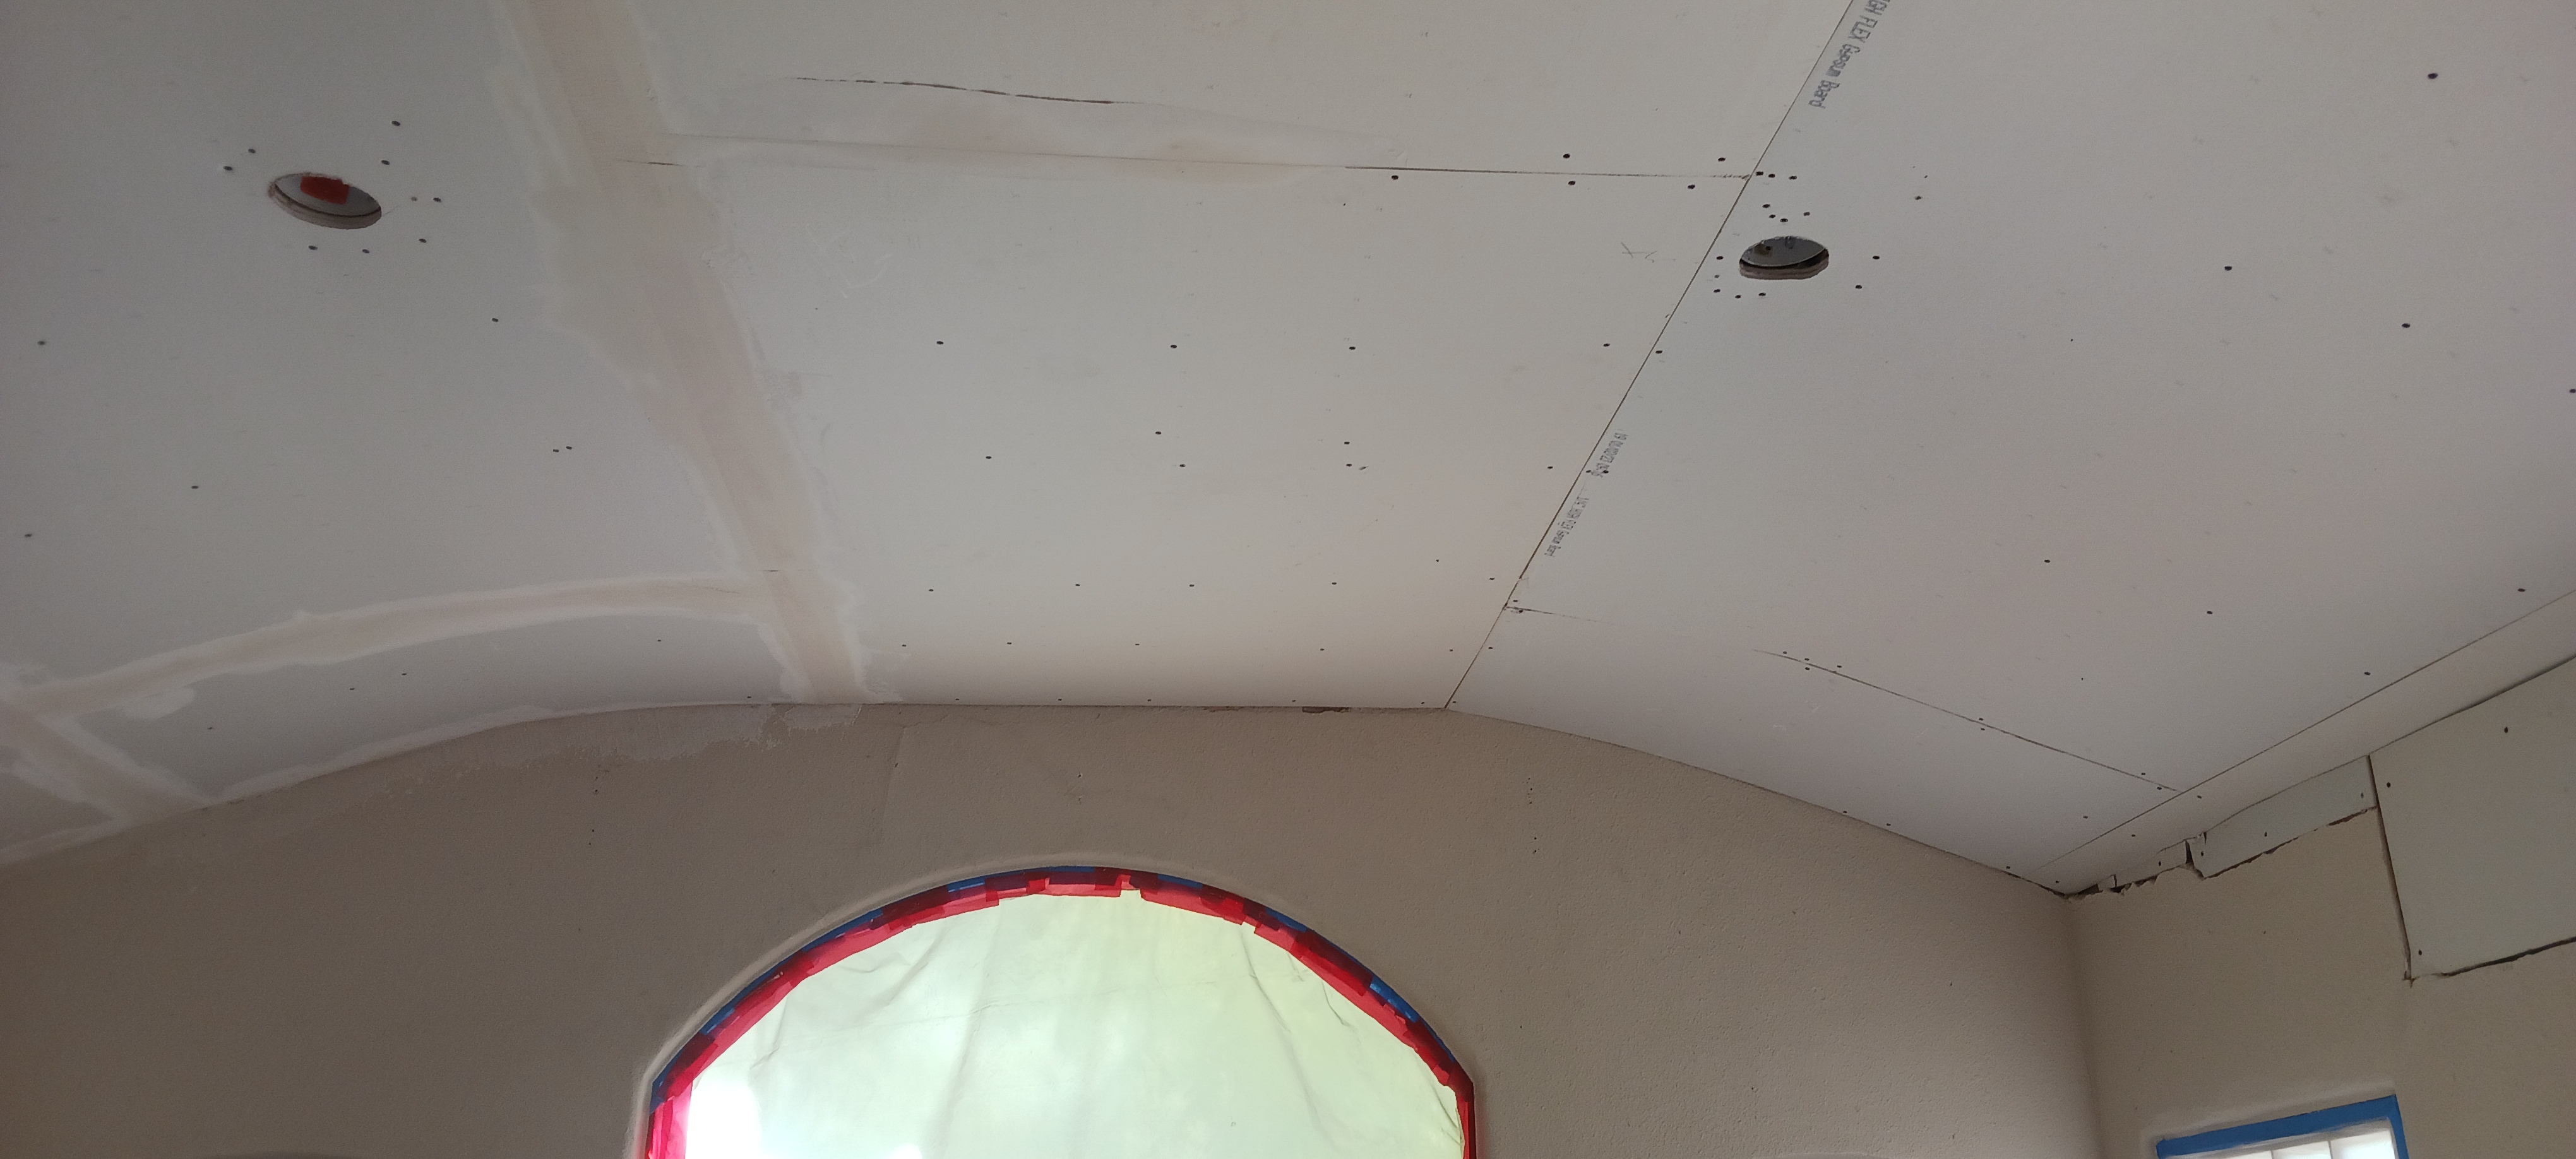
There are six levels of drywall finish, from 0 to 5, that refer to the amount of work performed during the finishing process.

Level 0: Drywall is hung with no finishing work.

Level 1: Tape is placed over the seams between drywall sheets.

Level 2: A thin layer of mud is applied over the tape and screw holes. This level is common for utility rooms or walls that will be covered.

Level 3: A full coat of mud covers the screw holes and tape, but the surface is not sanded. This is often used in garages.

Level 4: This is the most common finish for visible interior walls. It involves applying two coats of mud over seams and screw holes, with sanding between each coat, creating a smooth surface ready for flat paint.

Level 5: This is a high-end finish for luxury homes. It includes full taping, mudding, and sanding, plus a final skim coat over the entire surface before painting.

Drywall can get wet and dry out without sustaining permanent damage, but only if the water damage is minor. If you have a small leak and are quick to correct the issue and set up blower fans and dehumidifiers, your drywall should dry out. If the leak is persistent, the drywall becomes totally waterlogged, or mold begins forming on the drywall, you should remove and replace it.

The Santa Paula, CA homeowners’ guide to drywall services

From average costs to expert advice, get all the answers you need to get your job done.