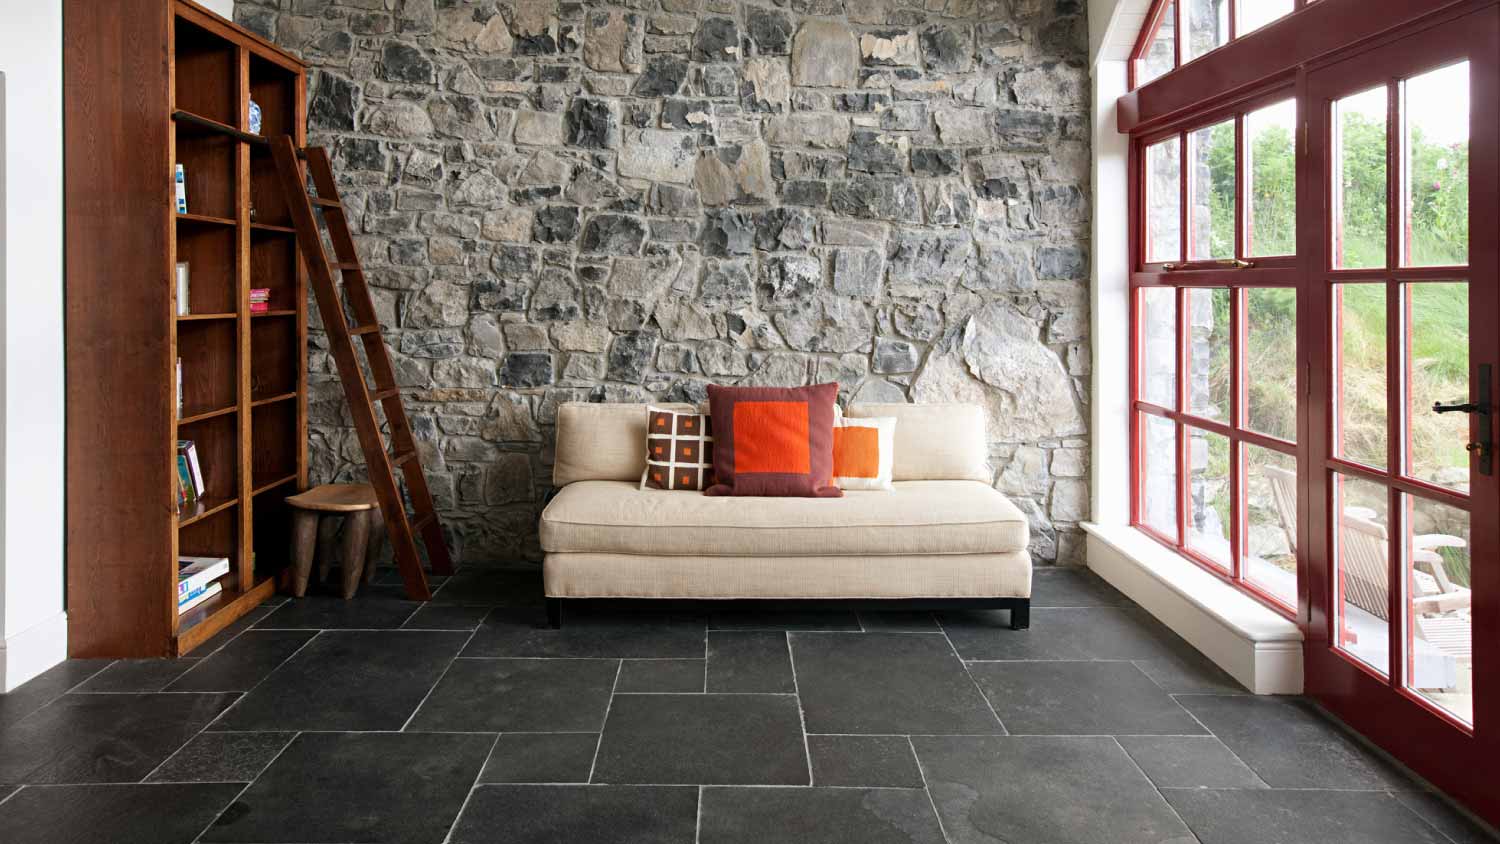
Slate is tough and durable, but is it the right choice for your floors? Learn more about the average slate flooring cost to see if it fits within your budget.
Tile floors are heavy and rigid, but they become fragile without proper preparation

Tile floors need underlayment for proper support because their weight and rigidity require a solid, level surface that prevents flexing and movement underneath.
A DIY tile installation can cut your labor costs by $600 to $800 on average, though you'll need to purchase all preparation materials and tools.
Your subfloor requires thorough cleaning, patching of any cracks or holes, and application of self-leveling compound to create an even surface before underlayment installation.
Hiring a local tile professional provides reliable guidance on subfloor inspection and underlayment installation, keeping your tile floor stable and preventing cracks or shifting over time.
Tile floors can be a great investment for your bathroom or kitchen, providing a strong, waterproof surface that’s easy to care for. However, despite their inherent strength, tile can easily crack or shift around if the surface beneath it is not also strong and level.
To ensure your tile is installed properly and doesn’t give you a headache, you’ll need a subfloor that’s properly prepared and an appropriate underlayment for support. Here’s how to start your tile installation off right.
Once you gather all your materials, it’s time to get started.
Ceramic tile floors are heavy and rigid. They need a solid subfloor that won’t flex or move around underneath; one that’s strong enough to hold their weight and the weight of the preparation materials involved in their installation. They also need an even surface so tiles don’t crack or come loose over time.
There are a variety of viable subfloor options for ceramic tile, and each requires different preparation. You’ll commonly find a layer of oriented strand board (OSB) or plywood laid over the joists or structural support.
If your home has a concrete foundation or basement, tile can be installed directly over the concrete slab. A newly poured concrete floor should cure for at least three months before any flooring is installed on top.
If your subfloor is made of any of the following materials, it is unsuitable for tile and will need to be removed before you take any other steps:
Interior-grade plywood or particleboard, which can swell with water
Vinyl in multiple layers or not fully bonded to the entire subfloor
Drywall or green board
Regardless of what material your subfloor is made from, sweep the entire room to get rid of dust and debris.
If your subfloor is concrete, use your scrub brush to scrub the surface with a degreasing cleaner in warm water. This will remove any salts, adhesives, and other surface contaminants that may inhibit water penetration, which is key to proper bonding between your subfloor and underlayment. Rinse and dry thoroughly before moving on.
Another additional step for concrete is to fill any cracks or holes using a cement patching compound. After mixing, apply with the edge of your trowel and level each patch with the surrounding concrete. Large cracks or displaced chunks may be a sign of deeper problems that you should hire a tile professional to diagnose.

Depending on your subfloor material, sealing and leveling may occur in different orders. Regardless of your material, start by sliding your level all around the room in different directions. If you notice any dips or uneven spots, they’ll need to be addressed.
If your subfloor is wood, fill seams with caulk and roll on a layer of latex primer-sealer with your roller brush. This prepares the surface to bond with self-leveler. Tape any vents off with painter’s tape.
Then, for both wood and concrete subfloors, mix and pour a self-leveling floor compound into any dips according to the manufacturer’s instructions. This self-leveler will seek its own level and dry in a flat, even surface. Wear safety goggles and gloves when handling the self-leveler and allow it to dry completely before moving on. This can take several days.
Finally, for concrete subfloors only, apply a concrete sealer to the level surface. Because concrete is porous, it draws moisture up from the ground which can cause damage to your floors without proper protection. Sealer keeps moisture away and prevents mold growth.

The next step will vary depending on your subfloor and underlayment materials.
A cement-based backer board provides a solid surface that doesn’t flex, similar to solid concrete. Follow the manufacturer’s instructions and our tips below.
Attach the backer board to your subfloor with a polymer-modified thin-set (also called mortar) for additional strength and stability. It usually takes a day to dry.
Follow all directions on the packaging and wear safety glasses
Promptly clean your mixing paddle after mixing to prevent mortar from hardening on it
If your subfloor runs east to west, lay your backer boards running north to south
If you need to trim a panel, measure it and score along both sides with a utility knife. Press down on one side of the score line and lift the opposite side to snap the panel.
Working quickly while the mortar is wet, use your trowel to scoop and spread enough to cover an area slightly larger than your first panel of backer board. Comb the mortar with the trowel’s notched edge and place the panel on top.
Walk gently on the panel as you drill backer board screws every eight inches around the perimeter, half an inch from each edge and two inches from corners. Some manufacturers make this easier by identifying locations on the backer board to place screws. Every screw head should be flush with the panel.
Leaving a one-quarter-inch gap at the walls for expansion and a one-eighth-inch gap between panels, continue this process to cover your room. Arrange panels in a staggered pattern in which no four corners touch.
Concrete, although solid, can still move and shift over time. To prevent this movement from cracking your grout or tile, install an underlayment of crack prevention membrane. It comes in large rolls of a waffle-patterned peel-and-stick mat that covers your entire subfloor.
Start by unrolling the membrane and using your utility knife to dry cut pieces to cover your subfloor. Leave a quarter-inch of space around the perimeter of the room and any poles or other obstructions. Pull back the membrane and wipe the areas with a slightly damp sponge, then apply thin-set mortar with the notch of your trowel directly to the subfloor.
Roll your membrane back down onto the thin-set as soon as possible so the surface doesn’t dry before contact. Using a wood float or hand roller, push the entire surface, including corners and edges, into the membrane.
Once your underlayment is laid and you’ve allowed at least a day for the mortar to dry, you’re ready to install your new tile floor!
Depending on the type of flooring you have in your space already, DIY removal and subfloor preparation can be simple. However, DIY tile installation tends to be very difficult due to the complex nature of precisely cutting and placing new tiles.
If you hire a local professional tile contractor to install your tile, you should expect them to clean and inspect your subfloor as part of their routine before laying any tile. A DIY tile installation can cut your labor costs by $600 to $800 on average, but in exchange, you’ll need to purchase all of your own tools and preparation materials on top of the tile flooring itself.
Terrible experience. Walls/trim/floors/cabinets/doors all have drip marks, overspray, etc. Tiling at the fireplace had to be redone by another vendor due to incorrect and shoddy install by Profect. Contractor had his children in our house while he was on site without prior authorization or...
 Profect painting & exteriors
It was wonderful working with Yordy and his team. They were very professional and are experts in what they do. They have completed the work on time, with better quality and with in fairly reasonable price. We just started with backsplash work , but liking his work, we went on to provide...
We were having 2”x 2” tile installed . There was a small installation error and the new additional replacement tile was from a different lot and the colors didn’t match. Joe assured us that he would rectify everything , which he did without hesitation. We decided to go with the 18” x 36” tile...
 CarifaTile
For several months I was looking for somebody to tile a wall in my master bath and move lighting fixtures, and could not find anybody who was responsive. I contacted Rowe through Home Advisor and within days they came by to assess the job and provide an estimate. The cost was very...
It went very well! The end product was amazing and we keep getting a lot of compliments from friends! M&E were very professional and they made sure we were happy with the product before leaving. They met with us in our home and at the tile shop to make sure we were okay with our tile and...
 M&E Remodeling
Involved an extensive bathroom remodel, including removing tub & installing walk in shower, new drywall, custome tile work to ceiling, plumbing, etc. Overall, job was done on time and on budget. Nick & his team were very professional and had high attention to detail. Quality was great. Highly...
 Stamos Flooring and Remodeling LLC
Very pleased with the service and level of professionalism. Courteous and very unobtrusive in performing service. Unlike several other companies, Bradford Xteriors was willing to perform work on a three story home with a clay tile roof. <br />
 Bradford Xteriors
This company did a very good job on the brick wall and it looks just amazing. The staff was always professional and was practically OCD on how the bricks were stacked and how they were laid. Although it took longer than expected, I am willing to sacrifice time over perfection anyday. The...
 My Handy Mate LLC Improvement & Remodeling
He did the tile work and he was good at it. He used other subcontractors for the rest of the work (like putting in the cabinetry) and they were okay but not great. He was a great guy! He was easy to work with and had a good eye for the detail of his work. There were a couple of things that I...
 Brian Miller Custom Remodeling
I was very impressed with Miller Cantrell! I live in an old home in which the sewage line that runs from my home to the sewage system is a line of clay tile. These eventually collapse and need to be replaced - an expensive problem and sure to happen at the worst time. I told them that my...
From average costs to expert advice, get all the answers you need to get your job done.
Slate is tough and durable, but is it the right choice for your floors? Learn more about the average slate flooring cost to see if it fits within your budget.

Tile varies dramatically in price, but there’s something for every budget. This guide will help you plan for tile installation costs, no matter the project.
To avoid mold growth and tile damage, waterproofing is essential before tiling a shower. Learn four methods for tile shower waterproofing in this guide.

You can install carpet over tile, but only in certain situations, and you must be careful to ensure the floor is even and stable before doing so.

If you’re a handy homeowner, learning how to lay tile on concrete may be a great project for you to tackle. This guide walks you through the process.
Less fuss and mess: Here's every type of flooring that can be installed right on top of your ceramic tile.