Tankless water heater costs depend on the size of your water heater, location, fuel type, and more. Keep reading to calculate your expenses.
Faster than a cold shower in wintertime


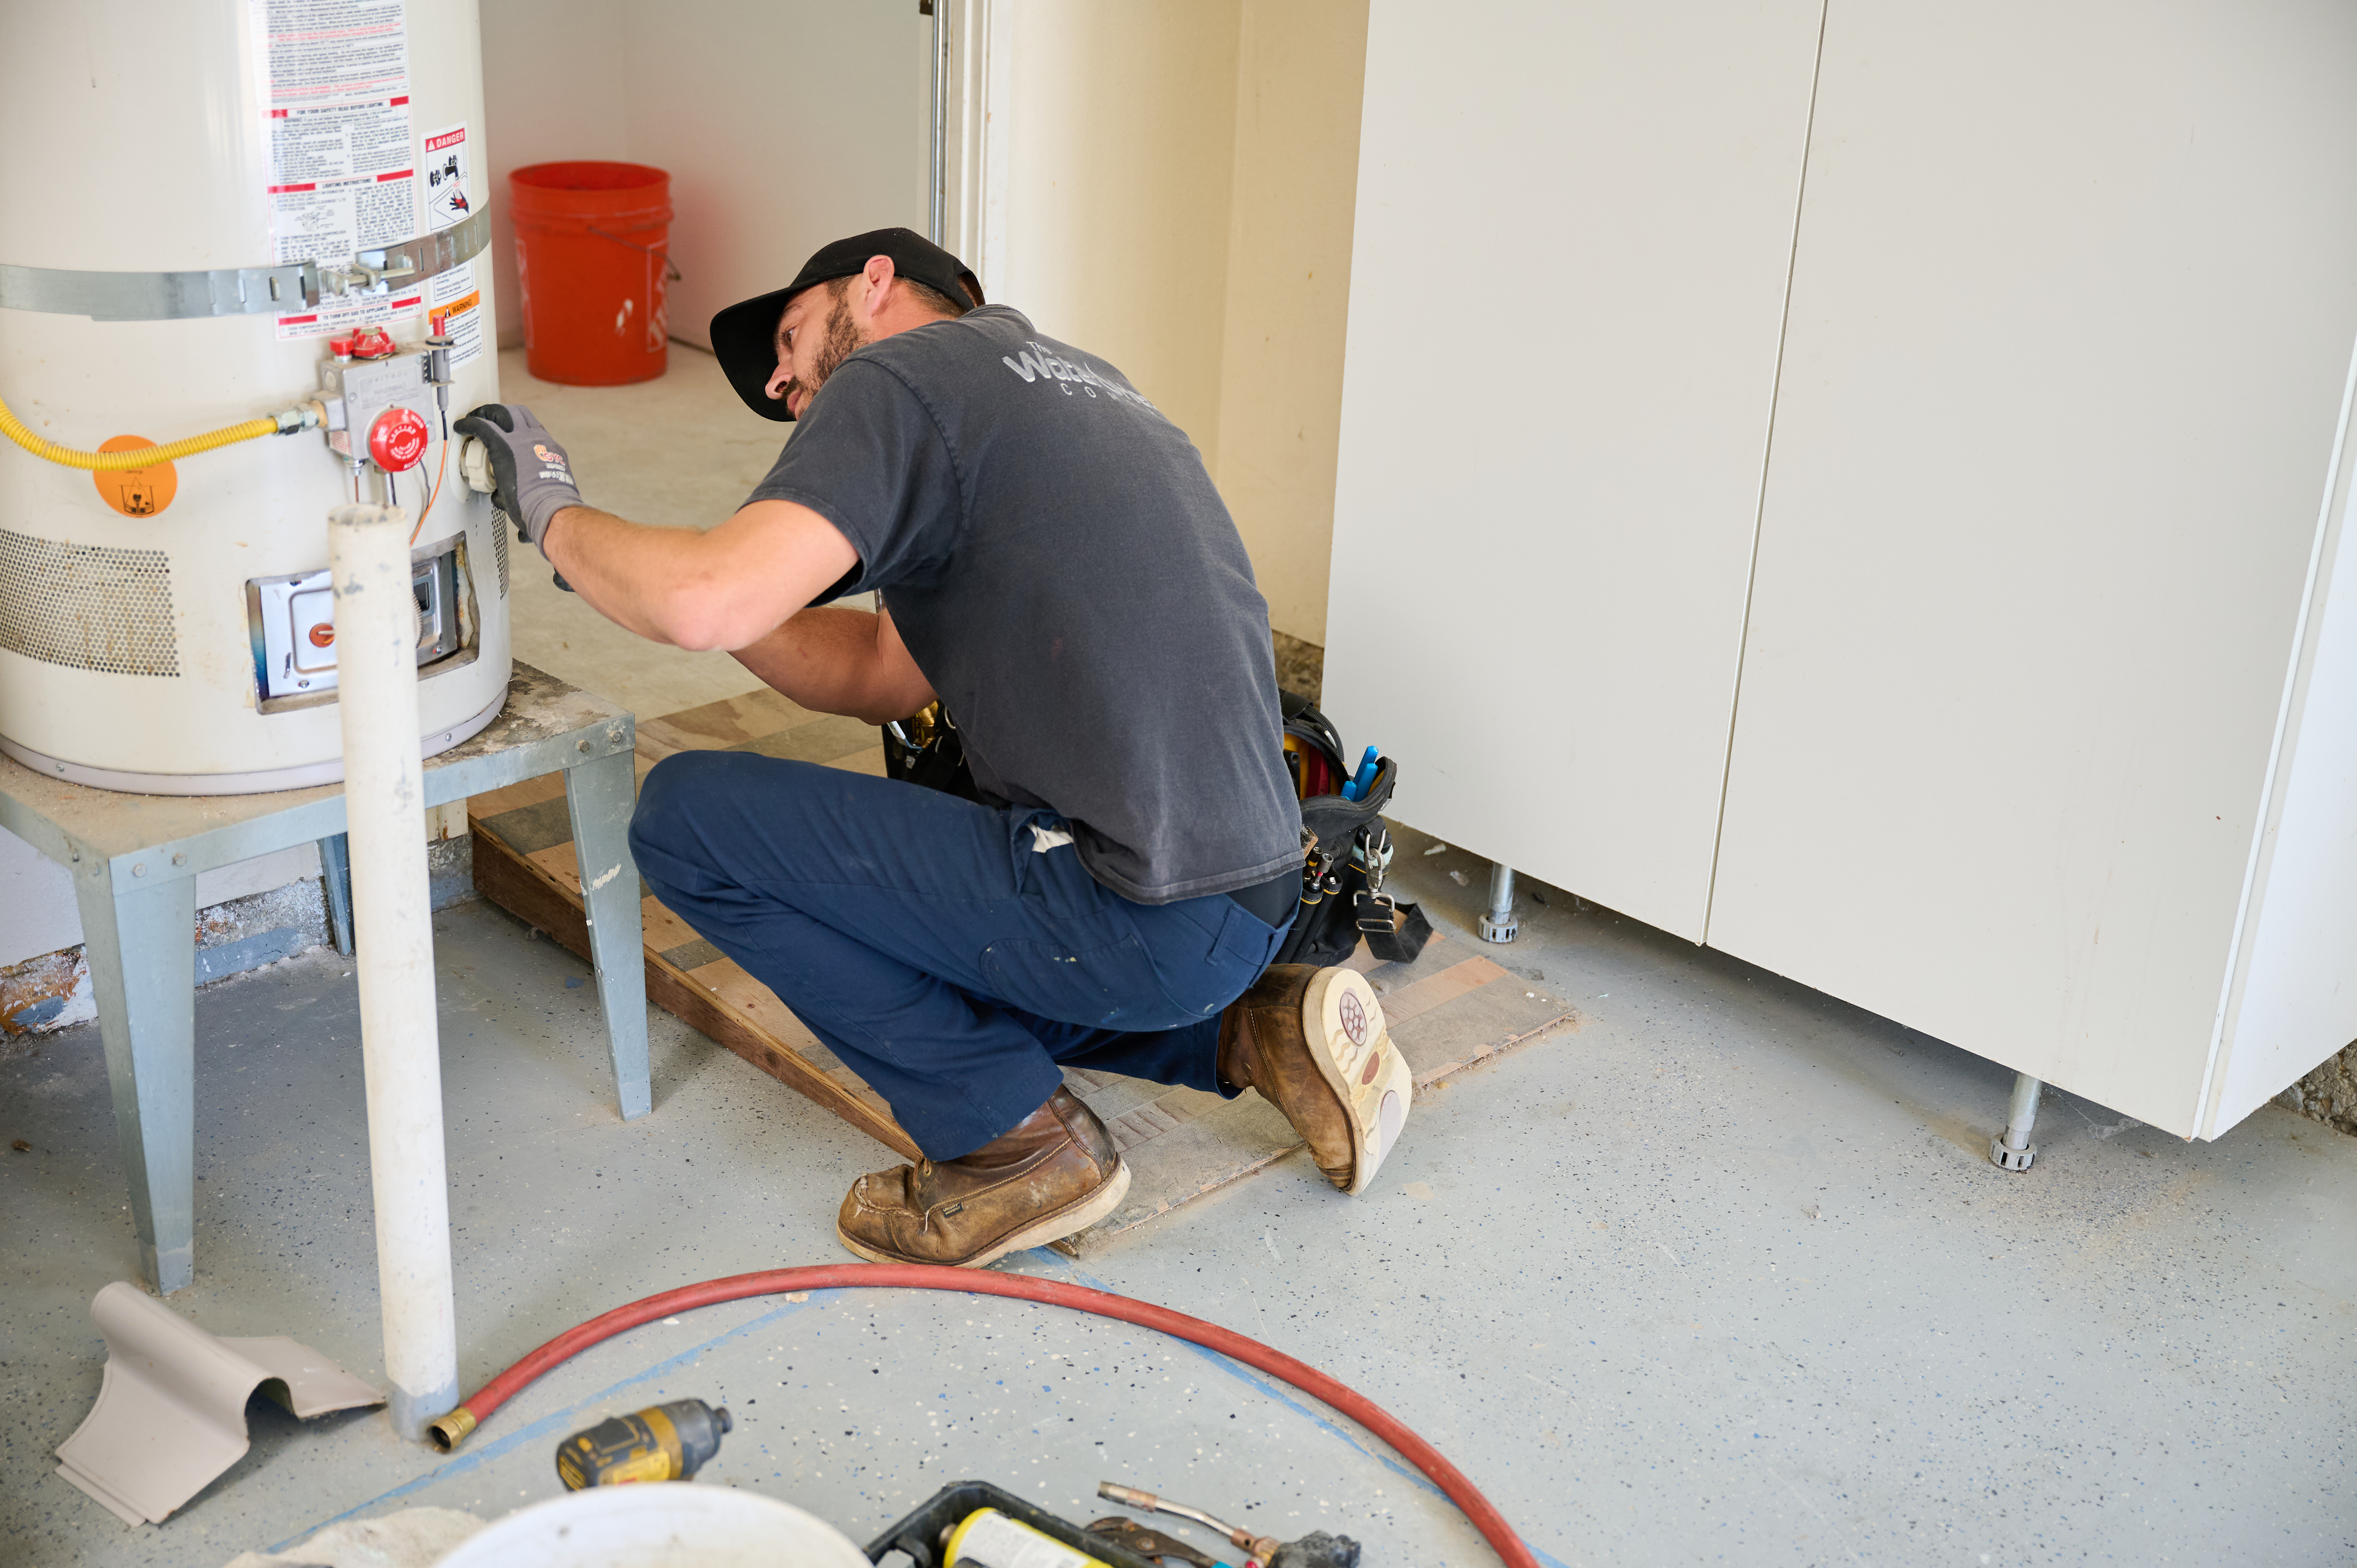
While your gas water heater can last up to 15 years, not all of its components will go the distance. Knowing how to replace the thermocouple on your water heater can save you time and money. Fortunately, the task isn't difficult. However, it does involve working with a gas appliance, so the job isn't ideal for every homeowner. If you’re a handy homeowner and feel comfortable taking on this DIY task, there are important steps you should know.

Before beginning any work on any gas water heater, you'll need to turn off the gas supply. If you have a thermocouple, you'll also have a standing pilot light, which means gas is attempting to flow to the unit at all times.
Locate the temperature control valve on the heater and turn it to its lowest setting. Then find the gas valve on the gas supply line entering the valve. It's not far away from the heater and resembles a lever or a knob. Turn the valve fully clockwise to turn off the flow.
Find where the small gas line and thermocouple connect to the unit at the bottom or side of the heater control valve. The gas line is less than a quarter-inch in diameter, and the thermocouple connector looks like a large-gauge copper wire. Use an adjustable wrench to turn the connection nuts counterclockwise until they are free of the control valve box.
Shine a flashlight into the burner chamber to identify any clips or nuts holding the burner assembly in place. Use a screwdriver or adjustable wrench to disconnect the component if necessary. In many cases, no attachment points will exist. Remove the entire assembly from the water heater.

Note the position of the thermocouple in the burner assembly and consider taking a photo for later reference. Use a screwdriver or adjustable wrench to loosen the screw or nut holding the thermocouple in place. You may also be able to simply pull the component out with your fingers.
Take the thermocouple to your local hardware store or home center to find the appropriate replacement part. Take particular care to purchase one that's the same length as the old one. Install the new thermocouple in the burner assembly precisely as the old one was. Tighten any attachment screws or nuts. Uncoil the new thermocouple wire before the next step.
Reinsert the burner assembly into the burning chamber and reattach any screws or clips to secure the component. Use an adjustable wrench to reinstall the thermocouple connector and the gas line into the appropriate holes in the control valve.

Turn the gas back on to your water heater and reignite the pilot light. Once lit, mix a few drops of dish soap with a few ounces of water in a spray bottle or something similar. Spray the gas connection at the control valve until it's thoroughly wet but not dripping wet.
Watch for bubbles to form near the connection. If bubbles are present, you have a gas leak. Turn off the gas and tighten the connection. Test it again. If the leak persists, turn off the gas again and call a water heater professional near you for help. If no bubbles are present, wipe off the soap mix and adjust the water heater to your desired heat setting.
Testing for a gas leak after this repair might sound like a waste of time. However, even pros in the field often discover tiny leaks that can turn into big problems after completing this simple project. Don't become a statistic by not performing the leak test any and every time you work with a gas appliance in your home.
While replacing your water heater's thermocouple is straightforward, you're working with an appliance that operates using highly flammable natural or propane gas. If you have any discomfort working around this substance, we get it, and you're not alone. It's far better to hire a local water heater repair professional than to wonder, fearfully, if you did it correctly.
Additionally, if you do replace the thermocouple and your water heater still fails to work as it should, that's a good time to call in the pros as well. Water heater repair costs between $220 and $985 on average, and hiring a pro means the job will be correct and often comes with a work guarantee.
From average costs to expert advice, get all the answers you need to get your job done.

Tankless water heater costs depend on the size of your water heater, location, fuel type, and more. Keep reading to calculate your expenses.

Learn about the different factors that go into water heater gas valve replacement costs to see if you should DIY the project or call a pro.

Tankless water heater costs in Columbus, OH depend on the size of your water heater, location, fuel type, and more. Keep reading to calculate your expenses.

There are many parts of a hot water heater. The type you need to deal with depends on your water heater. Here's what each part does.

Common causes for a water heater that keeps tripping a breaker include a damaged heating element or thermostat. Keep reading to find out other common reasons.

If your tankless water heater is not heating, there are several common reasons why. Learn the possible causes along with practical troubleshooting tips.