
How much a vinyl fence costs depends on its length, height, style, and whether you pay for labor. Learn more about the true cost of vinyl fencing.
Take it one panel at a time

Installing a bathtub liner gives your existing tub a fresh look without the full replacement cost, as long as your tub has no cracks or drainage issues.
Expect to pay $500 to $2,800 for DIY materials or around $6,400 for professional installation, while tub replacement costs $2,000 to $9,400.
You'll need to clean your tub thoroughly, remove all hardware, apply primer and adhesive, then carefully fit the liner to avoid trapping moisture underneath.
Hiring a local bathtub repair professional provides reliable help with proper sealing and adhesive application, preventing water damage and mold from improper installation.
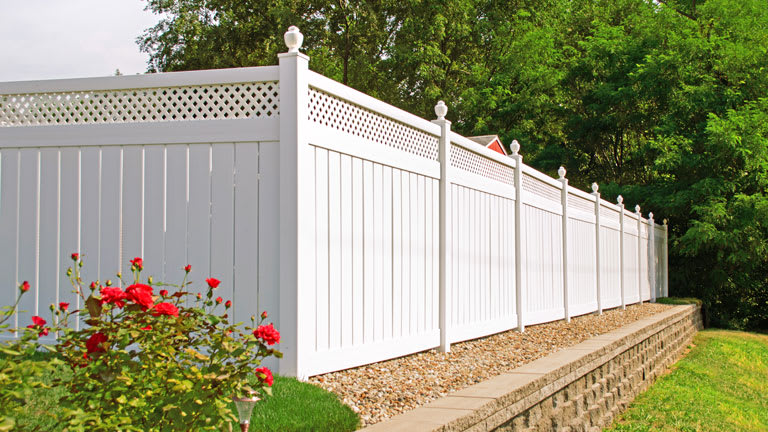
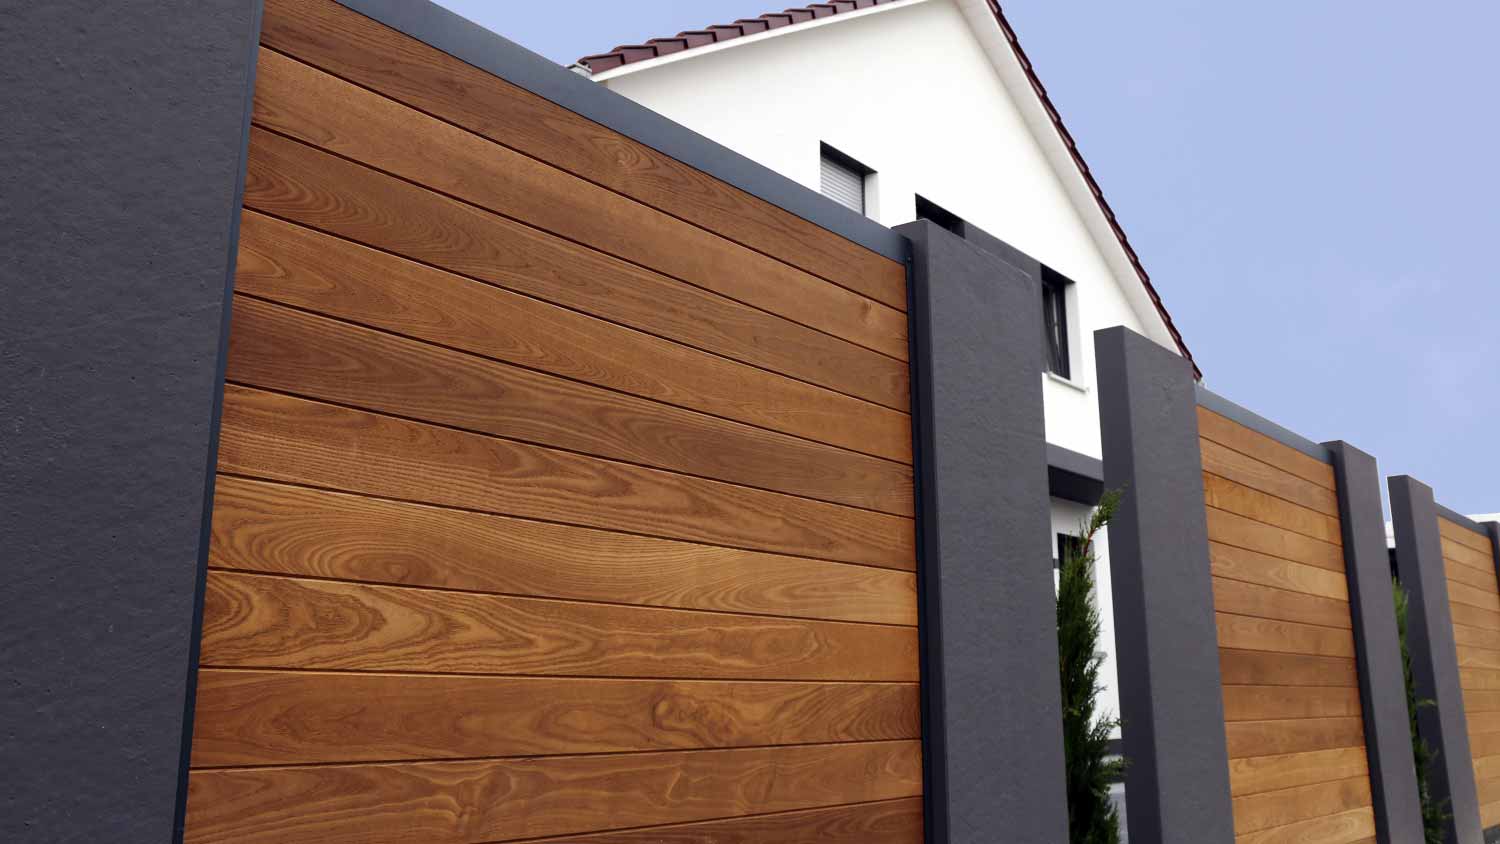
From enclosing a swimming pool to adding some privacy in a bustling neighborhood, vinyl fences offer many benefits. Plus, this style of fence often comes in pre-assembled panels, offering a reliable fence option for those who want to DIY. While it’s always best to leave fence installation to the pros (mistakes can be very expensive), you can learn how to install vinyl fencing over a long weekend with this step-by-step guide.
Before installing a fence, it’s important to know where you can install it and to obtain the proper approvals. You should check your property deed to ensure that where you plan to put your fence is 1) within your property line and 2) is not under easement, such as belonging to a public utility company.
If you want to build right up against your property line, make sure to talk with your neighbors. You don’t want to be in a situation where everyone is debating who owns the fence, so clear up any confusion on where you can install it before marking post holes.
Finally, make sure to check with your municipality about proper permits, and call 811 before you dig to have pros come out and mark the site of any utility lines.
With the property information sorted with neighbors and officials, it’s time to start outlining the fence. Insert stakes along where you want the fence to be, then tie string tightly to one stake and pull it to the next stake until it’s taut. Continue until all stakes are connected via string.
The distance between fence posts depends on the size of your fence. Start at one corner of the fence line as the first post, then measure from that post to find the next post spot. For gateposts, leave an extra 1 1/4 inch of space between those posts to create more space for the gate hinges. Adjust the stakes to mark post spots, or use spray paint or landscape flags.
If your fence panel size is 6 feet, your post size should be 5x5 inches, and the distance between posts should be 73.25 inches or 6.10 feet.
If your fence panel size is 8 feet, your post size should be 4x4 inches, and the distance between posts should be 96 inches or 8 feet.
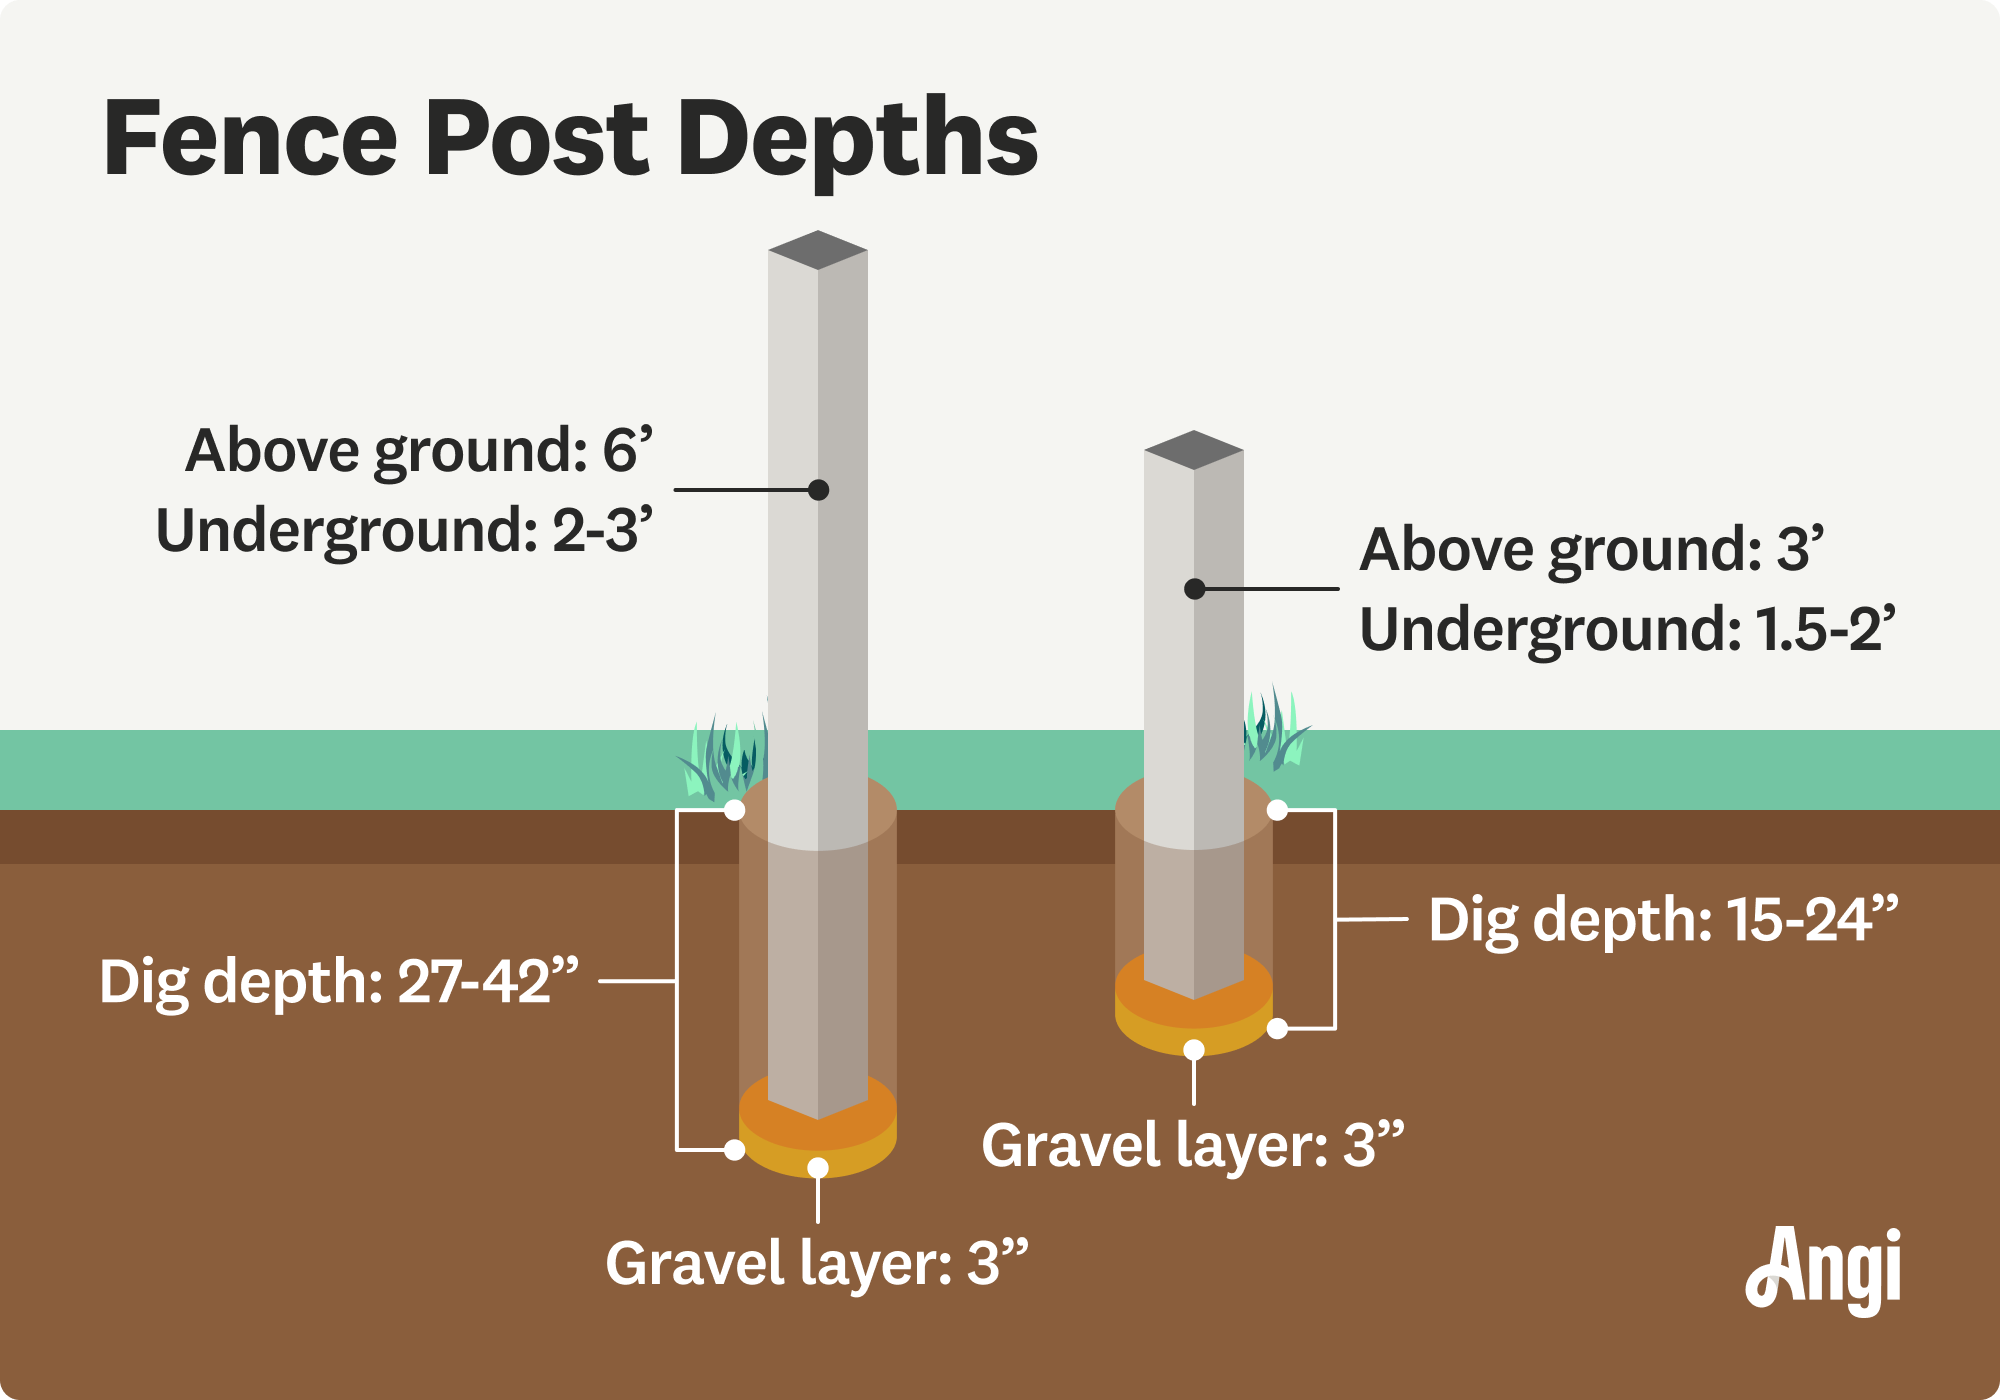
Use a post hole digger or a power auger to dig post holes around 3 feet deep. The actual fence post depth depends on the size of your fence posts.
A 6-foot-tall post will need a hole that’s 27 to 42 inches deep, while an 8-foot-tall post needs a hole about 35 to 54 inches deep. The diameter of the hole should be twice the diameter of the post, meaning a 5x5 post should have a hole that’s 10 inches wide.
For gate posts, where you’ll install a gate for entry, follow the same guidelines, but you should add another 6 inches of depth to the post hole.
Fill each hole with 6 inches of gravel to allow water to drain rather than sitting against the fence post and damaging it.

For vinyl fence posts, start by filling the corner post holes in concrete rather than placing the post in first and then surrounding it with concrete. Vinyl posts have weep holes to allow the concrete into the post, adding more stability.
Mix the cement in a wheelbarrow according to package directions, then add it into the post holes and gatepost holes using a shovel. Leave a few inches of space between the top of the concrete and the ground surface.

To install a fence post, center it over the concrete-filled post hole, then tap it down into place inside the concrete. Use a level to help with centering.
Once it’s in place, fill the hole with more concrete until there’s a couple inches of space between the top of the concrete and the surface of the ground. After the concrete dries, you can fill the rest with more gravel or soil.
Repeat for all fence corners before moving on to do the same for the remaining posts. Make sure to realign the string as you set each post so that you know exactly where your fence panels should go. Let the concrete cure for 24 to 48 hours before installing rails or panels.
Screw in the bottom rails between each post using the hardware included with your vinyl fence products. The rails will hold the fence panels (or individual pickets, if you’re installing by picket versus by panel).
Next, tap a friend to help carry and slide each panel (or picket) into place. Vinyl is one of the types of fences that’s lightweight, so this process should be quick compared to installing wood or metal.
If you’re installing by the picket, add the top rail to finish the fence panels.

With the panels in place, you’re almost finished. Now, it’s time to install a gate if you want one. Start by pre-drilling holes in the gate and on the gateposts for any hardware, such as the hinges and the lock. Attach the hardware following the manufacturer’s instructions, and have a helper hold the gate in place while you attach it to the hinges.

Finally, run a bead of vinyl fence adhesive around the inside of the top of the posts. Then, insert the post tops and push downward firmly for 10 seconds to attach the adhesive. Or, simply snap the post tops into place—how you install them depends on your specific fence.
Even a small mistake could compromise the stability of your entire fence. Here are ways to avoid common vinyl fence installation mistakes:
Account for slopes: Building a fence on a slope requires extra planning, including whether to slant or rake the panels. Use a tape measure and level to align the panels on the slope with those that are on flat ground.
Plan carefully: Don’t rush the planning process. Consult with a fence pro, city officials, and neighbors to confirm your fence abides by building codes and property lines.
Add gravel: Don’t just pour concrete into post holes. Make sure to add gravel first so that every post drains properly and is less vulnerable to moisture damage.
Let the concrete dry: If you add panels to posts too soon, the post could shift in the concrete, causing your fence to lean. Let the concrete dry for at least 24 hours.
Vinyl fence installation is a big investment, even when you DIY. A vinyl fence costs $25 to $40 per linear foot for a 6-foot-tall fence, plus around $25 per post. Adding a gate costs $300 to $1,500. If you don’t have the right tools for this job, you’ll spend $40 to $50 for a post hole digger or $75 per day to rent a power auger.
DIYing only saves you $5 to $10 per linear foot, so this project is best left to the pros. A local fencing pro will be able to install your fence quickly and accurately, meaning you won’t have to worry about the panels not aligning or your fence blowing over in a storm. Plus, you’ll get your long weekend back to yourself.
A reliable team for moves across state. My switch to a new place needed careful lifting through tight hallways. The movers checked the doorway first, then carried heavier pieces with slow, controlled movements. Their patience helped prevent damage, and I?d choose them again.
We have used Window Warriors many times with no issues. They arrived on time and were very professional . We have pets and Window Warrior team treated them very well, well trusted team.
We have bought and sold numerous times over the past 50 years. Sherman Hall and Top Line are top notch. Thorough and detailed, he explains every possibility, probability, and eventuality. High class and pleasant. The best.
 Top Line Home Inspections, LLC
Our homes curb appeal skyrocketed thanks to Custom Paint Jobs LLC s exterior painting.
Window Depot did an amazing job on my deck. I wasnt sure what I wanted to do, but their composite decking was affordable and will last a long time. I am excited to have family over, and I am no longer embarrassed by my backyard. Jeff and the ground crew were polite, respectful, and caring for...
Great job...edging and pre clean up went well with a great job with seal coat. Friendly, efficient and professional.
 All Star Paving and Sealing
Did an amazing job transforming my yard. Also installed sod in places, would recommend to everyone.
Manuel Calvillo is the best option in the area for roofing and you won't be disappointed.
We hired Andrew and the team from Midwest Lightscapes for a custom lighting design and installation on a Victorian Village home. The house had outdated low-voltage halogen outdoor lights and many of them were not working. Andrew designed and installed a new system including uplighting on the...
 Midwest Lightscapes
The work was completed in a day and a half. They cut small trees, pulled out an old swing set, pulled out railroad ties and left the place spotless when the job was complete. I am very happy with the fence and their efforts were above and beyond my expectations.
 Elite Fence
From average costs to expert advice, get all the answers you need to get your job done.
How much a vinyl fence costs depends on its length, height, style, and whether you pay for labor. Learn more about the true cost of vinyl fencing.
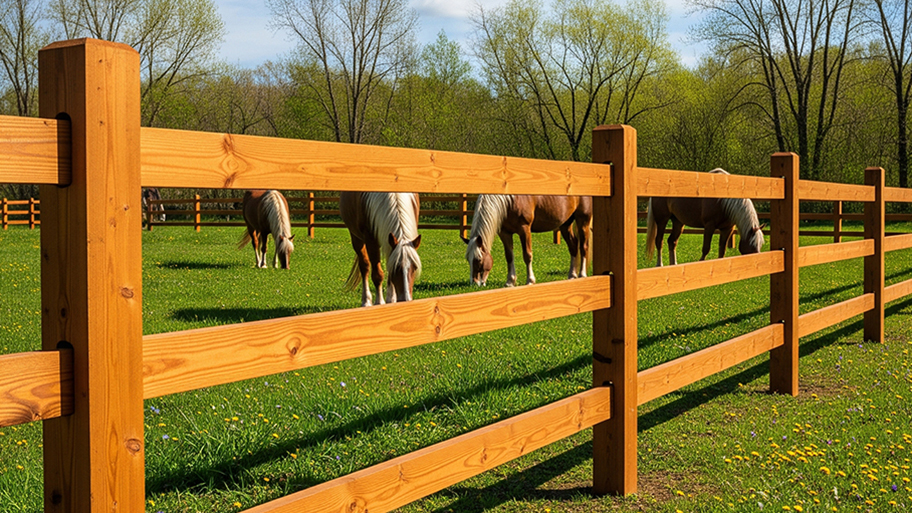
Looking for that rustic charm only a split rail fence can provide? Use this split rail fence cost guide to get an idea of what your fence will total.
Find composite fencing costs based on fence type, labor, and more in this guide. You can expect your project to cost $11 to $45 per linear foot.

Learn how to hire a vinyl fence installer by comparing quotes and verifying credentials to ensure your new fence is sturdy, secure, and built to last.
Wondering who to hire for vinyl fence installation? Learn which fence contractor to call, how pros get it done, and what to expect. Start here.
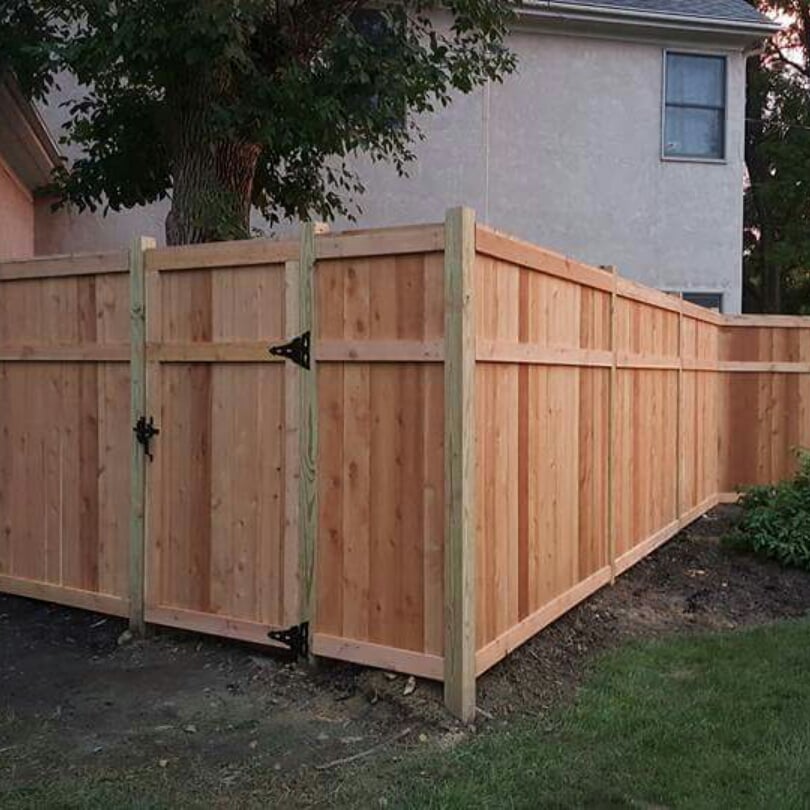
Still on the fence about what type of fence is right for your yard? We’re breaking down the key differences between vinyl vs. wood fence options.