
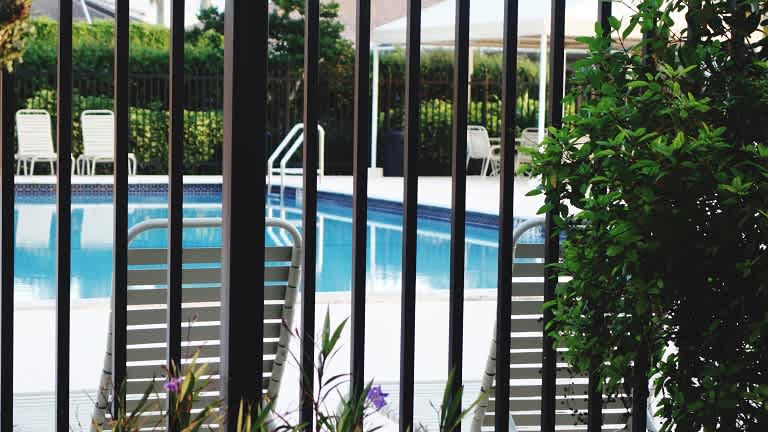
Pool fence costs depend on the type of fencing and the size of your pool. This guide will help you figure out the true cost of pool fence installation.
Finding the ideal fence post depth takes a little digging—literally

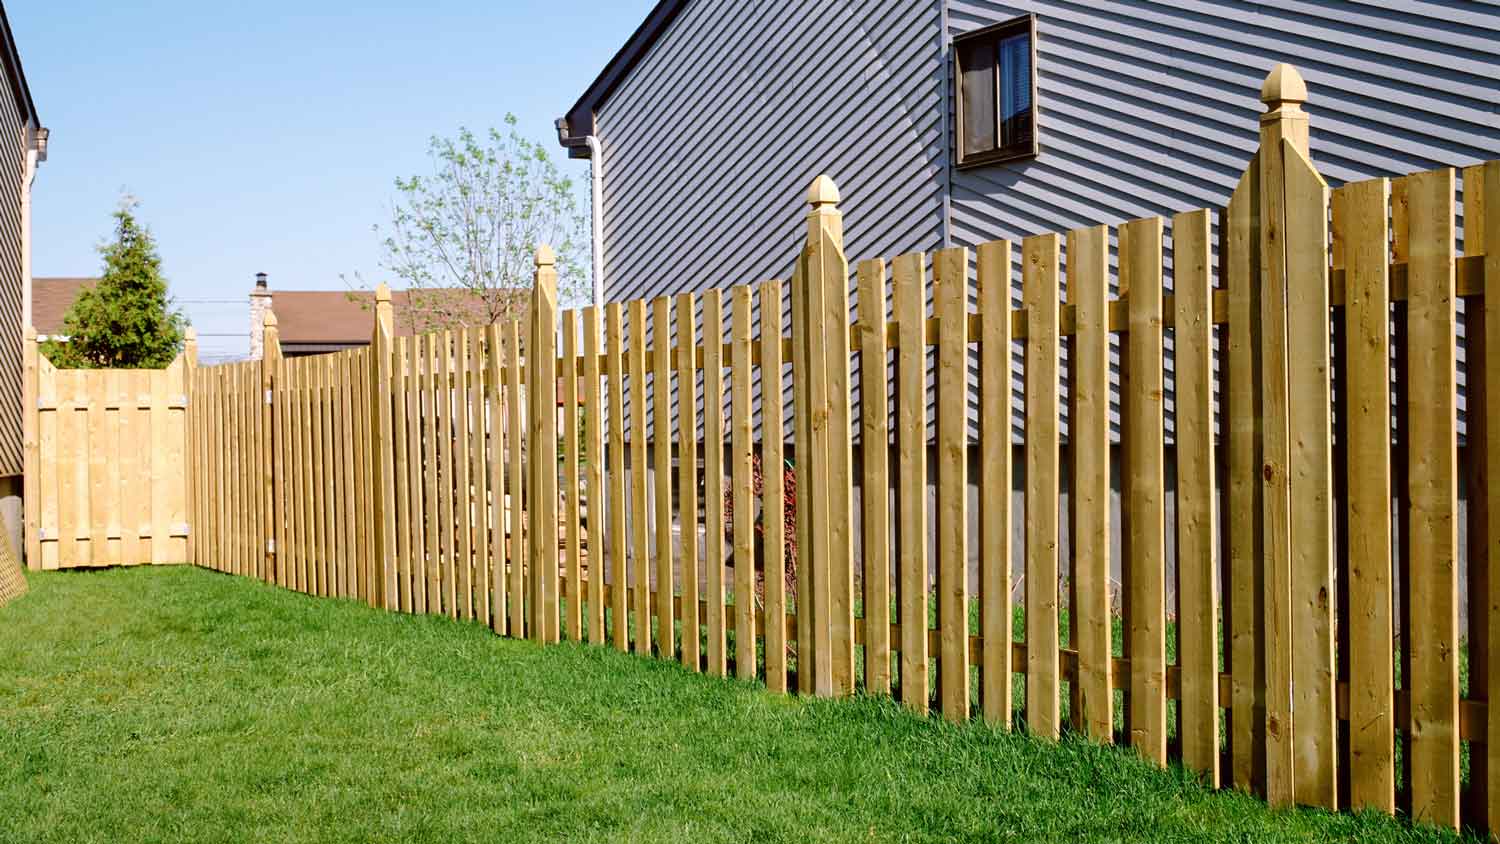
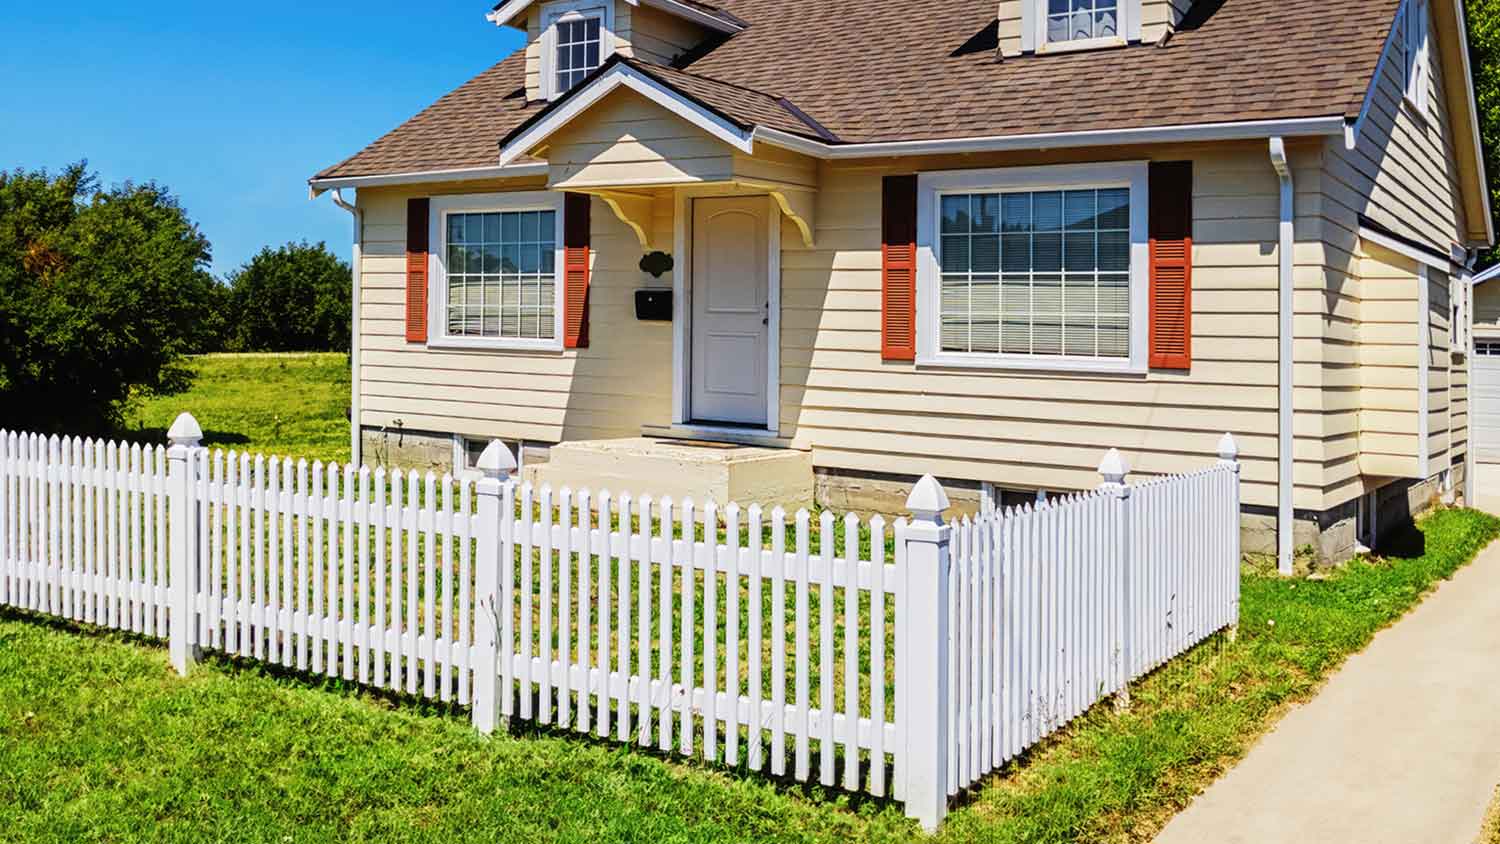
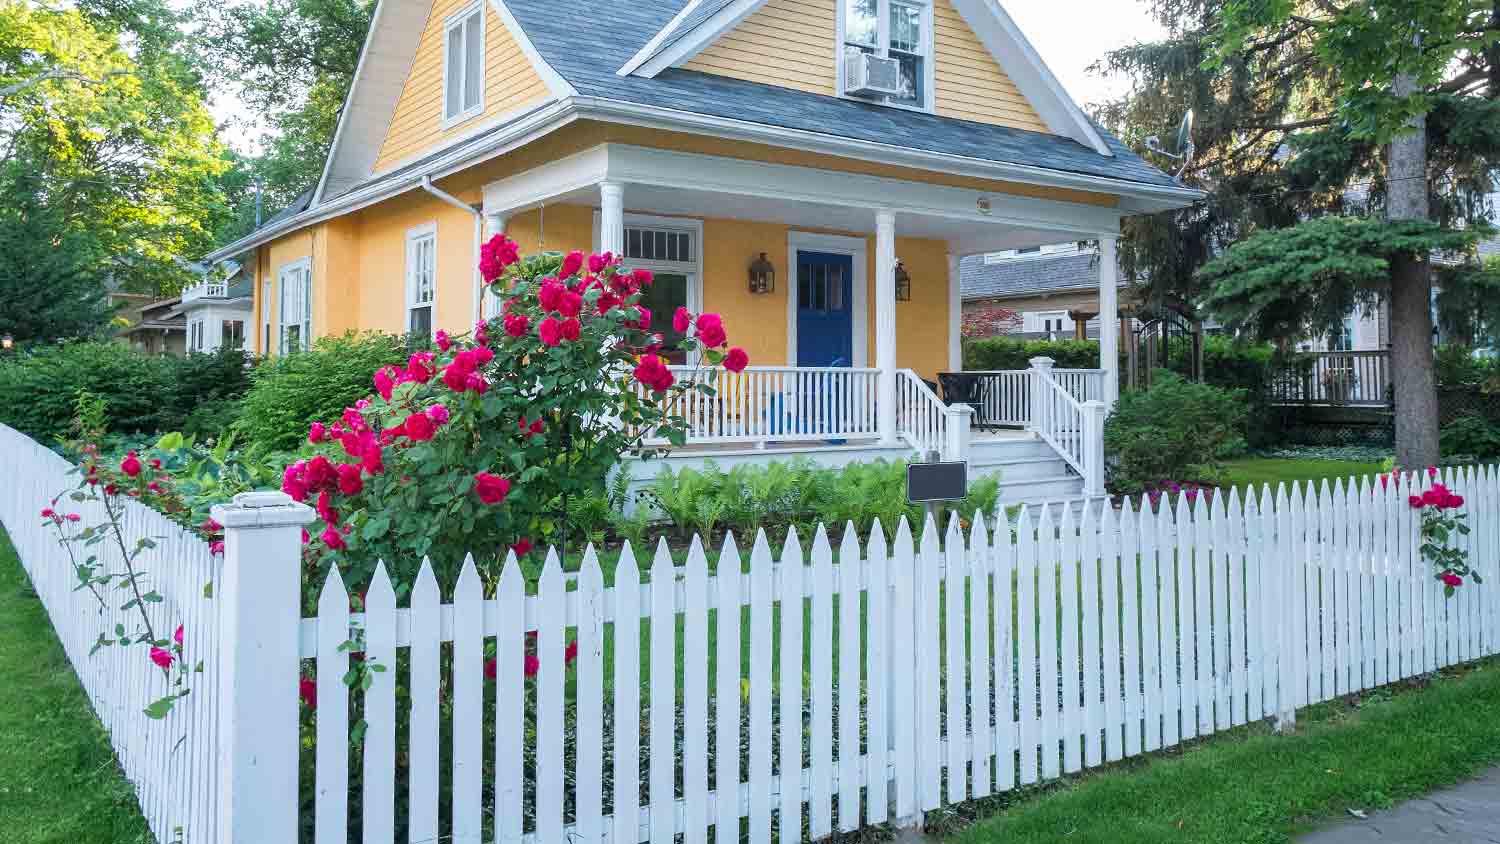
Your fence post depth should be one-third to one-half of the aboveground height, so a 6-foot fence needs posts buried 24 to 36 inches deep.
Professional fence installation costs $1,856 to $4,750, and proper post depth helps your fence stay secure for years without leaning or loosening over time.
You need to dig deeper in areas with loose soil, high winds, or freezing temperatures to keep your posts below the frost line and prevent movement.
Hiring a local fence company provides reliable support with proper post depth, gate installation, and ensuring your fence stays level and stable for the long haul.
Your fence post should be buried at 1/3 to 1/2 of the height above the ground. For example, if you’re building a 6-foot fence, the underground portion of your post needs to be 2 to 3 feet. Meanwhile, the footing hole should be three times the post diameter. To keep the post hole sizes consistent, use a power auger for the digging. If you have loose soil, live in a windy climate, or need to set a gate post, you’d want to dig even deeper.

Whether you're installing a picket or panel fence post, dig your hole deep enough to accommodate one-third to one-half of the aboveground height of your fence plus 3 to 6 inches of gravel. For example, a 6-foot-tall fence should have posts buried at least 24 inches deep, plus an extra 3 inches for gravel. Here are some basic guidelines.
| Fence Height (Aboveground in Feet) | Post Hole Depth (Inches) |
|---|---|
| 3 | 15–24 |
| 4 | 19–30 |
| 5 | 23–36 |
| 6 | 27–42 |
| 7 | 31–48 |
| 8 | 35–54 |
The width—or diameter—of your post hole should be three times the diameter of your post. Standard post diameter varies based on the type of fence, so you’ll need to measure, but here are some common sizes.
| Size of Pole | Post Hole Diameter (Inches) |
|---|---|
| 2-3/8-inch round pole | 7.2 |
| 4x4-inch square pole | 12 |
| 6x6-inch square pole | 18 |
Gate posts require more stability because they have to handle the weight and movement of the gate. Dig your gate post holes deep enough to accommodate one-half of the aboveground height of your fence, plus a 6-inch layer of gravel.
| Fence Height (Aboveground in Feet) | Post Hole Depth (Inches) |
|---|---|
| 3 | 24 |
| 4 | 30 |
| 5 | 36 |
| 6 | 42 |
| 7 | 48 |
| 8 | 54 |
Fence gates are heavy and cumbersome to install. It’s all too easy to make a small mistake and ruin the integrity of your fence during a DIY installation. Hire a fencing pro to ensure a sturdy installation done right.


If you live in an area that experiences freezing temperatures, your fence will be the most stable if you position the posts below the frost line. The frost line is the depth at which groundwater freezes in the soil. The type of soil around your home, its moisture content, and average temperatures in your area all contribute to the frost line.
When you install fence posts above the frost line, the fence can be unstable due to the freezing and thaw of water in the soil. As water freezes, it expands. As it thaws, it contracts, potentially pushing the posts out of the soil.
Your local fence code will most likely contain information about the required fence post depth to avoid frost damage. If it doesn't, and freezes occur in your area, a safe bet is to set the posts at least 24 inches deep.
Finding the fence post depth takes a little basic math. You’ll need a calculator and some measuring tape. These tips can help:
Measure the height of your post, then divide the total height by two or three to get a general depth.
Burying half the pole is the sturdiest option. It’s ideal for gate posts, fences made from heavier materials, loamy or clay soil, and climates with high winds.
You can get away with burying a third of the pole if it’s a lightweight panel post and you have a sturdy soil type like sand, sandy loam, or gravel.
Don’t forget to add 3 to 6 inches to your measurement for a layer of gravel. The more gravel, the better the drainage. This is especially important for wood posts, which can rot in moisture.
Choose the right size nails for your fence pickets to prevent them from coming loose or splitting during installation. You’ll want 8d to 10d nails for setting pickets and 18d to 20d for posts.
If you don't have experience, you should enlist a fence company near you.

A properly installed fence post will last for several years, if not decades. Along with digging deeply enough and making the post hole the appropriate size, there are a few ways to fill the hole to increase stability.
Add soil and gravel: Add 3 inches of gravel to the fence post hole to improve drainage, top the gravel with soil, and tamp it all down. Add 2 to 3 inches of gravel over the soil, then let it sit for several days. Tamp it down again before installing the pickets.
Pour in concrete: Mix the concrete according to instructions and pour it into the post hole. To prevent water damage, apply silicone caulk between the post and concrete after the concrete dries.
Apply expanding foam: Foam and concrete similarly help stabilize a fence post, but foam takes less time to set and cure. This option is best for lighter fences, such as those made from vinyl or mesh. Mix and apply the foam according to the package’s directions.
It's pretty easy to tell if a fence post isn't buried deeply enough. The post may be loose and easily moved. It may also start to lean, pulling the rest of the fence with it. Also, the bottom of your post needs to be set below the frost line. Otherwise, you will get frost heave over time and your post will eventually get pushed out of the ground after a frost due to soil contraption and movement.
You can reset a fence post if it wasn't installed correctly the first time. If the post was installed to the correct depth, you can fix any leaning or wobbliness by adding more soil around the post.
Another option is to dig out around the posts and pour concrete into the hole to create a stronger base. If the posts are rotted or otherwise damaged, your best option may be to pull them up and replace them.
Fence installation is not the most difficult DIY project, especially if you can find an experienced helper and live in an area that does not require a fencing permit. Typically, it’s a two-to-three-day job to build a fence, including any time you might need for post footings to set depending on the material. You can also install a no dig fence by yourself fairly easily.
However, we still recommend you to hire a pro if you’re building a taller privacy fence, or simply don’t want to deal with the time and labor. An experienced fence contractor ensures your new fence is properly installed and can handle all utility marking and permitting requirements. Generally, professional fence installation costs $1,856 to $4,750.
A reliable team for moves across state. My switch to a new place needed careful lifting through tight hallways. The movers checked the doorway first, then carried heavier pieces with slow, controlled movements. Their patience helped prevent damage, and I?d choose them again.
We have used Window Warriors many times with no issues. They arrived on time and were very professional . We have pets and Window Warrior team treated them very well, well trusted team.
We have bought and sold numerous times over the past 50 years. Sherman Hall and Top Line are top notch. Thorough and detailed, he explains every possibility, probability, and eventuality. High class and pleasant. The best.
 Top Line Home Inspections, LLC
Our homes curb appeal skyrocketed thanks to Custom Paint Jobs LLC s exterior painting.
Window Depot did an amazing job on my deck. I wasnt sure what I wanted to do, but their composite decking was affordable and will last a long time. I am excited to have family over, and I am no longer embarrassed by my backyard. Jeff and the ground crew were polite, respectful, and caring for...
Great job...edging and pre clean up went well with a great job with seal coat. Friendly, efficient and professional.
 All Star Paving and Sealing
Did an amazing job transforming my yard. Also installed sod in places, would recommend to everyone.
Manuel Calvillo is the best option in the area for roofing and you won't be disappointed.
We hired Andrew and the team from Midwest Lightscapes for a custom lighting design and installation on a Victorian Village home. The house had outdated low-voltage halogen outdoor lights and many of them were not working. Andrew designed and installed a new system including uplighting on the...
 Midwest Lightscapes
The work was completed in a day and a half. They cut small trees, pulled out an old swing set, pulled out railroad ties and left the place spotless when the job was complete. I am very happy with the fence and their efforts were above and beyond my expectations.
 Elite Fence
From average costs to expert advice, get all the answers you need to get your job done.
Pool fence costs depend on the type of fencing and the size of your pool. This guide will help you figure out the true cost of pool fence installation.
Aluminum fence costs depend on your fence’s height, thickness, design, and length. Explore all the cost factors in this guide.
Installing a fence requires some simple math to ensure the correct answer to the question, “How deep should my fence post be?”
If you’re planning a beautiful new fence for your yard, you may wonder: how far apart should fence posts be? Our guide helps you learn the proper spacing.
Fence post sizes depend on the type of fence. This guide covers the most common post sizes for several kinds of fences, including wood and chain link.
Fence posts are the foundation of any sturdy fence. Make sure your fence is straight and strong with this step-by-step guide on how to install a fence post.