

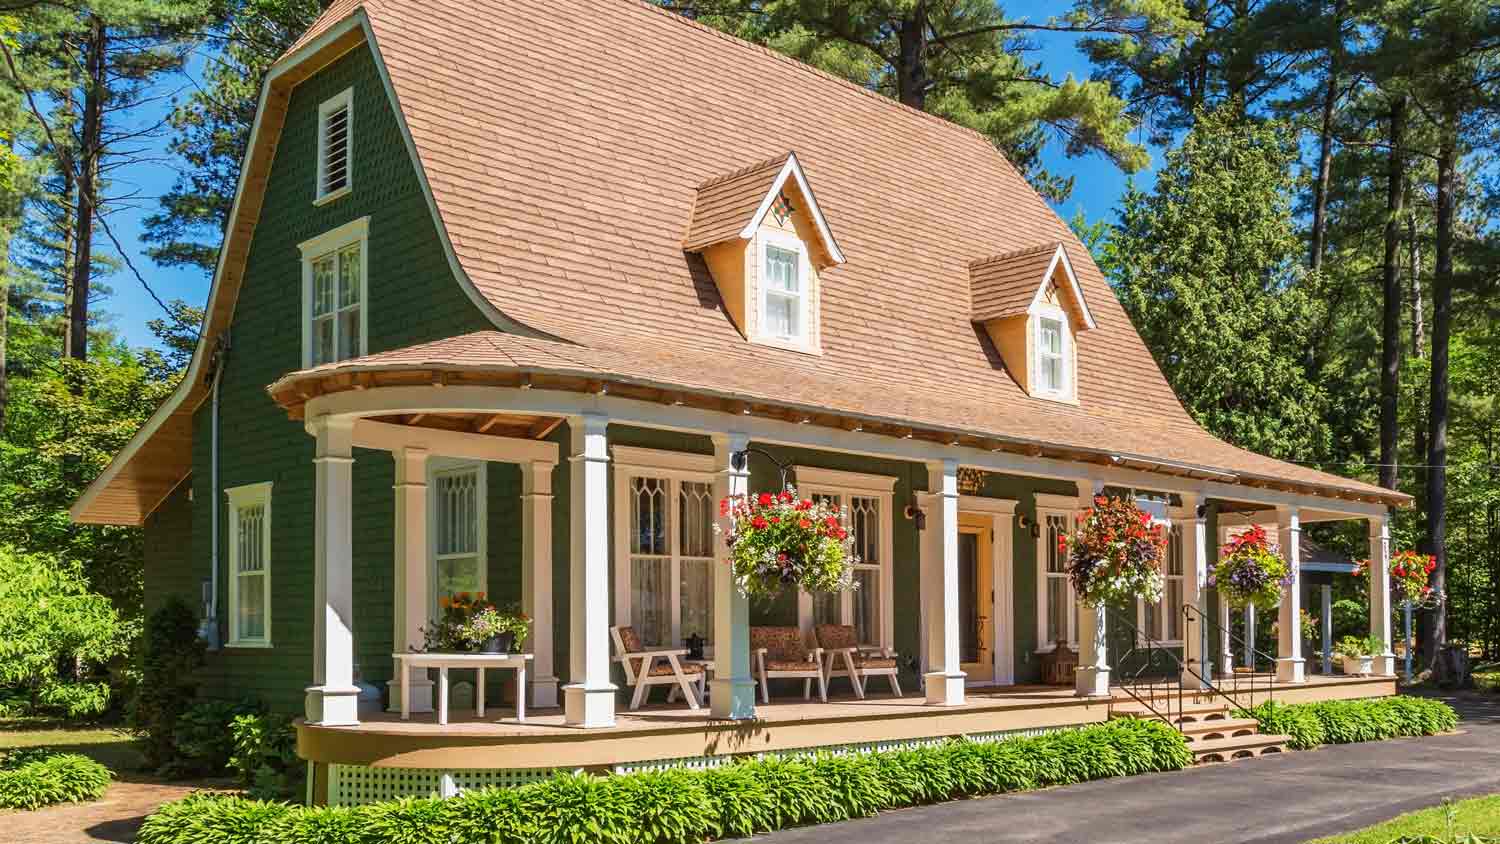
Are you wondering what factors might affect a wraparound porch’s cost? Budget for this rustic and charming addition with our cost guide.
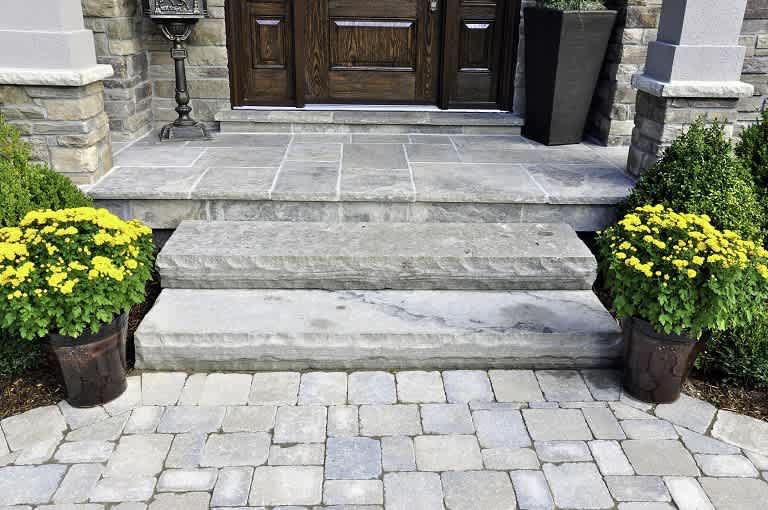
Step up your DIY carpentry skills by building your porch steps by hand

If you need to replace or construct new front porch stairs, learning how to build porch steps may be the perfect project to add to your DIY arsenal. Plus, this is a great project to complete in conjunction with building a front porch.
However, keep in mind that this project requires specialized tools, a long list of supplies, and some carpentry know-how. If you’re a handy homeowner that’s up to the challenge, follow this step-by-step guide to learn how to build porch stairs safely and efficiently.
Before you start building your new front porch steps, there are a few prep steps to take. Regardless of whether your stairs are new construction or you’re replacing a worn-out set of steps, your municipality will usually require a building permit for the project. Obtain one before removing the old steps or purchasing any project materials. Once you have the permit, call 811 to schedule an underground utility inspection, and don’t start digging footings until after the utility company gives you the all-clear.
This project requires using an electric circular saw, a jigsaw, and a drill. Familiarize yourself with the proper use techniques for each tool, and be sure to wear hearing and eye protection when necessary.
For this project, we’re building a simple set of front porch steps with a simple handrail and balusters. Feel free to change the design elements to fit your home’s style, but refrain from changing vital measurements for safety unless your building permit plans specifically list the acceptable changes.

We won’t test you on stairs jargon, but knowing what to call each part of your steps will be helpful when you’re material shopping.
Run: The horizontal length of the entire staircase, regardless of height.
Rise: The total height of the staircase, regardless of horizontal length.
Riser: Thevertical board at the back of each step.
Tread: The horizontal part of each step that you place your foot on when using stairs.
Step: The combination of one riser and one tread.
Header: A structural member that supports the stingers from behind.
Nosing: The front edge of each tread that overhangs the riser below.
Stringers: The sloping supporting member with notches cut for steps.
Stringer hanger: Themetal hanger for attaching stringers to the header.
Hanger nails: Thespecific nail type for use in fastening stringer hangers.
If you have existing porch steps, we’ll need to get those out of the way. Remove the tread boards and disassemble the rest with a reciprocating saw, hammer, prybar, and a drill with a screwdriver bit if necessary. Inspect the porch support structure for rot or damage and repair or replace any lumber in questionable condition. This inspection is especially important to complete before building new stairs onto the existing structure.
The first step in learning how to build a porch step-by-step is determining the run measurement. As long as we’re at it, we can figure out all of the necessary measurements. Determine the run by measuring from the porch floor to the ground and divide the total by the approximate riser height of each step. Adjust your riser height measurement between 6 and 8 inches until you reach a whole number, or close to it, that reflects the number of risers.
Now you know each riser’s height and how many you need. The number of risers equals the number of treads, so multiply the number of treads by their depth, between 10 and 11.25 inches. The total equals the run of the staircase in inches.
Your porch steps need a solid foundation. Many municipalities require frost-depth footings for exterior staircases. Whatever the case, have an inspection to satisfy your building permit requirements after digging footings or setting forms.
Use a post-hole digger to create frost-depth footings or build a form if a slab doesn’t already exist in the location. Where you live will determine how deep to dig your footings. Dig the footings or slab forms so the railing posts at the bottom of the stairs end up at the end of the staircase run.
After your permit inspection, mix and pour the pre-mix concrete into your footings or slab forms. For footings, vertically place two 6-foot long 4x4 railing posts at the end of the run so that at least 39 inches are above ground level. These will be the bottom rail support posts of your future porch steps.
Before cutting, draw your stringers using your carpenter’s square on a 2x12 board. A few inches from one end of the board, line up the long side of the square, so the mark equalling the tread length rests at the board’s edge, and the square’s corner is on the board. Align the short side of the square so that your riser measurement also meets the edge of the board. Use your pencil to trace the square and draw the first step.
Use the same method to draw subsequent steps, starting each tread at the end of the previous step’s riser line. After drawing the number of steps you need, use your square and pencil to draw returns representing the top tread and the bottom riser.
Now it’s time to break out the circular saw. Use it to cut most of the way through each step on your riser layout. Stop about 1 inch short of each riser and tread intersection. Return to each step afterward and complete the cuts with a jigsaw to avoid overcutting and weakening the stringer’s structure.
Trace the cut stringer pattern onto three more 2x12 boards if you’re building a 4-foot wide staircase, and cut each in the same way as the first one.
Draw a level line across the header board one riser height measurement, plus the thickness of your stair tread material, down from the porch’s floor edge. With hanger nails and a hammer, install one side of each stringer hanger so the top tread matches the height of the level line. The two outermost stringer hangers must allow the stringer to hang inside the railing posts.
Install the outer stringers in the hangers and fasten them with hanger nails. Use exterior-grade screws to attach them to the railing posts at the bottom. Repeat hanging the center stringers, ensuring there isn’t more than 16 inches between the centers of each stringer.
If the building code in your area requires you to fasten the bottom of the stringers to the slab, cut pieces of 2x6 or 2x4 lumber to fit between each stringer and fasten them to the concrete with concrete screws and the stringers with exterior-grade screws.
Cut each riser from 1x8 boards with your circular saw to 2 inches longer than the step’s width. Rip each one to the riser height. Using exterior screws and starting at the bottom of your staircase, install each riser board overhanging the outermost stringers by one inch on each side.
Cut two 1¼-inch decking boards or 2x6 boards for each tread to the same length as the risers and install them onto the stringers with exterior screws. Leave no more than 1½ inches overhand if you include nosings.
Almost done! The final step is to install railings and balusters to ensure your porch steps keep users safe. Installing a railing costs about $80 per linear foot, but you’ll save on project costs by doing the labor yourself.
Cut to fit and use exterior screws to fasten 2x4s flat from the bottom post to the existing porch post—this will be the bottom piece of your railing. Repeat for the top rail using pre-routed handrail material. Install the rail so that the top edge is between 34 and 38 inches above the nose of each tread.
Cut the lower rail support post to match the appearance of the existing porch railing posts. Cut 2x2 lumber to fit between the top and bottom rails as balusters and install them no more than 4 inches apart.
Building DIY porch steps is an excellent way to showcase your skills and create new ones. The material cost for simple porch steps is less than $500, while the cost to hire a contractor will include both materials and labor, which will add between $300 and $500 to the project.
However, building your own porch steps also requires you to obtain a building permit on your own and create a structure that must be safe and strong. Plus, you’ll need to work with potentially dangerous tools and equipment. Instead, enjoy the peace of mind of hiring a porch builder near you to construct and install porch steps for you.
One of my old tall evergreen trees was suddenly leaning toward the busy street in front of my house. I submitted a request for an emergency tree inspection, and Alejandro, owner of Cajete Tree Service, contacted me immediately and arrived to look at it just 20 minutes later. We agreed the...
Mitchell and the crew were top tier i am so happy with my new roof
1 tree was cut down and 5 others including a large willow tree were trimmed. The Grant Tree Service men were professional and cleaned up afterwards. The cost of the 6 trees were affordable. I am very happy with the results. I would hire them again.
Archie did a good job cleaning up the driveway before he laid down the sealer. It looks good. He was gracious and even helped me bring up my groceries. His rate was comparable to another company who came out to give me a quote and he talked to me personally rather than just text me a quote...
We have bought and sold numerous times over the past 50 years. Sherman Hall and Top Line are top notch. Thorough and detailed, he explains every possibility, probability, and eventuality. High class and pleasant. The best.
 Top Line Home Inspections, LLC
D1 Roofing delivers outstanding service from beginning to end, backed by a strong warranty and expert teams. I highly recommend them for their excellence in meeting and surpassing expectations with unmatched communication. Choosing D1 Roofing was flawless decision
Couldn't ask for a better company. Josh and Dee were Very professional, efficient, courteous and takes major pride in their work. They will travel to come to your home and will still give you a fair price. They are honest and trust worthy. Their focus is on their work and their work is...
 Supreme brick & chimney
Window Depot did an amazing job on my deck. I wasnt sure what I wanted to do, but their composite decking was affordable and will last a long time. I am excited to have family over, and I am no longer embarrassed by my backyard. Jeff and the ground crew were polite, respectful, and caring for...
We were having 2”x 2” tile installed . There was a small installation error and the new additional replacement tile was from a different lot and the colors didn’t match. Joe assured us that he would rectify everything , which he did without hesitation. We decided to go with the 18” x 36” tile...
 CarifaTile
Maple Tree Service should serve as a mentor for other business! Customer service was superior and beyond expectation. Response to request was prompt. The representative was very courteous and proud of the company. Quote was given during initial visit and work date established. A follow up...
 Maplewood Tree Service
From average costs to expert advice, get all the answers you need to get your job done.
Are you wondering what factors might affect a wraparound porch’s cost? Budget for this rustic and charming addition with our cost guide.
The cost of stone steps can vary considerably depending on the material you choose and how much labor is required. This guide shows you the cost of popular stone steps and all the extra fees you need to consider when tackling this project.
A porch can expand your living space and add curb appeal. Find out what to budget for the cost of a porch on your home with this guide.

A front porch enables you to enjoy the outdoors from the comfort of your home. Learn how to build a front porch with this DIY-friendly step-by-step guide.
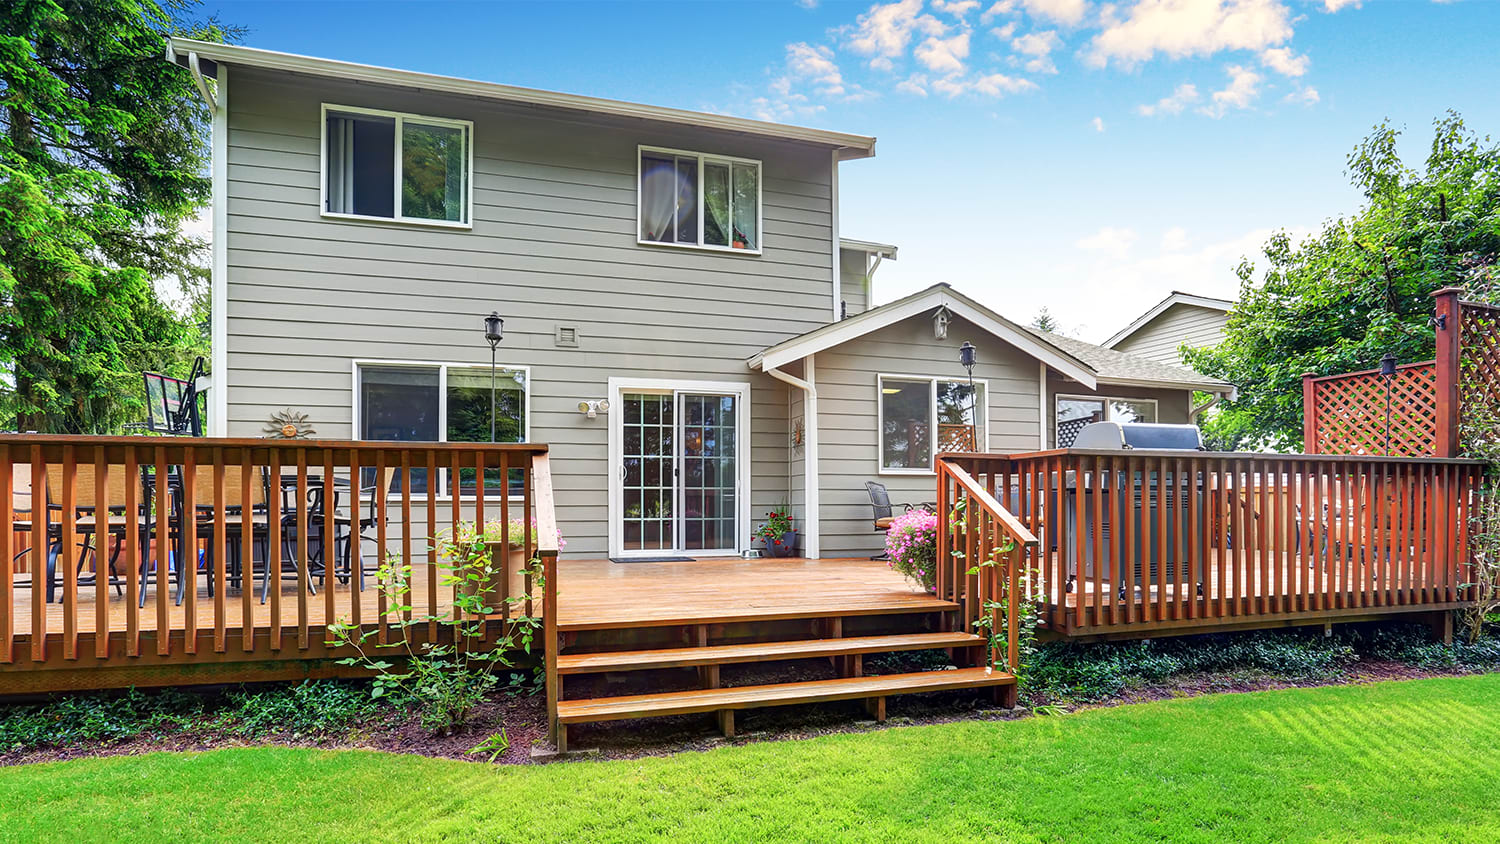
Wondering how to build deck stairs? Follow our helpful guide to learn how to complete the final step of your outdoor decking project.
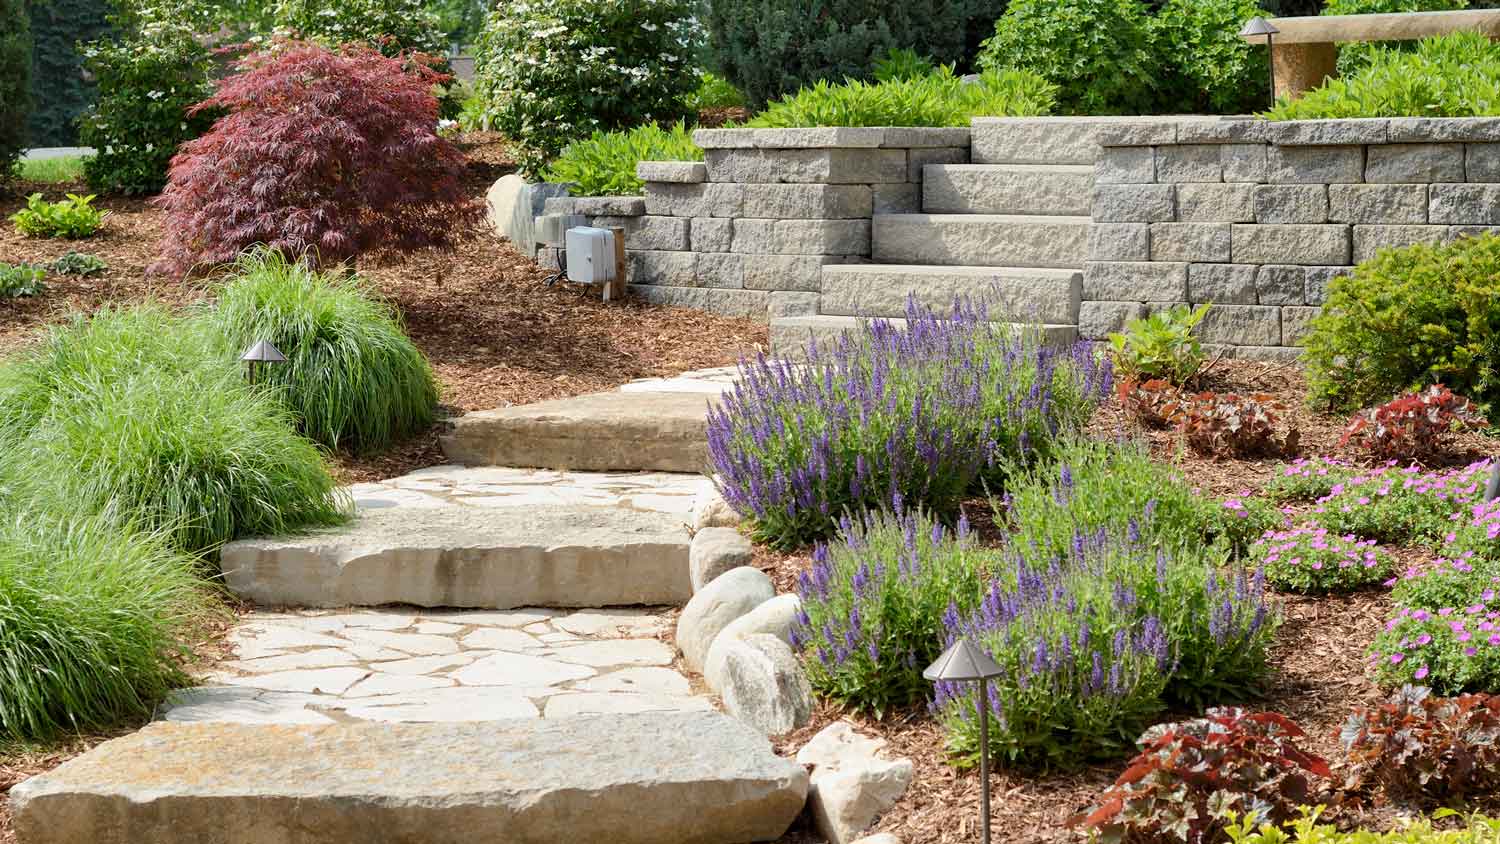
Learn how to build stone steps on a slope. Discover the tools, supplies, and instructions needed to create a functional addition to your landscape.