

•
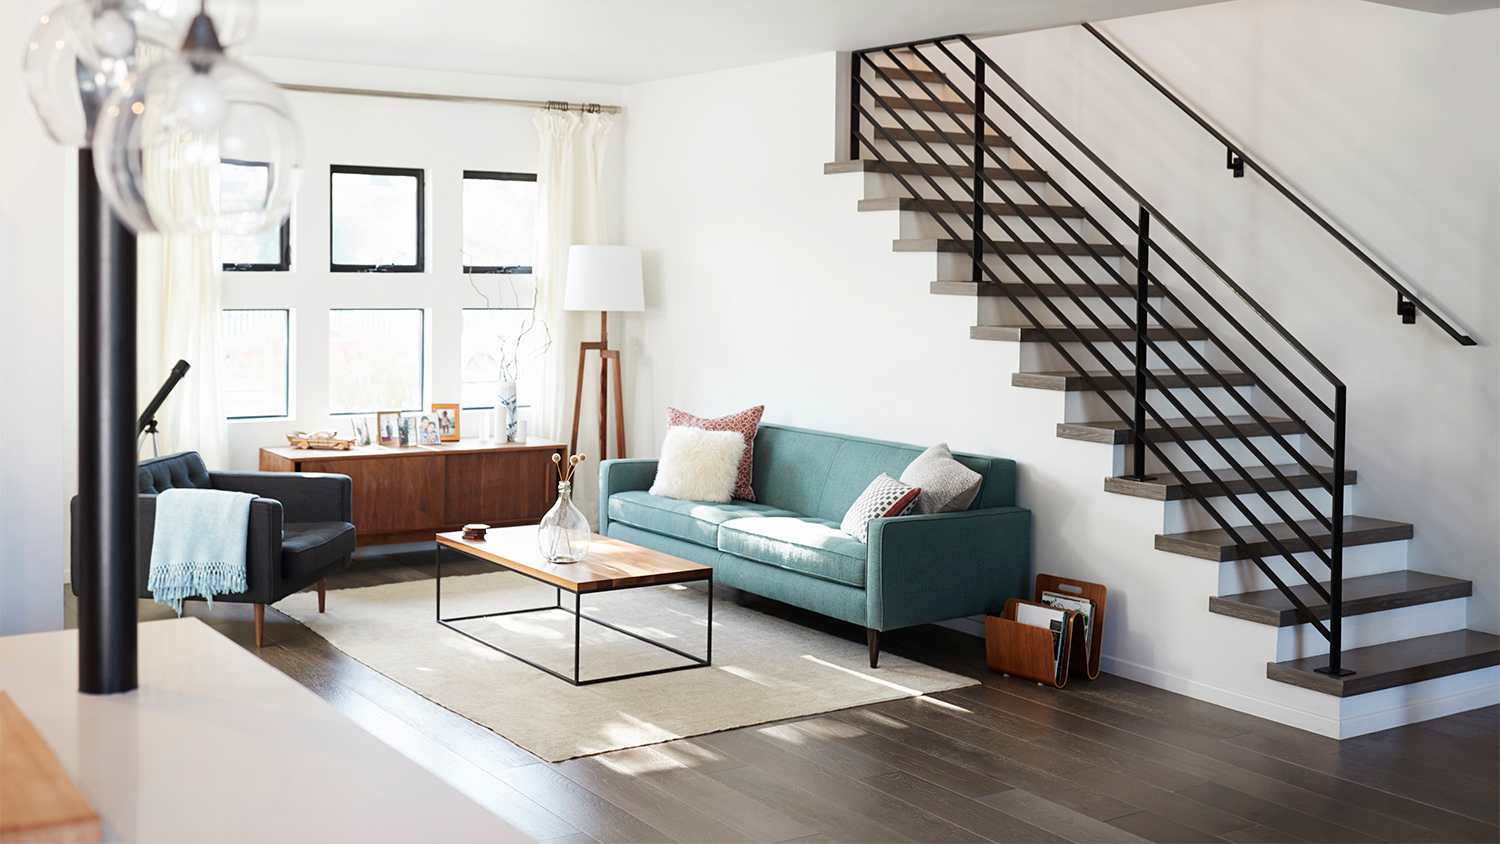
Discover the cost to install hardwood stairs. Learn about material, labor, and additional factors to budget for your stair installation project.
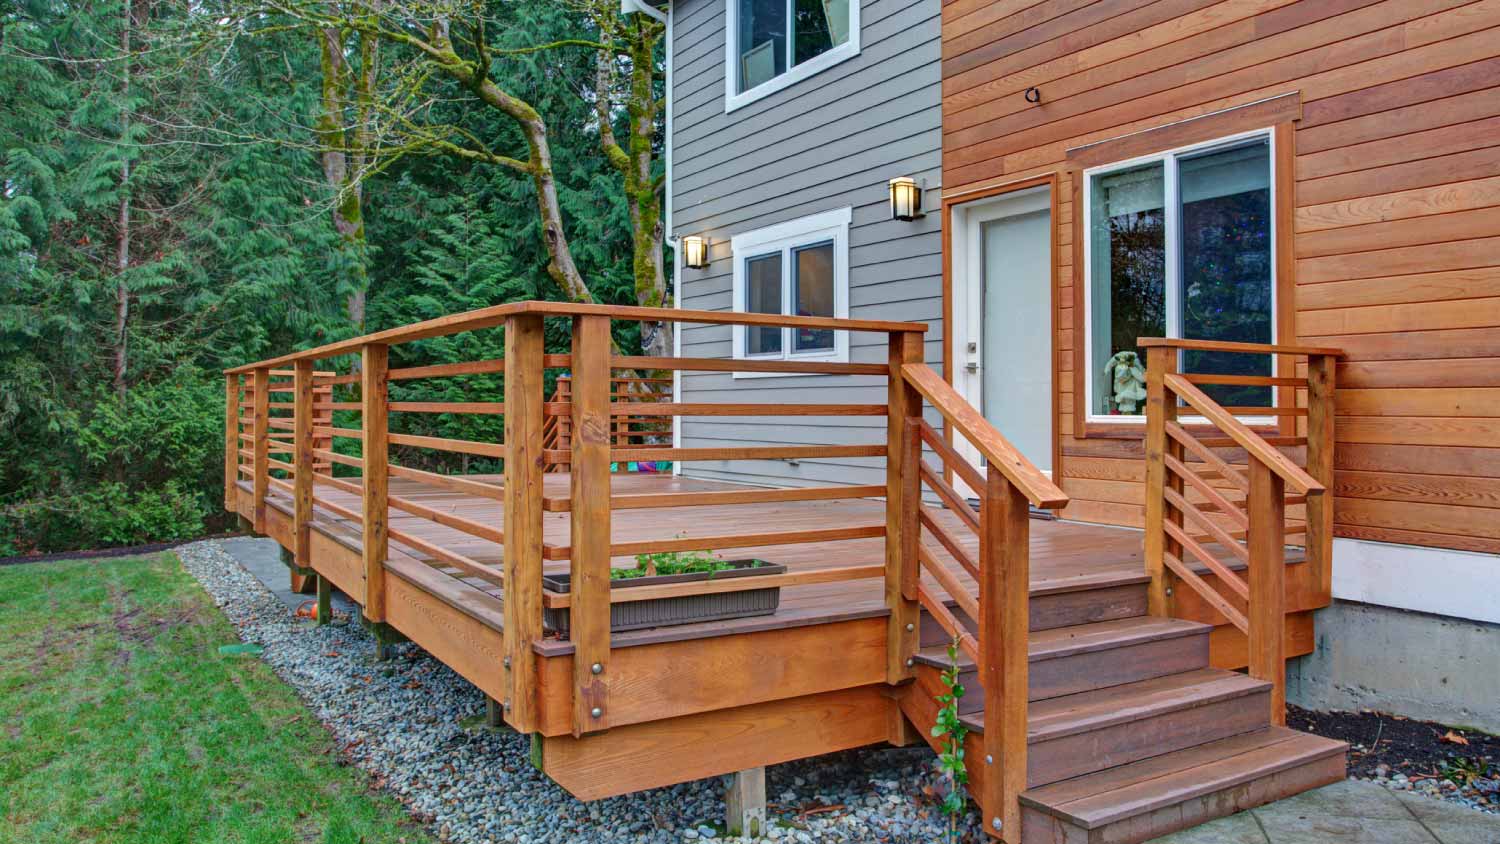
Step up your deck by constructing DIY stairs

Building stairs for a deck requires precise calculations for treads, risers, and stringers to ensure your steps are even, safe, and structurally sound.
Deck stair construction costs $30 to $60 per square foot, including materials and labor, so planning your project budget helps you stay on track.
You'll need to measure the vertical drop from your deck to the ground, then divide by your desired step height to determine the number of risers.
Hiring a local deck building professional ensures your stairs meet building codes and stay structurally sound, especially when cutting stringers and securing angle brackets.
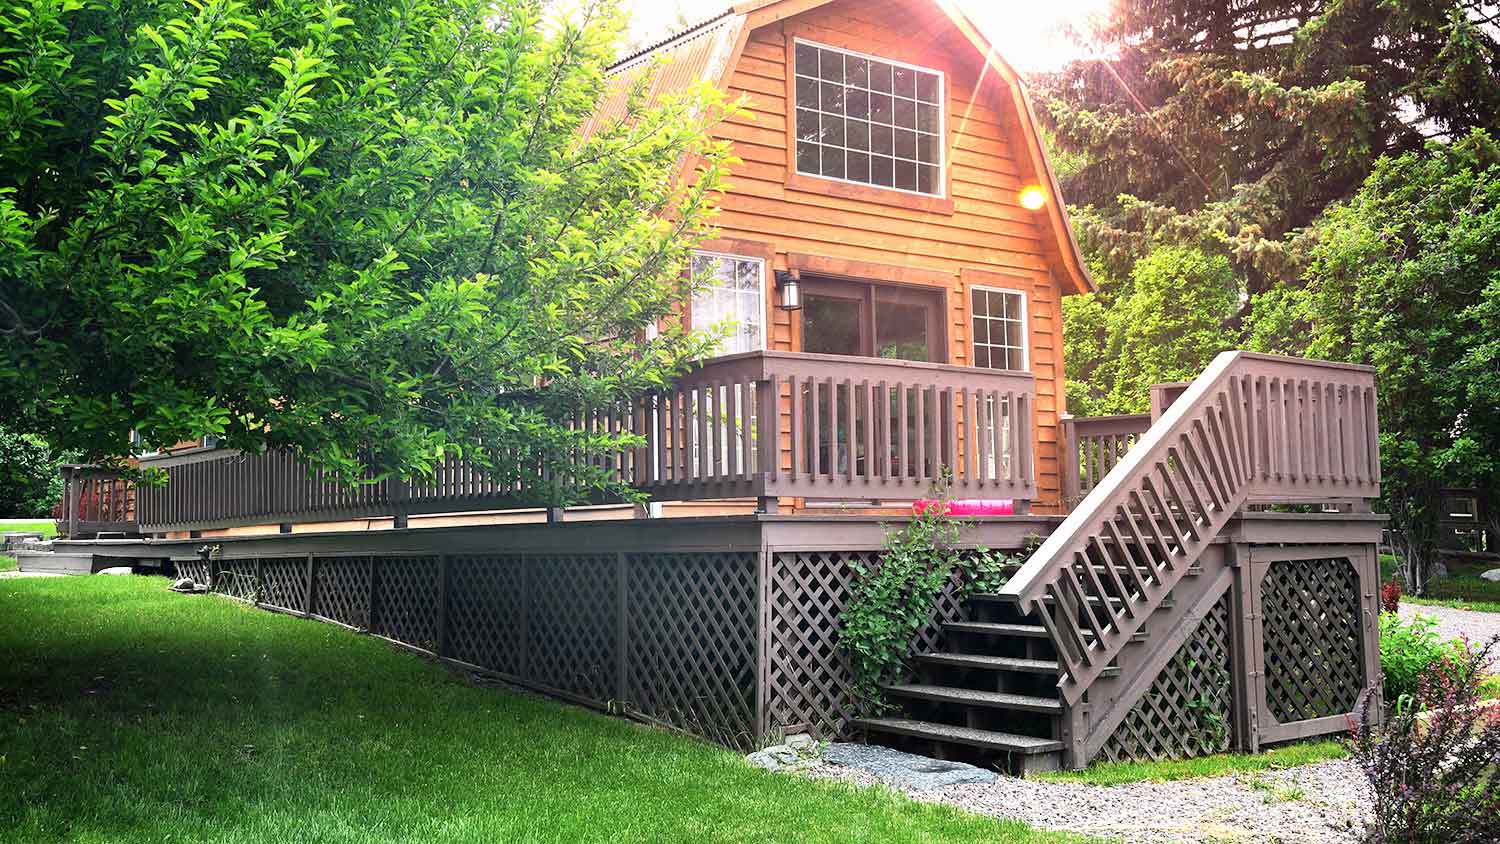
So, you finally have that dream deck—but you also have a wide-open outdoor space that you don’t want to neglect. While parkour is always an option (albeit not the safest or most convenient), learning how to build deck stairs is the best solution to take you down to your yard without a fuss. We’ll walk you through this intermediate-level DIY project below.

As you may have learned from building your own deck and other home improvements, there are usually local building codes to follow. These will dictate specifics such as stair width and riser height (such as the height from the top of the tread to the top of the one below it). You can find the building codes for most local governments online.
If you choose to install Trex decking or another wood alternative, the building guidelines may differ for stringer placement, riser height, or other recommended reinforcements. Review all the guidelines before purchasing materials and planning your course of action. If you skip this prep work, you may incur fines or have to rebuild the deck stairs before selling your home.
Before beginning the project, you’ll need to calculate the total number of risers and planks (also known as treads). To do this, start by calculating the total rise of the staircase.
Determine the location of your stair landing. You should shoot for an angle of around 40 degrees from the top of the deck to the landing.
Lay a long level or a wooden board on the top of the deck, extending it until it sits right above your landing point.
Measure the vertical distance from the board (or level) down to the ground. This number will be the total rise measurement you’ll use to determine the number of risers and treads in your staircase.
To determine the number of risers you’ll need, divide the total rise of your staircase by your desired step height (around 7 to 7¾ inches is standard). Then, round to the nearest whole number.
Helpful tip: If you have stairs in your home you can climb comfortably, measure the height of those risers and use that number for your deck steps. Always double-check building code regulations to ensure your riser height is up to code.
To find out your total number of planks (or treads), take your total number of risers and subtract one. Any staircase build will always have one less plank than the total number of risers.
If you’re wondering how to build deck stairs, it’s always a good idea to plan for a landing pad. Most building codes require a landing with deck stairs, and many have specific lists of acceptable building materials to use, so check beforehand.
The most popular option is building your own concrete pad (you can also lay your own pavers). Here’s a basic how-to for a concrete landing:
Cut your stair stringers and clamp them into place to test the distance from the deck.
Measure the desired width of the landing pad—around 36-by-36 inches is standard.
If you’re pouring concrete, cut and nail together your wooden concrete form using wooden boards.
Dig a trench deep enough to accommodate your wooden concrete forms or pavers. Keep in mind that your landing pad should be as level as possible, with no more than a ¼-inch slope per foot.
Lay your form into the trench, referencing your clamped stair stringers to ensure it’s even with both sides of the staircase.
Fill the form with a layer of gravel.
Lay rebar or chicken wire on top of the for a second layer of support.
Mix and pour concrete into your form
Screed the concrete by moving a 2-by-4 board back and forth throughout the length of the form, making three to four passes until the concrete sits flush with the form.
Allow the concrete to harden slightly before adding your finish (ex: dragging a broom across to create a textured finish).
Allow the concrete to cure based on the manufacturer’s instructions (usually for 3 to 10 days).
Once the concrete is fully cured, carefully remove the wooden form.

Follow these step-by-step instructions for building stair stringers.
Start by determining where you'll attach your new steps on the deck, and mark the location where you'll install your stair risers (also known as stair stringers). Make sure you leave at least 36 inches between stringers to allow for enough stair width. Again, be mindful of local building codes and adjust the width accordingly.
Measure the distance from the ground to the top of your deck, which is also known as the vertical drop. Take a mental note of this number or write it down, as you’ll need it for calculations in the next steps.
Take your vertical drop and divide this number by seven to determine the number of steps you need. If it's not an even number (and it probably won't be), round up to the next even number.
Divide the vertical drop by the number of steps you're going to use to get the rise of each stair. For example, if you have a 42-inch drop, you'll need six stairs, each of which will have a rise of 7 inches.
Determine how deep you want each stair tread to be, which is the part you will step on. Multiply that figure by the number of steps to get the total run of your stairs.
You also need to decide if you want a concrete pad at the bottom of your steps or if you prefer to have them sit on the grass. Pouring a pad is possible on your own, but it's time-consuming and requires a lot of tools that you probably don’t already have. Setting the stairs on your grass means more wear and tear for the lawn.
Use your carpenter’s square and pencil to create a stair-shaped pattern on your wood that matches up with the tread depth and riser height of the stairs. You will need at least two stringers to support your deck stairs.
You know what they say: Measure twice, cut once. Double-check all your measurements before moving on to the next step.
Using a circular saw, begin cutting out your stringer notches per your drawing. Finish your cuts off with a handsaw to avoid cutting too far.
Next, cut out deck boards to fit the length and width of each tread as well as each riser. You can use one, two, or three boards per stair, but keep in mind that the more boards you use, the more screws you'll need.
Line up the top of each stringer against the bottom of your deck frame and screw an angle bracket on the side of each stringer, connecting them to the deck. Double-check your markings from step two to ensure the stringers are the right distance apart to fit the length of each tread.
Attach your risers to the stringers using three-inch deck screws. Use at least two screws per riser.
Lay your tread boards perpendicular to your risers on the stringers. Ensure these are level and screw them in by drilling through the tread board into the edge of the stringer where they’ll connect. Again, use at least two screws per tread board.
The average cost to build deck stairs, including materials and labor, is between $30 and $60 per square foot. The number and height of the stairs, the complexity of their design, and the type of material all influence the final costs.
You can save up to 50% on the total costs by building deck stairs yourself. However, this isn’t a project for an amateur DIYer. You need the right tools and design savvy to calculate the correct dimensions, follow building codes, and install a structurally sound set of stairs.
Hire a local deck builder unless you're confident in your abilities. If you get the measurements wrong or struggle with the construction, you could end up with wonky, unsafe steps that don't meet legal code requirements.
One of my old tall evergreen trees was suddenly leaning toward the busy street in front of my house. I submitted a request for an emergency tree inspection, and Alejandro, owner of Cajete Tree Service, contacted me immediately and arrived to look at it just 20 minutes later. We agreed the...
Mitchell and the crew were top tier i am so happy with my new roof
1 tree was cut down and 5 others including a large willow tree were trimmed. The Grant Tree Service men were professional and cleaned up afterwards. The cost of the 6 trees were affordable. I am very happy with the results. I would hire them again.
Archie did a good job cleaning up the driveway before he laid down the sealer. It looks good. He was gracious and even helped me bring up my groceries. His rate was comparable to another company who came out to give me a quote and he talked to me personally rather than just text me a quote...
We have bought and sold numerous times over the past 50 years. Sherman Hall and Top Line are top notch. Thorough and detailed, he explains every possibility, probability, and eventuality. High class and pleasant. The best.
 Top Line Home Inspections, LLC
D1 Roofing delivers outstanding service from beginning to end, backed by a strong warranty and expert teams. I highly recommend them for their excellence in meeting and surpassing expectations with unmatched communication. Choosing D1 Roofing was flawless decision
Couldn't ask for a better company. Josh and Dee were Very professional, efficient, courteous and takes major pride in their work. They will travel to come to your home and will still give you a fair price. They are honest and trust worthy. Their focus is on their work and their work is...
 Supreme brick & chimney
Window Depot did an amazing job on my deck. I wasnt sure what I wanted to do, but their composite decking was affordable and will last a long time. I am excited to have family over, and I am no longer embarrassed by my backyard. Jeff and the ground crew were polite, respectful, and caring for...
We were having 2”x 2” tile installed . There was a small installation error and the new additional replacement tile was from a different lot and the colors didn’t match. Joe assured us that he would rectify everything , which he did without hesitation. We decided to go with the 18” x 36” tile...
 CarifaTile
Maple Tree Service should serve as a mentor for other business! Customer service was superior and beyond expectation. Response to request was prompt. The representative was very courteous and proud of the company. Quote was given during initial visit and work date established. A follow up...
 Maplewood Tree Service
From average costs to expert advice, get all the answers you need to get your job done.
Discover the cost to install hardwood stairs. Learn about material, labor, and additional factors to budget for your stair installation project.
A deck skirt can improve the form and function of a deck. Find out what it could cost to install deck skirting in your backyard with this guide.

The cost to carpet stairs depends on the number of stairs, material choice, and staircase type. Read on to calculate your project expenses
Unstable deck stairs can lead to serious injury. Learn how to attach stairs to a deck to keep your outdoor living space safe, cozy, and secure.

A deck step down is required to make your deck compliant with safety and building codes. Learn more about the minimum step down to a deck.
Installing new stair trends can give your home an instant upgrade—but it’s not the easiest DIY. Take a look at the steps to see if you should DIY or hire a pro.