
The cost of stone steps can vary considerably depending on the material you choose and how much labor is required. This guide shows you the cost of popular stone steps and all the extra fees you need to consider when tackling this project.
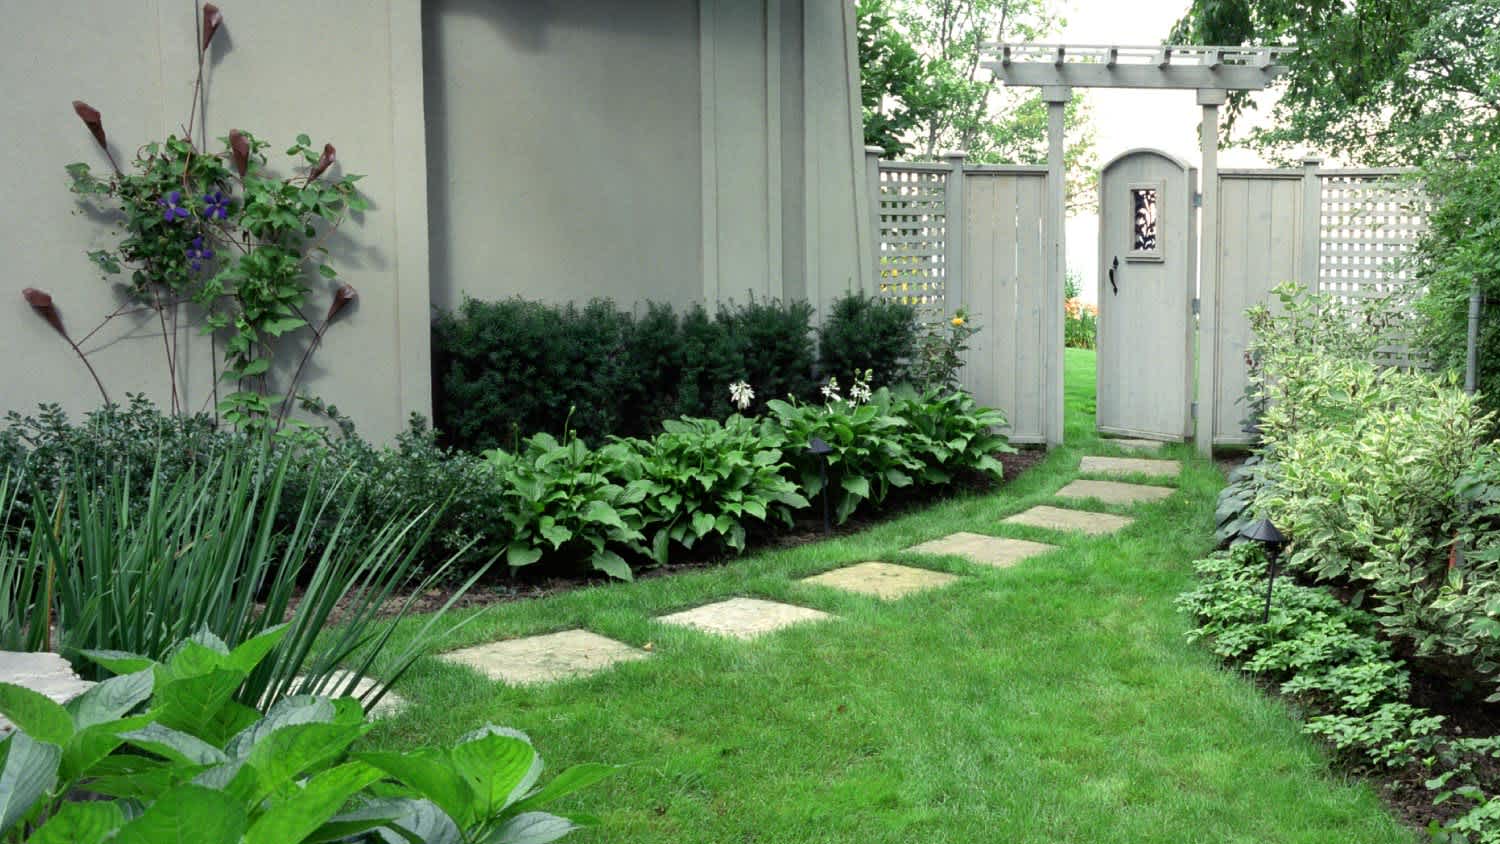
Build stunning stone steps on a slope with our expert DIY guide.

This project is costly to DIY, and making a mistake could immediately double the cost. Call a pro for a job well done the first time.
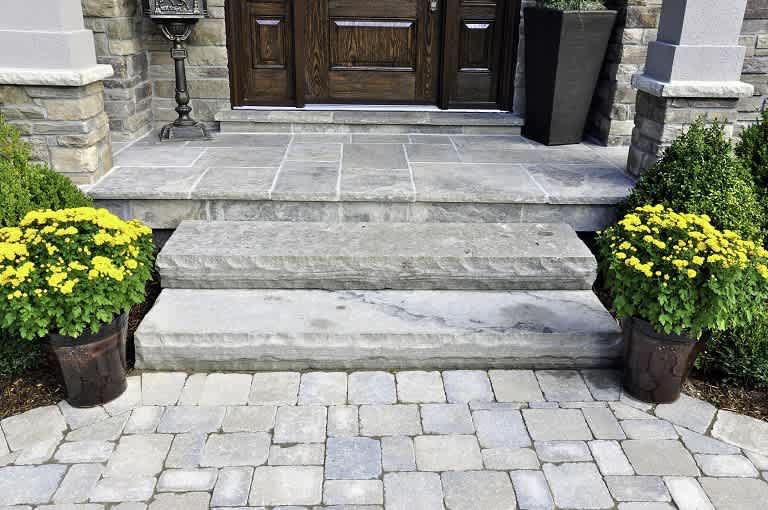
Building stone steps on a slope can be a rewarding and visually appealing project that enhances the beauty and functionality of your landscape. Whether you want to create a pathway through a hilly garden or improve accessibility on your property, stone steps can add charm and character to your outdoor space. In this guide, we'll take you through the process of how to build stone steps on a slope, from preparation to completion.
When you’re planning your stone step project, you’ll need to consider two main factors—building permits and taking proper measurements. Depending on your local regulations, you may need to obtain permits for constructing stone steps. Check with your local building department to ensure compliance with any necessary codes or permits.
Before you apply for any building permits, it’s helpful to start by measuring the slope's dimensions and assessing the desired length and width of your steps. Consider the height of each step and how many steps you'll need to build to achieve a comfortable and safe ascent. When installing stone steps on a slope, you need to understand the slope's gradient to achieve a comfortable and safe ascent. The slope's angle will impact the design and construction of the steps.
These measurements will give you a better idea of the project scope when you apply for a permit and will make it easier to plan the project in general.
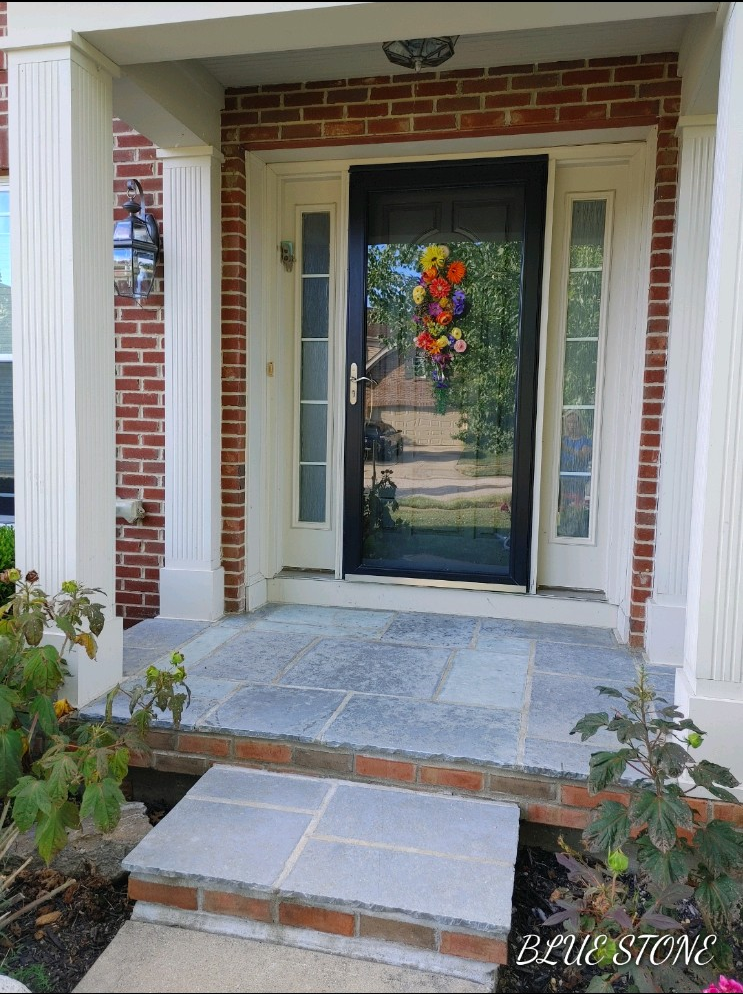
You will also want to think critically about your project budget. The cost of stone steps will be one of your biggest expenses, but hopefully, you already have some of the other tools and supplies on hand. Do some research on different types of stone steps, like bluestone, travertine, flagstone, or sintered stone.
Remove any vegetation, rocks, or debris from the slope where you plan to construct the stone steps.
Outline the path of the steps using wooden stakes and string or a chalk line. This will help you visualize the layout and guide the excavation process.
Dig a trench for the steps, ensuring that it follows the marked path. The trench should be deep enough to accommodate the base material and the thickness of the stone steps.
Fill the trench with a layer of gravel or crushed stone approximately four to six inches deep. Use a hand tamper or plate compactor to compact the base material firmly.
To prevent weed growth and maintain stability, lay landscape fabric over the compacted base material.
Position the first stone step at the bottom of the slope, ensuring it is level both side to side and front to back. Use a level and a rubber mallet or hammer to adjust the stone as needed.
As you proceed with laying each stepping stone, ensure that it is level and stable. Backfill with the additional base material and compact it beneath each step for added support. This is extra important when designing a stone path on a slope since it can be more dangerous to walk on than flat ground.

If you're using mortar-set steps, apply landscape adhesive or mortar between the steps to secure them in place. Follow the manufacturer's instructions for the best results.
One optional step after building stone steps on a slope is to add landscape edging. You can install landscape edging or border stones on the sides of the steps to create a clean and defined edge. This will also help retain the base material and prevent erosion.
If the area is prone to water runoff, you should also consider adding a drainage pipe behind the steps to redirect water and prevent erosion.
Lastly, if there are gaps between the steps, fill them with sand or crushed stone, which will enhance stability and prevent tripping hazards.

Building stone steps on a slope can be a moderately challenging project, and the decision to DIY or hire a professional brick paver near you will depend on your experience and comfort with such tasks. Here are some considerations:
DIY:
Pros: Cost-effective, hands-on experience, personal satisfaction.
Cons: Physical labor, time-consuming, potential mistakes.
Hiring a Pro:
Pros: Expertise, efficient completion, knowledge of local regulations.
Cons: Higher cost, less personal involvement. Professional installation of stone steps can cost as much as $2,200.
If you decide to hire a professional, look for a reputable landscaper or stonemason experienced in building stone steps.
Supreme Brick & Chimney did a great job with a cleaning and inspection of the fireplace! He was efficient, on time, and very pleasant. The space was kept very clean, and the fireplace was spotless when he was done. He also performed a thorough inspection, and did a great job talking us...
 Supreme brick & chimney
Koby & team weâ re great! Moved our two bedroom apartment in about 4 hours, and weâ re super friendly, quick, and careful with are things.
We had our houses windows and back door replace this summer by Window Depot USA of Central. He gave us grate advise and saved my family lots money. The team did a fantastic job with installation. If you need help, they sure get job done right!
Wonderful. I am going to have them remove and replace my driveway in the spring.
 All Star Paving and Sealing
We were having 2”x 2” tile installed . There was a small installation error and the new additional replacement tile was from a different lot and the colors didn’t match. Joe assured us that he would rectify everything , which he did without hesitation. We decided to go with the 18” x 36” tile...
 CarifaTile
Did an amazing job transforming my yard. Also installed sod in places, would recommend to everyone.
Manuel Calvillo is the best option in the area for roofing and you won't be disappointed.
All around they have done a really great job. <br /> I have used JL Landscapes for the past 8 years. I own and operate my own commercial/residential real estate company where we own, operate, and maintain our own properties. JL Landscapes has been our exclusive landscaper for both our...
 J.L. Landscapes
Outstanding experience! I needed my yard/garden/patio prepared for a party the coming weekend. I contacted Rick and he was able to schedule service that same week. He and his crew did a wonderful job removing the fall foliage, weeding, trimming back plants and hedges, even cleaning up the...
 Distinct Designs Residential Enhancements
We first had Mark fix the back patio and liked his work so much we had him make a brick patio on the side of the house. When we decided to change our concrete walkway to brick, we wanted Mark to do the job because his prices were fair and he did such good work on t he other two projects.
 Mark Monnette Masonry
From average costs to expert advice, get all the answers you need to get your job done.
The cost of stone steps can vary considerably depending on the material you choose and how much labor is required. This guide shows you the cost of popular stone steps and all the extra fees you need to consider when tackling this project.
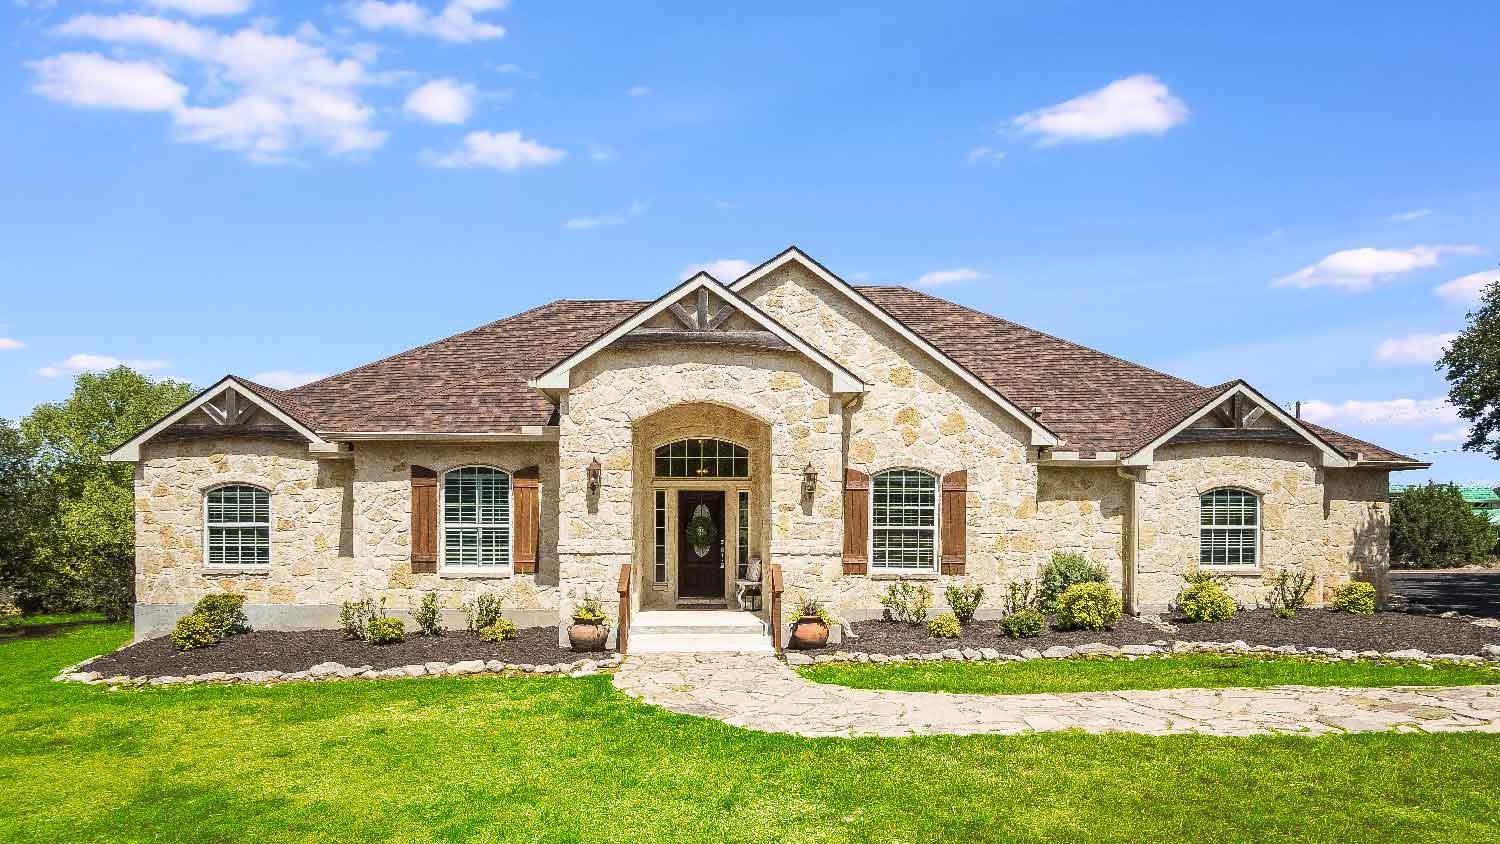
The cost to build a stone house is pricey. Learn why you need specialized workers to build the house to a level that’s good enough for you and the city.
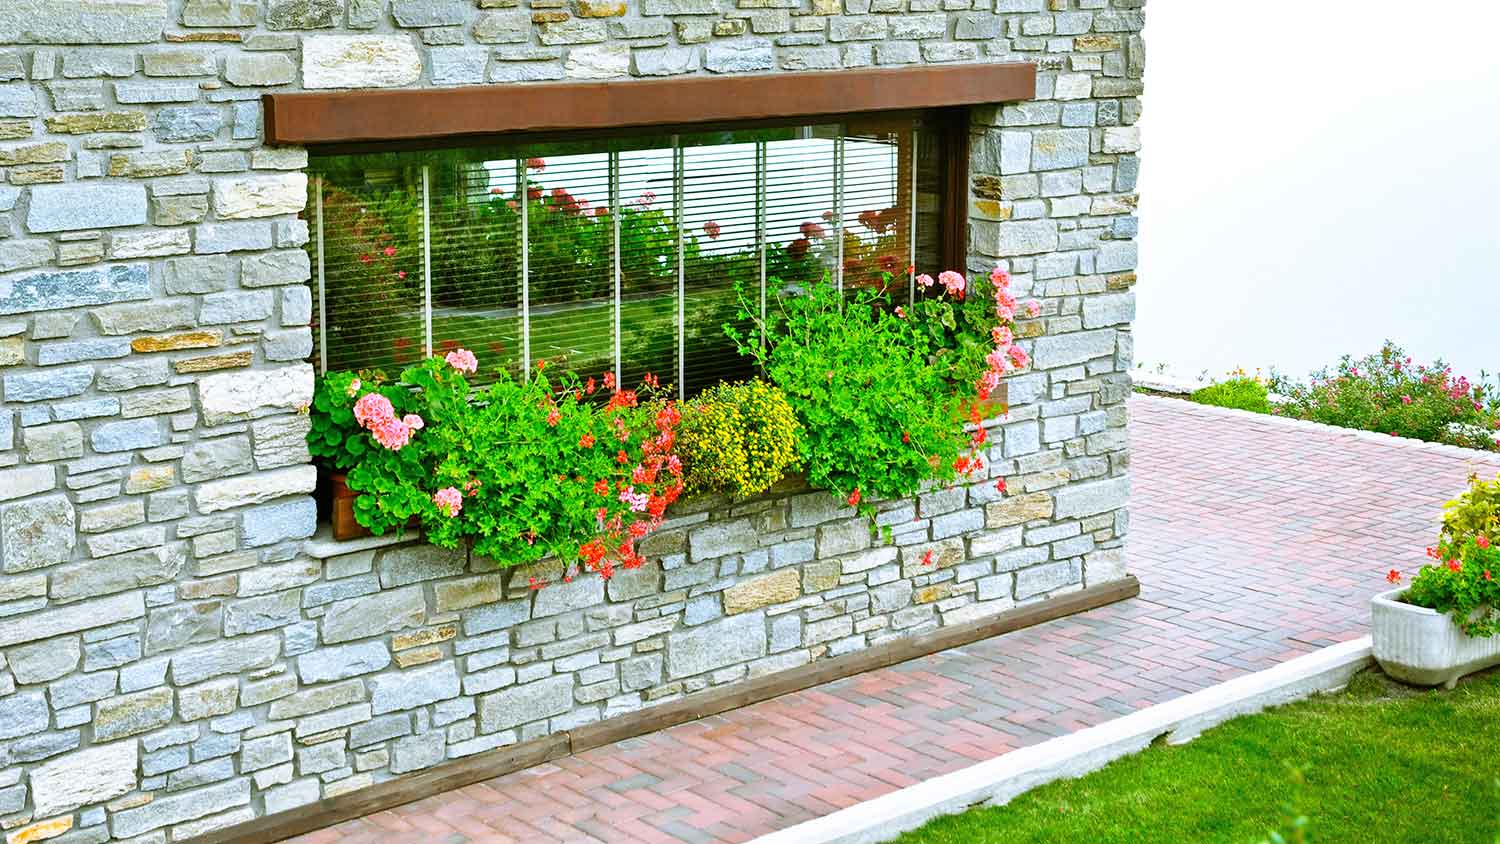
While a stone wall typically costs thousands of dollars, the value it brings to your home can raise its value both aesthetically and monetarily.

Create a beautiful, long-lasting path by learning how to lay stepping stones using our guide and a bit of sweat equity and muscle power.
Looking to beautify your outdoor area with a walkway? Use these stepping stone walkway ideas for inspiration for adding a bit of tranquility to your space.
Discover tips and tricks for how to plant a tree on a slope in your yard. Check out these four easy-to-follow steps to add shade and enjoyment.