

Need a little extra room for clothes storage in your home? Learn about the average cost to build a closet, some cost factors to consider, and more.
Cut the clutter with a DIY closet construction

This project requires a lot of experience, so we don’t recommend DIYing it. Hire a pro with the special skills and tools necessary to complete the job safely.
When you want to learn how to build a closet, you’re going to need to be an experienced DIYer. Closets require skills in areas like framing, drywalling, mudding, painting, and door hanging. If you want to DIY this challenging job and show off your skills, be sure to give yourself time to follow each step successfully. If it all seems like too much work, though, there’s nothing wrong with hiring a pro.

The first step should always be making a detailed plan for the size and shape of the closet. If you want certain storage elements inside the closet, make sure the closet’s dimensions can accommodate them.
To visualize the size of the closet you want to build, lay some 2x4s or painter’s tape on the floor to match where the perimeter of the closet will reach into the room. If the closet occupies too much of the room, try adjusting the shape to make it fit better.
If you’re struggling to create a plan that fits, consider reaching out to a local closet design company that can create a plan incorporating your ideas. You could still build the closet yourself based on the plans.
You’ll need to install top and bottom plates before securing the framing to the floor and ceiling. These plates serve as the outline of the closet dimensions. Use the stud finder to find the ceiling joists and mark their locations with a pencil.
Cut your 2x4s that will serve as plates to match the outline dimensions of the closet. Start with the bottom plate. Use construction adhesive on the wood pieces and stick them to the floor. (If you have carpeting, you’ll have to remove it temporarily while building the closet.) Screw the plate into the floor for additional stability, but avoid placing a screw in the section of the plate where the door must go, as you’ll have to cut out this section later.
Apply construction adhesive to the wood pieces for the top plate and affix them to the ceiling. Then use long wood screws to attach the 2x4 plates to the ceiling joists. If you cannot find joists, you’ll have to drill holes in the top plate and add toggle bolts that go behind the ceiling drywall.
You might have to cut into or remove some trim work along the ceiling or floor to install the plates.
Next, add 2x4s to create the basic outer frame of the closet. These vertical 2x4s will go between the top and bottom plates. Add them where the closet frame meets the wall. At the closet’s corner in the middle of the room, you’ll need to attach two vertical 2x4s back to back.
When affixing the vertical 2x4s, screw or nail the wood into the top and bottom plates. Put the screw or nail in at an angle to ensure it securely catches the plates. If you can screw some of the vertical 2x4s into wall studs, too, go ahead and add a few extra screws.
As you add each vertical stud, keep your bubble level and framing square handy to ensure everything is straight.

Add more vertical 2x4s to continue framing out the walls of the closet, attaching them to the top and bottom plates with angled screws or nails. The vertical 2x4s should be 16 inches apart on center. Use the bubble level and framing square with each stud as you attach it.
Leave a space where the door will be, matching its size. Make the interior of the rough opening match the exact dimensions of the closet door. Don’t include the thickness of the wood for the bottom plate in your measurements for the rough opening, as you’ll cut out this section later.
At the top and sides of the frame for the door, you’ll need to place two 2x4s back to back for support. Use vertical trimmer or jack studs (or short 2x4s) to fill the space from the top plate to where the horizontal 2x4 for the top of the door will be. Attach the trimmer studs to the top plate and top frame of the door with angled nails or screws. The trimmer studs should be 16 inches apart on center.
If you have some 2x4s that are not perfectly straight—making them inappropriate for the framing—cut the good sections to create the trimmer studs so the crooked pieces don’t completely go to waste.
Cut away and remove the bottom plate in the section that will contain the door.
If you want to add a light fixture to the ceiling inside the closet, now is a good time to take this step. Call a local electrician to run the wiring to the light fixture and wall switch for this light. It’s easier to do any electrical work before you add drywall.
Attach 1/2-inch thick drywall to the frame on the exterior of the closet, cutting the drywall with a utility knife to fit. You may have some extremely narrow pieces, depending on the location of the closet door, which can complicate cutting and hanging the drywall. Use drywall screws to affix the drywall to the framing.
Some people will choose to drywall the inside of the closet, too. Others will leave the 2x4 studs visible on the interior of the closet.
Use drywall mud to cover any joints and screw holes in the drywall. Use a putty knife to force the mud into the joints and holes and scrape away any excess. Add drywall tape over the mud at the joints between sheets.
Allow drywall mud to dry for at least 24 hours before trying to sand it. The mud should be a chalky white color when it’s completely dry. Carefully sand it to create a smooth surface on the wall. If any areas are still bumpy or indented, you may need to apply a second layer of mud. Let it completely dry before sanding it again.
Once everything is dry, you can paint the drywall to your desired color. You should use a primer on the drywall first and allow it to dry before applying your main paint color. Most people will want the paint color to match the existing walls of the room that contains the closet. However, you could also choose to repaint the entire room to pick a new color and make sure everything matches.
If you put drywall on the interior of the closet, you should also try to match the existing wall color. Remember, the existing walls that you covered with the closet frame will remain visible when you’re standing inside the closet.

Once everything is dry, you can hang the closet door. Use the bubble level to make sure the door frame is perfectly square. Use shims as needed to bring everything into alignment.
Installing bifold doors, which are common on closets, is a different process from hanging a traditional hinged door. Follow the installation directions that ship with your particular door. You might need to add more shims near the spot of the hinges to ensure the door opens and closes smoothly.
Add casing and any other trim required to finish the look of the closet. The trim should cover any drywall corners and edges, protecting these areas that could crumble under stress.
If the rest of the room has baseboards or moulding where the ceiling meets the top of the wall, strongly consider adding these elements around the exterior of the closet. You want the finished product to look like it was always part of the room. If you can’t find matching baseboards or moulding at your local hardware store, you could remove these trim pieces from the original walls that are now inside the closet and reattach them on the exterior, cutting them to fit.
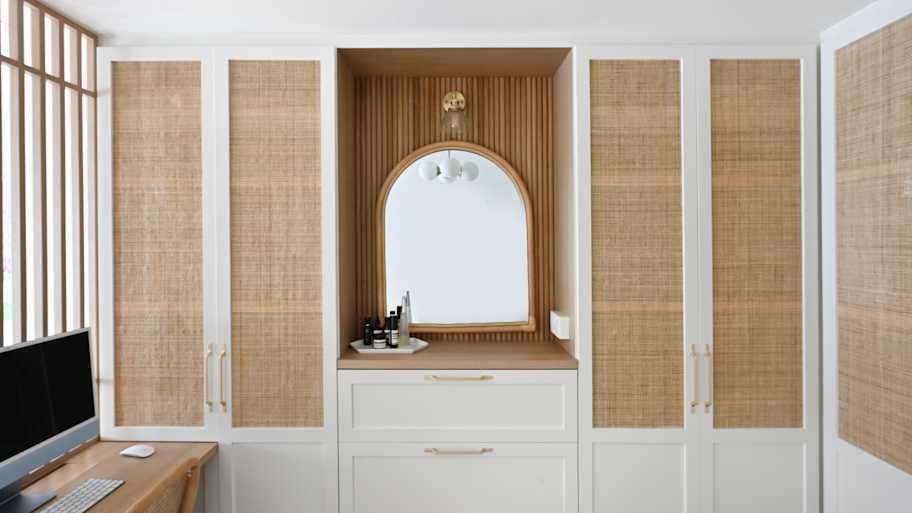
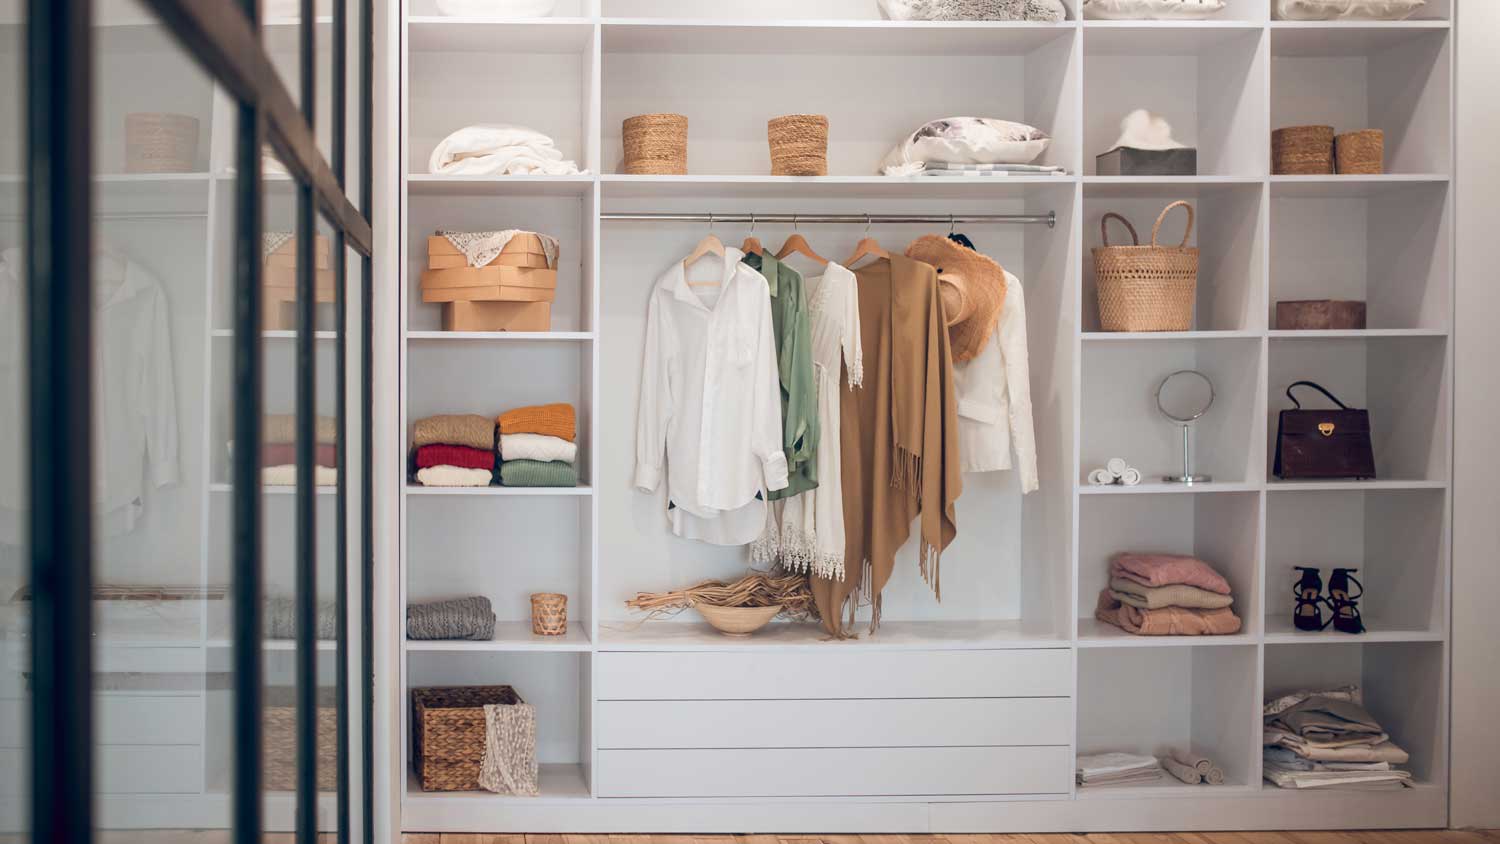
After building the closet, you’re ready to add elements inside the closet that simplify storing your clothing and other items. Think about how you can make the most of the space and create a plan before you start adding elements.
You could install a premade closet storage system or build your own places for hanging rods, shelves, and cubbies. Make sure the closet shelving height accommodates the sizes of items you want to store.
Securely anchor everything to the studs or use toggle bolts. You don’t want a shelf to come tumbling down because a screw popped loose under the weight of the items you’re storing.
If you plan to finish the interior of the closet with drywall, you should finish this work before adding the storage elements. It’ll be far tougher to install drywall after the storage elements are in place.
It’s easy to make mistakes during a process as challenging as closet construction. To help you avoid these potential pitfalls, here are some of the most common errors DIYers make.
Building the framing slightly out of square: If this is the first time you’re doing framing, it’s essential to make sure the frame is perfectly square. If you’re off even a little bit, the entire build will not look or function right.
Not studying different designs: Before you start building the closet, look at a few different designs. You don’t want to construct the closet and find out later that its shape and size don’t suit your needs.
Botching the drywall mudding job: Even if you handle the framing and drywall hanging perfectly, drywall mudding trips up many DIYers. Mastering drywall mud application and sanding takes practice. If you find yourself struggling with the mudding, think about hiring a local drywall installer for this part of the job.
Not securing the top plate to the ceiling joists: To give your closet the greatest level of stability, you must attach the top plate to the joists inside the ceiling. Use a stud finder to find the joists. If the layout prevents you from attaching the top plate to a joist, you must use toggle bolts.
Learning how to build a closet is challenging, even for a veteran DIYer. You’ll need quite a few tools that you might not use often, and it’s a time-consuming task.
If you have plans to frame a wall for a home addition or to finish a basement yourself, though, practicing your skills while building a closet can be a good starting point.
However, if spending several days on this project and making the precise measurements required seems like more work than you want to take on, hiring a pro is always a good option. The professional should be able to do the work faster than you can on your own, meaning you can enjoy your closet sooner.
Additionally, if you want a special feature in your closet, consider hiring a designer. The custom closet design cost will make the job more expensive, but it could be extremely difficult to add a certain design element on your own unless you have some experience. Reach out to a local closet maker who can help with both the design process and construction.
Raven and crew does absolutely fantastic job. They are very professional if any concerns were to occur with any of her work she always took responsibility and finished out with a great job. I have worked with her business for a year and have always been satisfied. Very trusted business and...
Amazing job. Efficient and quick without compromising quality. Basement feels brand new. Would use them again in a heartbeat.
 AffordaPro Restoration
We have bought and sold numerous times over the past 50 years. Sherman Hall and Top Line are top notch. Thorough and detailed, he explains every possibility, probability, and eventuality. High class and pleasant. The best.
 Top Line Home Inspections, LLC
Fantastic group, very communicative, and they really did a great job cleaning my condo. Will be hiring them for recurring cleaning!
Supreme Brick & Chimney did a great job with a cleaning and inspection of the fireplace! He was efficient, on time, and very pleasant. The space was kept very clean, and the fireplace was spotless when he was done. He also performed a thorough inspection, and did a great job talking us...
 Supreme brick & chimney
This company is my go to resource for all my post renovation clean ups. They get the place spotless! All we have to do after is stage the place and sell, sell, sell! They are super professional and have some amazing scent that is left in every property. I highly recommend!
Custom Paint Jobs LLCs custom murals brought life to our childrens rooms. They love it!
Window Depot did an amazing job on my deck. I wasnt sure what I wanted to do, but their composite decking was affordable and will last a long time. I am excited to have family over, and I am no longer embarrassed by my backyard. Jeff and the ground crew were polite, respectful, and caring for...
Great tree company, very professional and honest. Glad we found them, they had the best pricing
The team is awesome!! I can generally pick up and clean throughout the week, but they CLEAN! Windows, stair rails, microwave. All the things I can’t ever seem to get to regularly. The house looks and smells great after they leave.
From average costs to expert advice, get all the answers you need to get your job done.
Need a little extra room for clothes storage in your home? Learn about the average cost to build a closet, some cost factors to consider, and more.
Designing a custom closet requires hiring a pro with experience performing this type of work. Learn what influences the total cost of your new design.

Discover the average custom closet cost, including price ranges and key factors, to help you budget and plan your project with confidence.
Closets can be tricky to fill, but custom shelves allow you to maximize their storage potential. Find out how to build custom DIY closet shelves.

Ready to maximize your storage space with a custom closet? Learn how to build a bedroom closet that's tailored to your needs and design style.

Designing a DIY custom closet will give you a storage unit that actually makes your space feel organized. Choose the right setup with help from these tips.