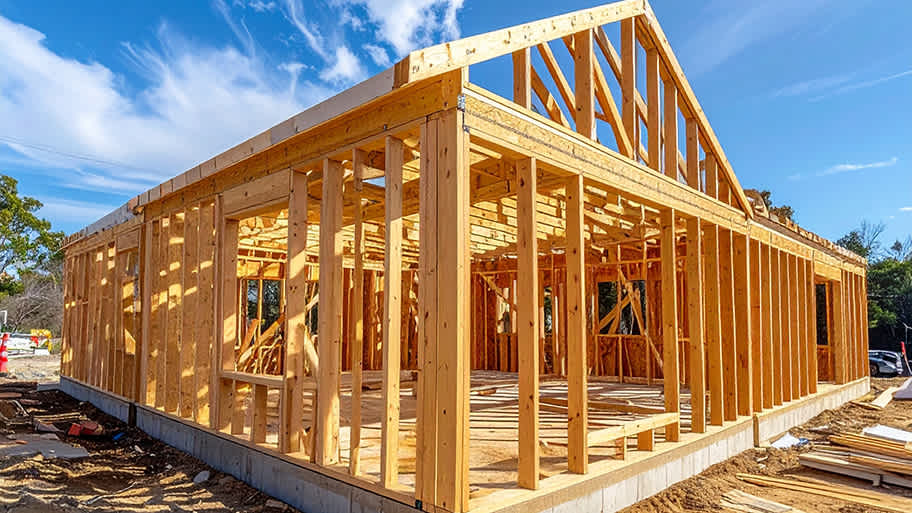
The cost to frame a house can vary depending on the size of your home, the structure you’re building, and your materials. Keep reading to learn how much framing your house might cost.
The frame is the backbone of a sturdy wall

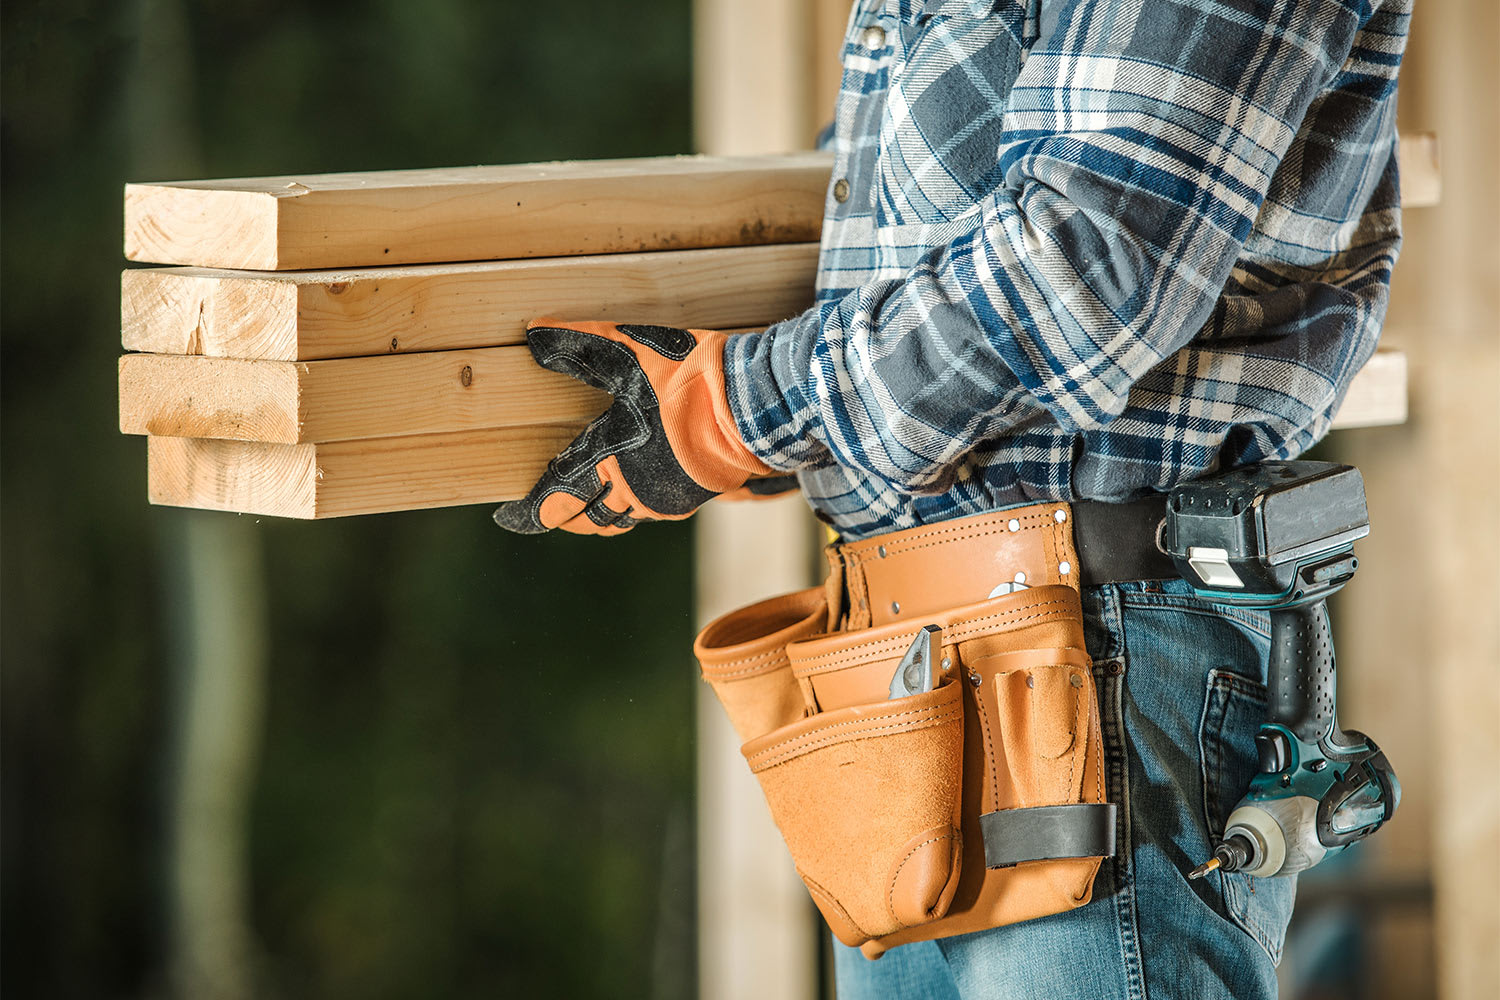
Understanding how to frame a wall yourself is handy knowledge to possess—particularly if you need to add an addition to your home, finish a basement, or build a shed on a budget. Luckily for the DIYers out there, it’s a relatively easy project for those willing to put on a hard hat and get to work. But to ensure proper framing and installation, you’ll need to learn the basics. Follow this step-by-step guide to help you construct a wall frame that will last a lifetime.
For large framing jobs involving load-bearing walls, it's best to hire a licensed framing or general contractor with extensive framing experience rather than a handyperson. These pros have the proper knowledge of structural engineering and permit requirements. A local handyperson can handle small-scale framing tasks, like building a partition wall.


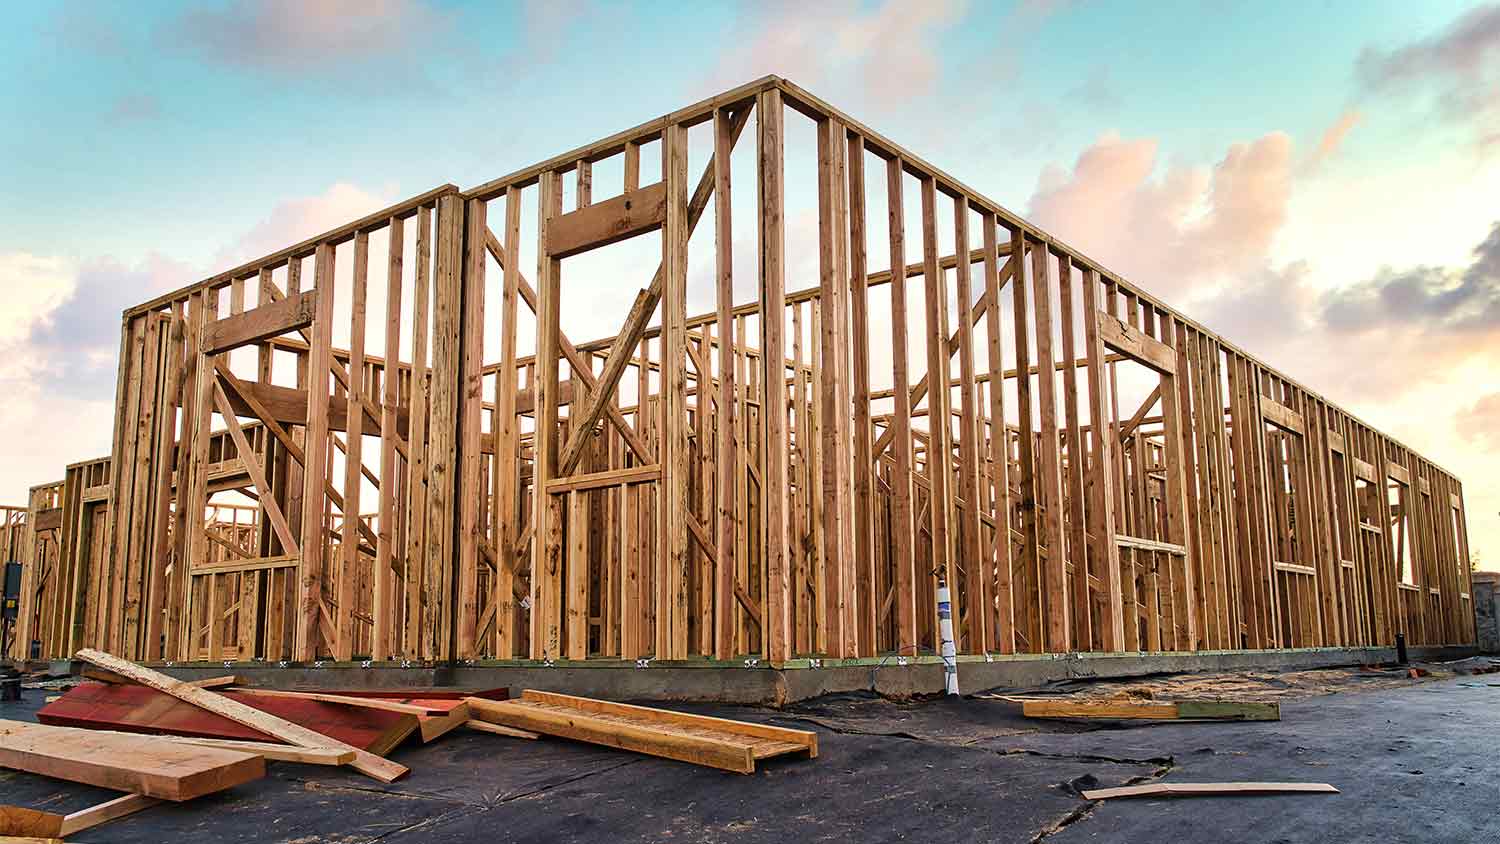
A wall frame is the skeleton of a wall, and it’s the necessary first step in building a wall. The frame is what provides support to the ceiling and roof, and ultimately will be filled with insulation and covered in drywall, resulting in a finished wall. A wall frame itself is composed of different pieces, all of which are crucial to the overall structure. Here’s a quick breakdown of the key components.
Studs are the vertical members of a wall that connect the horizontal top and bottom plates. Studs determine the height of the frame being built and provide support to the wall lining.
Sole plates, often referred to as bottom plates, are the horizontal members of a wall that run along the bottom of the wall frame and connect the wall to the floor.
Top plates are the horizontal members of a wall that support the ceiling above. Top plates run along the top of the wall frame and are frequently doubled up to account for extra space between the top of the wall and the floor above.
Using a chalk line, indicate where you want to place the wall with markings on the floor.
Then, use a stud finder on the ceiling to determine where the joists (support beams in floors and ceilings) are.
For proper wall alignment, the joists should be directly above the wall, running perpendicular to it. If the joists are parallel to the wall, you’ll need to adjust the layout so that the wall is under a joist.

In order to frame the wall, you’ll need to establish where the top and sole plates will go, as they are the anchors for the wall studs.
Using a tape measure, mark where the new wall will meet the existing wall by measuring from a corner of the room.
From the opposite corner, measure out where the end of the new wall will be.
Put a chalk line in between the marks you just made. This will indicate one edge of the top plate.
Measure diagonally between both corners to ensure that the measurements are the same and that the new wall is square. This may take some trial and error, and adjustments might need to be made.
To begin laying down the sole plate, hammer a nail into the ceiling near one end of the chalk line, and hang a plumb bob (a weight with a pointed tip at the bottom) from it.
Mark the floor where the plumb bob points to.
Repeat this process at the opposite end of the ceiling chalk line.
Snap a chalk line in between the two new marks to place one edge of the sole plate on.
Put an “X” on the edge of the line where the plate will lay.

Place your top and sole plates on the floor beside one another, and starting at one end, measure out and mark each plate every 16-24 inches, according to local code.
Using a combination square, draw lines connecting the marks across the plate.
Mark an “X” at the end of each plate and to the right of the lines drawn on each plate to distinguish where the stud locations are.
Note: If this is a wall that will need a door, you'll need to know how to frame a door. Be sure to account for the door frame with the following: two king studs, two tripper studs, and a horizontal header
Use your tape measure to determine the distance from the floor to ceiling in multiple places, as it’s not uncommon for the height range to differ throughout the room.
You’ll need to determine where the shortest height distance is, then also take into account the space needed for the top and sole plates. With that in mind, subtract 3 3/4 inches from the shortest ceiling to floor measurement you found. This additional 3 3/4 inch worth of space will also allow for the clearance needed to tilt the new wall into place.

Now that you have the measurements needed, you can begin cutting the studs.
Wearing your safety glasses, use a circular saw to cut the studs to length.
Lay the sole plate and the first stud on edge, and nail them together using 16d nails.
Lay out all the 2x4s on edge, with two top plates on top and the sole plate on the bottom.
Sight down all the (vertical) studs to determine the crown or bowed direction of the wood.
If a stud has a crown that differs from the other studs, discard it and don’t incorporate it into the project.
Note: If any of the studs are warped, have the crown (the bowed part of the wood) face up. This will provide more support and will allow you to nail the ends of the wood without the stud rocking.

Using 16d nails, nail the studs into the sole plate one at a time. Once you’ve completed that, lay the top plate on edge and nail it to the studs where indicated by the markings you made earlier.
If you’re nailing the secondary top plate into place at this time, do so by driving the nails into it vertically above every stud location.
Make sure the 2x4s between the studs have been cut to fit, ensure they are positioned properly, then nail them into place.
Depending on the size of the wall frame, you may need someone to assist with this step of the project.
Once the wall frame has been secured by nails, align the sole plate with the chalk line on the floor.
Carefully tilt the frame into place and be sure to align the top plate with the chalk line on the ceiling.
Fasten the wall into place.
Beginning at one end of the wall, shim between the top plate and ceiling.
Check the wall for plumb using a level. Repeat this process and continue to shim and plumb each section of the wall, driving 16d nails through the top plate and into the framing as you go.
Nail the 16d nails through the sole plate and into the floor, thus fastening it into place.
Nail the end studs into the frame of the existing wall.
Score all shims with a utility knife, snapping them off flush with the plate.
When building a house from the ground up, wall framing should happen after the foundation is complete and the subfloor is installed, but before plumbing, electrical, and insulation go in. This phase marks the transition from groundwork to structure, when your house starts to take shape. You'll want all your framing (interior and exterior) done before moving on to systems behind the walls. This way, contractors know exactly where to run wires and pipes without needing to make adjustments later.
For renovations, timing is just as important. Wall framing comes after demolition and before any mechanicals are roughed in. If you're adding or removing walls, rerouting wiring, or changing the layout, framing needs to be locked in early so everything else can fall into place.
If you have carpentry skills and some experience, DIY framing a wall can be a cost-effective option. While it's especially beneficial for smaller projects, it may not be suitable for complex or load-bearing structures. In such cases, hiring a professional framing contractor is advisable as they bring technical knowledge, experience, and efficiency to the project, ensuring it meets building codes and safety standards. They're also equipped to handle unforeseen complications and have access to advanced tools and techniques that streamline the process and guarantee a high-quality result.
The cost to build a wall ranges between $970 and $3,089. For wall framing specifically, the average cost to frame an interior wall is between $7 and $16 per square foot, with exterior wall framing ranging between $2 to $5 per square foot. While hiring a professional may incur higher upfront costs, it offers peace of mind and ensures precision and reliability in achieving the desired outcome. Professionals can reduce the likelihood of mistakes that could compromise the structural integrity of the framed wall.
Exquisite workmanship from Custom Paint Jobs LLC. My home has never looked better.
Visited my home for estimate same day that I called. Painted on Saturday. Great job. Good price!
Window Depot did an amazing job on my deck. I wasnt sure what I wanted to do, but their composite decking was affordable and will last a long time. I am excited to have family over, and I am no longer embarrassed by my backyard. Jeff and the ground crew were polite, respectful, and caring for...
The guys did an outstanding job and we had a great experience with CarifaTile. I appreciated that Joe reviewed the quotes with me and set expectations prior to the install. The crews showed up as scheduled and always left the areas clean upon leaving the house. We will definitely use...
 CarifaTile
Beginning with the estimate, Larry and Peyton were super helpful in getting my new condo's interior re-painted. Not only was the job well done, but also done in a super timely manner as promised.
 Five Star Painting of Plain City and Powell
BJ Trim Carpentry rescued me in the middle of a do-it-yourself project. I found I needed more expertise than I had...and more TOOLS! BJ Trim Carpentry responded quickly and completed what I needed expertly, politely and with a little humor!
This brownstone is historical and the carpentry work is very detailed. I was very happy to secure a company in NY and living in OH to complete the request. Wood work on this brownstone has been existing since approximately 1888 and West side did a GREAT JOB. I will not be able to...
 Westside Home Improvement
We had a great experience with Mark Rodgers Construction. We were in the process of seeking out estimates for possible foundation work for our front porch. Mark came out himself to provide the estimate. Turned out that the company deals mainly with concrete, so we wouldn't be getting an...
Overall this experience was incredible! I looked on Angies List for a cleaning service because I was planning a holiday party and wanted to make sure we found a reliable, thorough and efficient cleaning service to make sure everything was perfect for the party since we had co-workers and...
From beginning to end our experience with Joe was very good. He was professional and prompt in his estimate for the job and worked hard to meet our schedule so that he could remove our old backsplash the day before our new countertops were removed and return shortly after they were removed to...
From average costs to expert advice, get all the answers you need to get your job done.
The cost to frame a house can vary depending on the size of your home, the structure you’re building, and your materials. Keep reading to learn how much framing your house might cost.
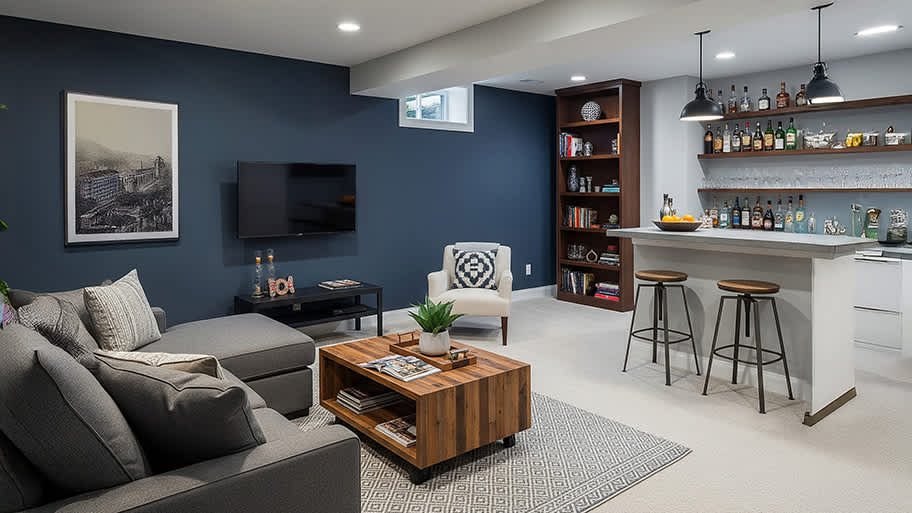
The first step toward a cozy finished basement is adding its framing. How much does it cost to frame a basement? Let's break down the numbers.
Get the latest carpentry framing repair cost estimates. Learn what impacts your price and how to budget for your framing repair project.
Curious about how to frame a house like a professional? While it's rarely a DIY job, understanding the process can prepare you for your upcoming home construction.
What is included in framing a house? This process involves framing the floors, walls, and roof. Contractors must follow a detailed building plan for success.

Whether it’s paintings, photos, or brilliant neon, add some personality to any room with a gallery wall that’s uniquely you.