
Design your ideal storage space with this guide to closet shelving dimensions by height, depth, type, and room. Learn how to measure and what to consider.
Here's how to handle that junk pile that's becoming a skeleton in your closet

Plywood is the best wood for closet shelves when you need sturdy shelving that resists sagging, while MDF works for lighter items in climate-controlled spaces.
DIY closet shelves cost $50 to $100 for materials like plywood, screws, and L-brackets, making this an affordable project for your home.
Your ideal wood thickness depends on what you're storing: 3/4-inch plywood holds around 130 pounds, while 1 1/4-inch thickness supports heavier tools and equipment.
Hiring a local closet making professional provides custom design guidance and ensures shelves stay level, plumb, and securely attached to wall studs for long-term durability.
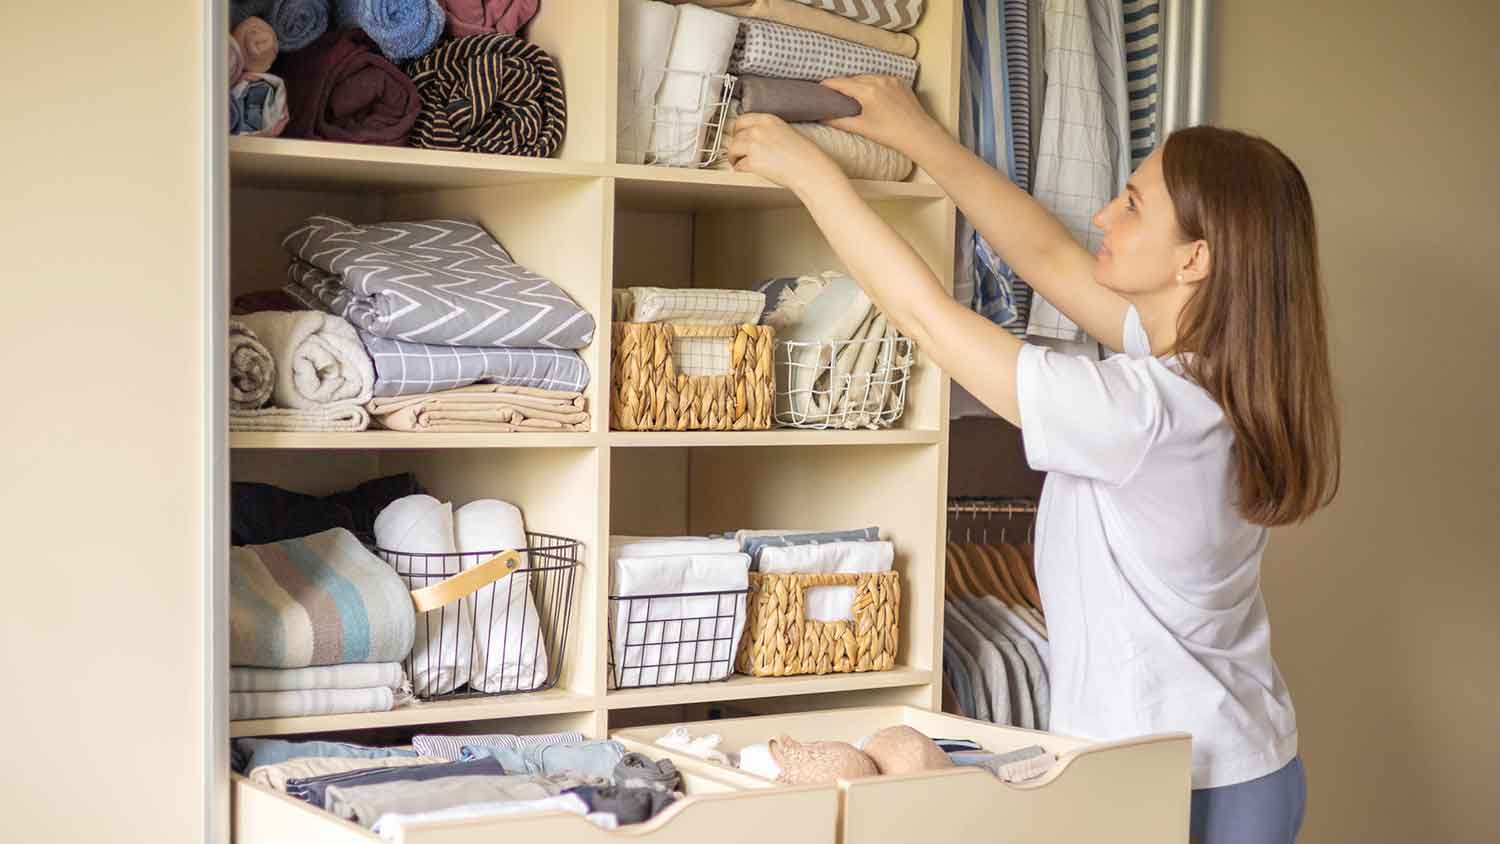
If your closet has become a glorified hidey-hole for your ever-growing pile of stuff, turn to one of the cardinal rules of fitting storage into awkward spaces: When you can’t build out, build up. And, unless you’re storing an extensive collection of trench coats, maxi dresses, and floor-length bathrobes, you’re likely dealing with some untapped vertical space. What better way to use it than by building customized shelving to fit your needs? Here’s how to build DIY closet shelves to harness your closet’s full storage potential.
Building the best DIY custom closet is all about finding what works for your space (and your stuff). This is what you’ll need to do to prepare.
Closets come in a huge array of shapes and sizes, so your first step in building DIY closet shelves is to measure the space you’re working with. Using your measuring tape, measure the width, height, and depth of your closet. It’s helpful to draw a diagram and log these numbers so you’ll have a visual representation of the space.
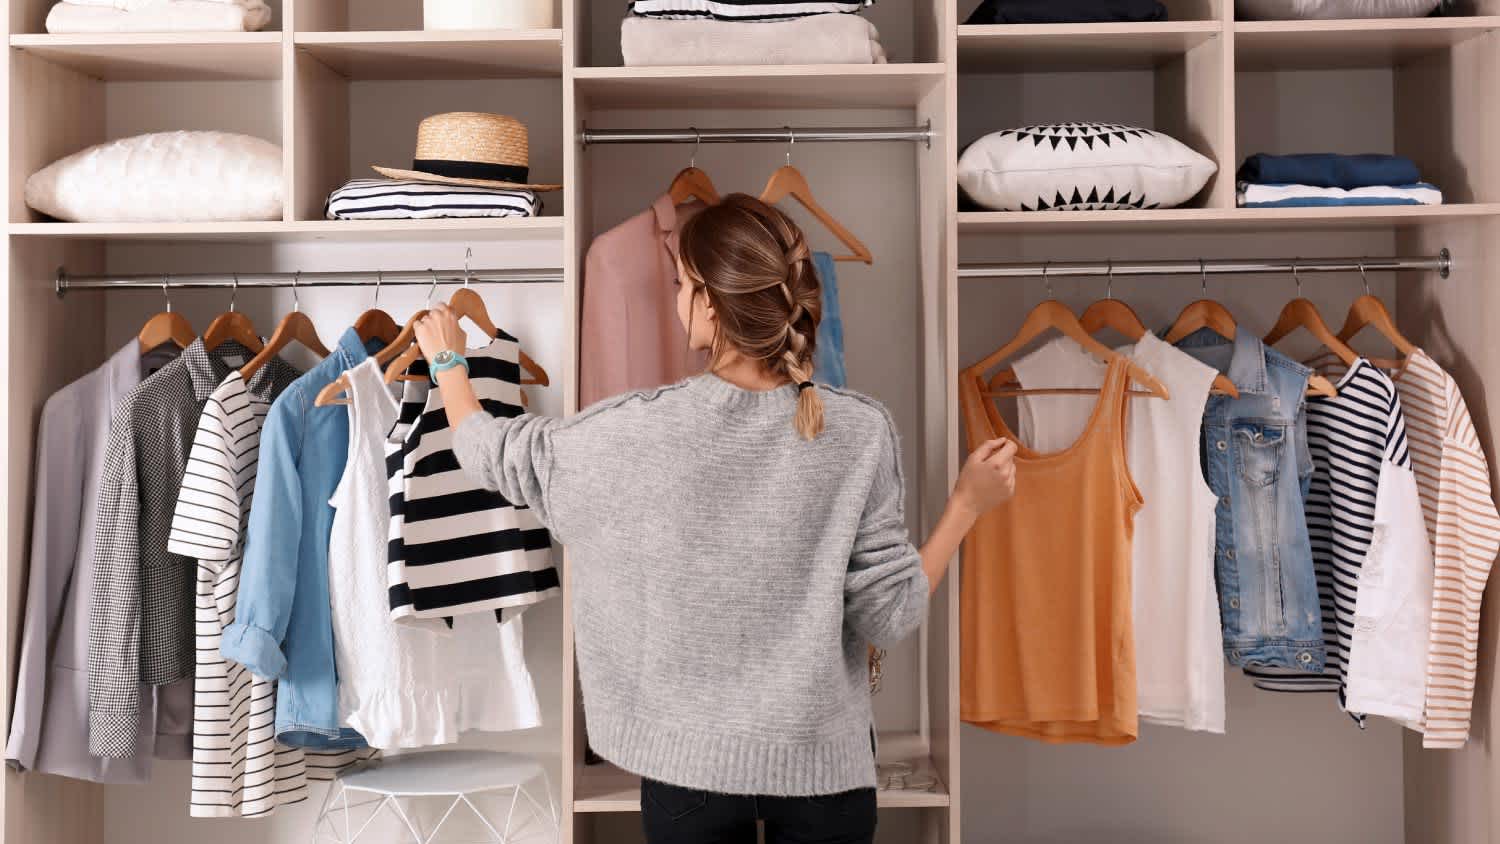
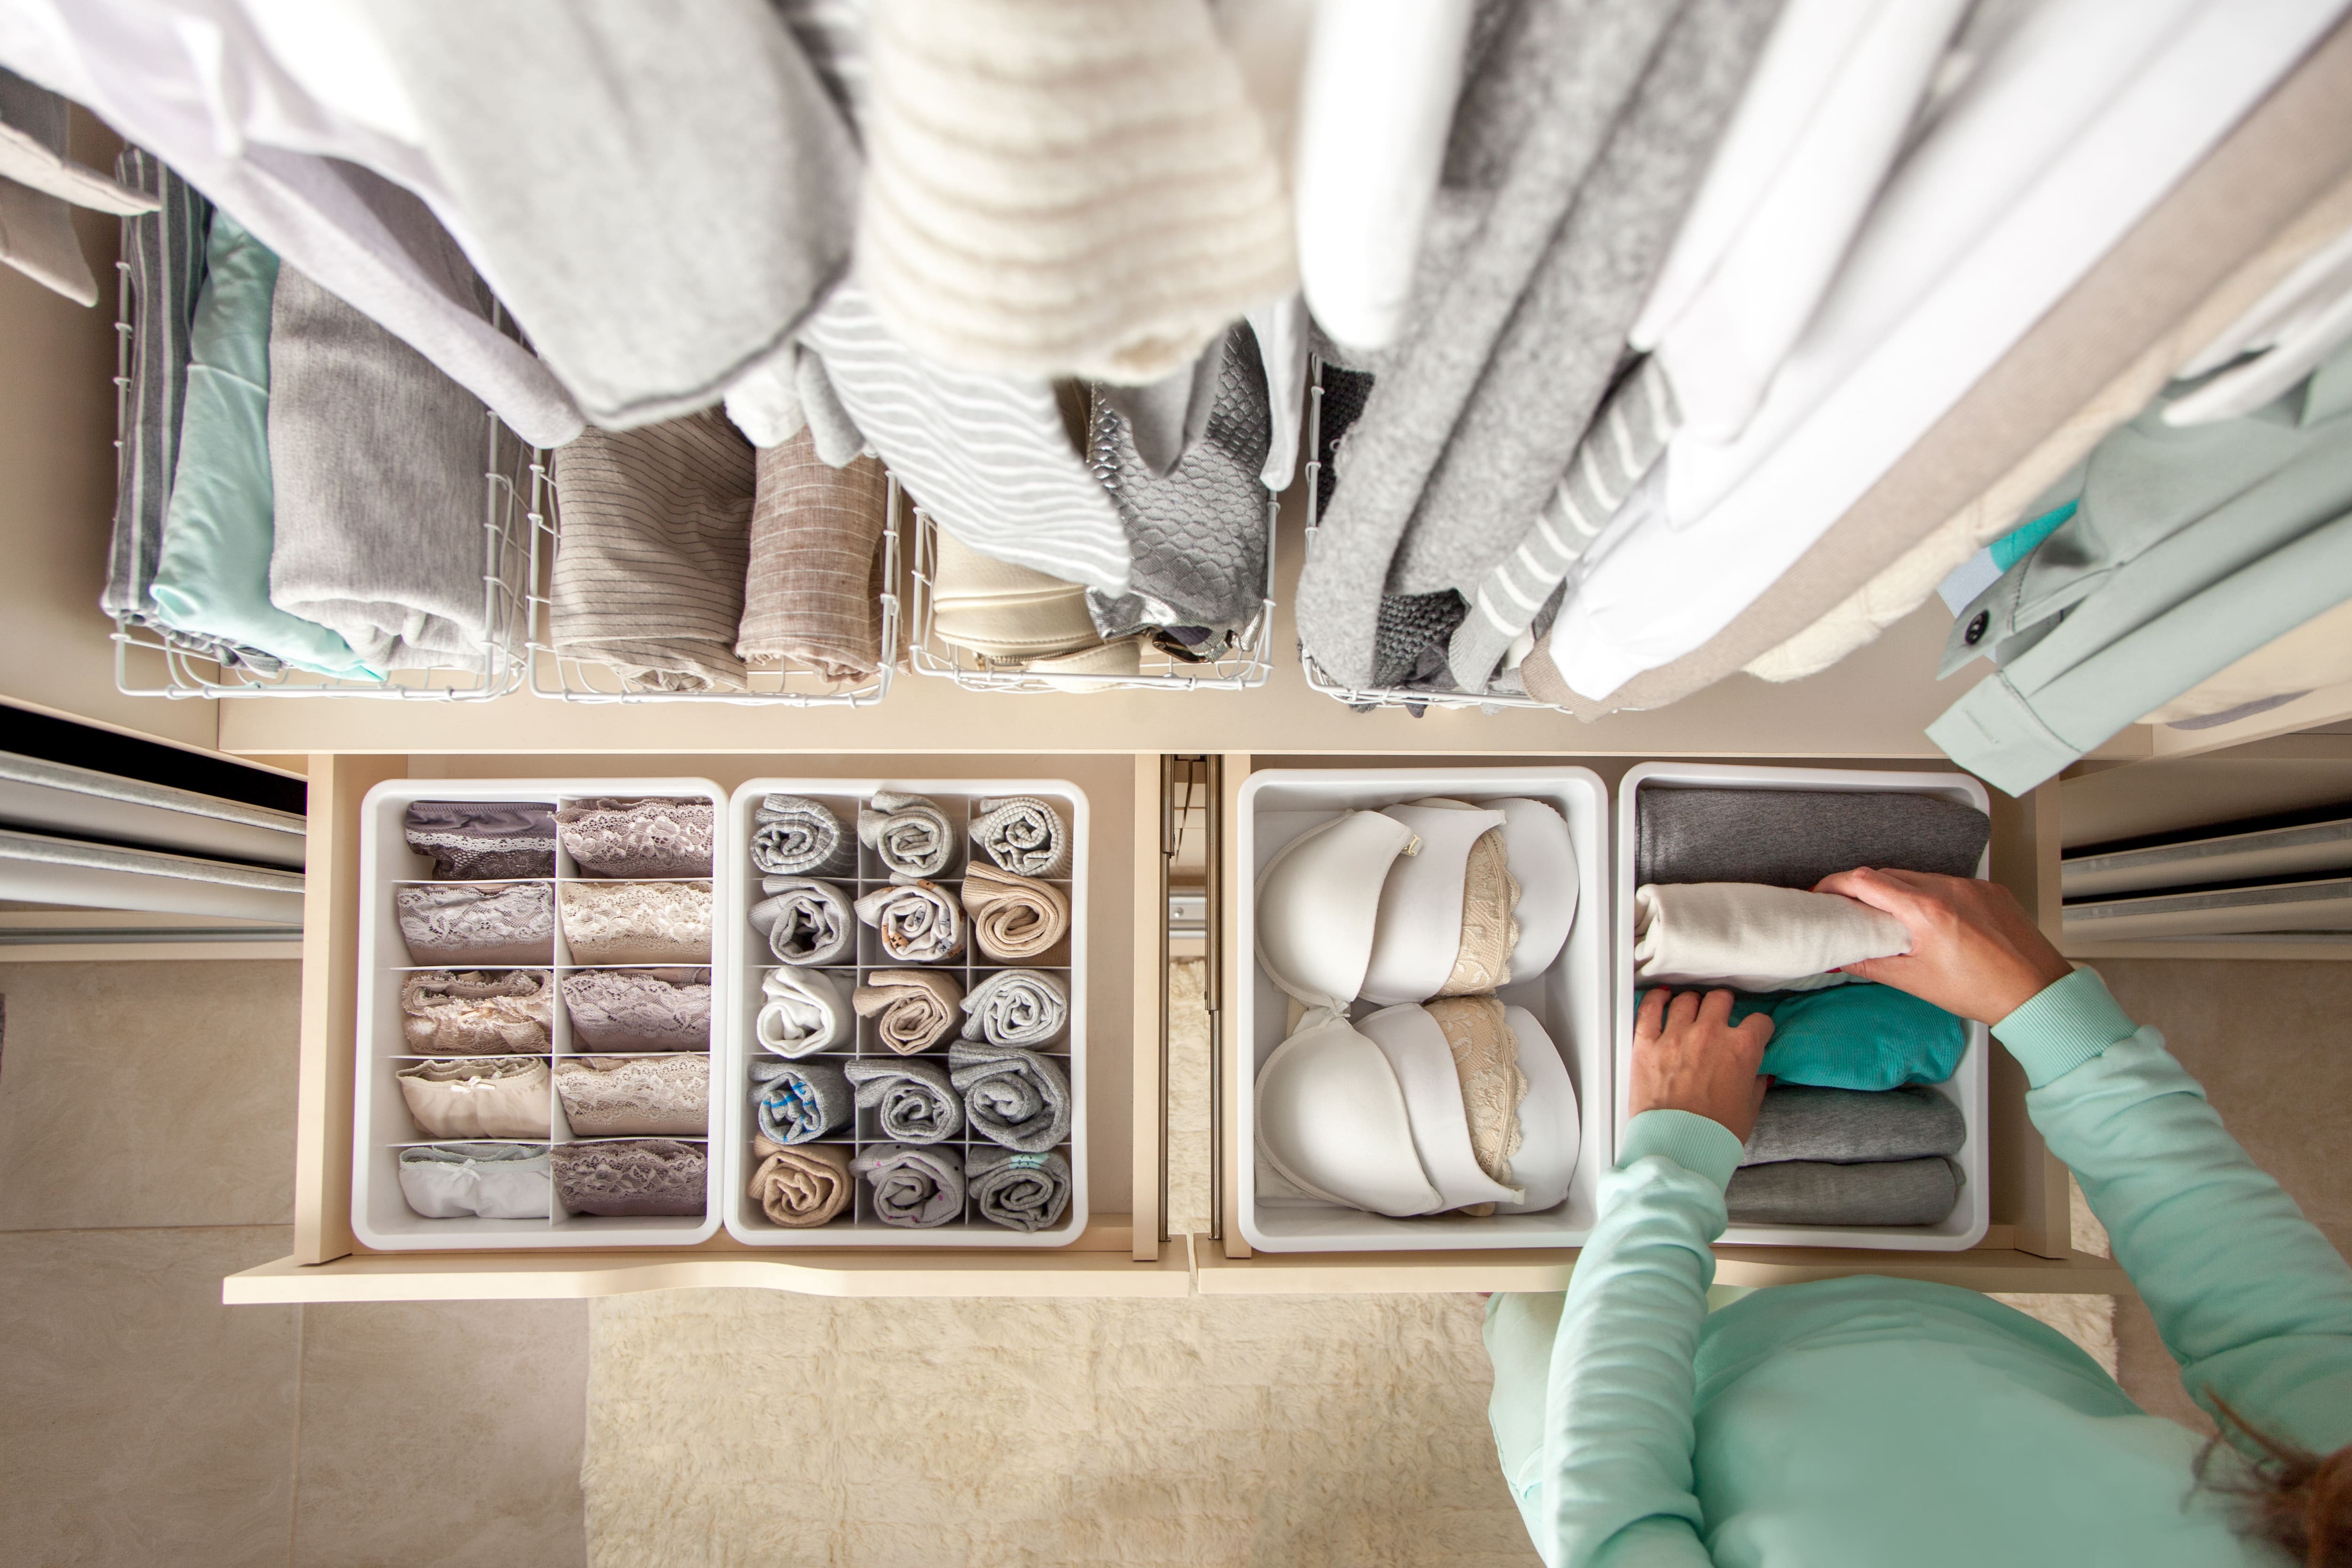
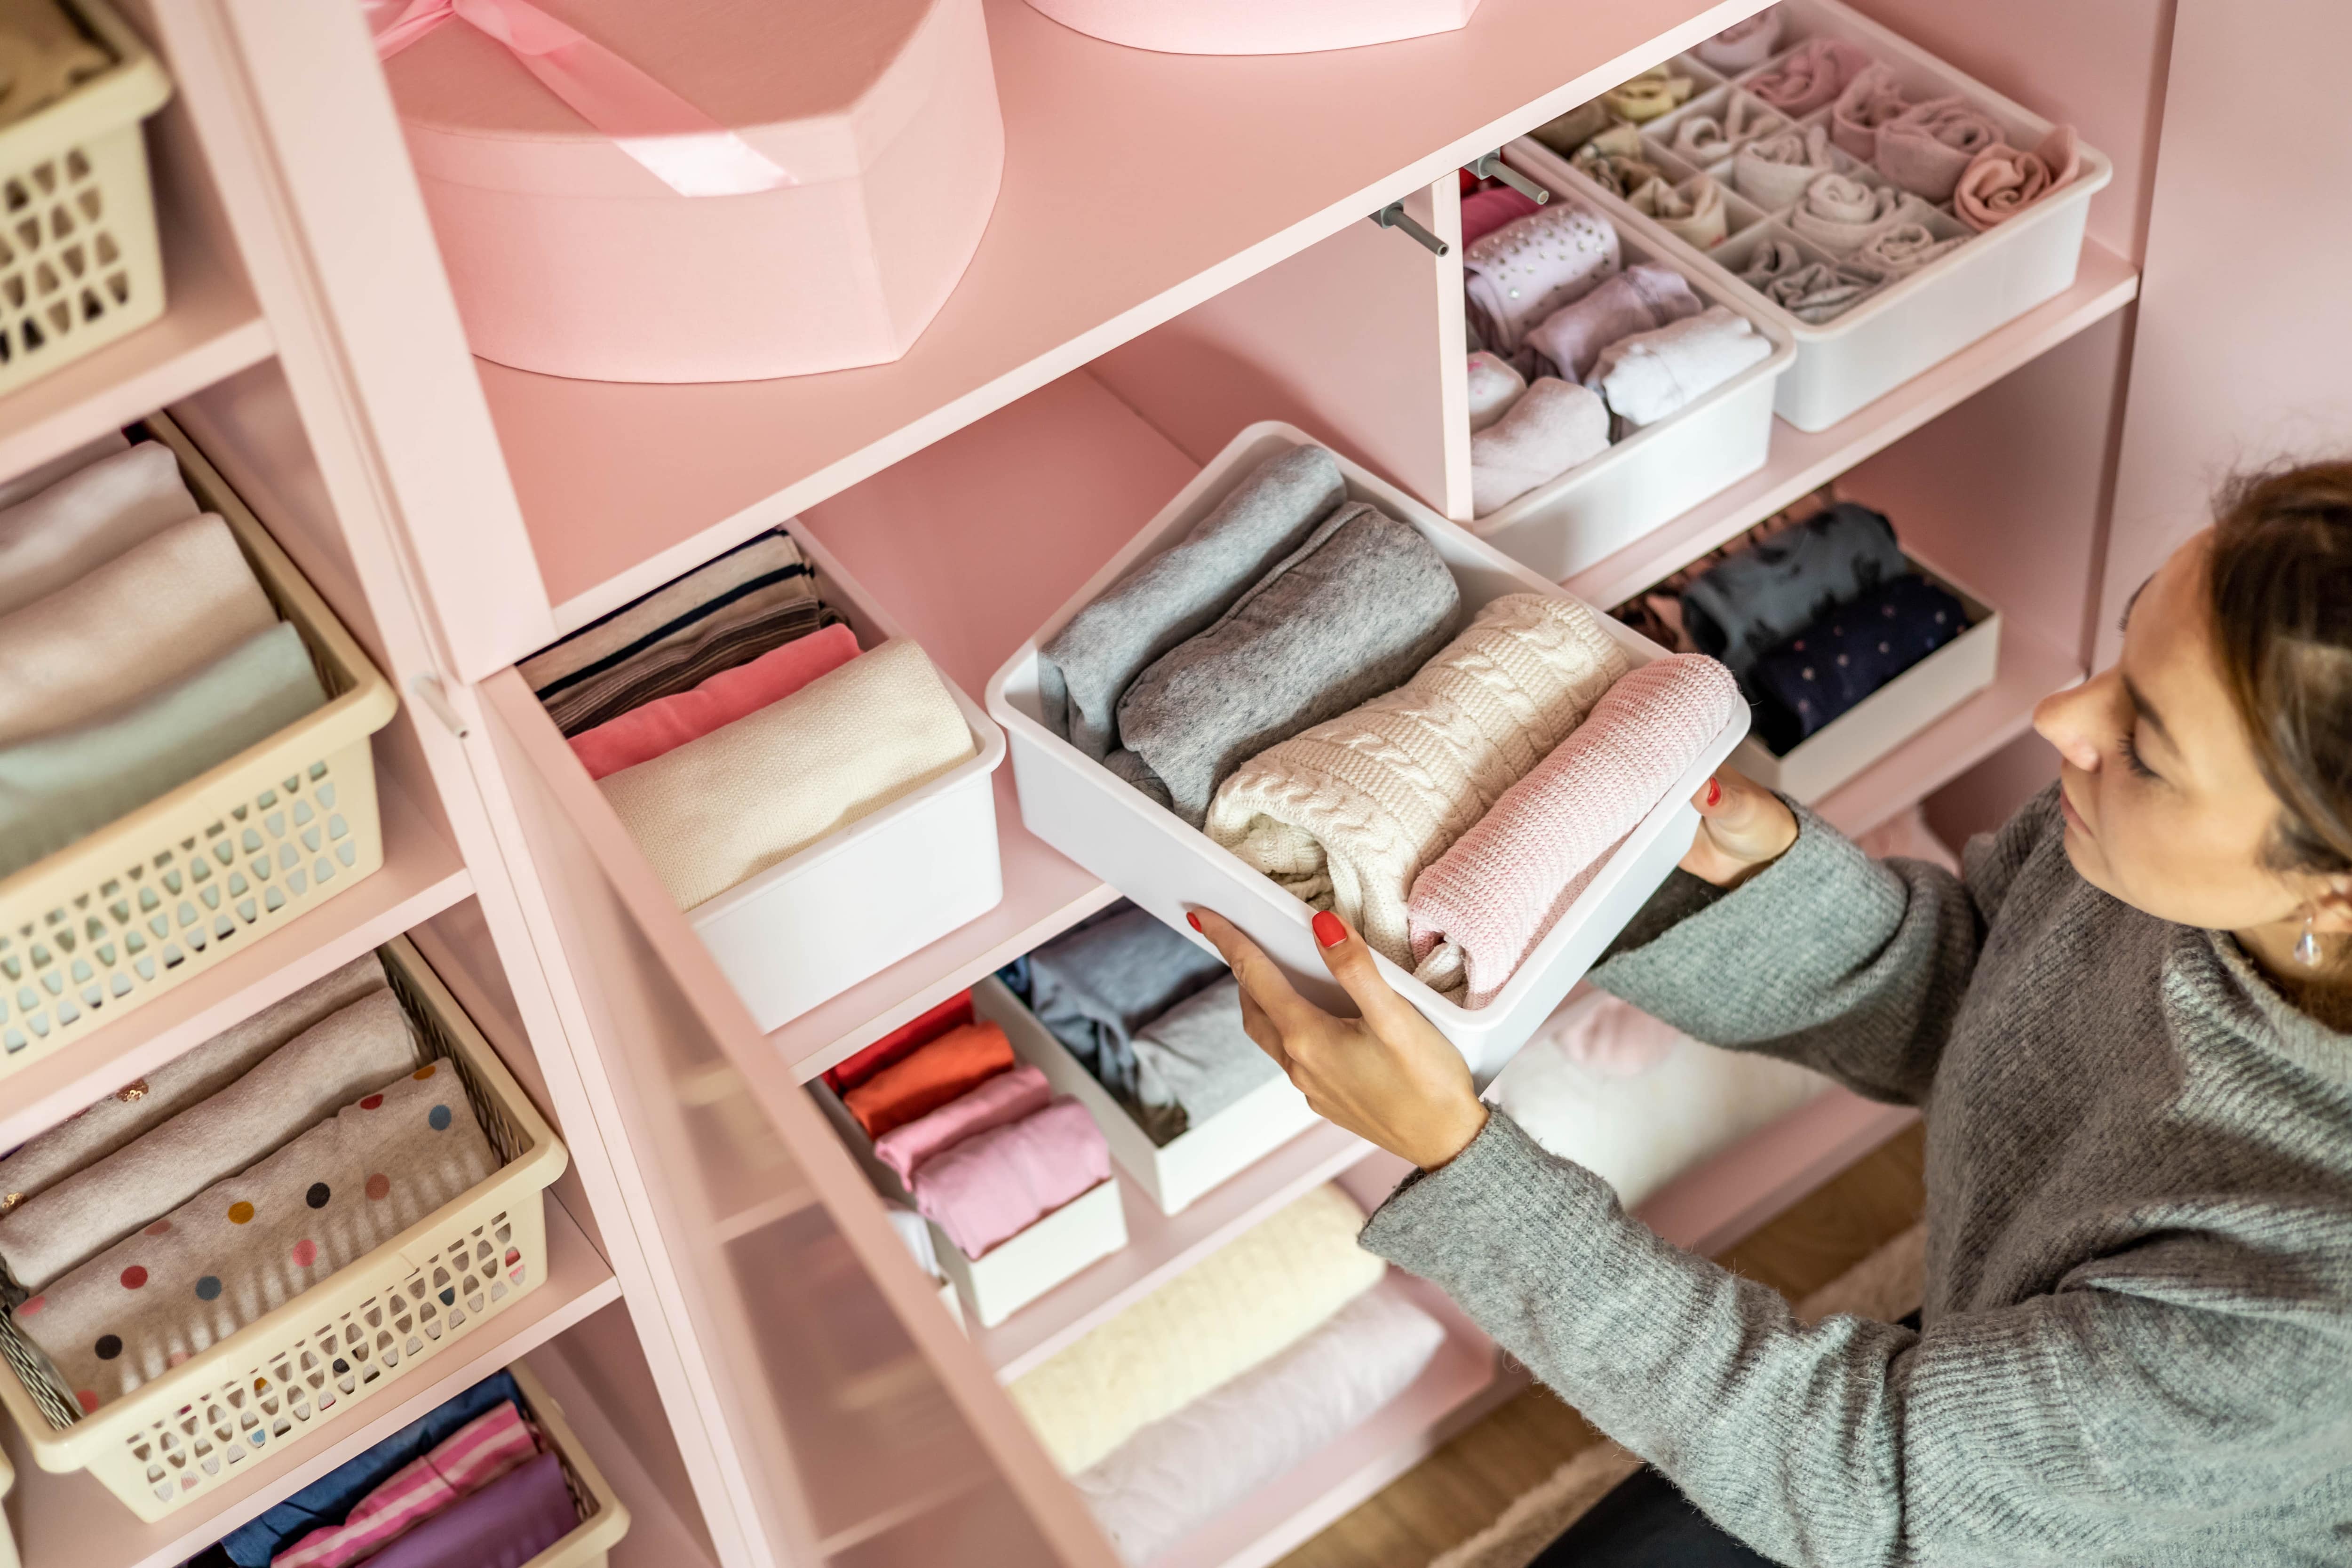
Next, assess your inventory. Gather the future contents into piles and start plotting how you’ll organize your closet. Will you be storing stacks of jeans and sweaters? Storage bins? Note the heights of your tallest possessions and use these to determine the amount of space you’ll need between the shelves and the number of shelves you’ll need.

Once you’ve determined how long and thick your shelves need to be, head to your local home improvement store or lumber yard to pick up the wood. If you need a specific size, many businesses will custom-cut it for you (if you’re not sure, call ahead of time). Otherwise, you’ll need to cut your own wood by measuring, clamping it down, sawing it to size, then sanding it until it’s smooth and splinter-free.
While you’re out buying your wood, grab however many L brackets you’ll need to support your shelf. For shelves that are shorter than 36 inches, you’ll need two per shelf. Longer shelves will require an additional L bracket in the center for extra support.
If you’re planning on staining or painting the wood, you’ll want to do this before installing your DIY closet shelves. To stain your wood, add the stain to a cotton rag and rub it into the wood until you have full coverage. To paint, add a coat of primer, allow it to dry, then follow up with one to two coats of your chosen paint.

Before you install your DIY shelves, empty out the closet’s contents. This might seem like a pain, but it will allow you ample working space, plus the chance to organize everything as you put it back.
Refer to your diagram and start mapping where you’ll put the shelves. You may need a stud finder to ensure you’re attaching the shelf to a wall stud. If you’re not attaching the shelf to a stud, be sure to use drywall anchors to screw it in securely. Mark the measurements on the wall with a pencil.
Next, mark where you’ll be attaching the L brackets and use a power drill to screw them into the bottom of the shelf. If you’re using two L brackets, measure and mark your wood so each bracket is the same amount of space from the edge. If you’re using three or more L brackets, make sure the brackets are evenly spaced, and that the two brackets on either end are equal distances from the edge.

Once you’ve secured your brackets to the shelf, hold the shelf up to the wall where you’ll be screwing it in. Place a level on top of the shelf to ensure it stays plumb (do not use the floor or ceiling as a reference, as these may not be completely level). Then, screw the brackets into the wall as you’re holding it in place.
DIY-ing can be fun and fulfilling, but it isn’t for everyone (and it’s certainly not without its limitations). If you need a little extra help designing your dream closet, you can always reach out to a pro to help you achieve your vision. Get in touch with a local closet maker for a custom closet plan that you’re sure to love.
Raven and crew does absolutely fantastic job. They are very professional if any concerns were to occur with any of her work she always took responsibility and finished out with a great job. I have worked with her business for a year and have always been satisfied. Very trusted business and...
Amazing job. Efficient and quick without compromising quality. Basement feels brand new. Would use them again in a heartbeat.
 AffordaPro Restoration
We have bought and sold numerous times over the past 50 years. Sherman Hall and Top Line are top notch. Thorough and detailed, he explains every possibility, probability, and eventuality. High class and pleasant. The best.
 Top Line Home Inspections, LLC
Fantastic group, very communicative, and they really did a great job cleaning my condo. Will be hiring them for recurring cleaning!
Supreme Brick & Chimney did a great job with a cleaning and inspection of the fireplace! He was efficient, on time, and very pleasant. The space was kept very clean, and the fireplace was spotless when he was done. He also performed a thorough inspection, and did a great job talking us...
 Supreme brick & chimney
This company is my go to resource for all my post renovation clean ups. They get the place spotless! All we have to do after is stage the place and sell, sell, sell! They are super professional and have some amazing scent that is left in every property. I highly recommend!
Custom Paint Jobs LLCs custom murals brought life to our childrens rooms. They love it!
Window Depot did an amazing job on my deck. I wasnt sure what I wanted to do, but their composite decking was affordable and will last a long time. I am excited to have family over, and I am no longer embarrassed by my backyard. Jeff and the ground crew were polite, respectful, and caring for...
Great tree company, very professional and honest. Glad we found them, they had the best pricing
The team is awesome!! I can generally pick up and clean throughout the week, but they CLEAN! Windows, stair rails, microwave. All the things I can’t ever seem to get to regularly. The house looks and smells great after they leave.
From average costs to expert advice, get all the answers you need to get your job done.
Design your ideal storage space with this guide to closet shelving dimensions by height, depth, type, and room. Learn how to measure and what to consider.
Designing a DIY custom closet will give you a storage unit that actually makes your space feel organized. Choose the right setup with help from these tips.
Installing a new closet? Find out the optimal closet shelving height based on your storage needs and who'll use the closet.
Does your chaotic closet make getting ready a stressful task? It’s time to tidy up! These simple yet functional closet organization ideas will make mornings a breeze.
Make the most of your small closet and use every inch. Learn how to create a shallow reach-in closet or a tiny walk-in efficient without sacrificing style.

Small or large, a walk-in closet should be used to its full potential. Get inspired as you check out these ideas to organize and beautify your storage space.